You are using an out of date browser. It may not display this or other websites correctly.
You should upgrade or use an alternative browser.
You should upgrade or use an alternative browser.
Tony's 71 CS2800
- Thread starter Tony.dreamer
- Start date
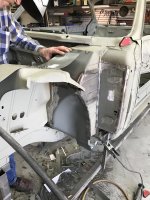
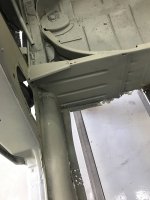
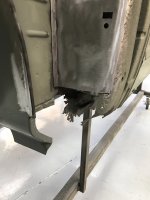
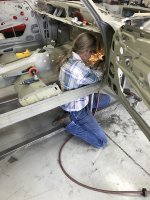
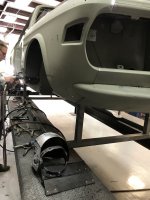
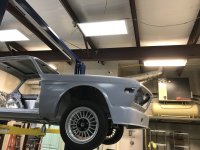
The three layers of rockers on each side were all rusted half way up after media blasting we could see how much work we really had to do. The top section of the rockers has been holding the weight of the car. But the frame on wheels we made was attached to where the front axle and rear axle attach. We had it perfectly square and level making sure it would not move while we cut pieces out.
We started with The bulk-head area first ! Once that was done which took a 4 full days we started on the floor corners , and area above the foot well under the dash as they (both side) meet up the bulk head.
We started with The bulk-head area first ! Once that was done which took a 4 full days we started on the floor corners , and area above the foot well under the dash as they (both side) meet up the bulk head.
Last edited:
this last photo of the FLkr is not part of the E9 coupe. It got mixed in the posted photos
Last edited:
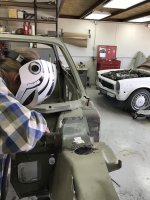
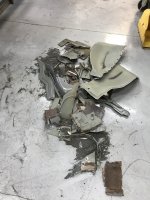
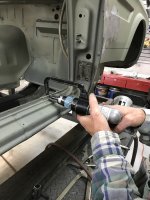
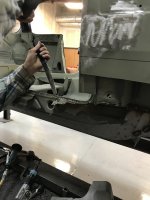
Factory spot weld were removed with an expensive high quality bit. It made removing the old welded pieces off much easier without cutting into the pieces that would remain on the car
Last edited:
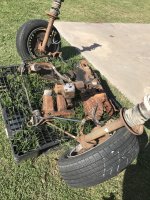
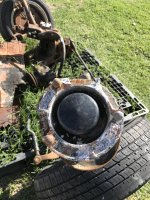
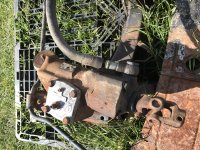
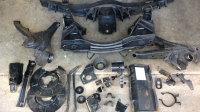
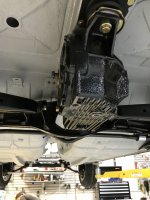
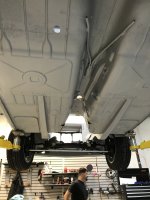
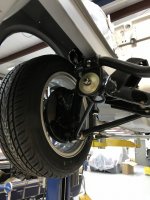
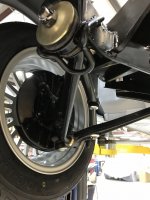
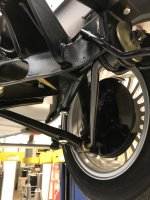
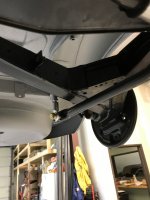
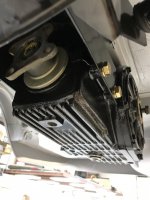
Front and rear axles were removed in one piece each . We soaked them with degreaser and steam washed them. And let them dry . All cavities that were suspected to receive in water were sealed with Gurilla Tape and we stayed clear of those sections. Then we took them to be sand blasted and powder coated. When we received them back they looked really nice!
if you buy metal body parts from W&N they come with a paint coating that has not adhered to the steel very well so small pieces we sand blast them and larger ones we took the disk sander and remove the paint.
On both doors the lower 4 inch sections were weak and had rust in the corners. But the door frame was in perfect shape. we decided to order door skins and replace both sides....
Last edited:
if we were to do it again we probabaly would just replace the bottom 4 inch of the door !! Kyle said he has reskinned doors more than 100 times.... so it wasn't a big deal for him but drilling the factory welds out and removing the frame and welding a skin to each door was a lot of work while I was watching him do it....
Last edited:
Thanks Markos,
VIN is 2270597 , factory AC , blue leather interior , Polaris , 4 speed , sunroof ... Elec windows radio, wood veneer factory steering !!!
Mine was made 190 cars before yours. Manufactured on July 24th, 1970 and delivered to Germany, though it's a USA model car. It's chamonix with a blue interior. I thought at first it was leather, but it's vinyl that held up well over the years. Less rust than yours, it will begin restoration in a few weeks. No sunroof, which helps explain the lesser rust, a bit. At this age, it's a crapshoot.
Ian
Metal and bondo work was done . While doing the filler/bondo work we realized that plastic bead blasting has done a very slight warping in some area.
However I was rather impressed how the exterior ended up... that keeps me motivated . All gaps were worked on for two and half days before starting with filler. First picture shows rubbing residue glue from factory weather strip seal from the sunroof before applying etching primer.


However I was rather impressed how the exterior ended up... that keeps me motivated . All gaps were worked on for two and half days before starting with filler. First picture shows rubbing residue glue from factory weather strip seal from the sunroof before applying etching primer.
Last edited:
Last layer of Sprayable zinc based filler before , , more seam sealing , blocking , undercoating, sealing and painting the car. Target date of final paint is June 20th.
Next step for the exterior is blocking the comple car with doors, trunk and hood attached.


Next step for the exterior is blocking the comple car with doors, trunk and hood attached.
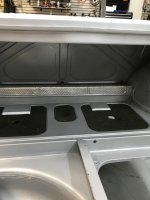
Show me a car today that has a cast alloy gas tank cover if you know of one... wow .... I didn't know that about E9 until Kyle showed me...he said " I will just seal it, that piece will never rust"!!

