thehackmechanic
Well-Known Member
(This just ran as my weekly Roundel Online piece (https://www.bmwcca.org/roundel/conditioning-coupe-part-701-700), but obviously it belongs here too, so I'll just copy and paste it in. It's over the 10k character limit, so I've broken it into two.)
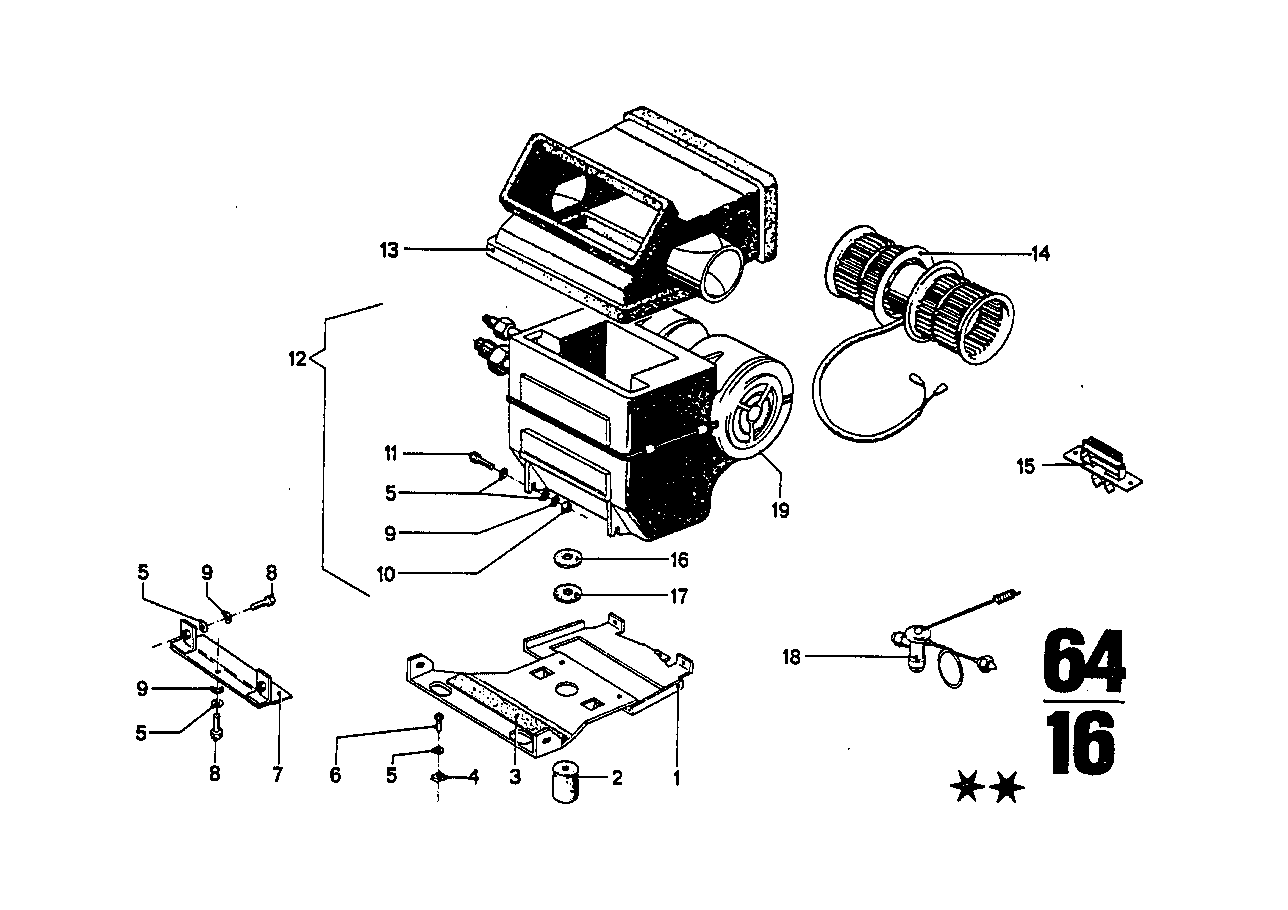
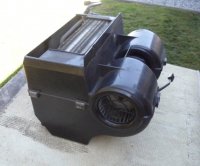
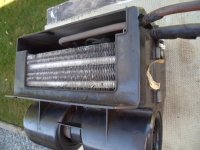
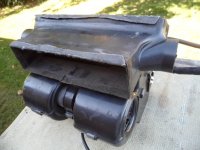
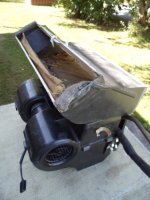
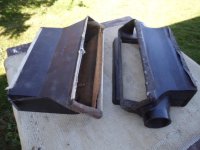
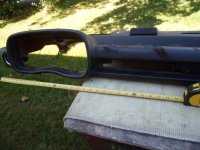
It’s hard for me to believe that it’s been 18 years since my series of columns entitled “Conditioning the Coupe (part XX of 700)” ran in Roundel. In them, I described the from-scratch retrofit of air conditioning into my 1973 3.0CSi. I’d done a/c repair before, but this was much more involved. I worked with a vendor who advised that I go with an R134a system since Freon (R12) had already been on the outs since the early 1990s and its long-term availability was questionable. To maximize the system’s performance, we took the extraordinary step of having a custom evaporator core fabricated that was the same size as the original core but had twice the number of passes of the cooling tubes through it. I found an original E9 evaporator assembly and the all-important plastic duct connecting it to the vents in the center console. The vender sold me the custom evaporator core, a rotary compressor and bracket for the M30 engine, a condenser, a receiver-drier, and a few other small parts. I paid someone to fabricate the hoses, and paid someone else multiple times to pressure-test the system, locate leaks, evacuate it, and recharge it.
After some initial teething pains, the system has remained functional for all these years. However, although I love having an air-conditioned coupe on long trips to The Vintage and other shows, the truth is that the system’s performance has been adequate but not great. In contrast with Freon-based systems which you turn on and they immediately blow cold, R134a conversions often take a while to spit cold air at you, and quite a bit longer to actually chill the interior of the car. When you combine that with a hot car that’s been sitting in the sun, the results can be disappointing. Even once the E9’s interior was cooled off, the car’s a/c would get overwhelmed on the stretches I’d routinely hit on the way to The Vintage where the temperature was 95 degree and the humidity 90%.
Over the years, I took a number of steps to mitigate the intrusion of heat into the cabin. I re-lined the foam on the heater box flaps to block off hot outside air, tinted the windows, and installed a valve to stop the flow of antifreeze to the heater core, which, unlike in a 2002, is always plumbed with hot antifreeze; the heater control lever merely opens up a flap to direct that heat from the heater box into the cabin. These things made some difference, but the E9’s a/c has never been bone-chilling cold.
Fast-forward to now. I know a lot more than I did then. I now do all of my own a/c work, including hose fabrication, leak-testing, evacuation, and recharging. My next book may well be The Hack Mechanic Guide to Vintage Air Conditioning. I know that, as cool as my custom double-pass evaporator core is, it probably wasn’t necessary, as evaporator performance usually isn’t the limiting factor of a/c performance—condenser performance usually is. I know that the type of serpentine flow condenser that’s original to any pre-1990s car and that was part of the retrofit into the E9 18 years ago is now obsolete, and that any a/c retrofit or rejuvenation should include a modern parallel-flow condenser. Rather than having a single serpentine tube snaking through it, a parallel flow condenser utilizes dozens of tubes acting in parallel to maximize the transfer of heat, thus increasing thermal efficiency, and with it, cooling. I know that the advice now is that, if you’re going to run R134a in a system originally made for Freon, if you don’t also upgrade to a parallel flow condenser, you’ll likely be disappointed. And I know that the reported death of Freon was exaggerated. It is still available, though it is increasingly difficult to find commercial shops who will work with it.
With this knowledge, I’ve actually taken things a step further. Both my ‘72tii and my Bavaria, whose a/c systems I’d rejuvenated by installing the biggest parallel-flow condenser that’d fit in the nose, installing the biggest fan that’d fit on the condenser, replacing the ancient upright piston compressor with a modern rotary one, are charged up with good old fashioned Freon, and get cold enough to hang sides of beef inside. You want a recipe for a cold car? It’s right there.
In addition to the E9 being equipped with a now-obsolete serpentine flow condenser, I made a mistake when I installed the condenser in 1999. When I went to get the hoses made, the fabricator (Ed Ellis, from “Ellis the Rim Man” on Comm Ave for you old-school Bostonians) discovered that I’d accidentally mounted the condenser upside down, with the #6 fitting at the top and the #8 fitting at the bottom. I should’ve just gone home pulled it out, and re-mounted it the correct way, but I had an appointment, I was there, and I wanted to get the hoses made. Fortunately, Mr. Ellis was able to make hoses with step-up and step-down fittings. He said it probably was a non-issue, but I’ve always wondered if it was one of the factors limiting performance.
So, for 18 years, the cooling in the E9 hasn’t been great, and I’ve second-guessed the use of R134a, especially since the tii and the Bavaria, which both run Freon, and which I rejuvenated after the E9, perform so well. For all these reasons, I’ve been itching for a reason to yank that serpentine flow condenser out of the E9, replace it with a modern parallel-flow unit (installed right-side up :^), evacuate the system of R134, charge it up with Freon, and write the wrong I did 18 years ago.
After I attended The Vintage in 2013, I thought I had my chance. You may recall my story of The Great Drenching Event, where I explained how I hit a solid 500 miles of torrential rain on the way to Winston-Salem. During the deluge, I saw something skitter off the back of a truck and then heard an alarming smack in the nose of the E9. When I stopped, I found that a clevis pin and chain had smashed through the E9’s front grille. The pin itself, a bit larger than a lipstick tube, had impaled the condenser. Miraculously, it embedded itself between two passes of the serpentine tube without puncturing it. But it did get me thinking about planning the condenser’s replacement.


Oddly enough, it was the E9’s sister car, the ’72 Bavaria, that was ultimately responsible for the E9’s finally receiving its parallel flow condenser. When I bought the Bavaria a few years back, its a/c wasn’t working, so I embarked on my standard resurrection process that’s all but guaranteed to result in a cold car (big condenser and fan, rotary compressor, all new hoses, Freon). As part of this process, you need to identify the biggest condenser that’ll fit in the nose. It’s clear from the photo below that the E9’s 18 year-old 16"x20" serpentine flow condenser fit with gobs of room to spare, so in addition to going parallel, I wanted to go up in size.

You can look on enthusiast forums and see if there’s an agreed-on maximum condenser size for your model, but Bavaria forums aren’t as active as, say, 2002 forums, so I measured for myself and bought a 16"x22" condenser. As is often the case, though, once the mounting brackets were installed, the hose fittings didn’t have clearance, and I had to fall back to a 16"x20" condenser for the Bav. However, a quick set of measurements in the nose of the E9 showed that that 16"x22" unit probably was the right size for E9, so rather than returning the condenser, I held onto it. For three years.
Early this summer, I finally rolled up my sleeves and had at it. Out came the E9’s radiator and its serpentine flow condenser. I test-fit the 16"x22" parallel flow condenser with a pair of “short-drop” hose fittings on it into the nose, and verified that it was indeed the right size. As a rule of thumb, the actual width from the left-most edge of the condenser’s mounting rail to the right-most edge of the short-drop fitting adds about 3" to the quoted width of the condenser. The 22" condenser, with 3" added for the brackets and fittings, comes to 25". In the E9, there is about 27 inches of space side-to-side in the nose. That leaves 2" for mounting brackets and getting the hoses on. You can try getting another inch out of it, but leaving 2" of space is a safe plan.

I could’ve moved up in size from the 14" Spal fan I’d installed 18 years ago to a 16" fan, but to save money, I reused the fan, zip-mounting it to the new condenser. I have mixed feelings about this, and have mounted fans different ways on different cars, but these low-profile Spal fans are fairly light, and I haven’t had any problems using this simple mounting scheme.

It’s hard for me to believe that it’s been 18 years since my series of columns entitled “Conditioning the Coupe (part XX of 700)” ran in Roundel. In them, I described the from-scratch retrofit of air conditioning into my 1973 3.0CSi. I’d done a/c repair before, but this was much more involved. I worked with a vendor who advised that I go with an R134a system since Freon (R12) had already been on the outs since the early 1990s and its long-term availability was questionable. To maximize the system’s performance, we took the extraordinary step of having a custom evaporator core fabricated that was the same size as the original core but had twice the number of passes of the cooling tubes through it. I found an original E9 evaporator assembly and the all-important plastic duct connecting it to the vents in the center console. The vender sold me the custom evaporator core, a rotary compressor and bracket for the M30 engine, a condenser, a receiver-drier, and a few other small parts. I paid someone to fabricate the hoses, and paid someone else multiple times to pressure-test the system, locate leaks, evacuate it, and recharge it.
After some initial teething pains, the system has remained functional for all these years. However, although I love having an air-conditioned coupe on long trips to The Vintage and other shows, the truth is that the system’s performance has been adequate but not great. In contrast with Freon-based systems which you turn on and they immediately blow cold, R134a conversions often take a while to spit cold air at you, and quite a bit longer to actually chill the interior of the car. When you combine that with a hot car that’s been sitting in the sun, the results can be disappointing. Even once the E9’s interior was cooled off, the car’s a/c would get overwhelmed on the stretches I’d routinely hit on the way to The Vintage where the temperature was 95 degree and the humidity 90%.
Over the years, I took a number of steps to mitigate the intrusion of heat into the cabin. I re-lined the foam on the heater box flaps to block off hot outside air, tinted the windows, and installed a valve to stop the flow of antifreeze to the heater core, which, unlike in a 2002, is always plumbed with hot antifreeze; the heater control lever merely opens up a flap to direct that heat from the heater box into the cabin. These things made some difference, but the E9’s a/c has never been bone-chilling cold.
Fast-forward to now. I know a lot more than I did then. I now do all of my own a/c work, including hose fabrication, leak-testing, evacuation, and recharging. My next book may well be The Hack Mechanic Guide to Vintage Air Conditioning. I know that, as cool as my custom double-pass evaporator core is, it probably wasn’t necessary, as evaporator performance usually isn’t the limiting factor of a/c performance—condenser performance usually is. I know that the type of serpentine flow condenser that’s original to any pre-1990s car and that was part of the retrofit into the E9 18 years ago is now obsolete, and that any a/c retrofit or rejuvenation should include a modern parallel-flow condenser. Rather than having a single serpentine tube snaking through it, a parallel flow condenser utilizes dozens of tubes acting in parallel to maximize the transfer of heat, thus increasing thermal efficiency, and with it, cooling. I know that the advice now is that, if you’re going to run R134a in a system originally made for Freon, if you don’t also upgrade to a parallel flow condenser, you’ll likely be disappointed. And I know that the reported death of Freon was exaggerated. It is still available, though it is increasingly difficult to find commercial shops who will work with it.
With this knowledge, I’ve actually taken things a step further. Both my ‘72tii and my Bavaria, whose a/c systems I’d rejuvenated by installing the biggest parallel-flow condenser that’d fit in the nose, installing the biggest fan that’d fit on the condenser, replacing the ancient upright piston compressor with a modern rotary one, are charged up with good old fashioned Freon, and get cold enough to hang sides of beef inside. You want a recipe for a cold car? It’s right there.
In addition to the E9 being equipped with a now-obsolete serpentine flow condenser, I made a mistake when I installed the condenser in 1999. When I went to get the hoses made, the fabricator (Ed Ellis, from “Ellis the Rim Man” on Comm Ave for you old-school Bostonians) discovered that I’d accidentally mounted the condenser upside down, with the #6 fitting at the top and the #8 fitting at the bottom. I should’ve just gone home pulled it out, and re-mounted it the correct way, but I had an appointment, I was there, and I wanted to get the hoses made. Fortunately, Mr. Ellis was able to make hoses with step-up and step-down fittings. He said it probably was a non-issue, but I’ve always wondered if it was one of the factors limiting performance.
So, for 18 years, the cooling in the E9 hasn’t been great, and I’ve second-guessed the use of R134a, especially since the tii and the Bavaria, which both run Freon, and which I rejuvenated after the E9, perform so well. For all these reasons, I’ve been itching for a reason to yank that serpentine flow condenser out of the E9, replace it with a modern parallel-flow unit (installed right-side up :^), evacuate the system of R134, charge it up with Freon, and write the wrong I did 18 years ago.
After I attended The Vintage in 2013, I thought I had my chance. You may recall my story of The Great Drenching Event, where I explained how I hit a solid 500 miles of torrential rain on the way to Winston-Salem. During the deluge, I saw something skitter off the back of a truck and then heard an alarming smack in the nose of the E9. When I stopped, I found that a clevis pin and chain had smashed through the E9’s front grille. The pin itself, a bit larger than a lipstick tube, had impaled the condenser. Miraculously, it embedded itself between two passes of the serpentine tube without puncturing it. But it did get me thinking about planning the condenser’s replacement.
Oddly enough, it was the E9’s sister car, the ’72 Bavaria, that was ultimately responsible for the E9’s finally receiving its parallel flow condenser. When I bought the Bavaria a few years back, its a/c wasn’t working, so I embarked on my standard resurrection process that’s all but guaranteed to result in a cold car (big condenser and fan, rotary compressor, all new hoses, Freon). As part of this process, you need to identify the biggest condenser that’ll fit in the nose. It’s clear from the photo below that the E9’s 18 year-old 16"x20" serpentine flow condenser fit with gobs of room to spare, so in addition to going parallel, I wanted to go up in size.
You can look on enthusiast forums and see if there’s an agreed-on maximum condenser size for your model, but Bavaria forums aren’t as active as, say, 2002 forums, so I measured for myself and bought a 16"x22" condenser. As is often the case, though, once the mounting brackets were installed, the hose fittings didn’t have clearance, and I had to fall back to a 16"x20" condenser for the Bav. However, a quick set of measurements in the nose of the E9 showed that that 16"x22" unit probably was the right size for E9, so rather than returning the condenser, I held onto it. For three years.
Early this summer, I finally rolled up my sleeves and had at it. Out came the E9’s radiator and its serpentine flow condenser. I test-fit the 16"x22" parallel flow condenser with a pair of “short-drop” hose fittings on it into the nose, and verified that it was indeed the right size. As a rule of thumb, the actual width from the left-most edge of the condenser’s mounting rail to the right-most edge of the short-drop fitting adds about 3" to the quoted width of the condenser. The 22" condenser, with 3" added for the brackets and fittings, comes to 25". In the E9, there is about 27 inches of space side-to-side in the nose. That leaves 2" for mounting brackets and getting the hoses on. You can try getting another inch out of it, but leaving 2" of space is a safe plan.
I could’ve moved up in size from the 14" Spal fan I’d installed 18 years ago to a 16" fan, but to save money, I reused the fan, zip-mounting it to the new condenser. I have mixed feelings about this, and have mounted fans different ways on different cars, but these low-profile Spal fans are fairly light, and I haven’t had any problems using this simple mounting scheme.
Last edited:


