
You are using an out of date browser. It may not display this or other websites correctly.
You should upgrade or use an alternative browser.
You should upgrade or use an alternative browser.
3D Printed elements of air conditioning/ventilation systems.
- Thread starter Lucas
- Start date


Thank you.
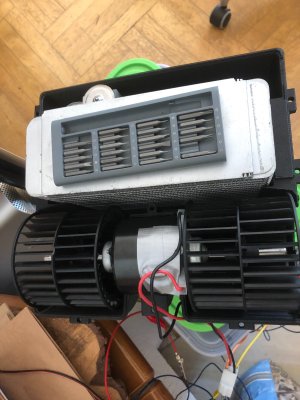
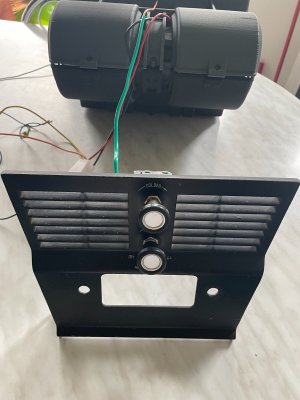
The evaporator unit has been fitted with new internals.
It features a new, modern core and a three-speed fan that is more efficient than the original.
The thermostat is a new-generation unit, as are the controls.
Externally, everything looks exactly like the original, save for a modification to the top of the evaporator housing and a few minor details on other components.
As for the modification involving additional cold air outlets, that will be available next spring.
The concept has changed completely, as we discovered a much better approach to adding outlets than the original plan, which called for extra vents at the top of the evaporator unit.
The evaporator unit has been fitted with new internals.
It features a new, modern core and a three-speed fan that is more efficient than the original.
The thermostat is a new-generation unit, as are the controls.
Externally, everything looks exactly like the original, save for a modification to the top of the evaporator housing and a few minor details on other components.
As for the modification involving additional cold air outlets, that will be available next spring.
The concept has changed completely, as we discovered a much better approach to adding outlets than the original plan, which called for extra vents at the top of the evaporator unit.
Attachments

Such awesome work!
Very nice!
it this the Siroco Sahara blower?
And the evaporator core - are you using the one @Blinkling suggested from a Toyota/Lexus or have you found another core that fits even better?
Here is a design thought:
When I did my retrofit I worked with a professional AC/Car shop for the last mile. They filled the system and tested it, and then wanted to adjust the TXP - which obviously can not be accessed from the outside with the E9. later BMW models have different tubing and carry the TXV outside the box where it is accessible in the footwell - and could also be changed more easily. The E9 system suffers the "PITA to get it in - do not touch it ever again" symptom. WIth an external TXV this could be mitigated.
it this the Siroco Sahara blower?
And the evaporator core - are you using the one @Blinkling suggested from a Toyota/Lexus or have you found another core that fits even better?
Here is a design thought:
When I did my retrofit I worked with a professional AC/Car shop for the last mile. They filled the system and tested it, and then wanted to adjust the TXP - which obviously can not be accessed from the outside with the E9. later BMW models have different tubing and carry the TXV outside the box where it is accessible in the footwell - and could also be changed more easily. The E9 system suffers the "PITA to get it in - do not touch it ever again" symptom. WIth an external TXV this could be mitigated.
t this the Siroco Sahara blower?
And the evaporator core - are you using the one @Blinkling suggested from a Toyota/Lexus or have you found another core that fits even better?
The fan is from SPAL, and the evaporator core is for a Lexus/Toyota.
I checked others, but the dimensions of this specific model fit the inside of the housing best.
We are consulting with a trusted local automotive air conditioning specialist regarding the system's installation and proper operation.
Before the system goes on sale, it will be installed in a vehicle and subjected to load testing.
If everything goes according to plan, we aim to conduct the initial system tests around the turn of July and August.
We intend to document the entire installation process and ensure the system functions correctly.
If everything proceeds without major issues, the first complete A/C kits will be available in early September.
A quick update.
Just a few days ago, if someone had asked me whether plastics could be heat-treated (hardened or annealed) at really high temperatures, I probably would have laughed...
I couldn't have been more wrong.
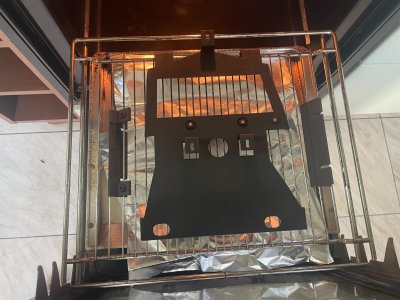
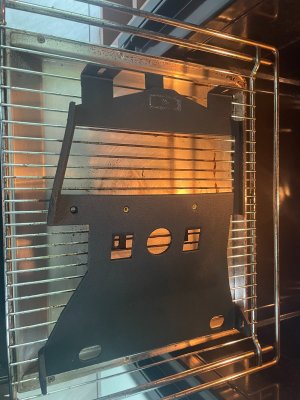
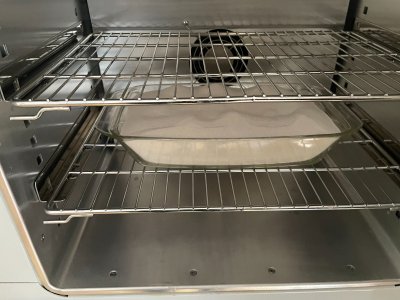
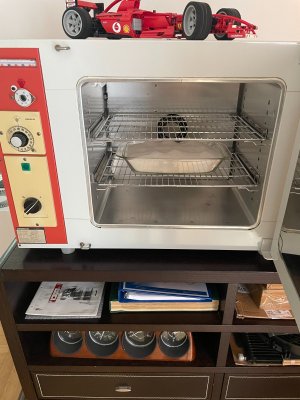
In the era of engineering-grade filaments, manufacturers recommend a multi-stage heat treatment process for printed parts, increasing the temperature at each step.
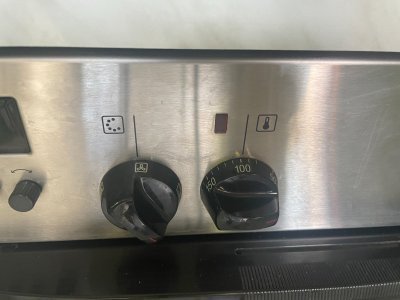
For one of the filaments I use, the final heating stage takes place at 120–140°C.
This process relieves the print of any structural stresses, significantly boosts the part's strength, and—interestingly—raises its heat deflection temperature considerably.
Over the last few days, we’ve experimented with annealing various prints and confirmed these effects.
Although the tests were conducted in a home setting, we managed to achieve excellent results.
Ultimately, the parts will be heat-treated in a laboratory oven with microprocessor-controlled temperature regulation—a crucial factor for achieving the best possible material properties.
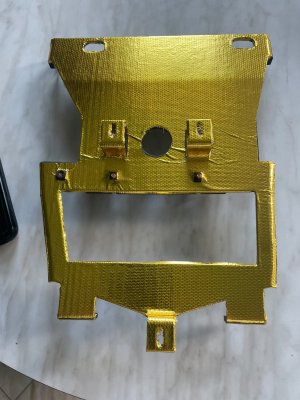
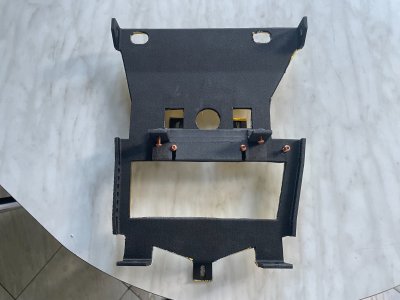
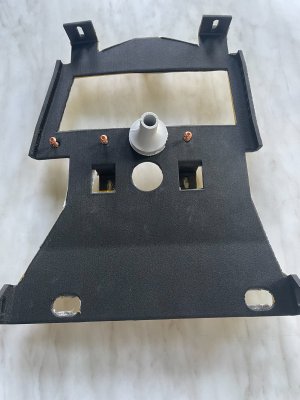
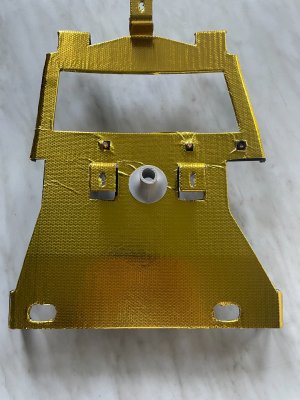
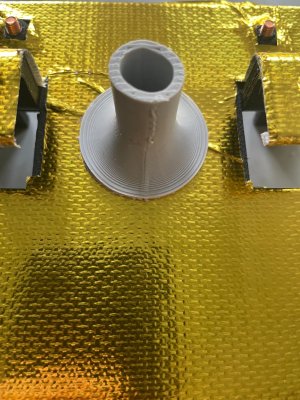
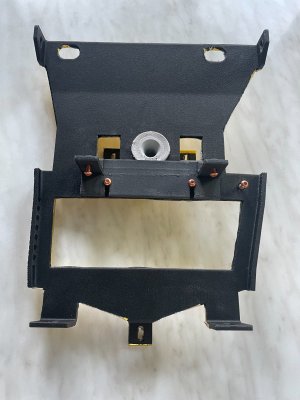
Additionally, a heat-reflecting mat will be applied to the mounting side of each evaporator base (where it connects to the central tunnel).
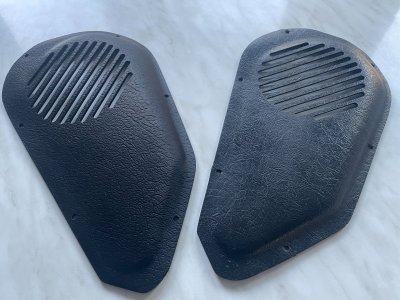
Below are photos of the completed evaporator base.
We might also add one more detail to facilitate proper installation.
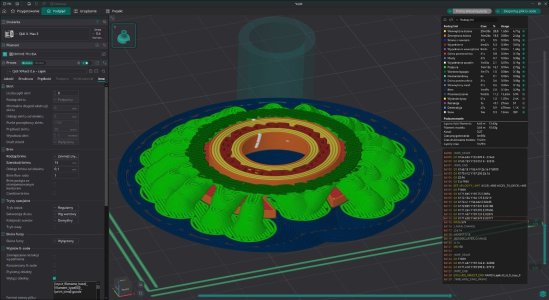
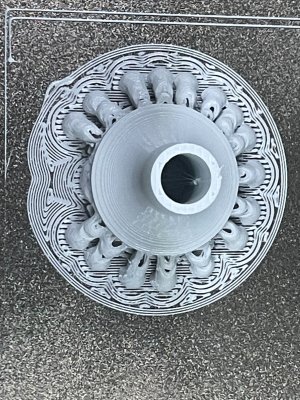
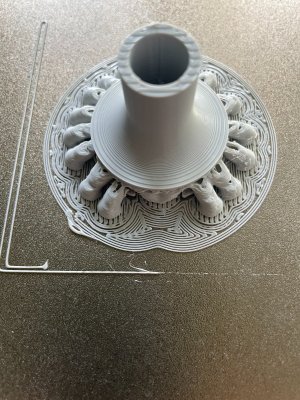
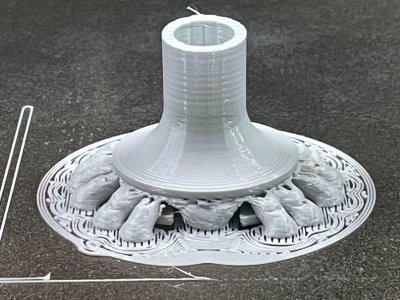
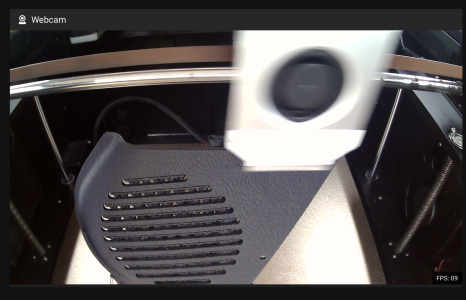
Just a fun little detail: the pattern of the first few layers of the drainage funnel...
It makes one want to hum "Lucy in the Sky with Diamonds"...
Best.
Just a few days ago, if someone had asked me whether plastics could be heat-treated (hardened or annealed) at really high temperatures, I probably would have laughed...
I couldn't have been more wrong.
In the era of engineering-grade filaments, manufacturers recommend a multi-stage heat treatment process for printed parts, increasing the temperature at each step.
For one of the filaments I use, the final heating stage takes place at 120–140°C.
This process relieves the print of any structural stresses, significantly boosts the part's strength, and—interestingly—raises its heat deflection temperature considerably.
Over the last few days, we’ve experimented with annealing various prints and confirmed these effects.
Although the tests were conducted in a home setting, we managed to achieve excellent results.
Ultimately, the parts will be heat-treated in a laboratory oven with microprocessor-controlled temperature regulation—a crucial factor for achieving the best possible material properties.
Additionally, a heat-reflecting mat will be applied to the mounting side of each evaporator base (where it connects to the central tunnel).
Below are photos of the completed evaporator base.
We might also add one more detail to facilitate proper installation.
Just a fun little detail: the pattern of the first few layers of the drainage funnel...
It makes one want to hum "Lucy in the Sky with Diamonds"...
Best.
Attachments
-
 IMG_1652.jpeg198.1 KB · Views: 91
 -
 IMG_1657.jpeg311.5 KB · Views: 67
 -
 IMG_1653.jpeg213 KB · Views: 69
 -
 IMG_1654.jpeg331.5 KB · Views: 63
 -
 IMG_1715.jpeg332 KB · Views: 60
 -
 IMG_1717.jpeg242.4 KB · Views: 61
 -
 ec9aaa3c-89e1-4e1d-9604-78c004c43fcb.jpeg221.4 KB · Views: 66
 -
 IMG_1722.jpeg464.5 KB · Views: 57
 -
 IMG_1724.jpeg520.9 KB · Views: 54
 -
 IMG_1723.jpeg300.3 KB · Views: 61
 -
 IMG_1735.jpeg324.5 KB · Views: 55
 -
 IMG_1744.jpeg369.7 KB · Views: 53
 -
 IMG_1745.jpeg379.8 KB · Views: 50
 -
 IMG_1747.jpeg281.2 KB · Views: 61
Last edited:
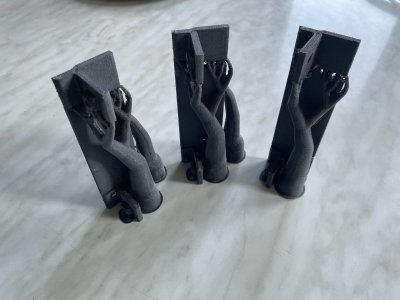
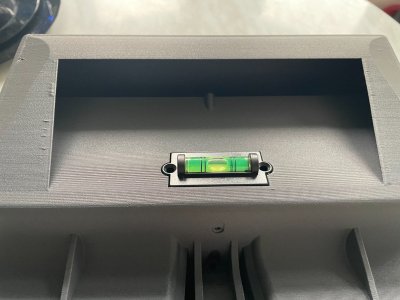
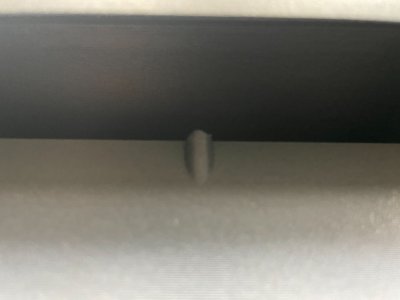
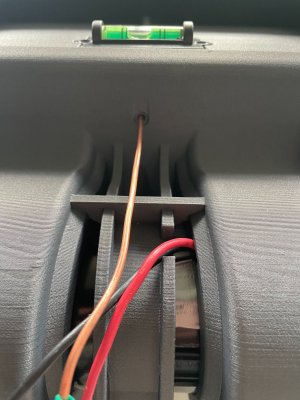
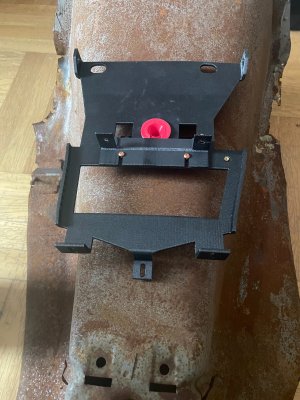
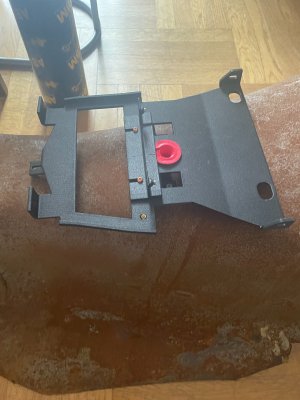
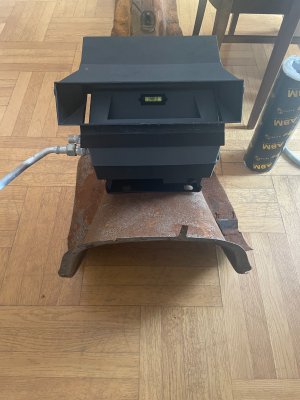
After speaking with several E9 users, we decided to add a small modification to facilitate the proper installation of the evaporator.
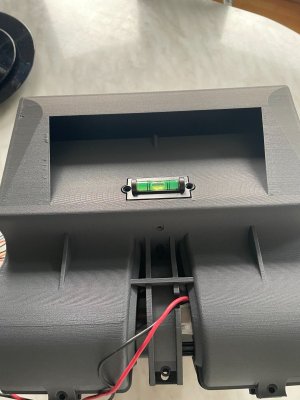
The evaporator base will also feature a built-in level, but a smaller one.
What do you think of this solution?
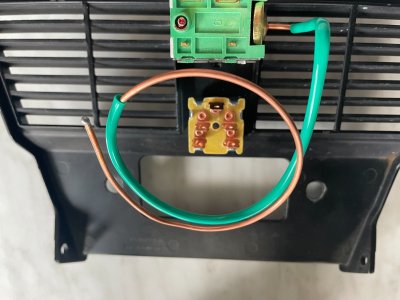
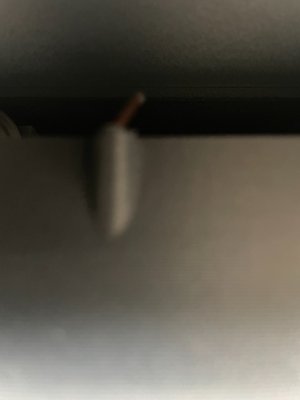
The temperature sensor has been positioned to allow for an accurate temperature reading.
The evaporator base will also feature a built-in level, but a smaller one.
What do you think of this solution?
The temperature sensor has been positioned to allow for an accurate temperature reading.
Attachments
Last edited:
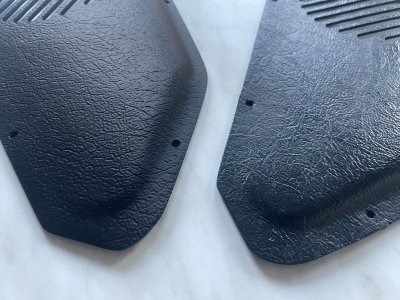
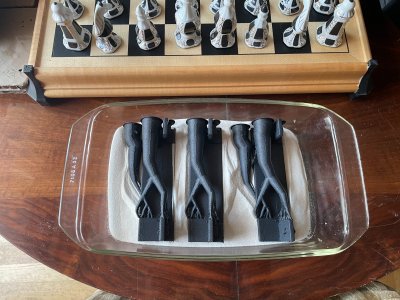
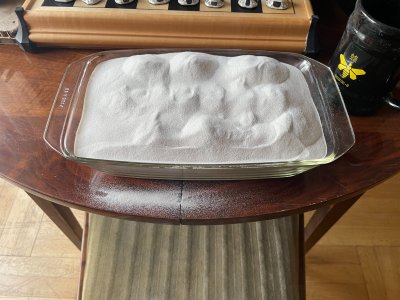
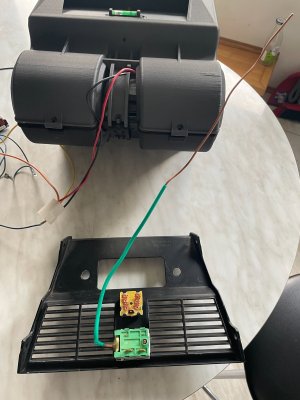
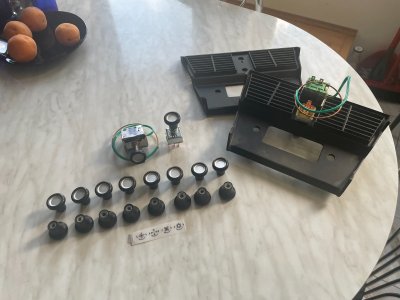
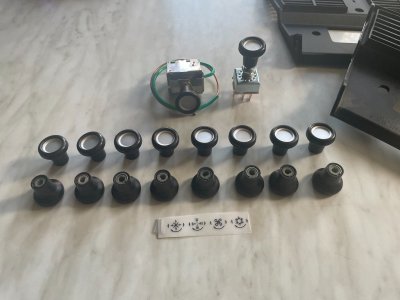
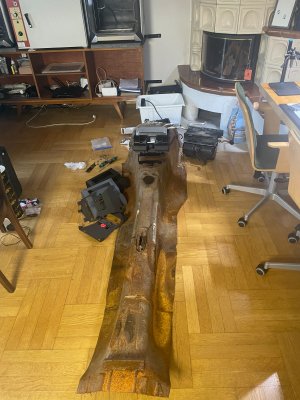
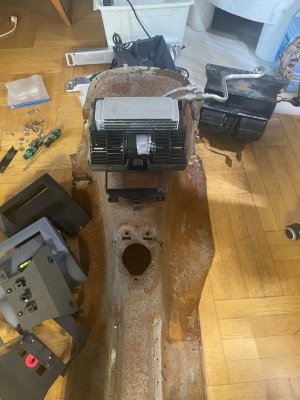
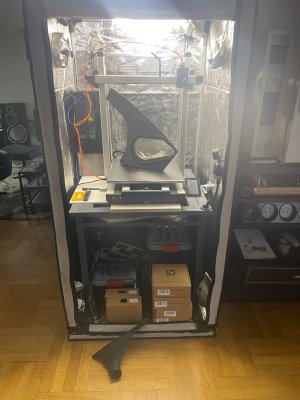
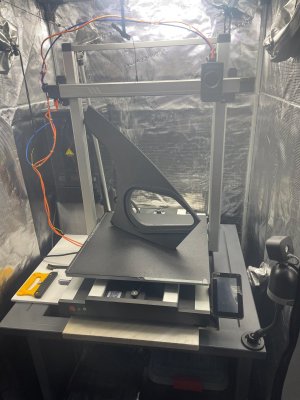
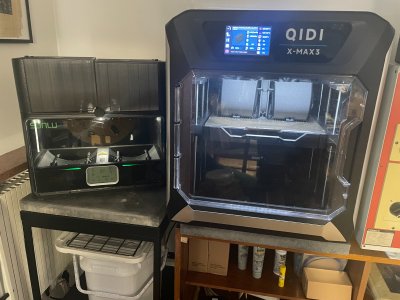
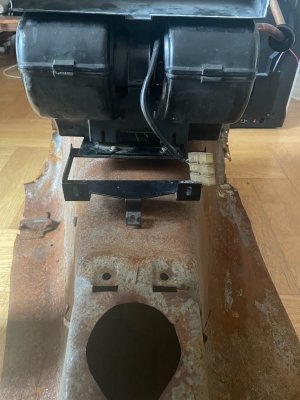
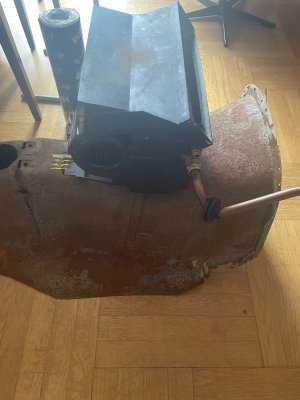
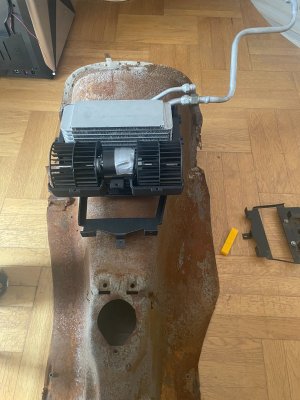
Sunday, 8:30 AM European time – a living room somewhere in Poland...
Attachments

quite impressive Lucas ... keep it going

keep it going
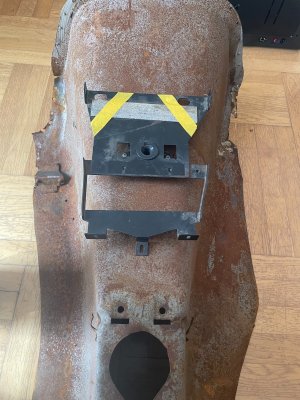
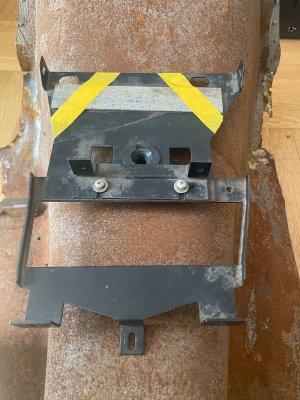
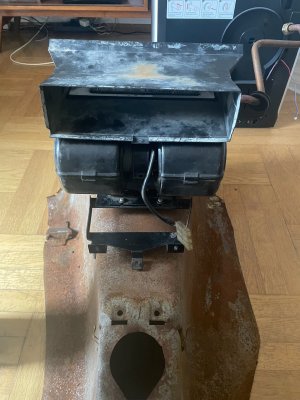
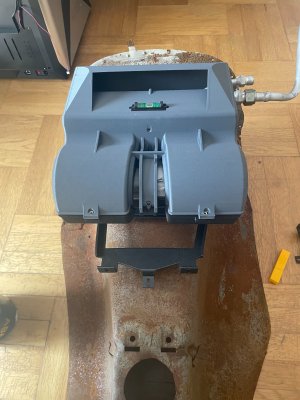
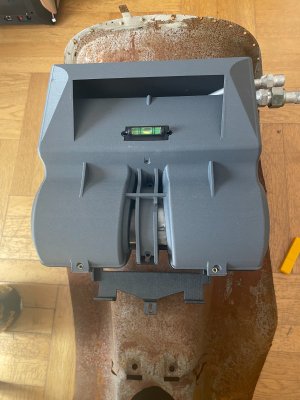
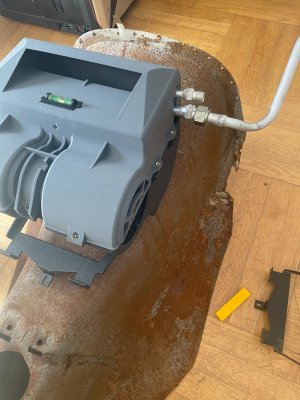
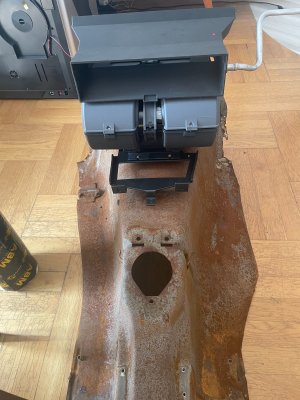
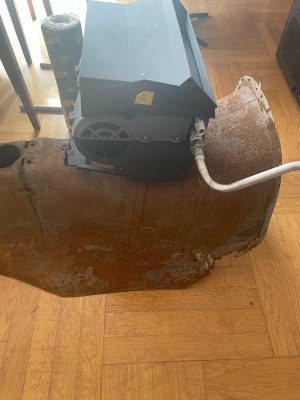
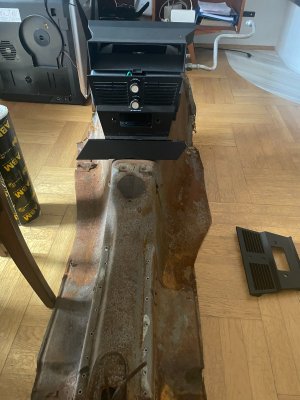
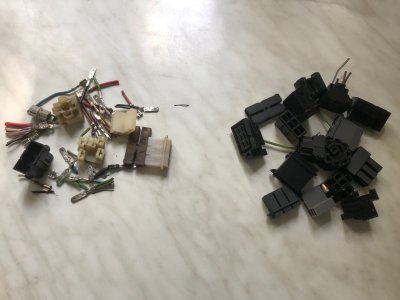
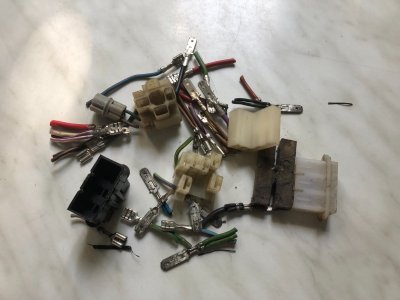
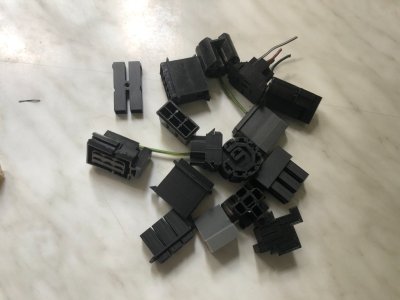
Continuing with Sunday crafting in the living room...
Funny, just the other day my wife told me that our living room would be much nicer if I moved half a car and tools into it.
It is definitely more pleasant in the living room than in the garage.
Attachments
-
 IMG_2828.jpeg452.4 KB · Views: 25
 -
 IMG_2829.jpeg425.8 KB · Views: 26
 -
 IMG_2830.jpeg310 KB · Views: 25
 -
 IMG_2831.jpeg271.8 KB · Views: 24
 -
 IMG_2832.jpeg246.4 KB · Views: 24
 -
 IMG_2833.jpeg370.5 KB · Views: 21
 -
 IMG_2834.jpeg258.9 KB · Views: 23
 -
 IMG_2835.jpeg341.8 KB · Views: 21
 -
 IMG_2836.jpeg291.6 KB · Views: 22
 -
 IMG_2837.jpeg322.1 KB · Views: 20
 -
 IMG_2838.jpeg352.4 KB · Views: 19
 -
 IMG_2839.jpeg371.2 KB · Views: 18
 -
 IMG_2840.jpeg278.2 KB · Views: 20
 -
 IMG_2841.jpeg297.4 KB · Views: 19
 -
 IMG_2842.jpeg308.7 KB · Views: 20
 -
 IMG_5846.jpeg162.5 KB · Views: 20
 -
 IMG_5847.jpeg186.6 KB · Views: 20
 -
 IMG_5848.jpeg147.3 KB · Views: 20
Might be a good time to rename your living room to workshopContinuing with Sunday crafting in the living room...
It is definitely more pleasant in the living room than in the garage.