Reinstallation
I just did this last weekend. It took about 20 minutes to get it all sorted.
Step #1 - Install rubber boot around body flange. The three studs should be poking through the 3 holes in the rubber. Remove the two rubber plugs.
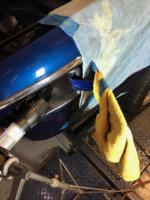
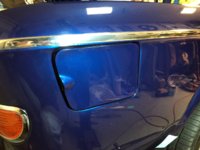
Step #2 - Wrap the gas flap panel with a dish towel and tape. Some additional tape around the filler opening is probably a good idea.
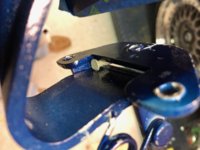
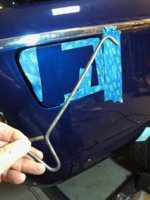
Step #3 - With the door spring in the "open" position you should be able to slip the flange/spring assembly around the body of the opening. At this point the forward tip of the mounting flange will bump up against the forward stud. Using a screwdriver with the tip of it's blade bent at 90°, from the trunk side, poke it through one of the two holes in the rubber boot. Slip it under the front lip of the flange and then pull towards the interior at the same time as pushing it forward, thereby slipping the flange hole over the forward stud. The flange should be over all three studs now.
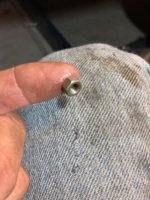
Step #4 - Thread a nut on the forward stud as far as possible. You should be able to reach through the opening to do this. The two rear studs will not stick out through the flange holes far enough to get a nut on.
Step #5 - carefully close the flap door. It will not close all the way because of the towel. This should now have exposed enough of the rear stud threads to get the nuts on. Working through the two holes in the rubber boot (a flashlight inside the boot will help) and some putty (per John's suggestion) place the nuts on the two studs and carefully tighten them. Make sure they are not cross threading. Work all three nuts evenly.
I do agree that this is not one of the more pleasant CS tasks. I did have an advantage because the fuel tank is out of the car, so I could sit inside the trunk space on a stool comfortably facing the rubber boot.
 , the rubber doesn’t seal to the filler neck so if you spill any gas fumes will get in the trunk. If I ever puff out the fenders I’m going to look forward to eliminating that gas filler entirely. Be nice to your girlfriends & wives, small hands could be a big asset on this job. GOOD LUCK :-D:-D:-D ~ John Buchtenkirch
")