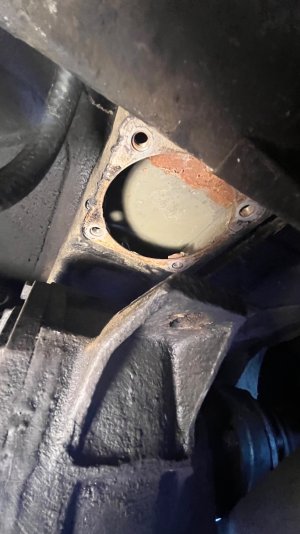
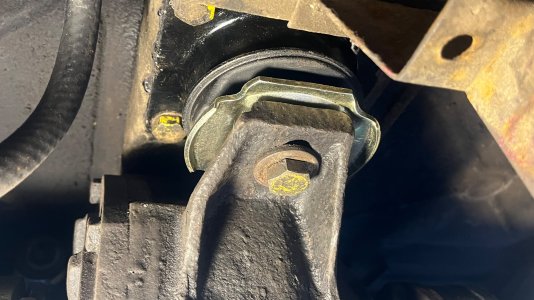
What did you do to your E3 today?

New PS hoses, fluid flush, new filter, and a good cleaning. My old hose were 50 years old, hard as a rock and starting to drip.

Parts list:
Hoses 32411131545 from ECS
Febi PS fluid from FCP
Filter 32411104357 from RM European
 
@MyBMWHabit How about some pictures of the Bavaria....and a few of the E28 too?
Here you go! Here's the girls in the driveway just before the rain (I'll have a lot more pics in a couple of weeks, when the damn rain stops) and a copy of my column in this months Straight Six, the magazine of the BMWCC of GB. There's an accidental edit in the column, the 84 Spider is still here, it's my 73 with the carbs that I got rid of.


    ST six march.jpg


    pair of sedans.jpg
 
Last edited:
Gotta say I'm really in love with these two. May just need another E12 to round out the set! hahaha. Here's the one I never should have sold years ago...
If I'd only known my pal Austin then, I would have had support for the car.


46471893_2161754667372618_2871052836987207680_o.jpg
 
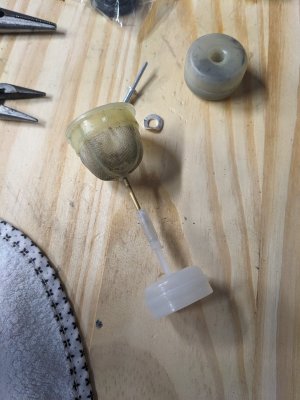
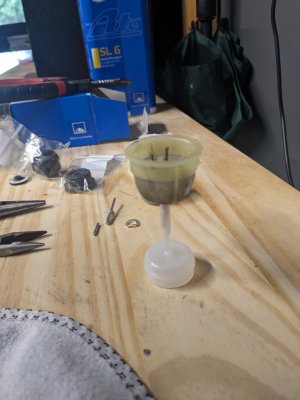
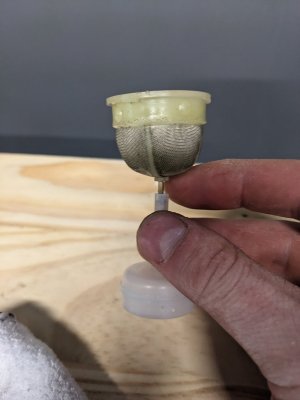
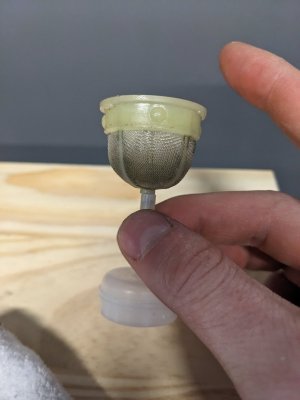
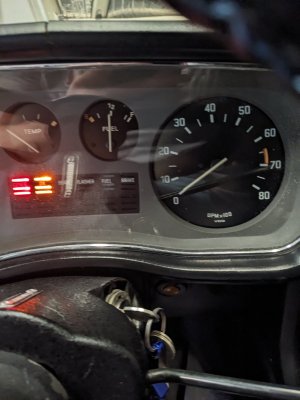
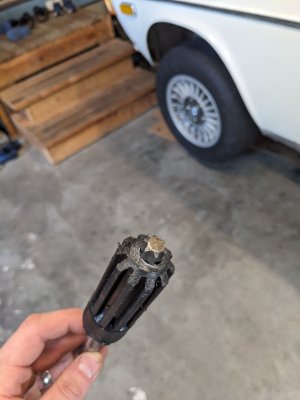
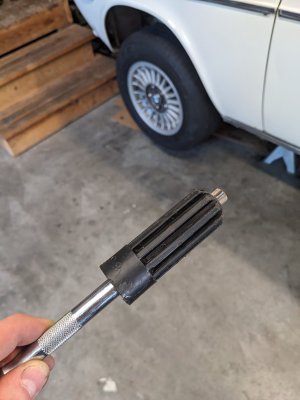
Fixed my brake reservoir float. The old one has fallen off its stem and sank to the bottom. Retrofitted a new ATE float to attach to the original black cap with the blue dot. Didn't want to use the new white ATE cap that cap with the new float part. Had to trim the new float stem and bore it out with a 1/16th drill bit to accommodate the old copper float stem. Old float stem also needed some trimming, maybe 40% was removed. Works great and parking light is now off!
 

Attachments

  • PXL_20260411_202851966.jpg
    PXL_20260411_202851966.jpg
    278 KB · Views: 73
  • PXL_20260411_202859307.jpg
    PXL_20260411_202859307.jpg
    200.4 KB · Views: 65
  • PXL_20260411_204042117.jpg
    PXL_20260411_204042117.jpg
    134.3 KB · Views: 60
  • PXL_20260411_204044908.jpg
    PXL_20260411_204044908.jpg
    143.8 KB · Views: 61
  • PXL_20260411_203832041.jpg
    PXL_20260411_203832041.jpg
    203.9 KB · Views: 63
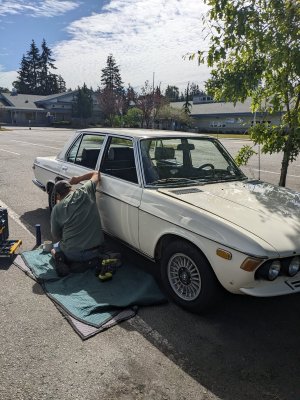
PDR to smooth out a few dents and dings. Couldn't get to one on the rear quarter drivers side due to a scratch.
 

Attachments

  • PXL_20260619_171734086.jpg
    PXL_20260619_171734086.jpg
    488.2 KB · Views: 36
New clutch, flywheel, pilot bearing, rear main seal, and motor mounts installed. Finally time to reinstall the 4-speed w/ new trans mount and exhaust hanger bushings.

Had to get creative with the clutch align tool. The one that came with the Sachs clutch kit was too large in diameter to fit through the pilot bearing. Had to heavily hack that thing up and shove a socket in to fit
 

Attachments

  • PXL_20260713_203721923.MP.jpg
    PXL_20260713_203721923.MP.jpg
    174 KB · Views: 11
  • PXL_20260713_203718847.jpg
    PXL_20260713_203718847.jpg
    150 KB · Views: 16
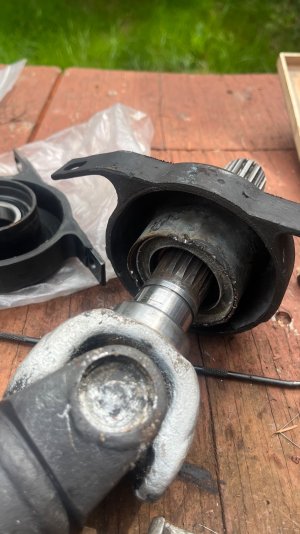
Removed CSB.
That was the Final step before reassembly.
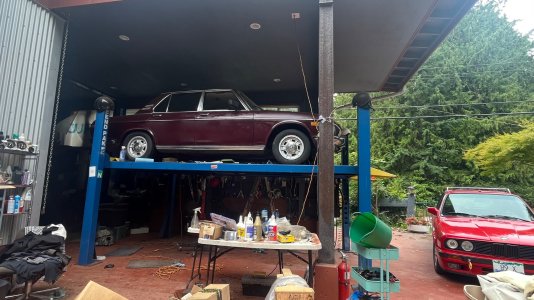
WITH : new to me transmission, rebuilt shifter, installed 3.45 LSD.

It was all easier than I thought.

For the CSB… Once you separate the driveshaft, you can tap the back of the CSB with a punch and hammer to tap it off the driveshaft.
With a different shaped punch you might even be able get the old one off without damage.
I had a brand new one on hand, so I wasn’t worried about the damage.

Looking forward to driving this thing again!

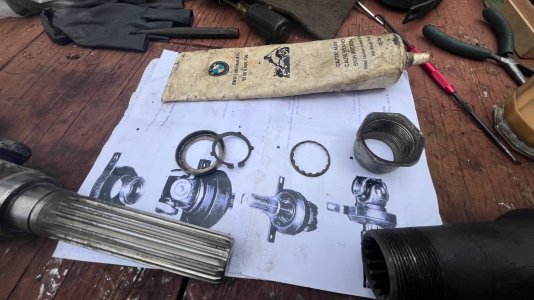
PS. Noted: the circlip is dished and the dishing should face the dust cap.
 

Attachments

  • IMG_9581.jpeg
    IMG_9581.jpeg
    401.3 KB · Views: 8
  • IMG_9582.jpeg
    IMG_9582.jpeg
    534.5 KB · Views: 9
  • IMG_9584.jpeg
    IMG_9584.jpeg
    502.5 KB · Views: 3
Last edited:
Back
Top