
You are using an out of date browser. It may not display this or other websites correctly.
You should upgrade or use an alternative browser.
You should upgrade or use an alternative browser.
3D Printed elements of air conditioning/ventilation systems.
- Thread starter Lucas
- Start date

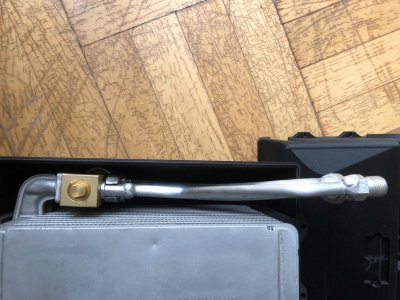
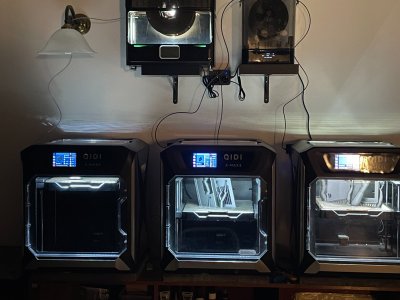
A late-night/early-morning report from the living-room-turned-workshop.
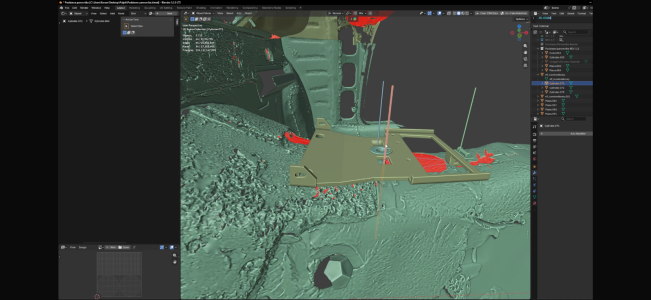
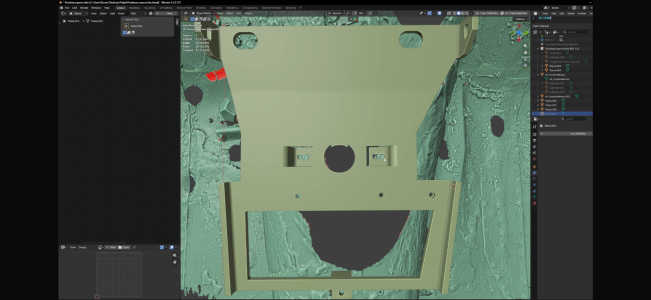
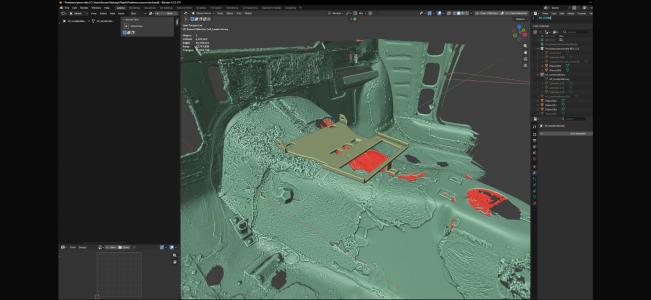
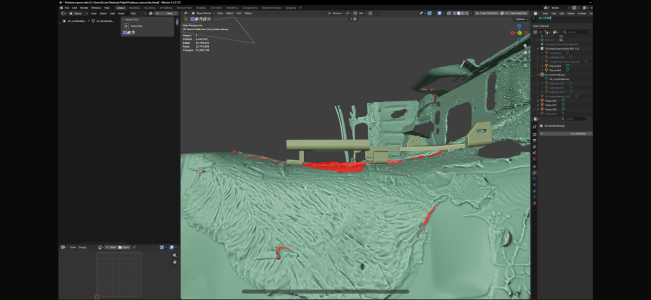
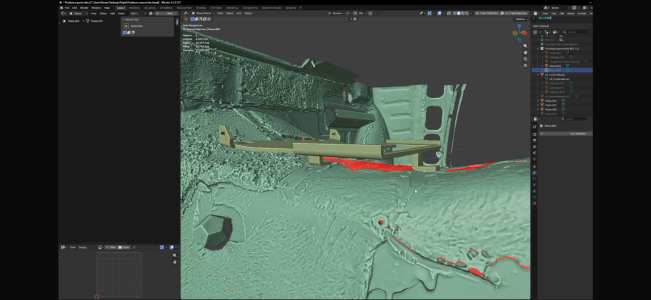
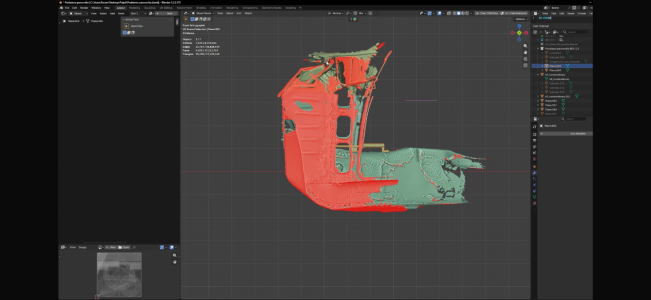
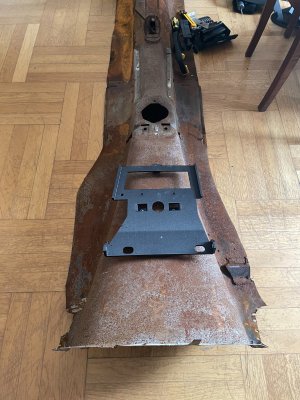
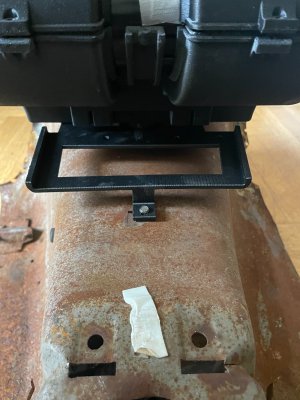
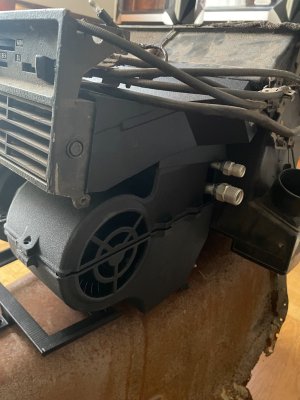
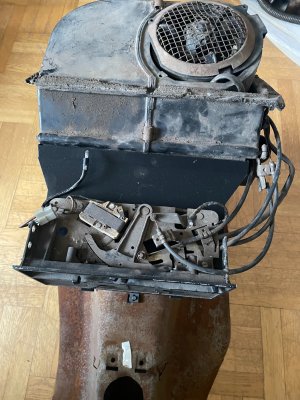
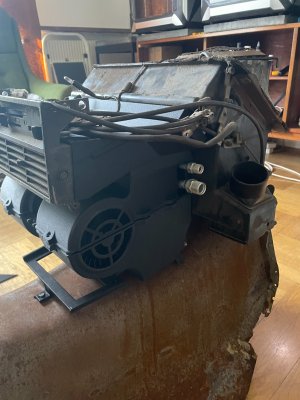
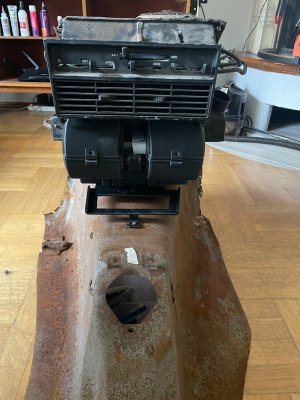
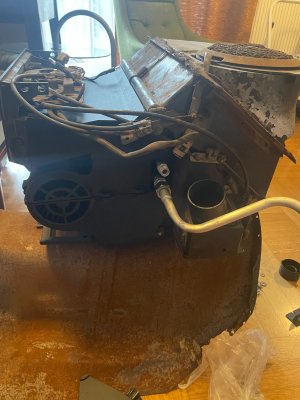
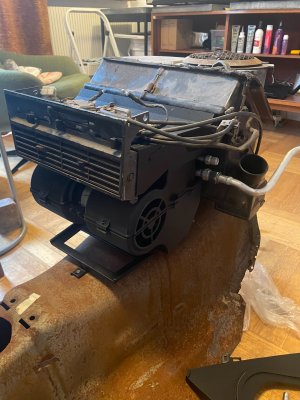
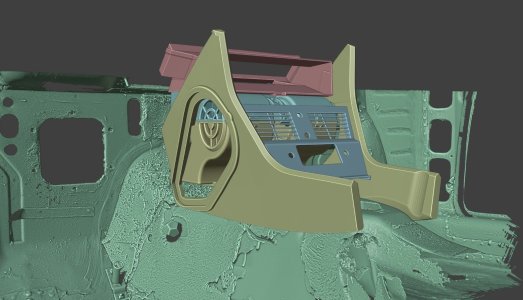
New evaporator mount designed, printed, and test-fitted.
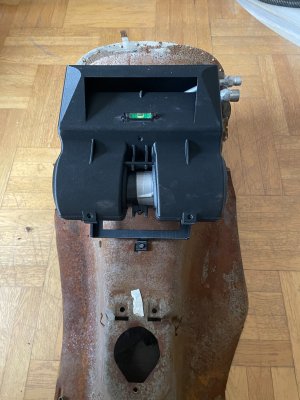
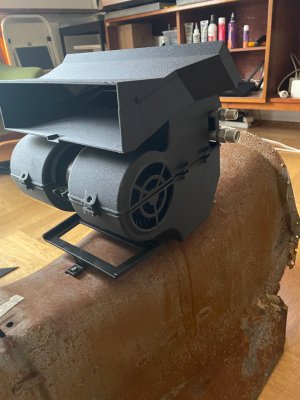
The entire internal air conditioning assembly—and all its components—is now ready.
We are currently working on fitting the large side panels and the gear shift console.
New evaporator mount designed, printed, and test-fitted.
The entire internal air conditioning assembly—and all its components—is now ready.
We are currently working on fitting the large side panels and the gear shift console.
Attachments
-
 IMG_2954.PNG356.2 KB · Views: 57
 -
 IMG_2955.PNG322.4 KB · Views: 48
 -
 IMG_2946.PNG541.4 KB · Views: 42
 -
 IMG_2942.PNG1.1 MB · Views: 42
 -
 IMG_2944.PNG957.6 KB · Views: 39
 -
 IMG_2949.PNG1.2 MB · Views: 34
 -
 IMG_2950.PNG965.7 KB · Views: 34
 -
 IMG_2963.PNG1.1 MB · Views: 33
 -
 IMG_2959.PNG682.4 KB · Views: 37
 -
 IMG_3026.jpeg256.3 KB · Views: 33
 -
 IMG_3012.jpeg455.6 KB · Views: 38
 -
 IMG_3011.jpeg427.3 KB · Views: 35
 -
 IMG_3007.jpeg299.5 KB · Views: 34
 -
 IMG_3006.jpeg304.4 KB · Views: 32
 -
 IMG_3005.jpeg280.9 KB · Views: 33
 -
 IMG_3001.jpeg270 KB · Views: 35
 -
 IMG_2998.jpeg390.2 KB · Views: 34
 -
 IMG_2997.jpeg278 KB · Views: 34
 -
 IMG_2996.jpeg344.9 KB · Views: 33
 -
 IMG_2988.jpeg274.9 KB · Views: 32
 -
 IMG_2987.jpeg316.5 KB · Views: 37
 -
 4a48f7f8-ec5a-4d4f-97fa-03ae712318cf.jpeg152.6 KB · Views: 39
 -
 5c422836-6c2c-47b5-8e96-b9737ccf3d7a.jpeg148 KB · Views: 36
 -
 e5740f2b-374f-4744-b4b1-731e39eb9607.jpeg215.2 KB · Views: 44
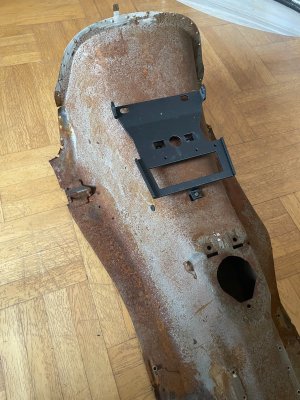
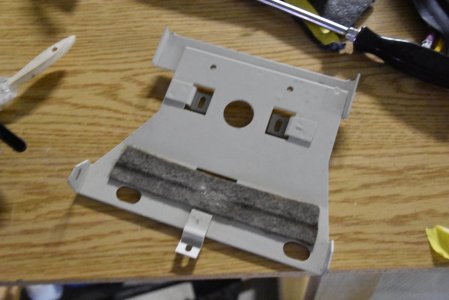
this is the base plate from my car, it is a US, 1972, I have had it 30 years, I disassembled the console to fix some things and I am fairly certain it had not been apart beforeIs this what you're talking about? Regarding bases? Which one is E9 again?
Attachments
A few interesting observations...
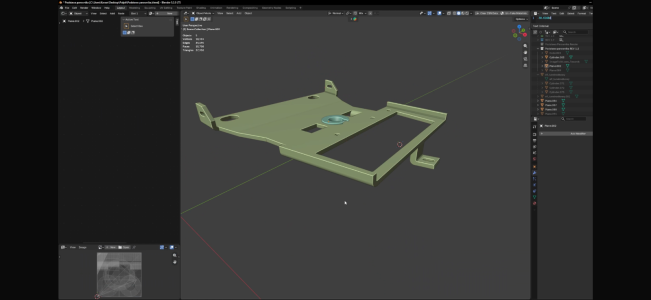
The issue of the evaporator mount.
There is only one correct evaporator mount for the E9—the one shown in the photos below (sourced online).
The short version is for the E24; the long version is for the E3.
The mounts from the other models *can* be installed; the mounting holes in the center console align with the holes in the upper section of the evaporator mount.
However, the lower section of the E3 evaporator mount does not align with the mounting hole location; the E9 simply lacks a mounting point in the spot where the E3 mount's foot would sit.
A photo from the BMW "Blue Book" (in the air conditioning installation section) shows an E3 console fitted with the E3 evaporator mount.
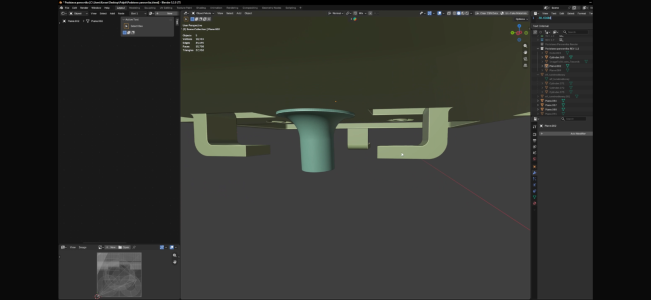
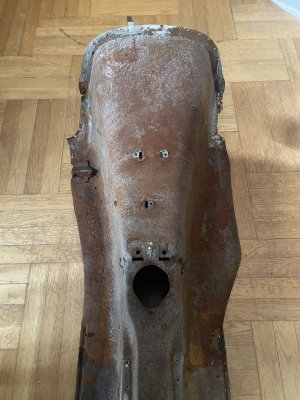
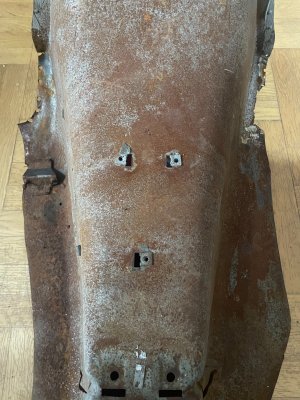
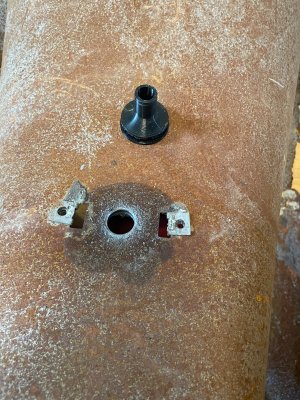
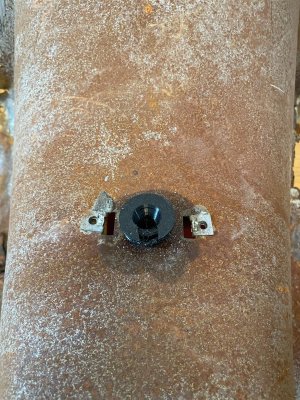
Another interesting point is that none of the BMW E9 center consoles I’ve seen have a hole for the evaporator drain funnel.
I assume the factory drilled the mounting holes for the bracket itself but didn't necessarily drill the hole for the evaporator drain funnel.
Perhaps the dealer drilled that hole when installing the A/C at a customer's request.
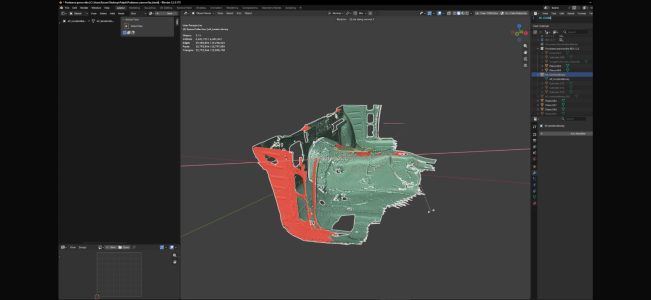
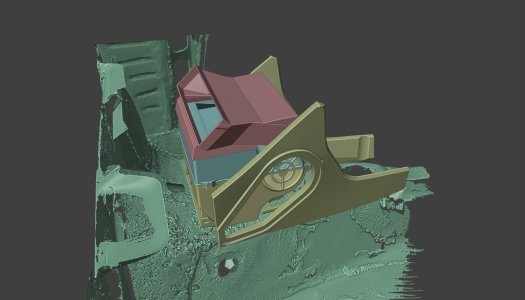
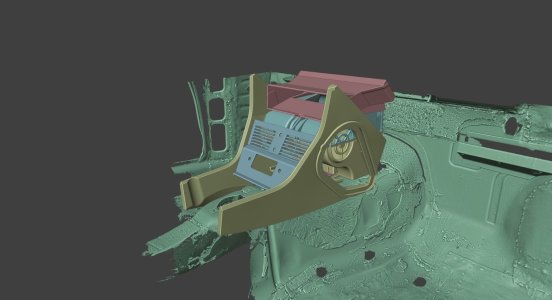
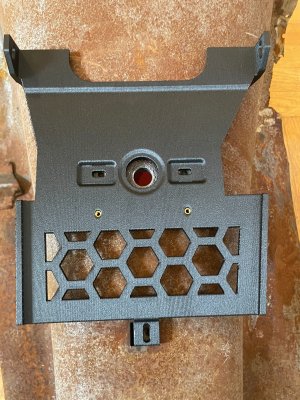
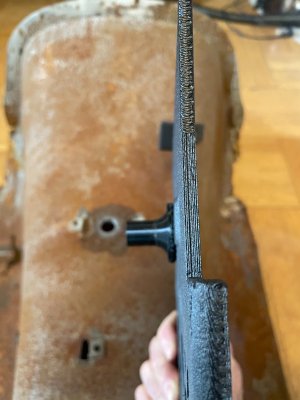
After a preliminary test fit of the entire A/C system assembly, we are considering a clever mounting system that would significantly simplify the installation of the individual components.
We want to avoid drilling holes in the side panels.
We have an idea and will be testing it.
A question for forum members:
Do you prefer the classic installation following the factory diagram—including drilling holes in the side panels—or would you rather avoid drilling and hoping that the holes align with those in the center console's side section and the additional bracket on the original mount?
coupesport has a design for a bracket that eliminates the 2 visible screws that mount the AC faceplate, I am making a modification to that
FYI, just for people working on similar, you can do this in Rhino with extract render mesh, after applying the bump mapWow! really nice.
I see you also printed the texture on the side console vent; how did you get that into the model? It's sooo realistic.
What modelling software do you use?
View attachment 198726
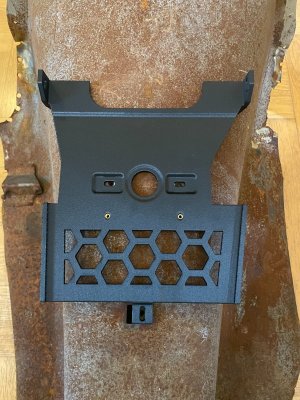
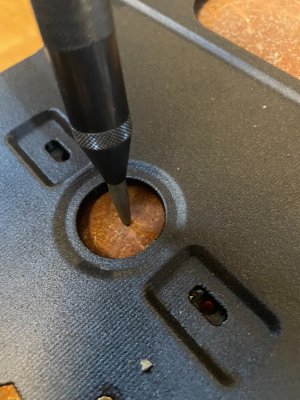
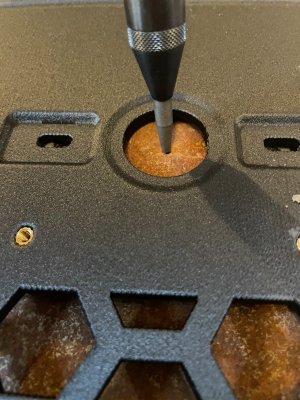
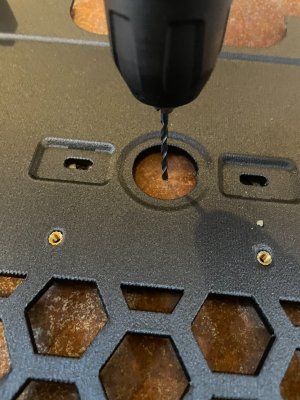
STEP ONE:
Attachments
-
 IMG_3339.jpeg370.4 KB · Views: 16
 -
 IMG_3340.jpeg446.8 KB · Views: 15
 -
 IMG_3342.jpeg460.8 KB · Views: 13
 -
 IMG_3343.jpeg352.7 KB · Views: 14
 -
 IMG_3344.jpeg411.8 KB · Views: 15
 -
 IMG_3345.jpeg374 KB · Views: 14
 -
 IMG_3346.jpeg527.4 KB · Views: 14
 -
 IMG_3347.jpeg399.7 KB · Views: 14
 -
 IMG_3348.jpeg448.3 KB · Views: 14
 -
 IMG_3349.jpeg249.2 KB · Views: 13
 -
 IMG_3350.jpeg588.4 KB · Views: 13
 -
 IMG_3351.jpeg587.4 KB · Views: 15
 -
 IMG_3352.jpeg524.1 KB · Views: 15
 -
 IMG_3354.jpeg223.4 KB · Views: 14
 -
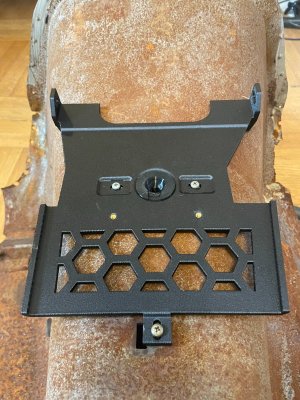 IMG_3357.jpeg439.7 KB · Views: 22
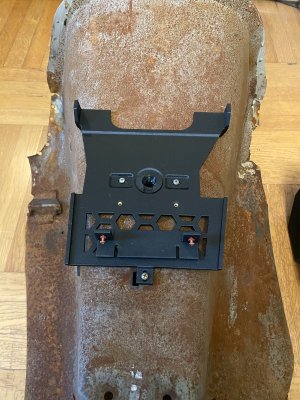
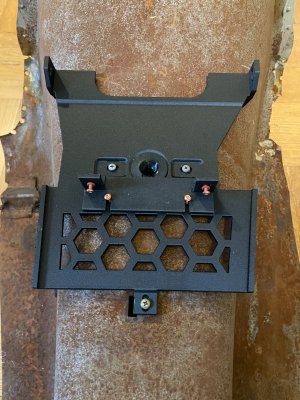
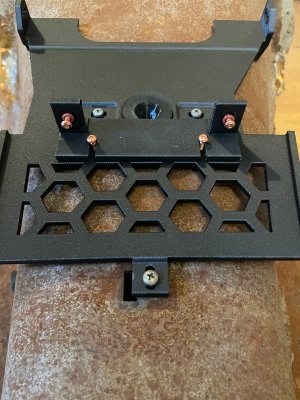
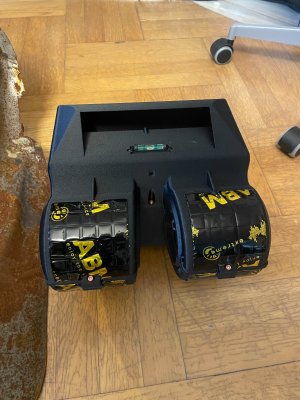
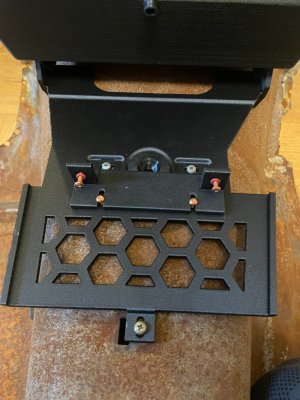
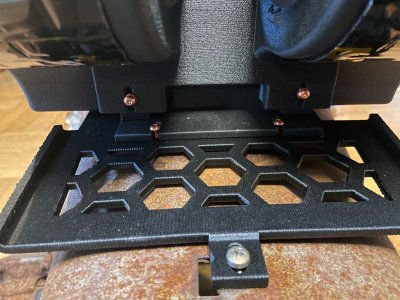
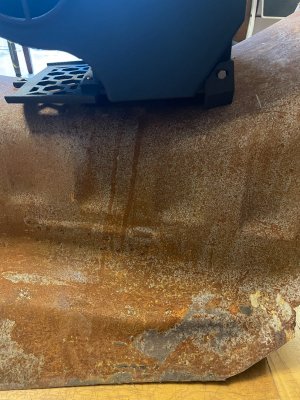
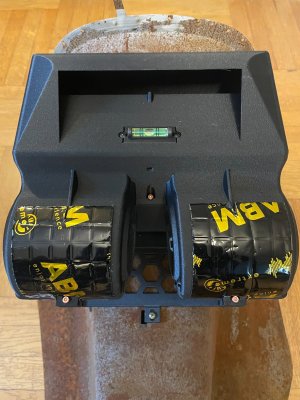

Looking good! What’s the material over the front of the evaporator housing? Soundproofing? What blower motor did you end up using, single speed with variable control or 3-way?
Yes, soundproofing. It’s a high-quality material used for acoustic insulation in vehicle interiors.What’s the material over the front of the evaporator housing? Soundproofing?
The fan is a powerful, three-speed Spal unit.What blower motor did you end up using, single speed with variable control or 3-way?

Can you clarify what you mean by the evaporator - the housing and fan along with evaporator and TXV valve?

@Rudy3.0CS the quickest route to get to new parts is this one in DIY: https://e9coupe.com/forum/threads/diy-aftermarket-evaporator-installed-in-a-coupe.38112/The unit just installed on the base. Included the evaporator, case, blower motor and expansion valve. My car is an AC car, but I would prefer to install this unit with all new parts.

Building a modified evaporator per that thread is not on my list of fun projects. I am not in a rush so would prefer a complete unit that is bolt in if it's available. I had read that thread and was impressed with the effort to make it happen.
I hear you. Not everyone is k een on doing these DIY projects across all areas of our vehicles.Building a modified evaporator per that thread is not on my list of fun projects. I am not in a rush so would prefer a complete unit that is bolt in if it's available. I had read that thread and was impressed with the effort to make it happen.
One note on the plug-and-play unit: in order for this to work out of the box the lines need to match your current setup, i.e. if you still have flare connections the new unit needs to match them - or you upgrade your entire hard and soft lines to o-ring.
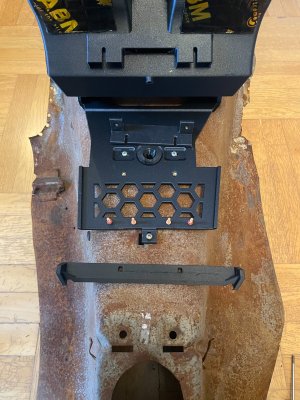
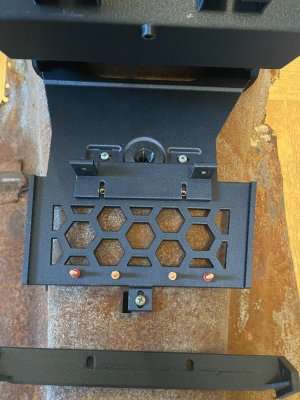
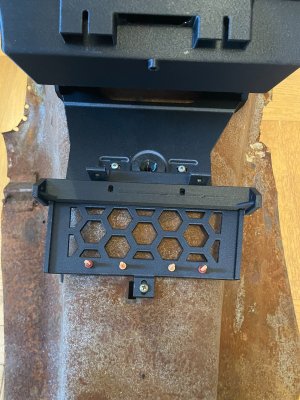
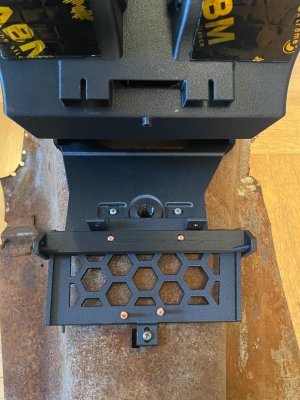
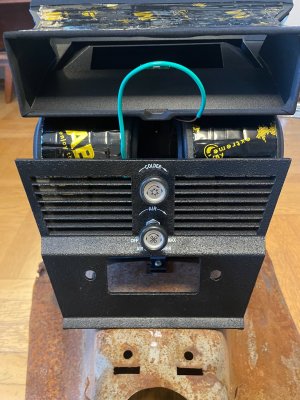
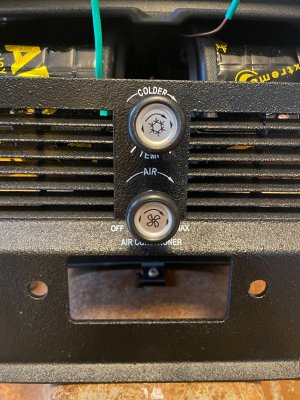
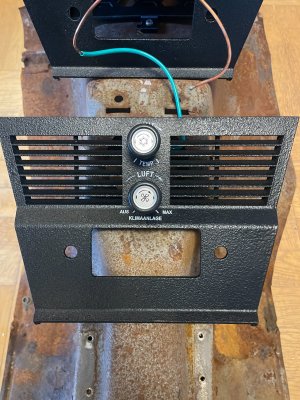
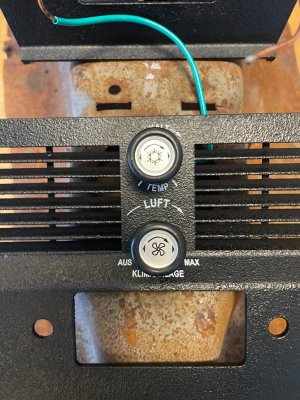
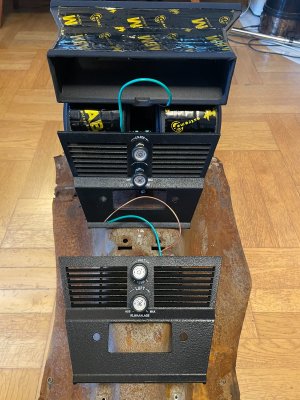
STEP THREE:
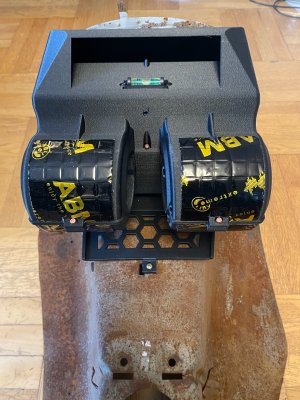
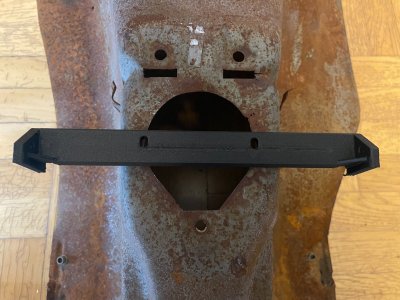
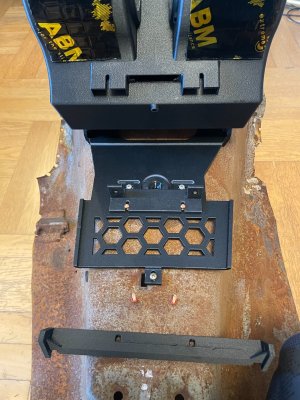
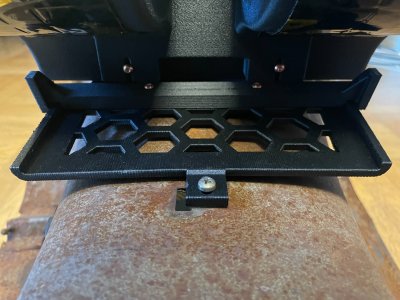
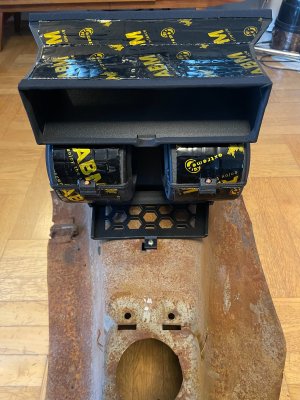
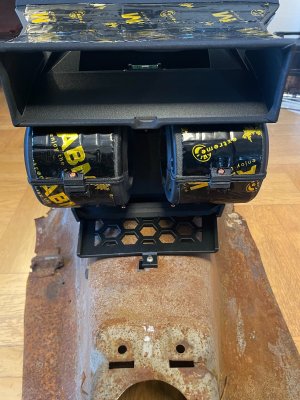
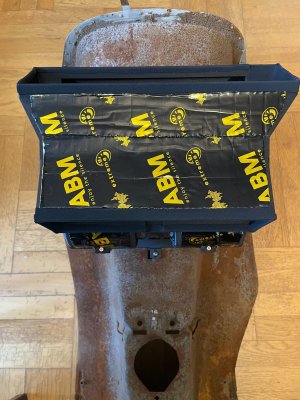
Take a step back, install the new mounting bracket, and select the language version for the labels on the air conditioning control panel.
Take a step back, install the new mounting bracket, and select the language version for the labels on the air conditioning control panel.
Attachments
-
 IMG_3418.jpeg382.5 KB · Views: 6
 -
 IMG_3419.jpeg300.6 KB · Views: 5
 -
 IMG_3420.jpeg403.5 KB · Views: 5
 -
 IMG_3421.jpeg409.8 KB · Views: 5
 -
 IMG_3422.jpeg379.7 KB · Views: 6
 -
 IMG_3423.jpeg390.1 KB · Views: 5
 -
 IMG_3424.jpeg370.7 KB · Views: 5
 -
 IMG_3425.jpeg302.2 KB · Views: 5
 -
 IMG_3426.jpeg367.1 KB · Views: 5
 -
 IMG_3427.jpeg375.3 KB · Views: 5
 -
 IMG_3428.jpeg344.3 KB · Views: 6
 -
 IMG_3429.jpeg373.1 KB · Views: 6
 -
 IMG_3430.jpeg417.1 KB · Views: 6
 -
 IMG_3431.jpeg464 KB · Views: 7
 -
 IMG_3432.jpeg400 KB · Views: 6
 -
 IMG_3433.jpeg413.9 KB · Views: 6