Spectacular!
You are using an out of date browser. It may not display this or other websites correctly.
You should upgrade or use an alternative browser.
You should upgrade or use an alternative browser.
'76 3.0 Si - Introduction
- Thread starter Luis A.
- Start date
Bob,
The baggies was my, and my son's, effort when we received the 18 lb bag of hardware. No way to keep it all tagged through their process. The only way I felt I could get everything back where it came from was to document it on a copy of the parts book as I removed the hardware. Went to FedEx and copied the W&N catalog and spiral bound it and noted everywhere the size of the fastener as I removed it. Sometimes I photographed the part on top of the parts diagram if it was a special shape or configuration. I only re-plated bolts and the unusual nuts and washers. All wave, flat and lock washers are new and so are 99% of the nuts, from Belmetric. Parts I needed to buy, I utilized the notation of the catalog, eg., 41/22/9, to identify it and later order off that list
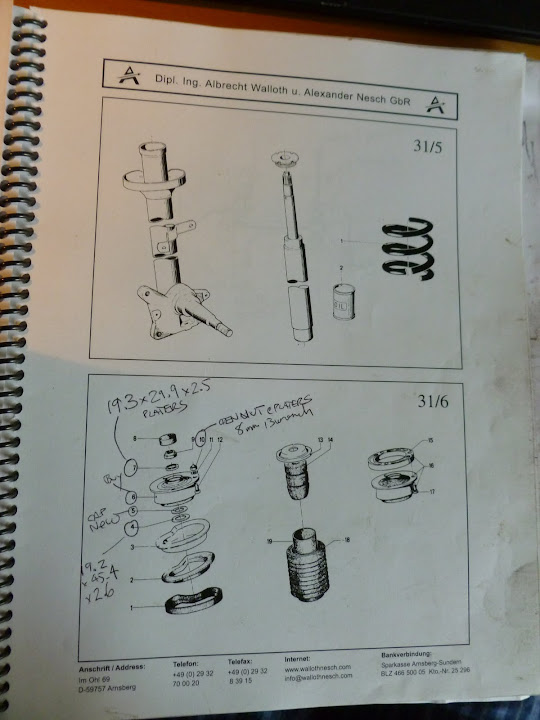
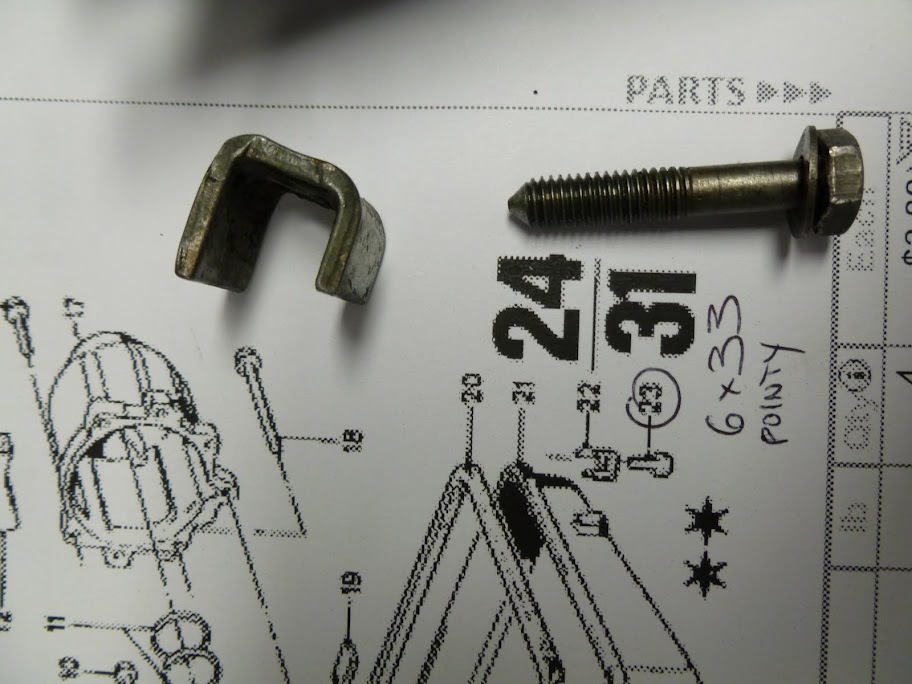
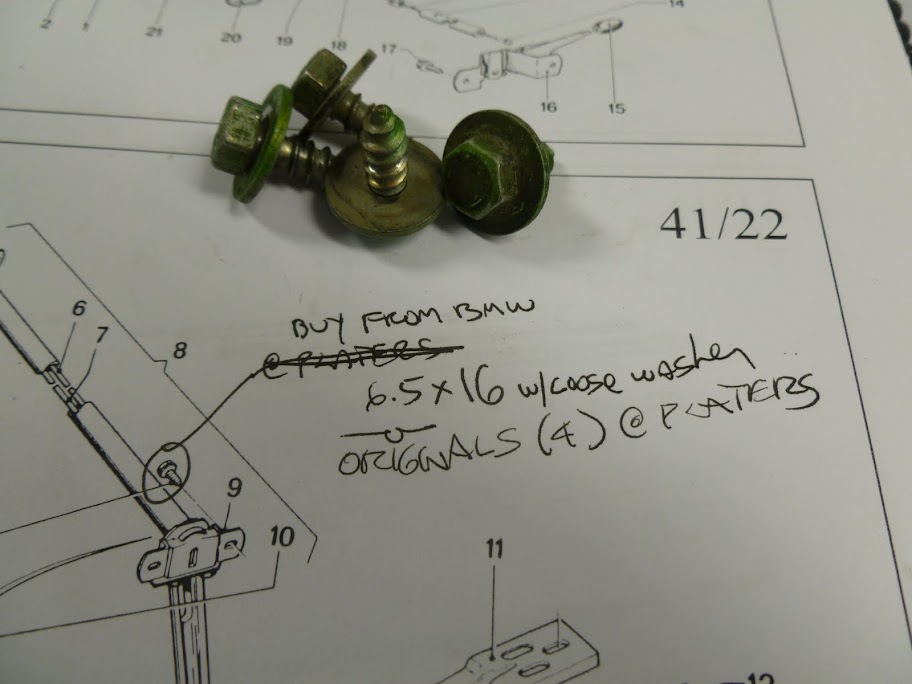
The baggies was my, and my son's, effort when we received the 18 lb bag of hardware. No way to keep it all tagged through their process. The only way I felt I could get everything back where it came from was to document it on a copy of the parts book as I removed the hardware. Went to FedEx and copied the W&N catalog and spiral bound it and noted everywhere the size of the fastener as I removed it. Sometimes I photographed the part on top of the parts diagram if it was a special shape or configuration. I only re-plated bolts and the unusual nuts and washers. All wave, flat and lock washers are new and so are 99% of the nuts, from Belmetric. Parts I needed to buy, I utilized the notation of the catalog, eg., 41/22/9, to identify it and later order off that list
Progress update
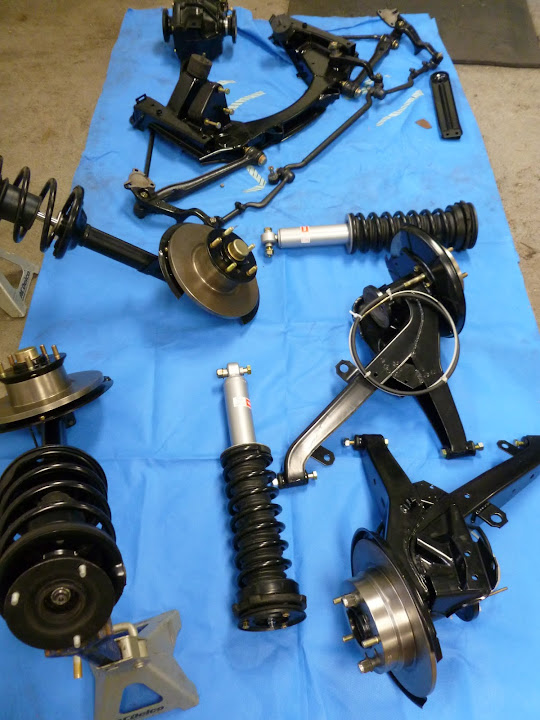
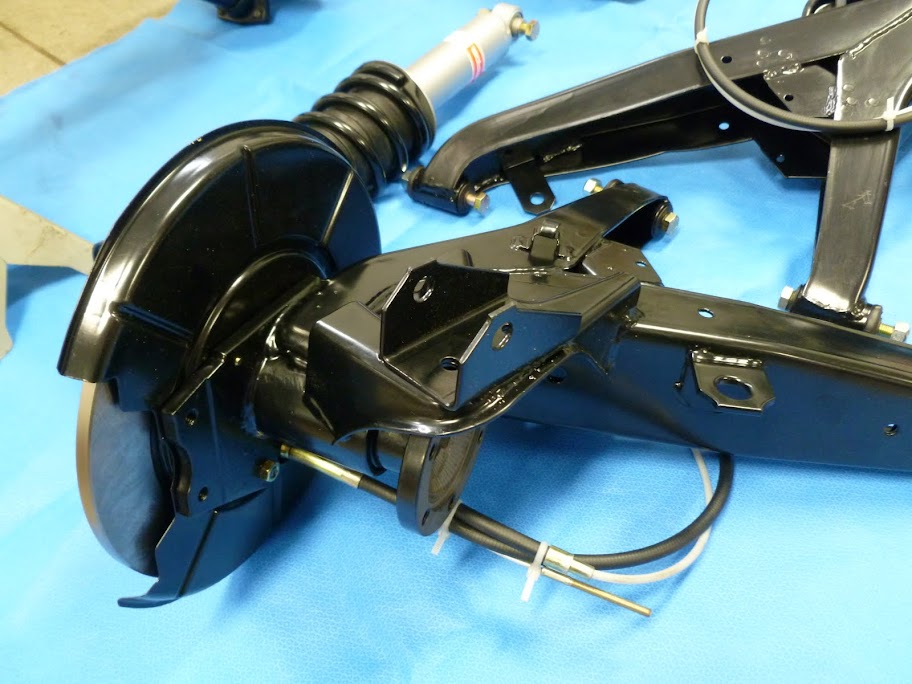
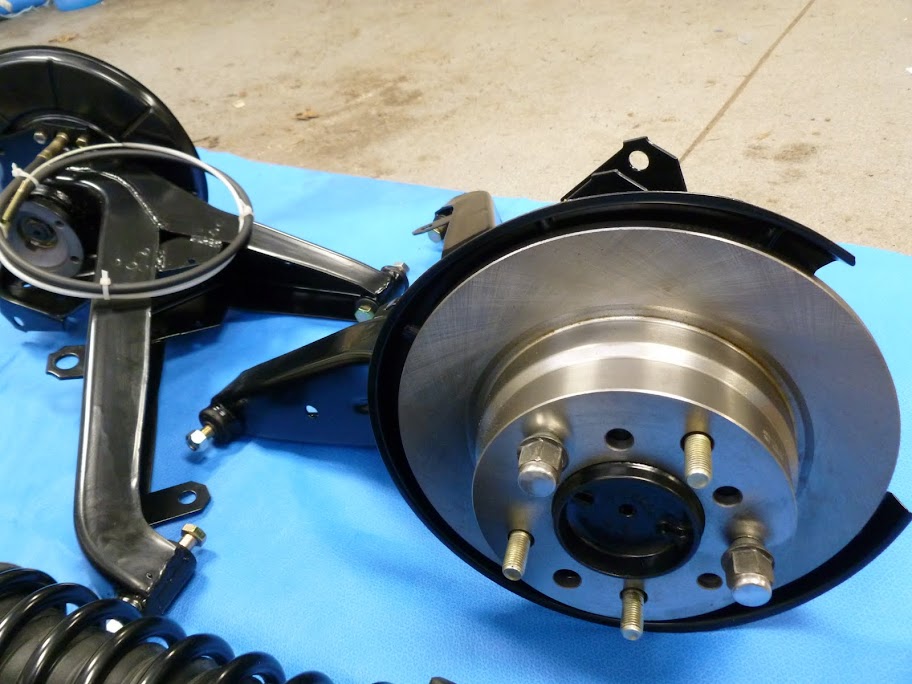
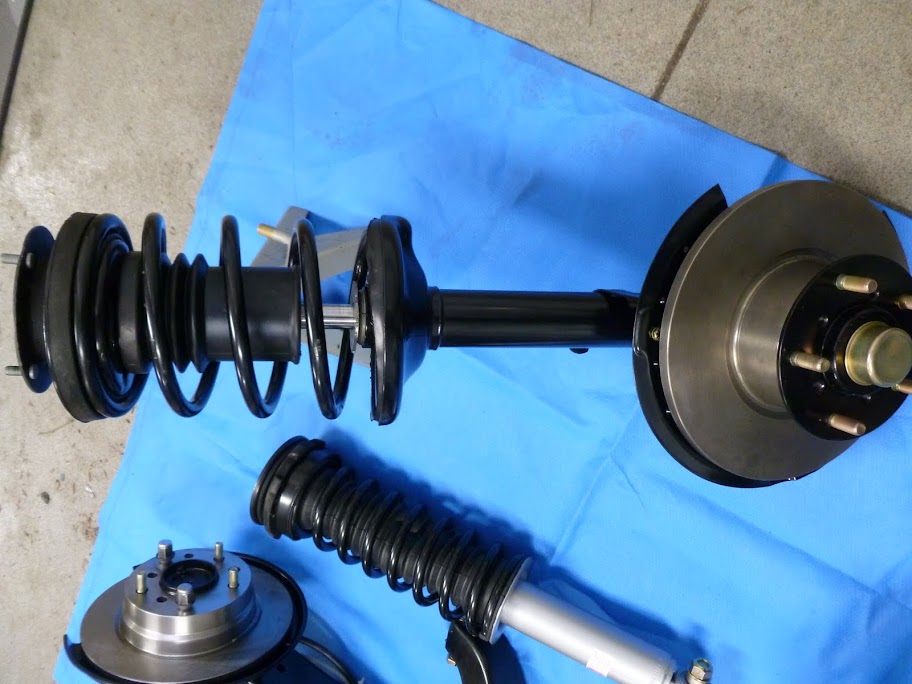
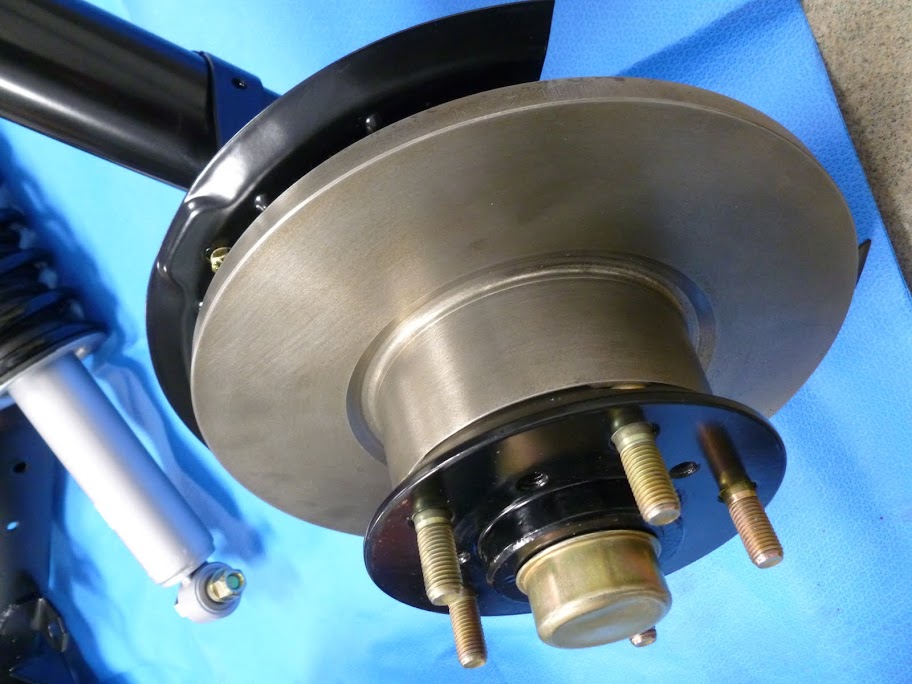
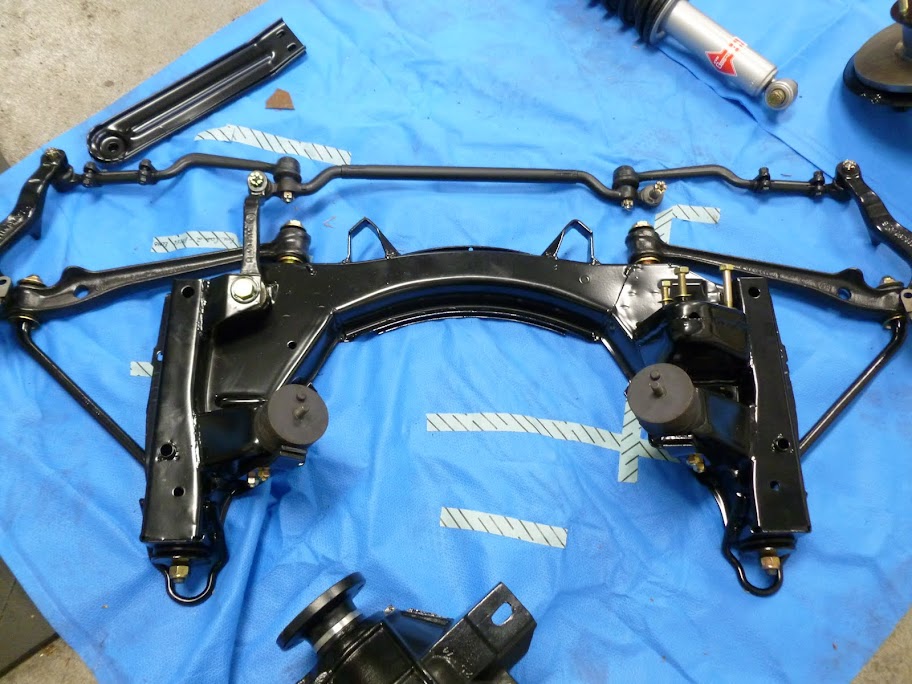
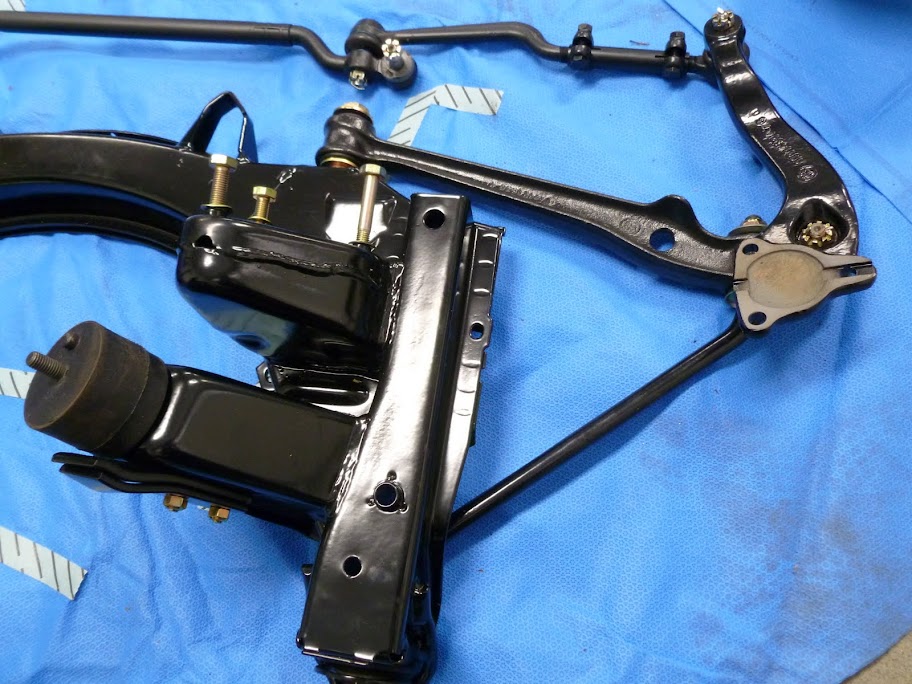
I've made some progress over the past few weeks and the suspension components are ready to be installed on the car once it comes back from the paint shop.
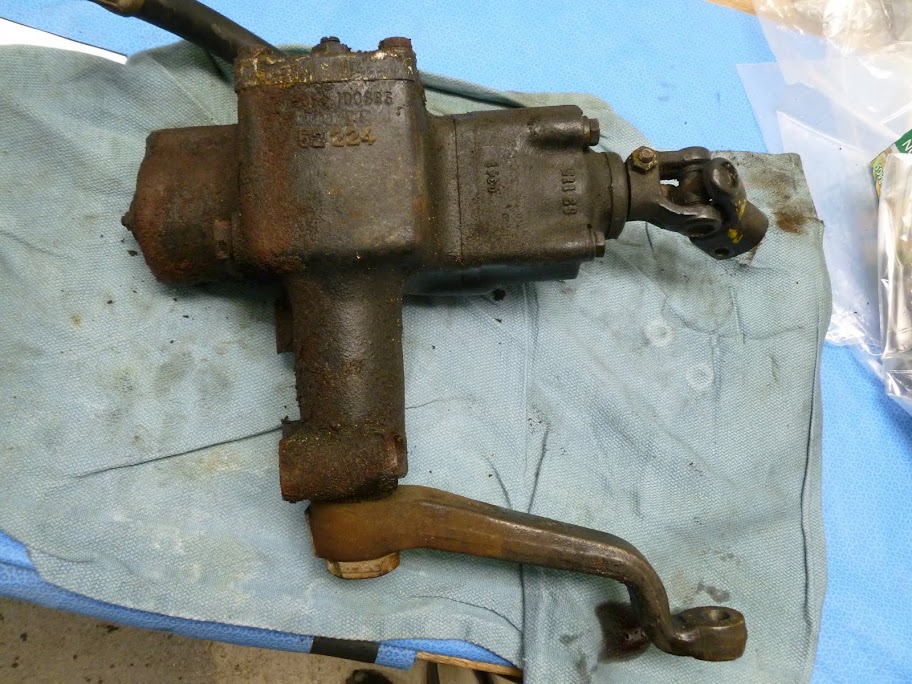
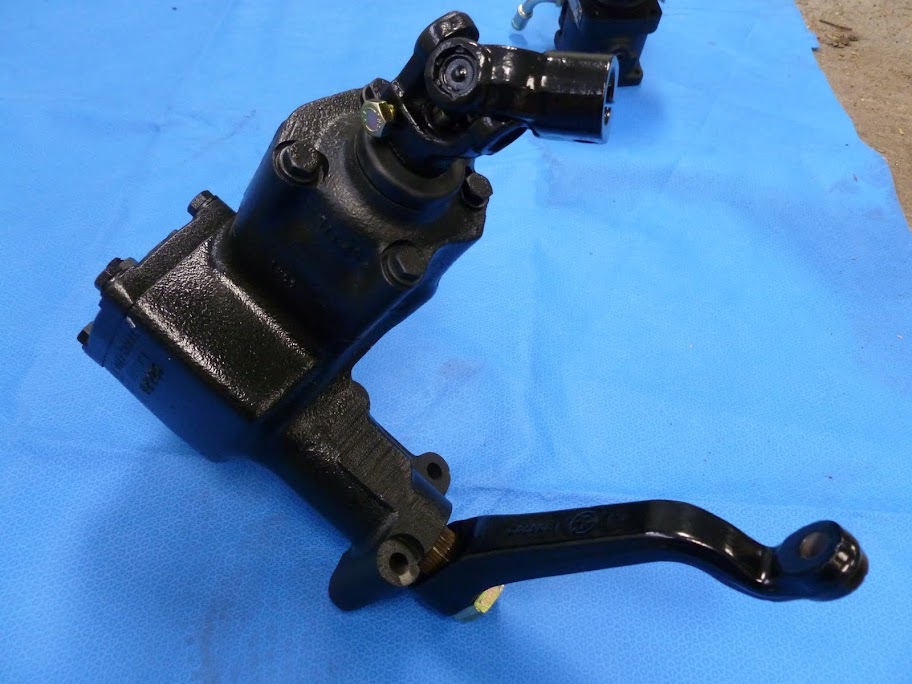
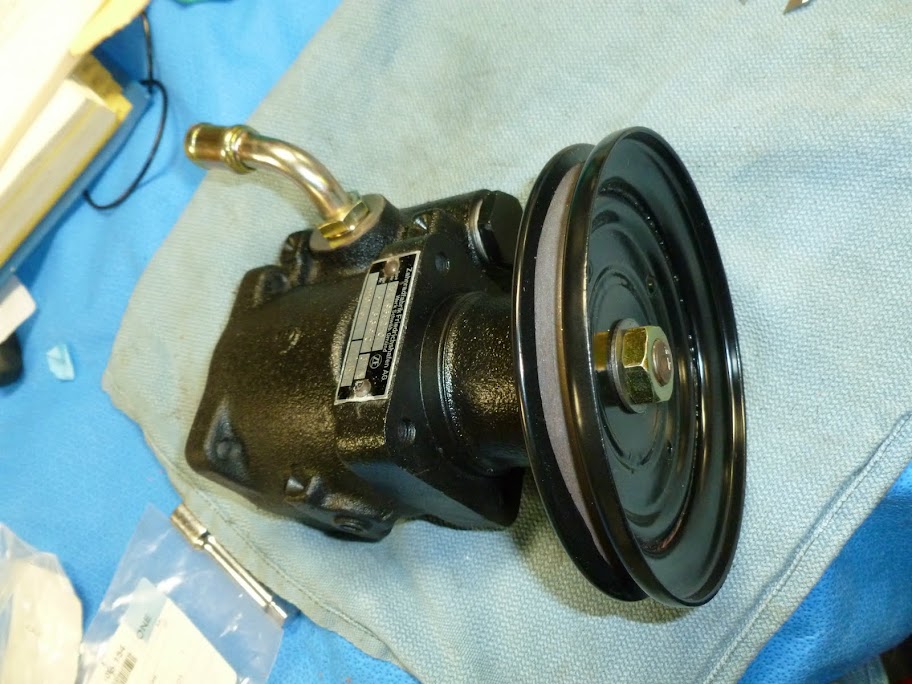
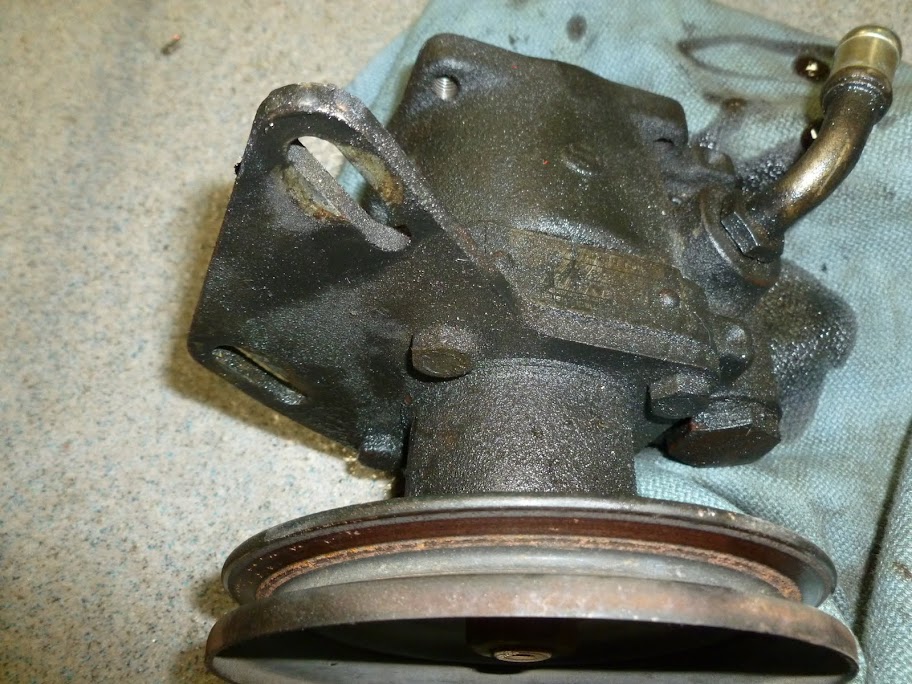
Power steering box and pump looking a little nicer than before... I didn't crack open the PS actuator but I did open and inspect the PS pump and replaced the O-rings.
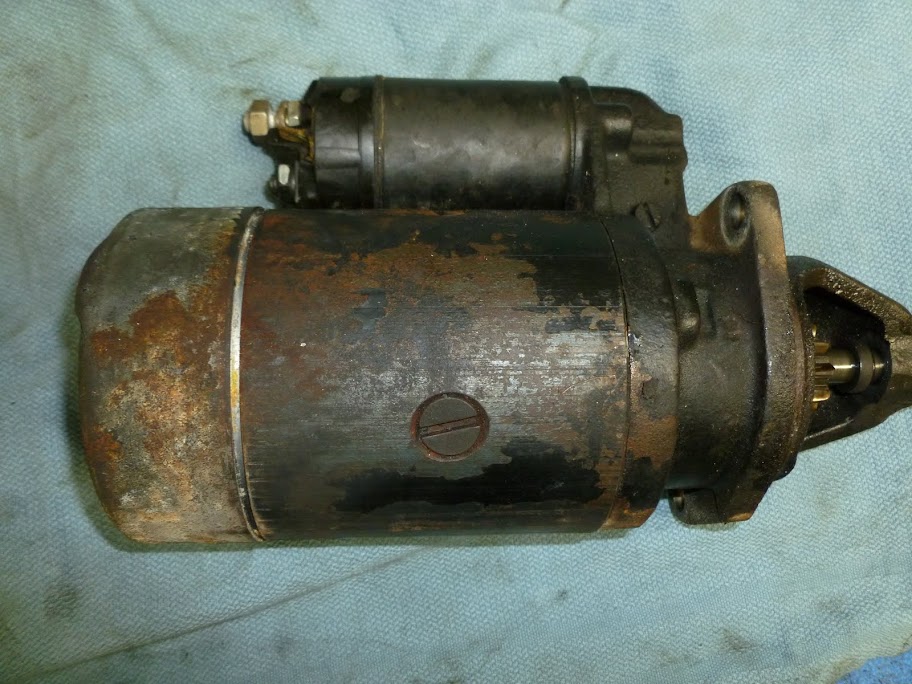
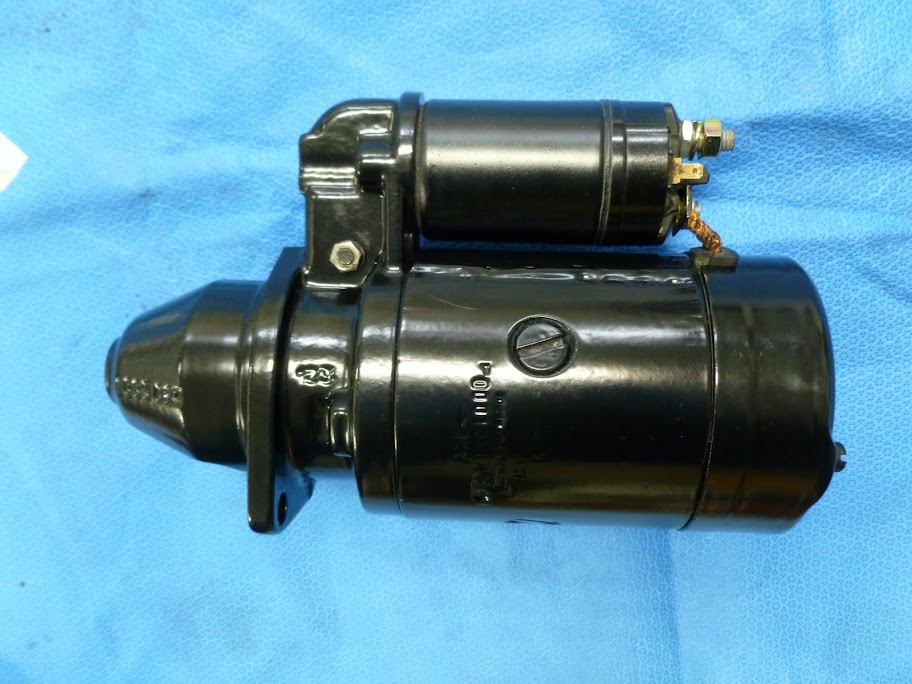
New bushings for the starter is all it needed:
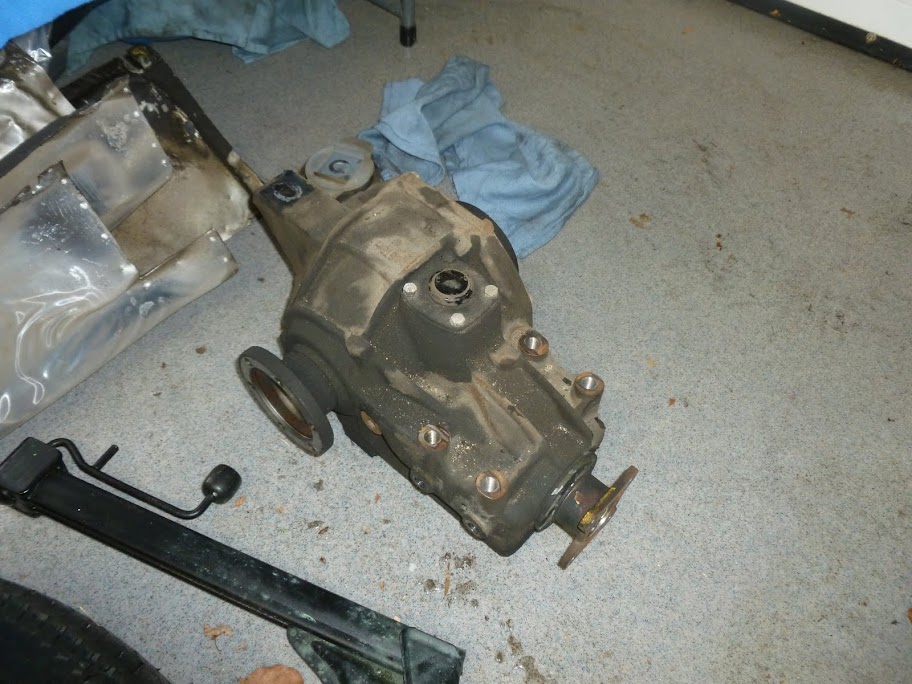
The differential had some seepage so replaced input and output seals.

More later...
I've made some progress over the past few weeks and the suspension components are ready to be installed on the car once it comes back from the paint shop.
Power steering box and pump looking a little nicer than before... I didn't crack open the PS actuator but I did open and inspect the PS pump and replaced the O-rings.
New bushings for the starter is all it needed:
The differential had some seepage so replaced input and output seals.
More later...
More later? Luis, there's nothing left!
")
...more...
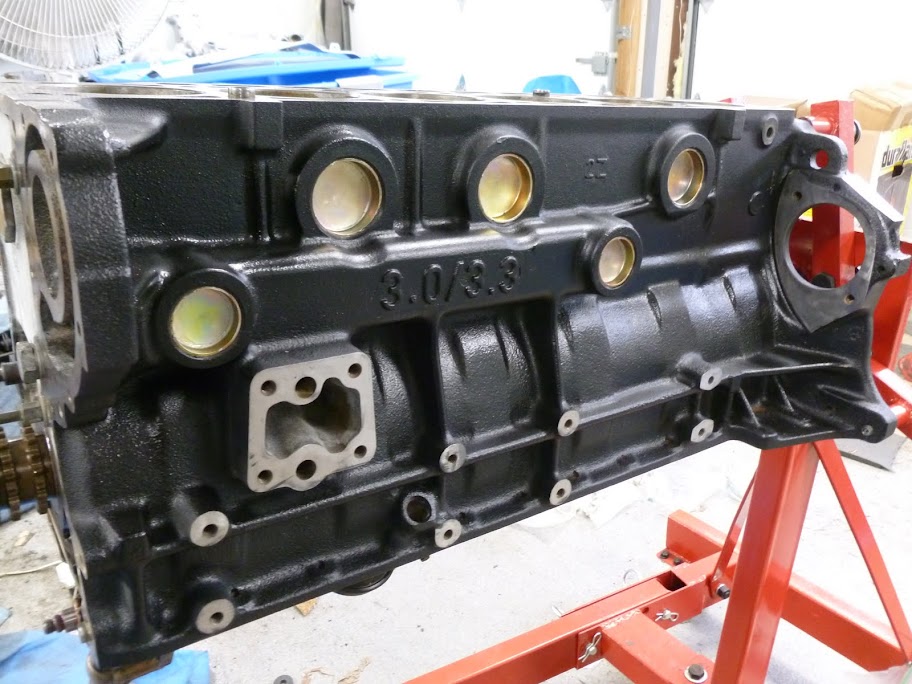
Should be able to start on the engine this week after the oil chain arrives. Block was primed with epoxy primer and topcoated w/ urethane satin black. All the bores needed was honing. New rings were fitted and big end bearings.
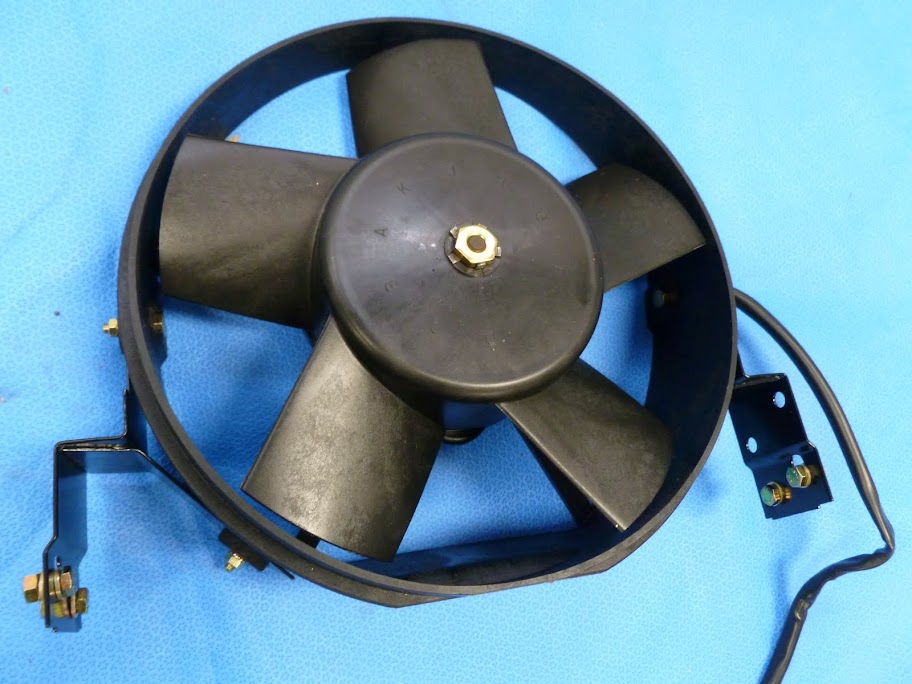
Fan cleaned up and brackets PC, hardware plated.
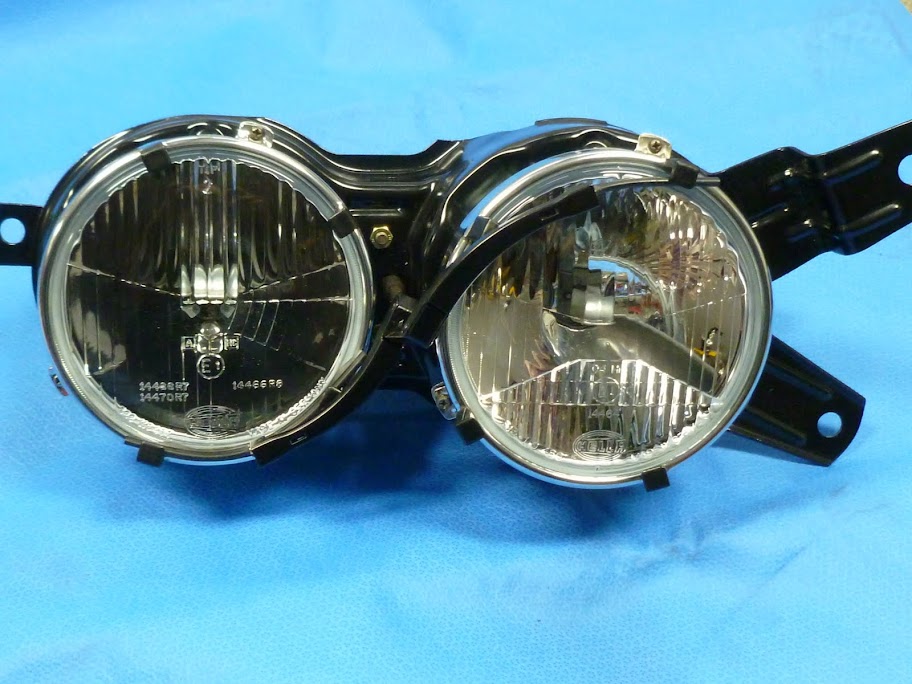
Headlight buckets PC and plated...
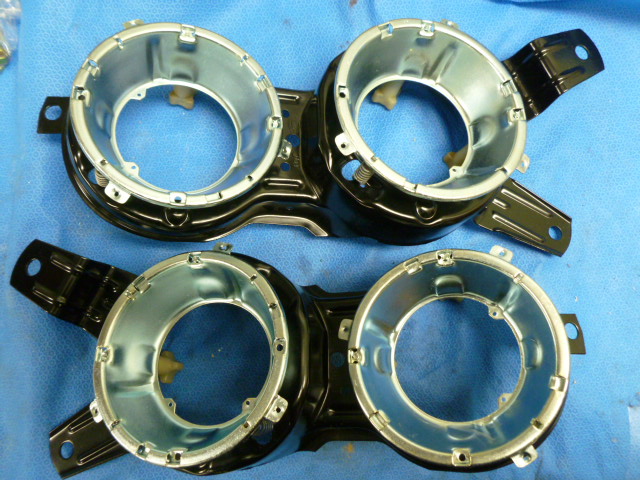
...with the correct Euro H1 headlights and wipers
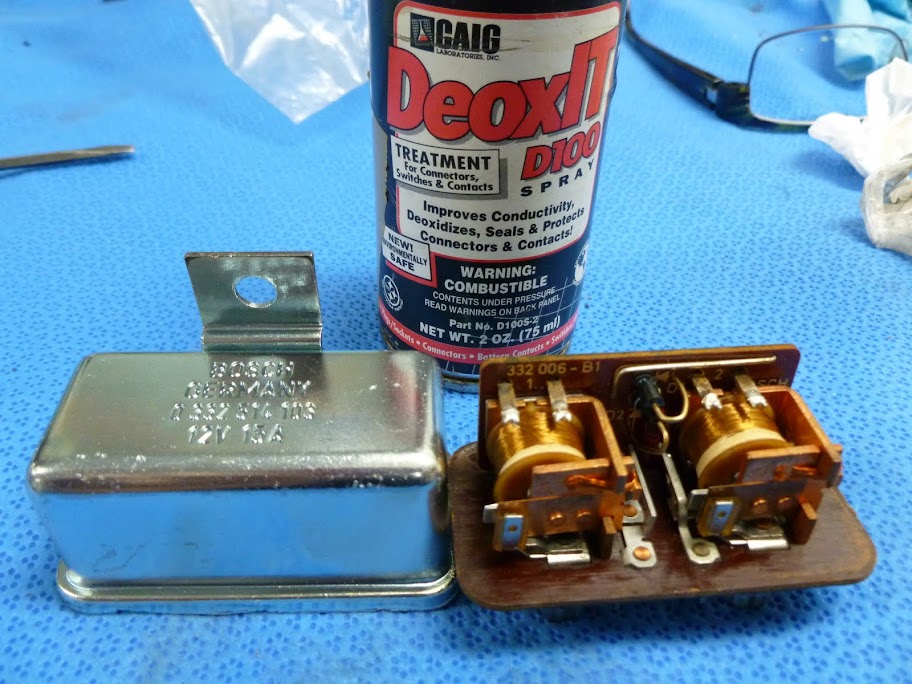
Relay cases plated and internal contacts de-oxidized.

Should be able to start on the engine this week after the oil chain arrives. Block was primed with epoxy primer and topcoated w/ urethane satin black. All the bores needed was honing. New rings were fitted and big end bearings.
Fan cleaned up and brackets PC, hardware plated.
Headlight buckets PC and plated...
...with the correct Euro H1 headlights and wipers
Relay cases plated and internal contacts de-oxidized.
RonP
Well-Known Member
How do you take an already great looking, low mile car and make it even better? Just ask Luis!!! Nice job. The bits and details are extremely nice. Can't wait to see everything all put back together.
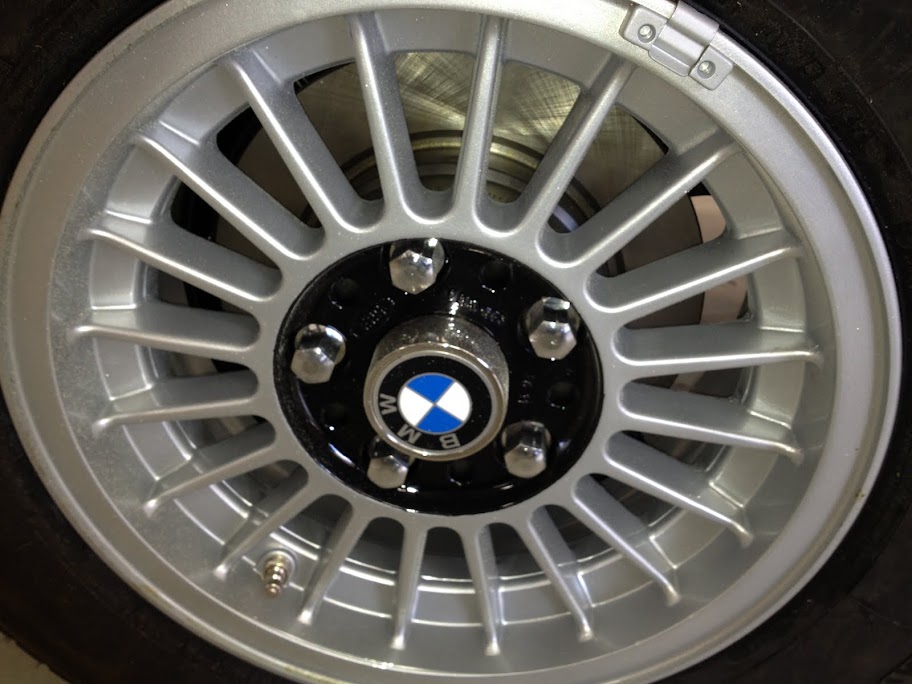
I also think someone tried to touch up that wheel and did a poor job.
Actually no. I just bought an identical year/model e3 from the original owner, and the wheels look exactly the same. I guess at some point in the '70s they just got lazy or sloppy, or both. Pretty shocking, since this was/is considered a luxury brand...
Buzz: Thanks for confirming my belief that it is original. Would love to see pictures and learn the story of your Si. These are fairly rare at this point. How about you start another thread here?")
Last edited:
Hey luis,
what are you doing for the front suspension parts? Are you retrofitting earlier Bav stuff or are you going with dealer new? Nobody carries the Si suspension stuff anymore besides the dealer and it's $$$... :-? It's a bummer that the factory decided to make the Si stuff specific to the Si. PITA.
what are you doing for the front suspension parts? Are you retrofitting earlier Bav stuff or are you going with dealer new? Nobody carries the Si suspension stuff anymore besides the dealer and it's $$$... :-? It's a bummer that the factory decided to make the Si stuff specific to the Si. PITA.
Hey Luis,
I (Antony) was talking about the usual wearing stuff like the control arms, tie rods, center link. Those are all Si specific. I gather that some either retrofit earlier Bav stuff, which means switching out just about everything to the earlier version of the front suspension, or just paying the ransom for the correct stuff from the dealer.
I (Antony) was talking about the usual wearing stuff like the control arms, tie rods, center link. Those are all Si specific. I gather that some either retrofit earlier Bav stuff, which means switching out just about everything to the earlier version of the front suspension, or just paying the ransom for the correct stuff from the dealer.
Done. Although not at anywhere near this level, another E3 soon to be on the road...Buzz: Thanks for confirming my belief that it is original. Would love to see pictures and learn the story of your Si. These are fairly rare at this point. How about you start another thread here?
Antony,
So I did replace the control arms and tie rods due to the ball joints on these not being replaceable. The studs at the ends of my center link were firm in place and measured out to the correct distance so I didn't have to replace that. Yes it's all dealer stuff but it's top quality. As you know, you can get 20% off from some vendors taking the sting off a bit...
So I did replace the control arms and tie rods due to the ball joints on these not being replaceable. The studs at the ends of my center link were firm in place and measured out to the correct distance so I didn't have to replace that. Yes it's all dealer stuff but it's top quality. As you know, you can get 20% off from some vendors taking the sting off a bit...
Not much to update on the progress of my Si restoration. Car is now at the shop back from final paint (see pics below) and all (!) it needs is to have the door mechanicals re-installed, new headliner and carpeting, then glass goes back in.
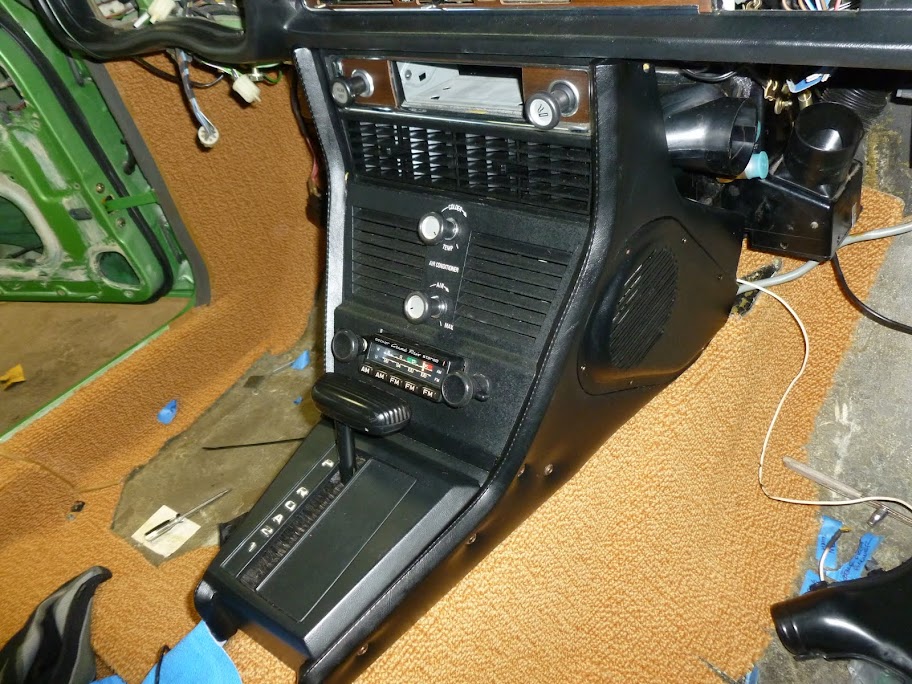
Then it comes back to me for engine drop-in (or more likely, car dropped over the engine/subframe), the interior (which is being re-upholstered), lower console and renewed AC bits, exterior trim and that's it! Easy peasy :shock:

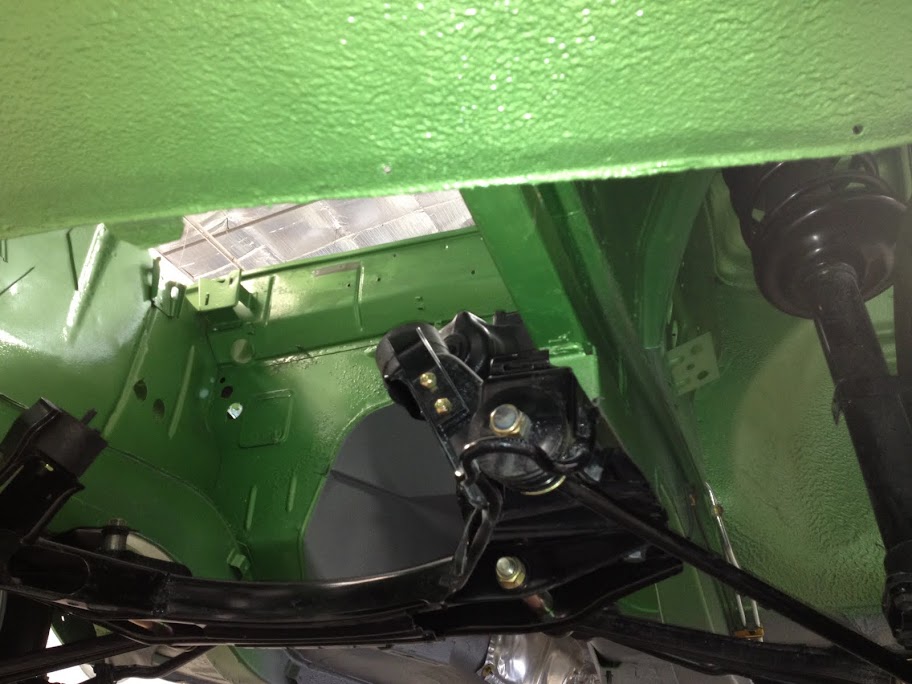
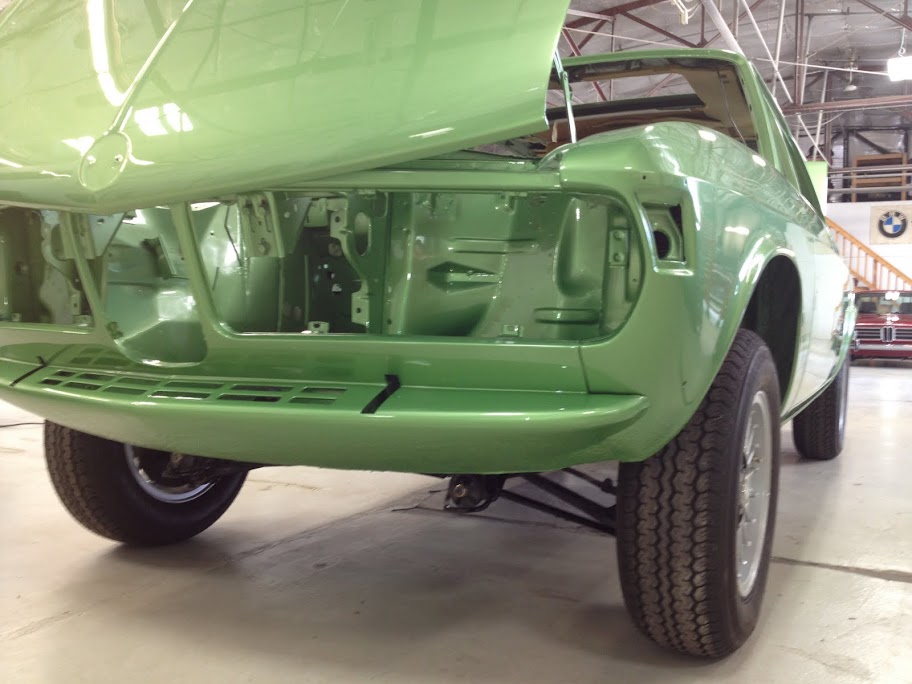

Then it comes back to me for engine drop-in (or more likely, car dropped over the engine/subframe), the interior (which is being re-upholstered), lower console and renewed AC bits, exterior trim and that's it! Easy peasy :shock:
Luis,
This is beautiful / complete nut & bolt restoration. I was wondering why you left the big bumper holes at the rear? I noticed in the before photo that the car was sporting the older style bumpers. I assumed the Si has a similar set up as the CS - where there are only a pair of holes below the tail lights and one at each quarter panel to hold the end of the bumpers.
This is beautiful / complete nut & bolt restoration. I was wondering why you left the big bumper holes at the rear? I noticed in the before photo that the car was sporting the older style bumpers. I assumed the Si has a similar set up as the CS - where there are only a pair of holes below the tail lights and one at each quarter panel to hold the end of the bumpers.
Hi Sven,
The large holes in the rear are completely invisible when covered by the euro bumper and don't interfere in any way. The holes that need covering on the rear are some that are facing down at the point where the sheetmetal turns in to form the bumper recess. They are not visible except for the fact they prominently reflect on the edge of the new, shiny euro bumper.
The large holes in the rear are completely invisible when covered by the euro bumper and don't interfere in any way. The holes that need covering on the rear are some that are facing down at the point where the sheetmetal turns in to form the bumper recess. They are not visible except for the fact they prominently reflect on the edge of the new, shiny euro bumper.
Update - Jan 2013
Car is back and it's going back together.
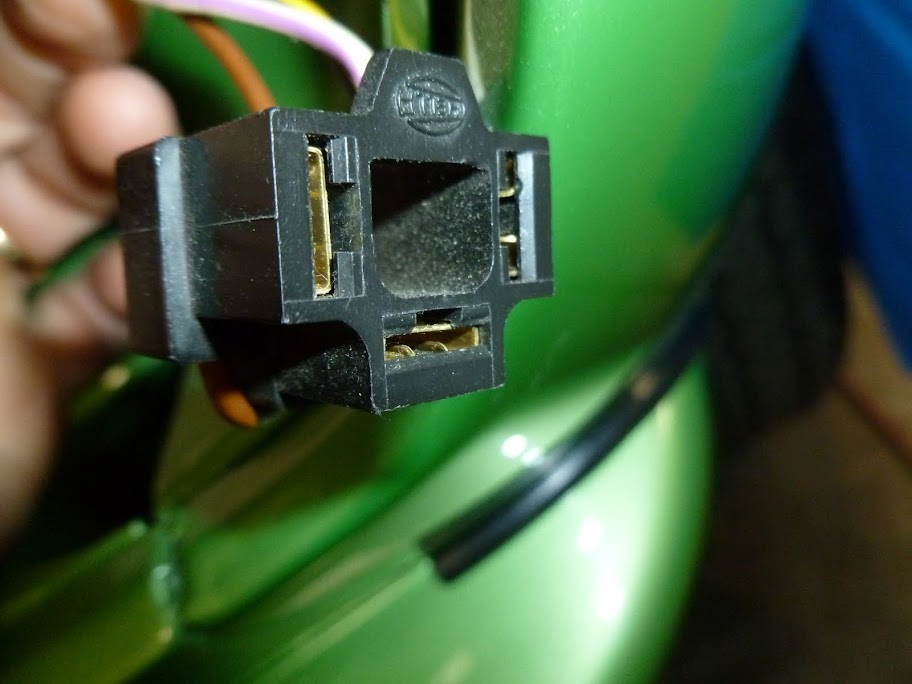
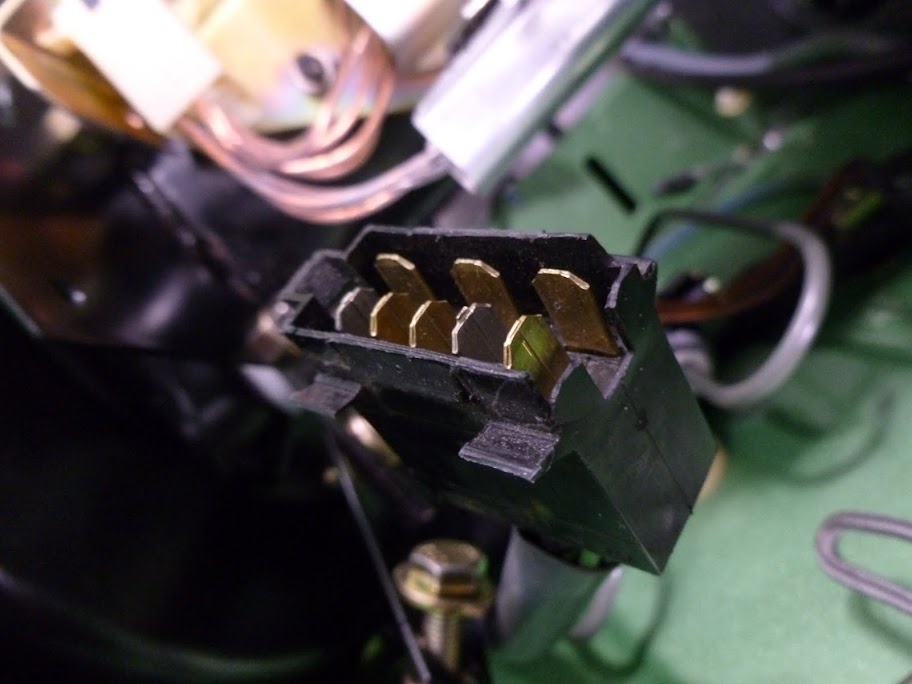
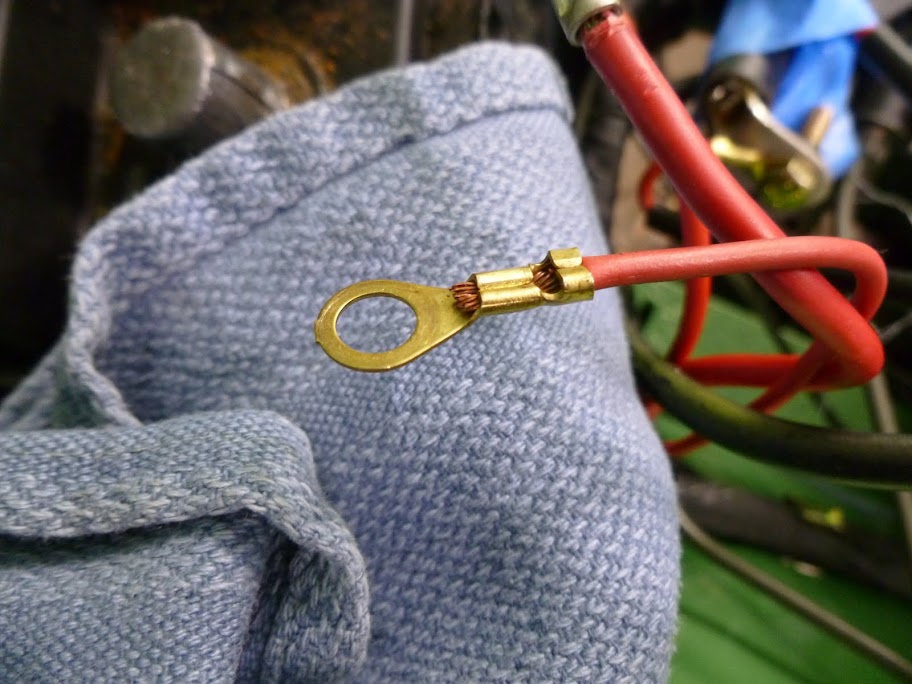
I rebuilt the main front harness with new, correct, crimp-on connectors and it's now installed and re-connected to the fusebox and all interior connections.

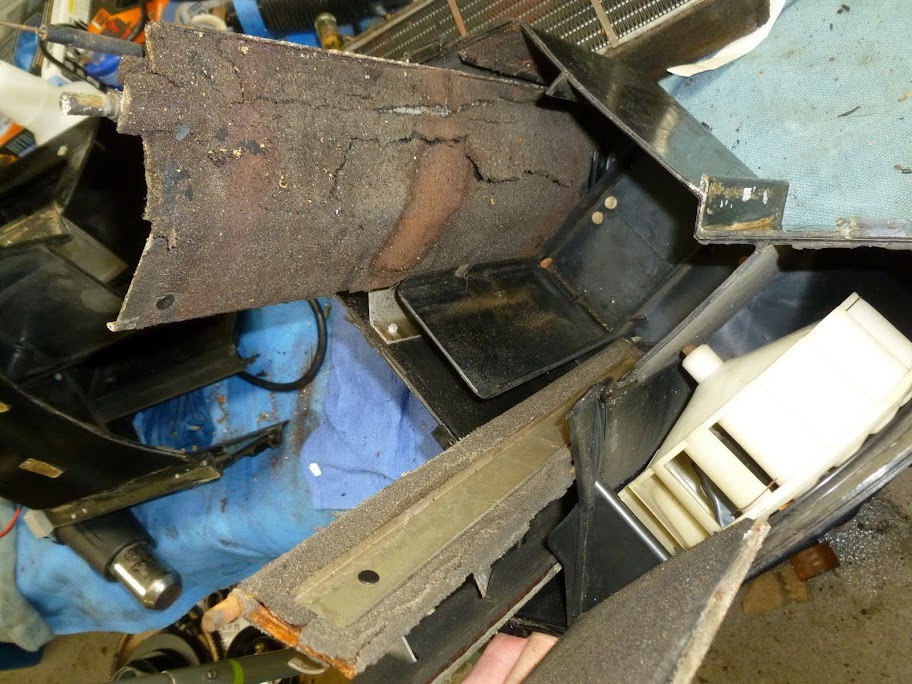
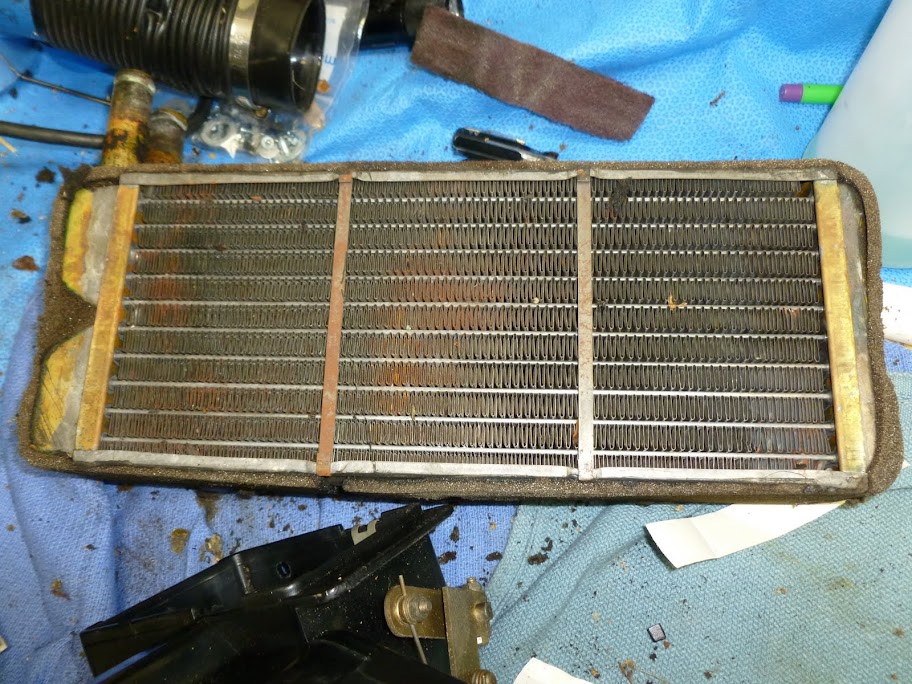
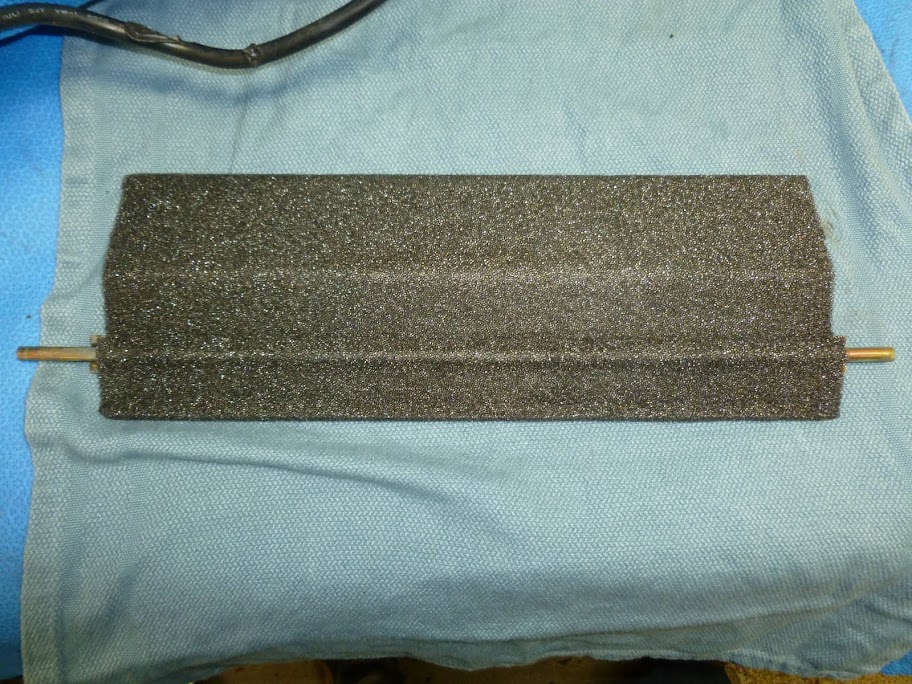
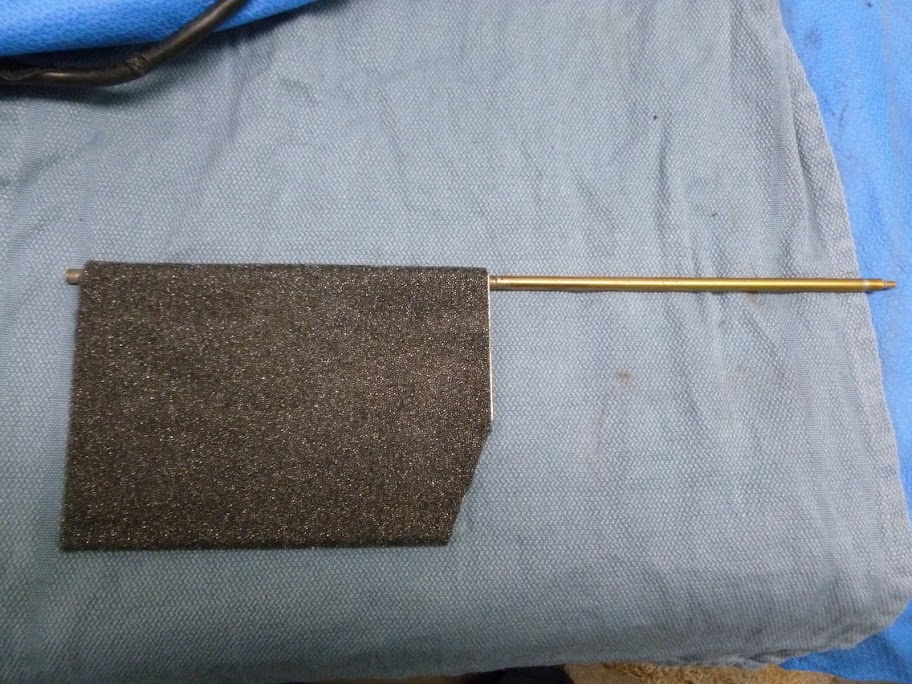
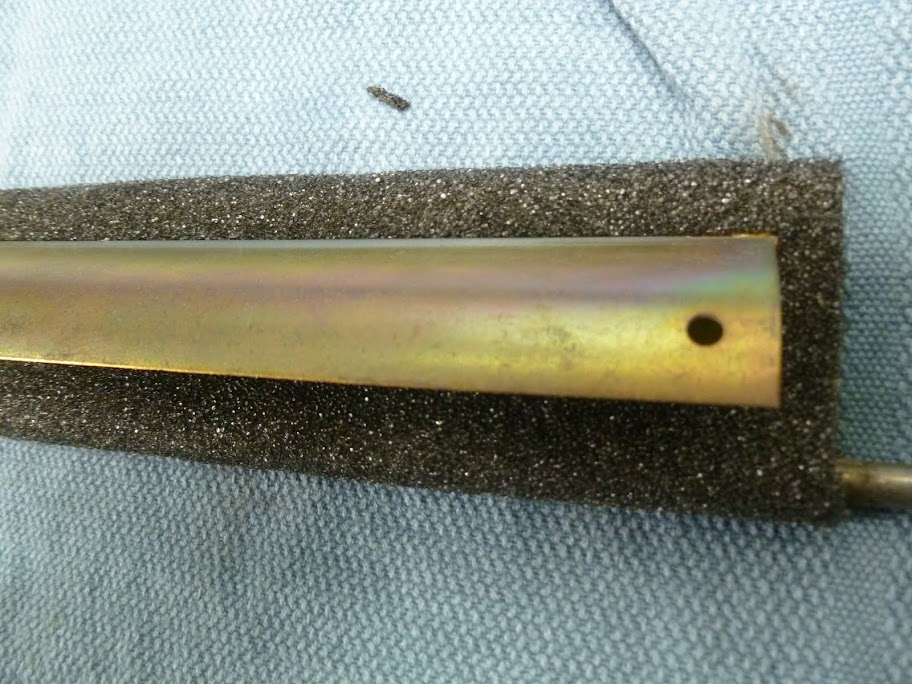
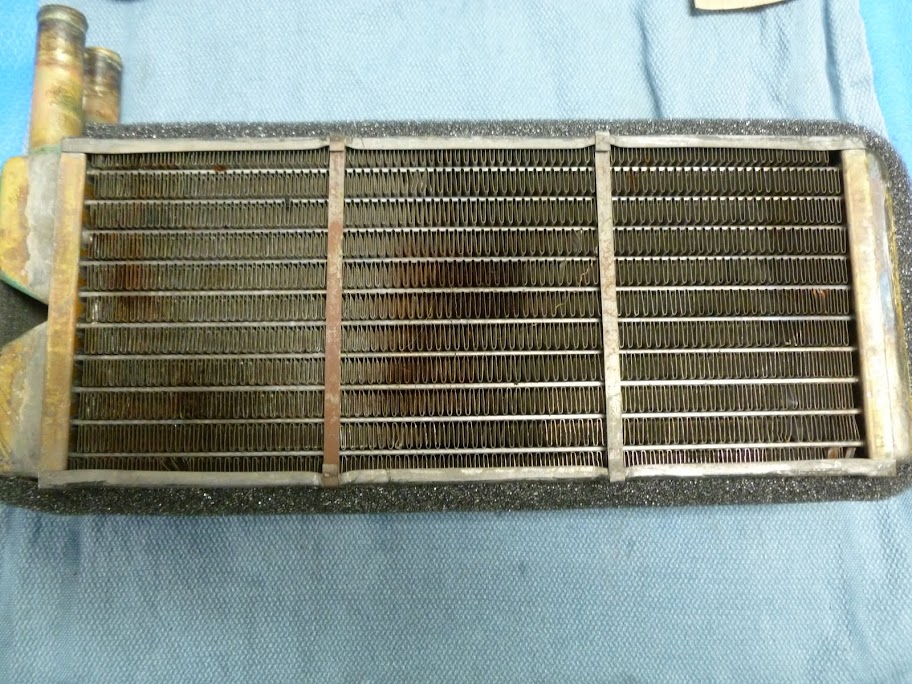
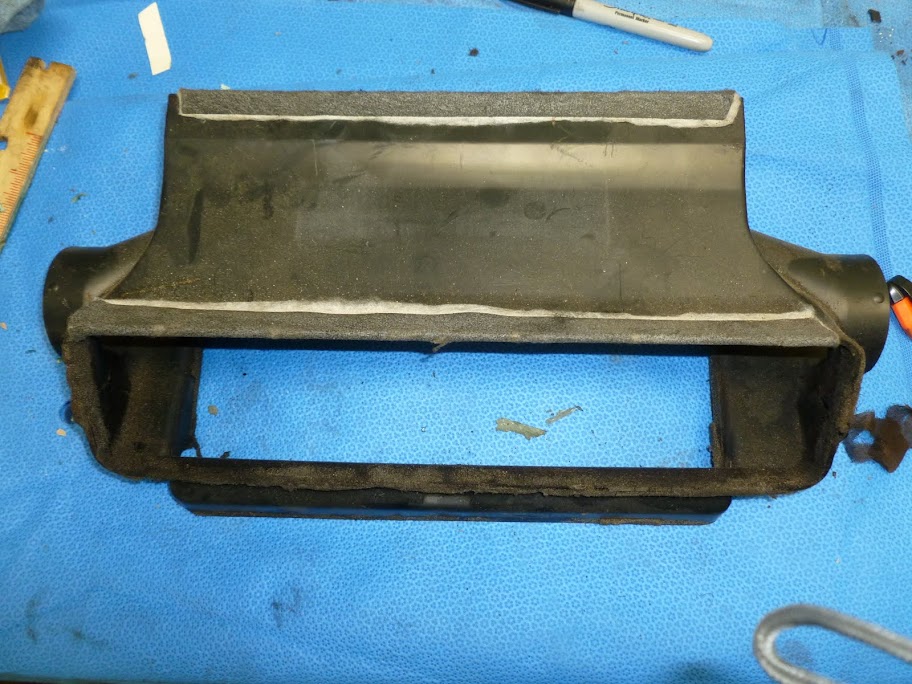
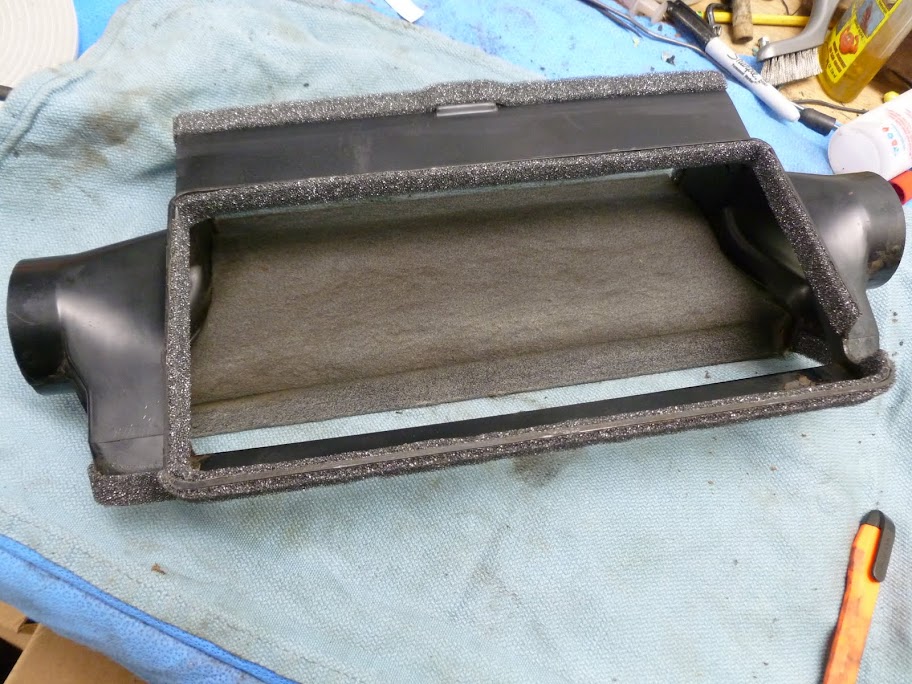
Cracked open the heater box to find the usual: decrepit foam turned into dust. Cleaned it all off (goof off is amazing stuff) and recovered the vanes and heater core with new foam.
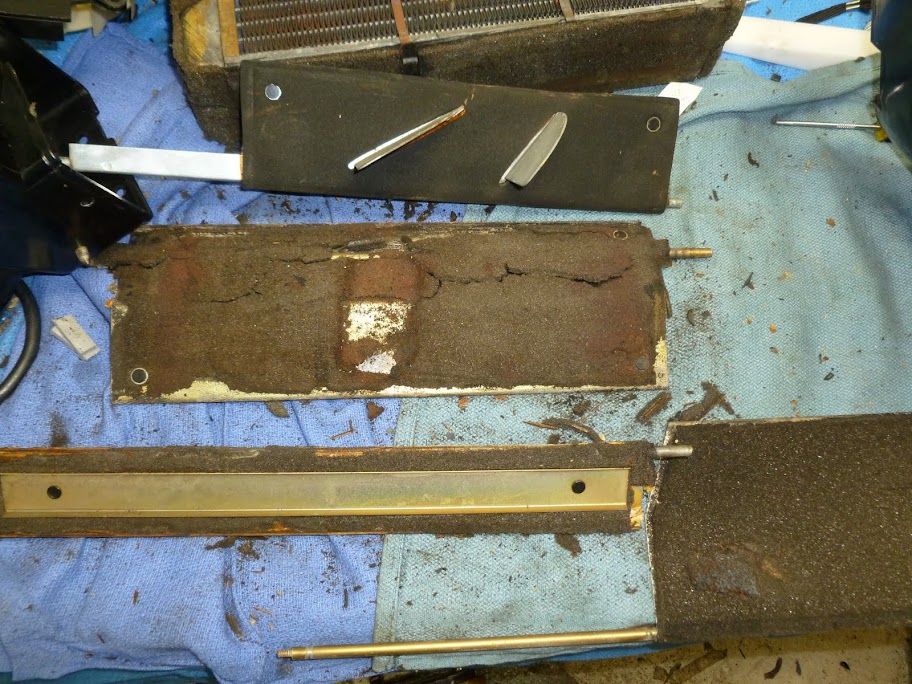
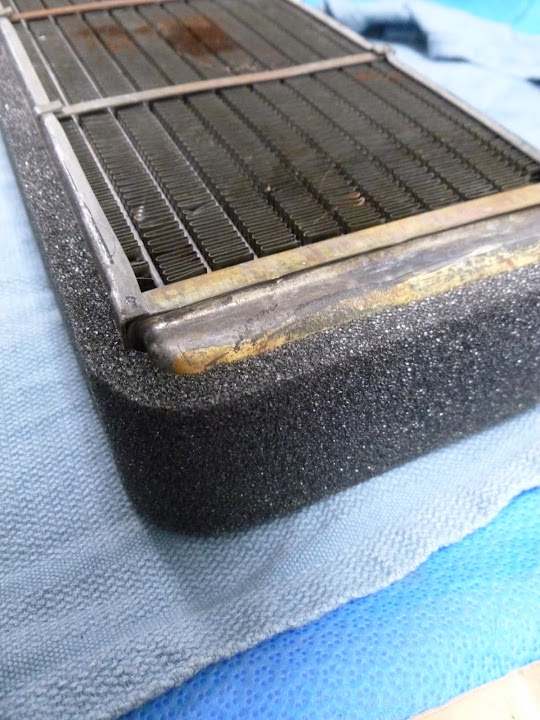
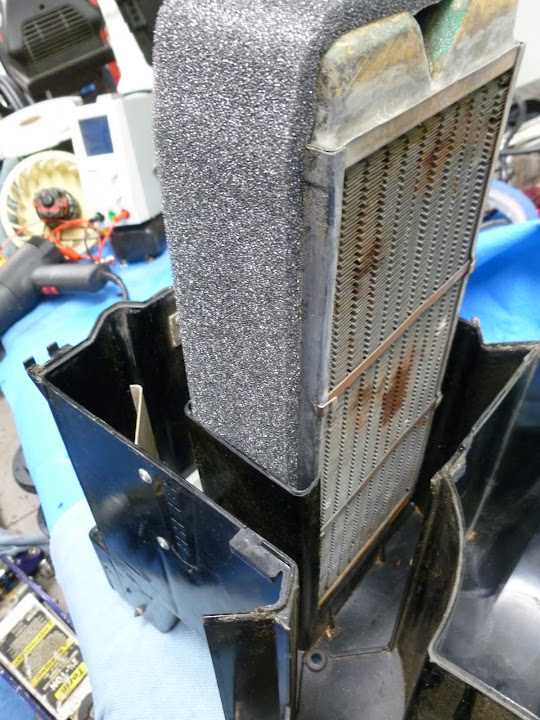
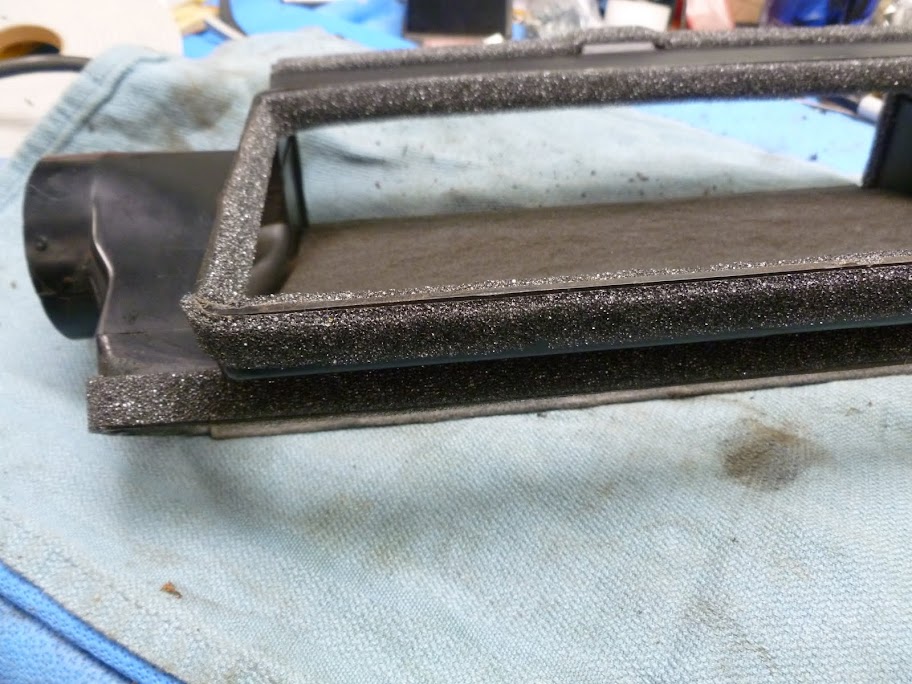
Some black schmutz along the interlocking seams to better seal the box
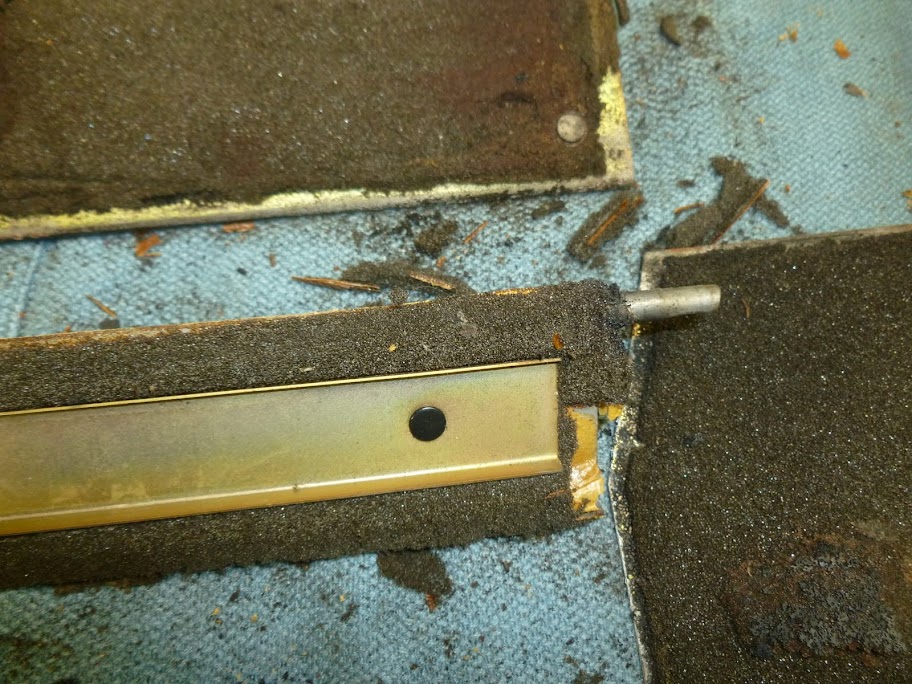
Finished and with the foam at the firewall interface point in place.

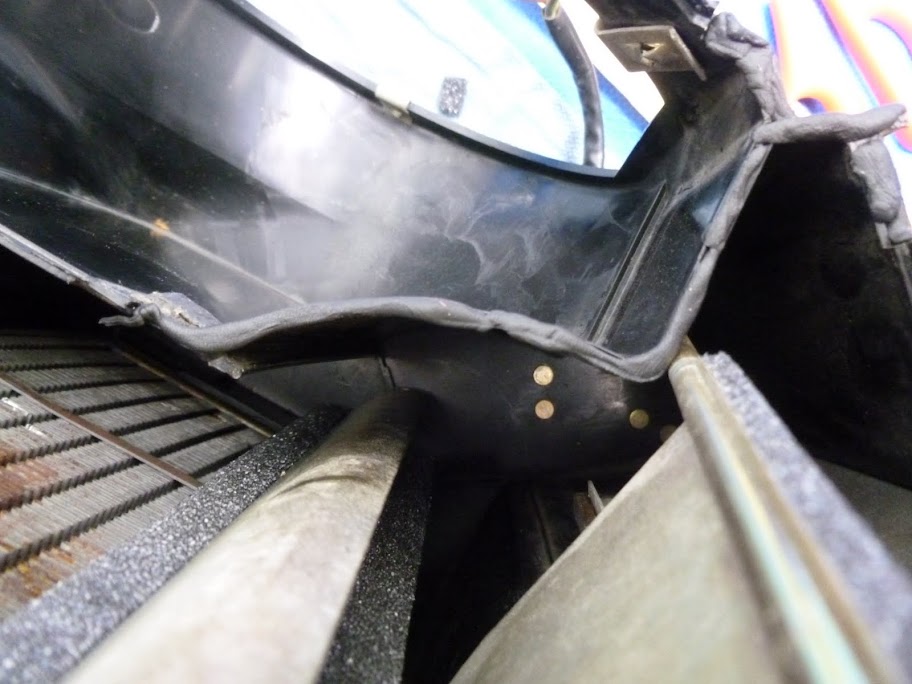
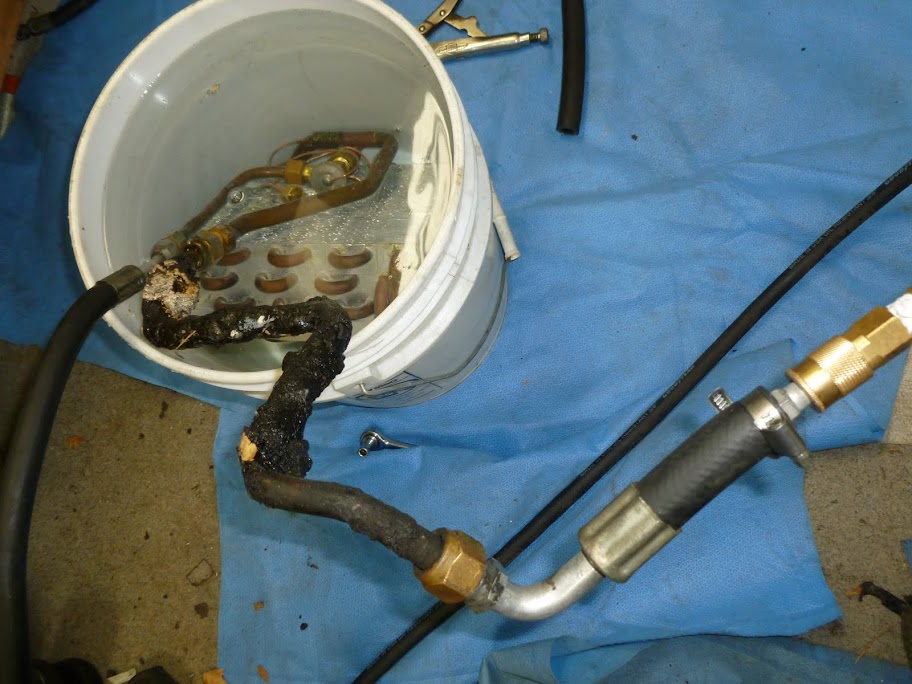
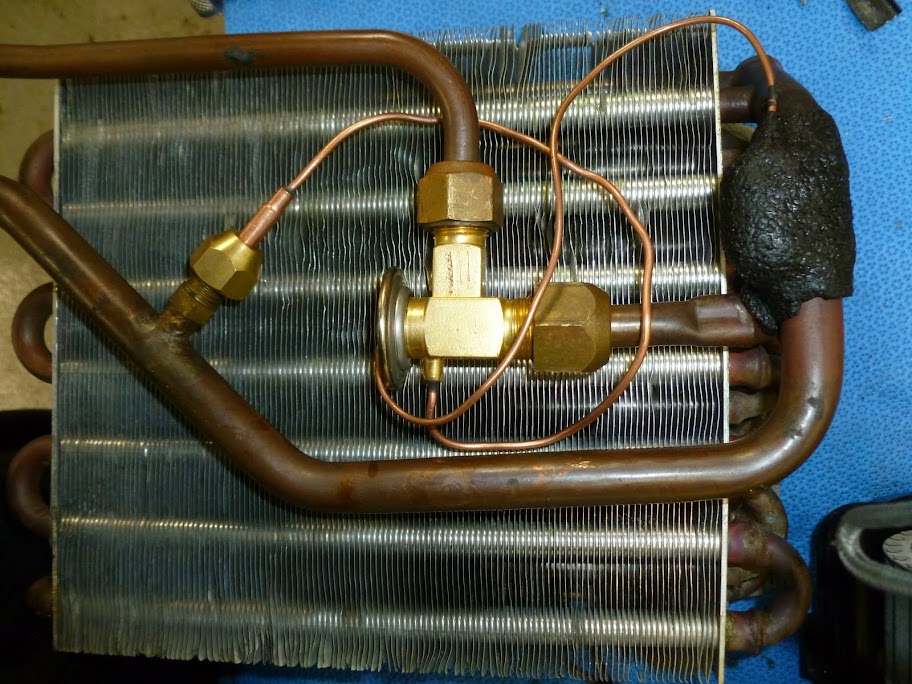
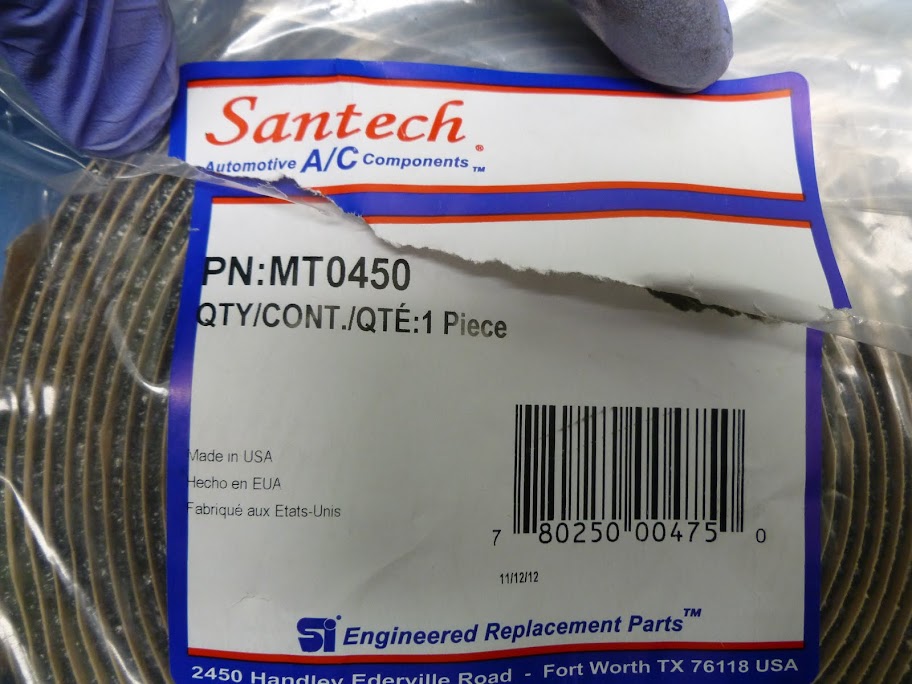
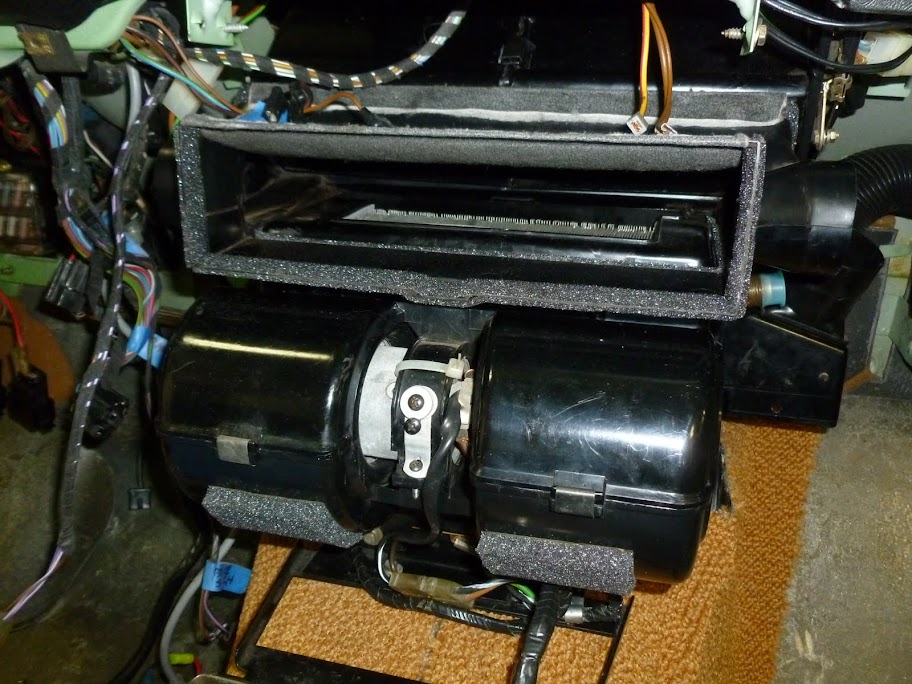
Did a similar treatment to the evaporator box. New expansion valve and checked for integrity at 130 PSI. No bubbles. New layer of tar tape over the pick up coil for the valve.
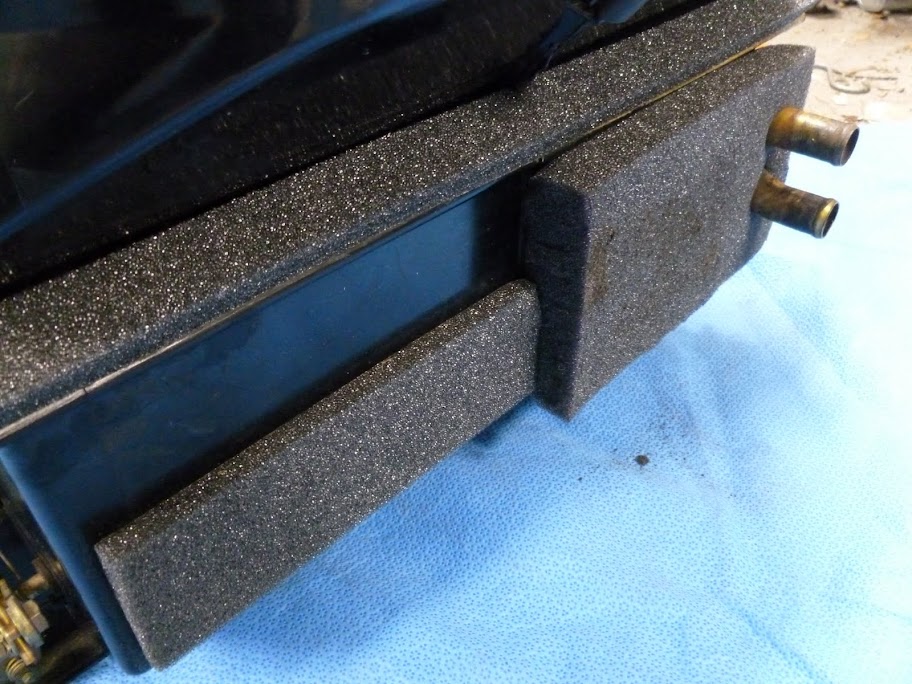
Same story with the intermediate piece. New foam edges.
Base back in place and finally all in.
Car is back and it's going back together.
I rebuilt the main front harness with new, correct, crimp-on connectors and it's now installed and re-connected to the fusebox and all interior connections.
Cracked open the heater box to find the usual: decrepit foam turned into dust. Cleaned it all off (goof off is amazing stuff) and recovered the vanes and heater core with new foam.
Some black schmutz along the interlocking seams to better seal the box
Finished and with the foam at the firewall interface point in place.
Did a similar treatment to the evaporator box. New expansion valve and checked for integrity at 130 PSI. No bubbles. New layer of tar tape over the pick up coil for the valve.
Same story with the intermediate piece. New foam edges.
Base back in place and finally all in.
More...
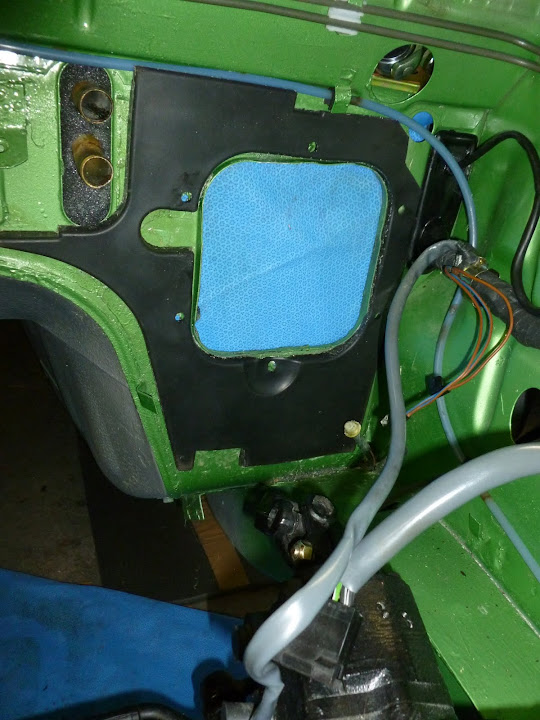
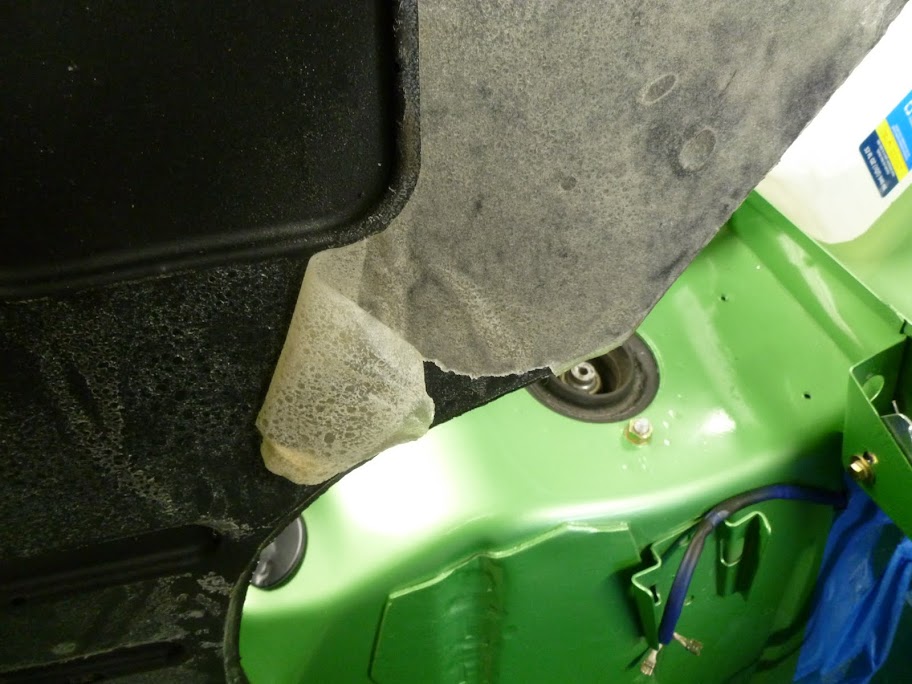
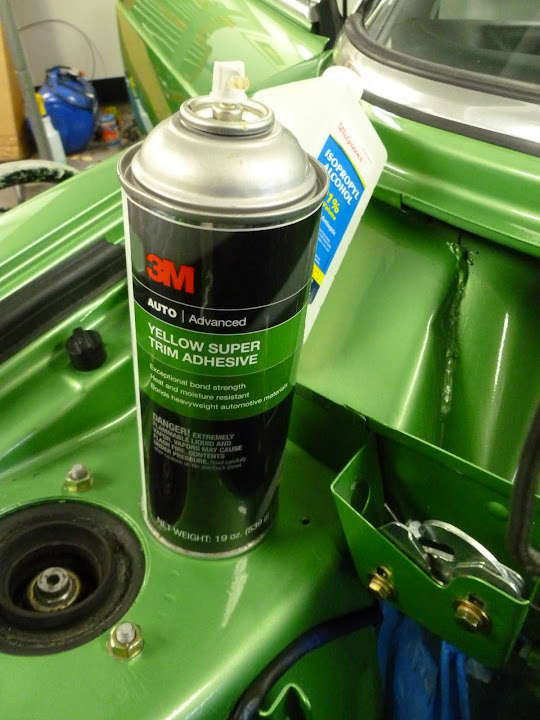
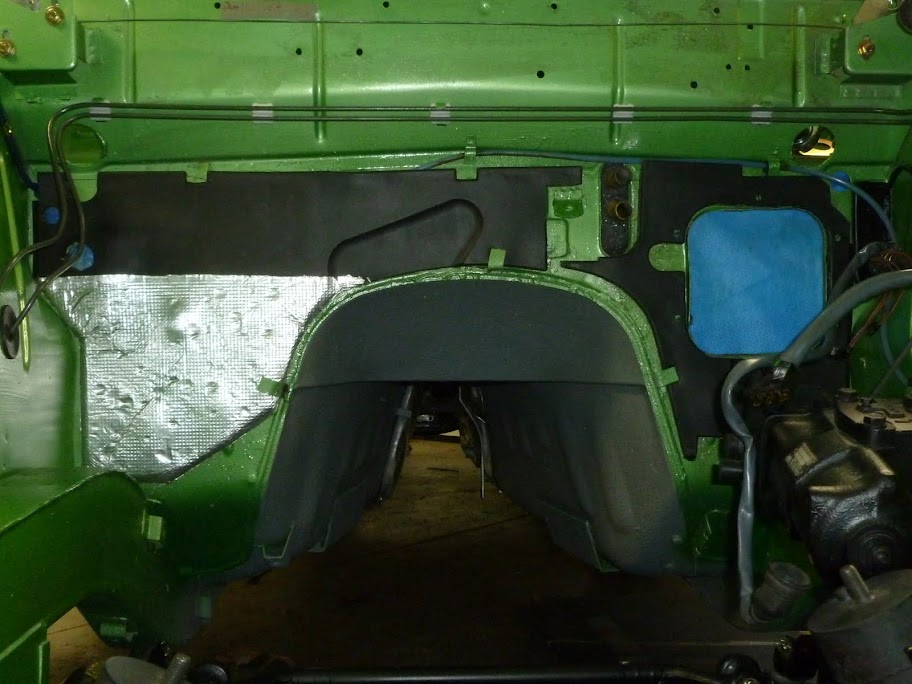
The forewall insulating pieces went in. The adhesive backing is weak and in fact easily comes off so I decided to use 3M adhesive to more permanently adhere them. The two lower pieces are actually coupe pieces but fit the E3 with only a few minor modification, such as AC holes.
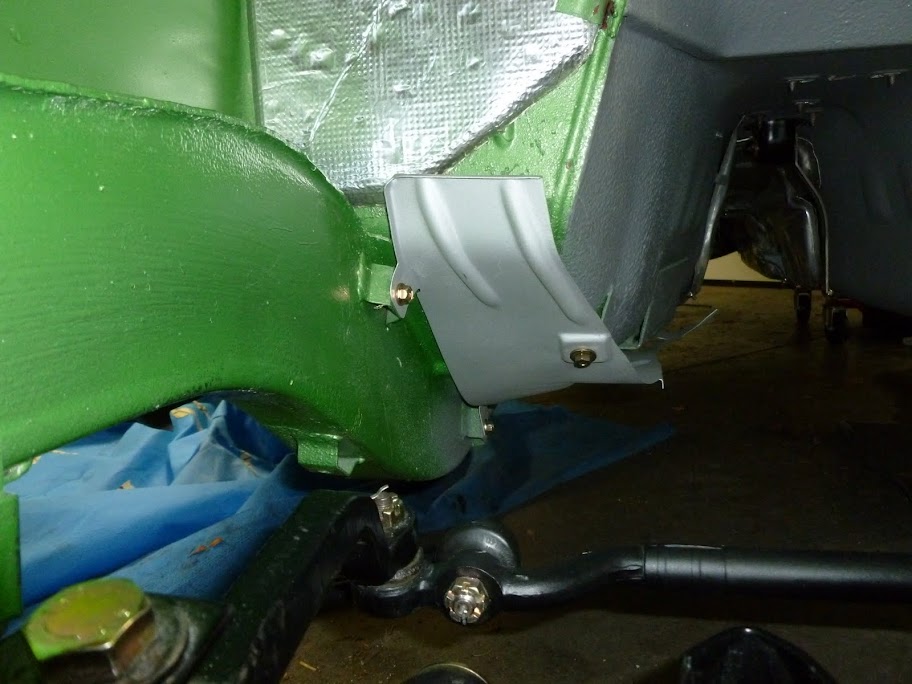
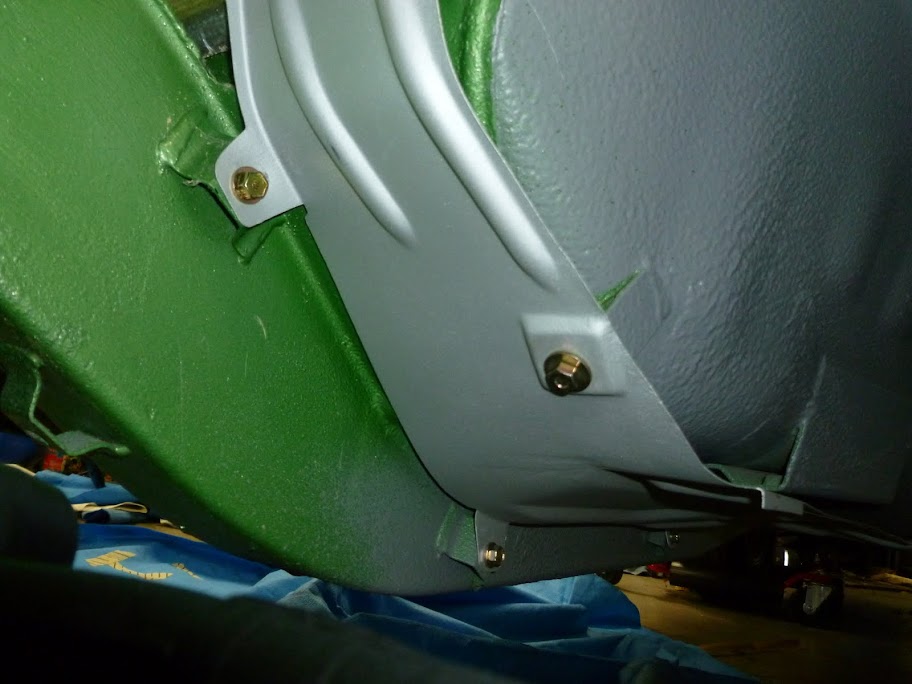
Lower exhaust shield.
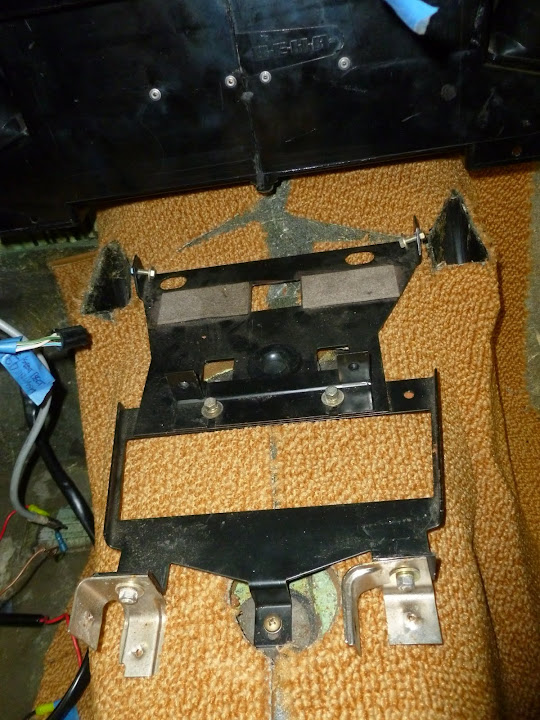
Pedal box and brake booster:
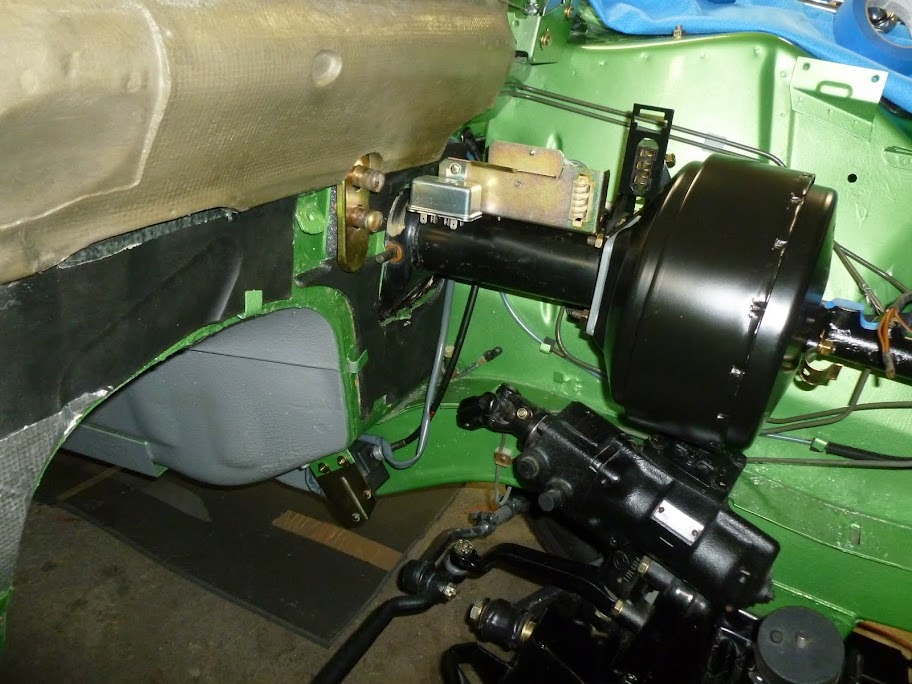
Relay carrer and injector resistor packs:
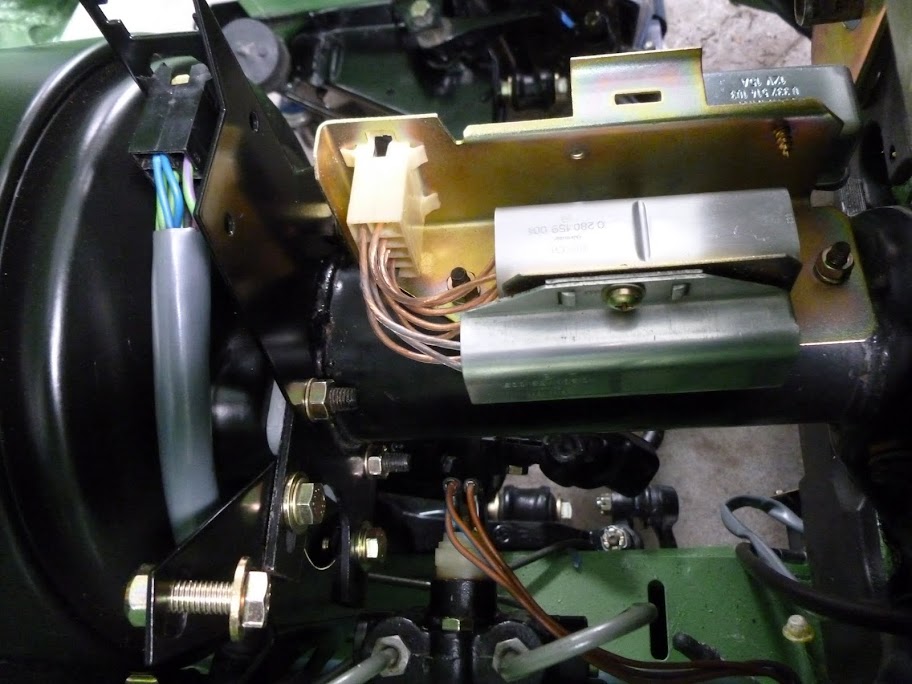
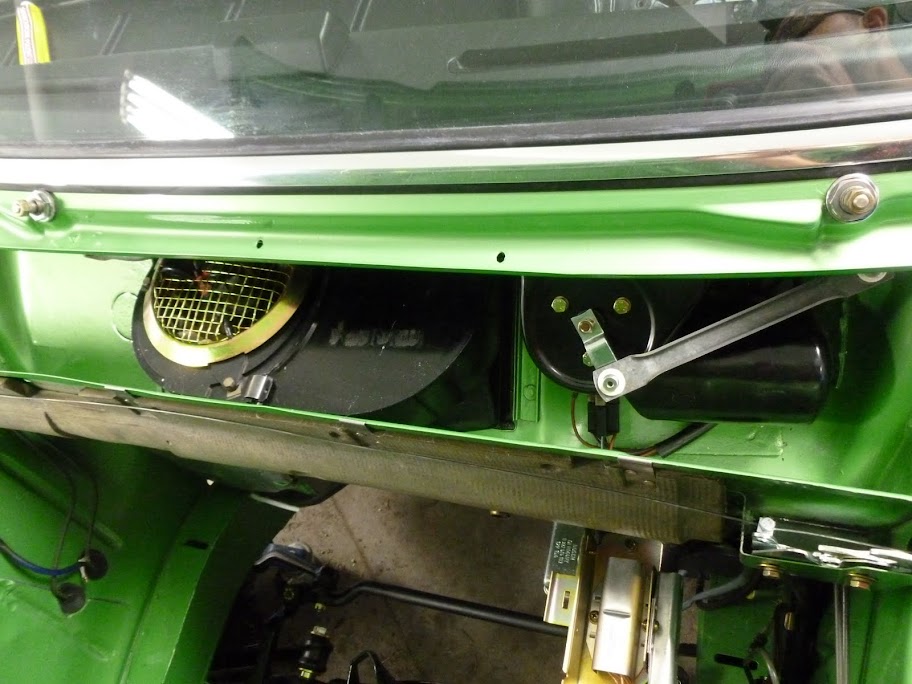
And finally the wiper mechanism
The forewall insulating pieces went in. The adhesive backing is weak and in fact easily comes off so I decided to use 3M adhesive to more permanently adhere them. The two lower pieces are actually coupe pieces but fit the E3 with only a few minor modification, such as AC holes.
Lower exhaust shield.
Pedal box and brake booster:
Relay carrer and injector resistor packs:
And finally the wiper mechanism
Luis, your car is looking awesome!
Few questions: where did you locate the firewall insulation pieces? I found the upper grey one that is thick above the brake lines but am unsure about the lower flat picecs.
Also, what are you using for cowl vent drain tubes? I was wondering whether these would fit: http://broncograveyard.com/bronco/i-16007-vent-drain-tube-1966-77.html
Looks fantastic.
Drew
Last edited: