'76 3.0 Si - Introduction

DerSchwede

Well-Known Member
Messages
348
Reaction score
13
Location
Rhine Valley, Germany
Don't forget, it's possible to take away the lot of it, not just the red housing, when changing the filter. OK you have to replace the paper gasket then, but it's much bettet than get your entire arm covered in black smelling oil... ;-)
 

Luis A.

Well-Known Member
Site Donor
Messages
1,529
Reaction score
357
Location
Wisconsin
Don't forget, it's possible to take away the lot of it, not just the red housing, when changing the filter. OK you have to replace the paper gasket then, but it's much bettet than get your entire arm covered in black smelling oil... ;-)

Exactly what I do.
 

deQuincey

Quousque tandem...?
Site Donor
Messages
8,417
Reaction score
2,430
Location
BIO - 43°15'46.5"N 2°56'03.7"W
Don't forget, it's possible to take away the lot of it, not just the red housing, when changing the filter. OK you have to replace the paper gasket then, but it's much bettet than get your entire arm covered in black smelling oil... ;-)

+1
just like i do every year, i remove the whole thing and i can take it away all the way through the space between the battery and the front intake manifold
very straightforward
 

bavbob

Well-Known Member
Site Donor
Messages
3,369
Reaction score
1,580
Location
Boston, Ma
One of those colors you would say "no way" to on a palette and yet works beautifully on the car. I am envious. Great find.
 

Luis A.

Well-Known Member
Site Donor
Messages
1,529
Reaction score
357
Location
Wisconsin
Update

Progress has been a bit slow but I'm pretty happy the way it's turning out.

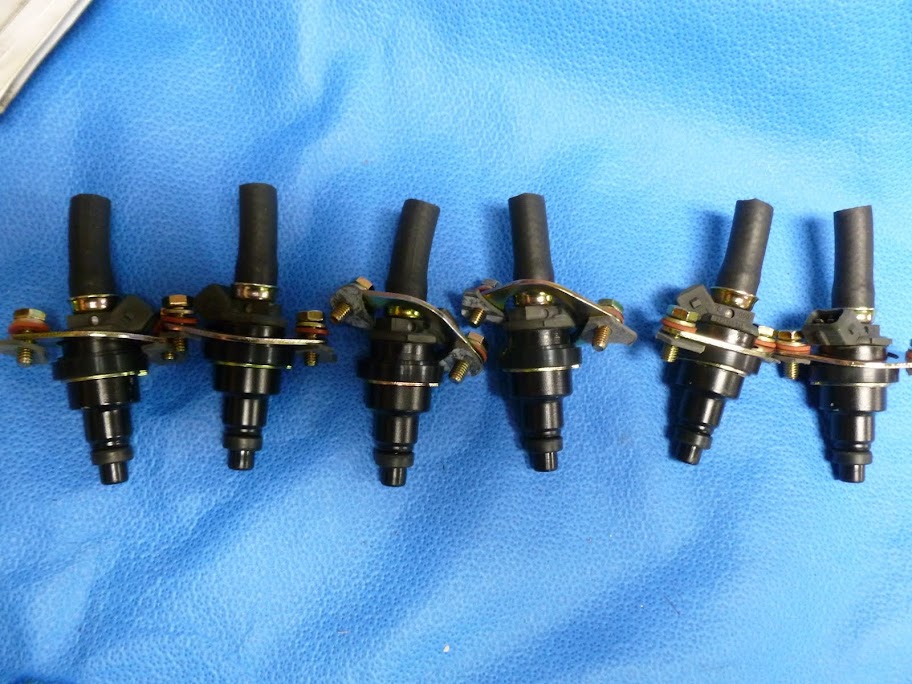
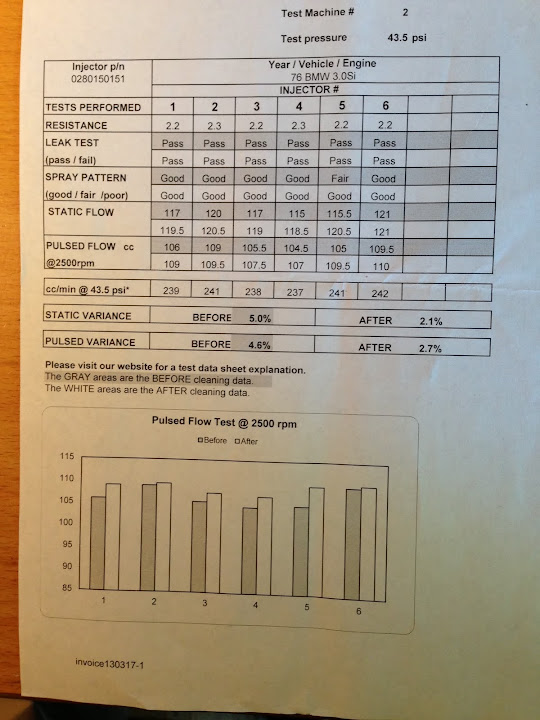
Injectors and report following cleaning by Witchunter
P1070600.JPG

photo.JPG


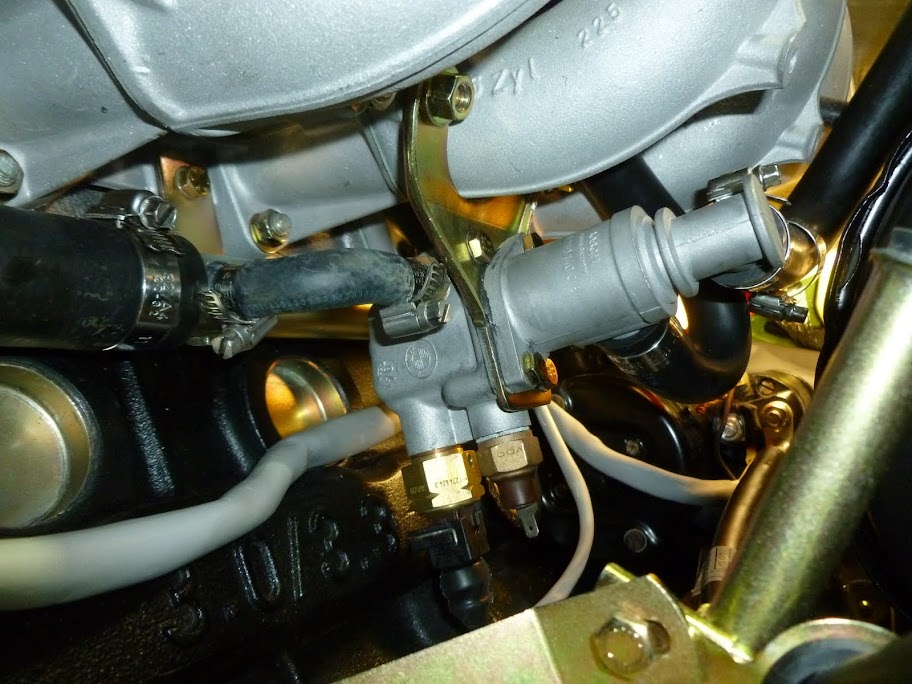
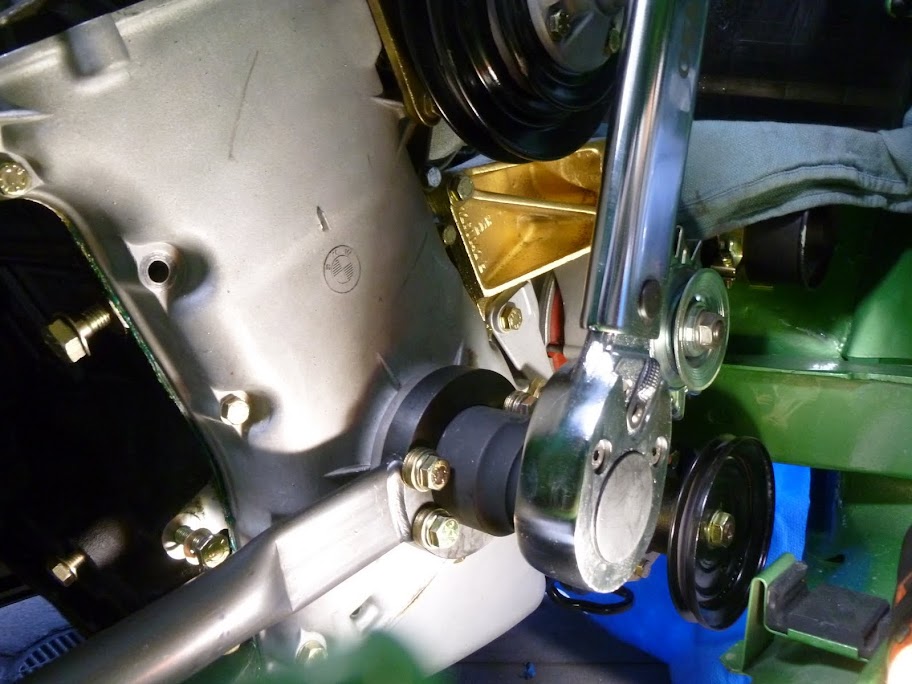
The E12 guys call this the "Jules Verne" device, and for good reason. It's buried in the heart of the engine compartment and has two coolant hoses and two air hoses leading in and out of it. All were renewed and the thermostatic air sliding valve cleaned and checked out.
P1070655.JPG


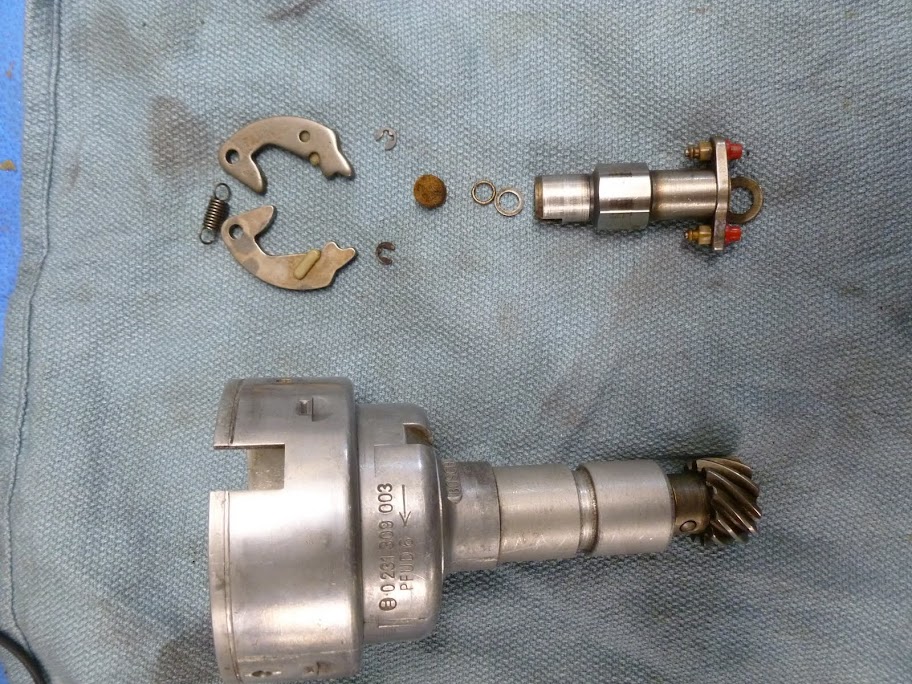
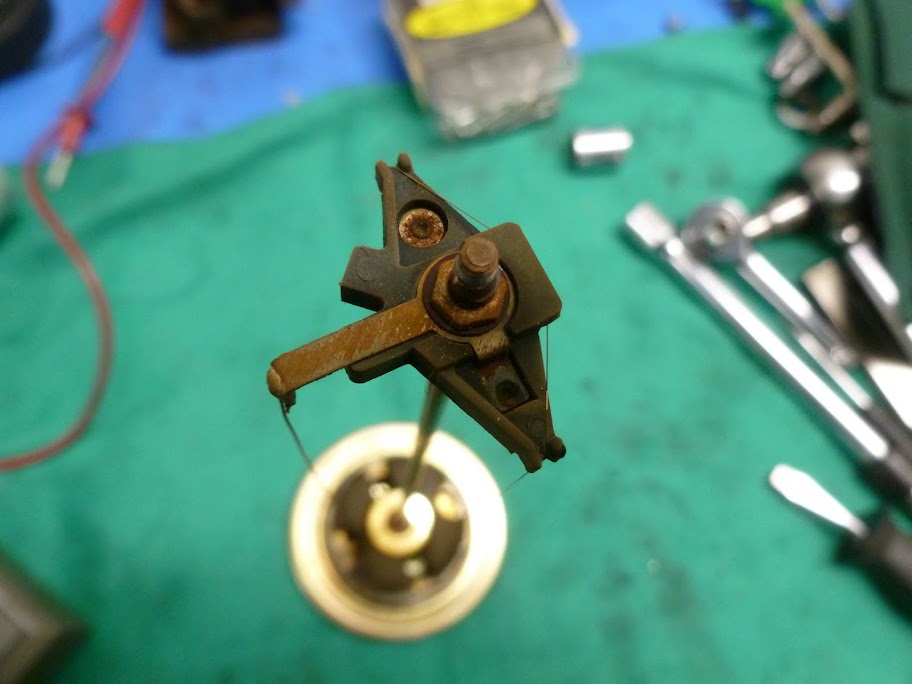
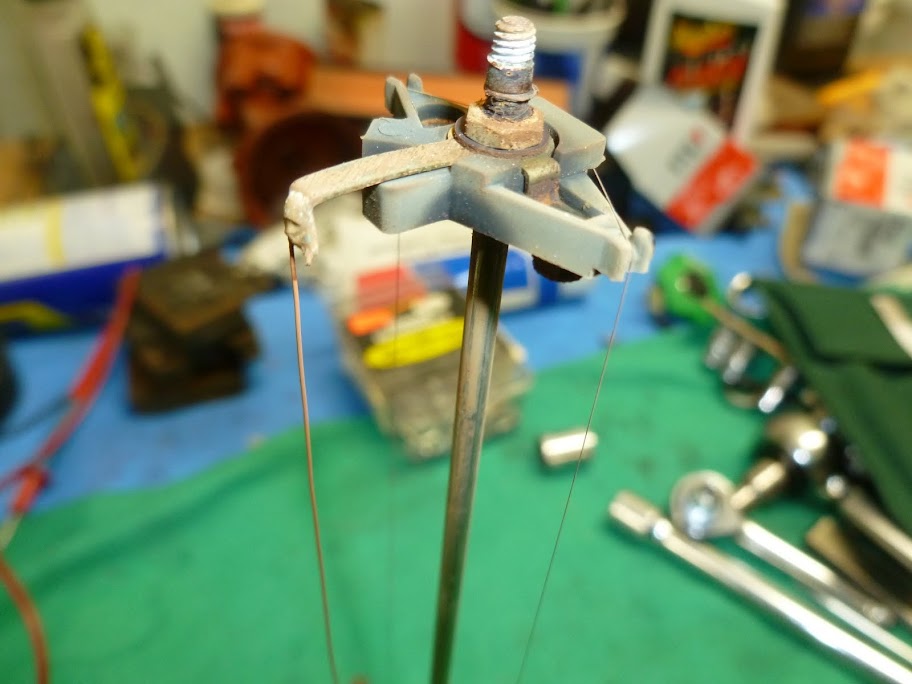
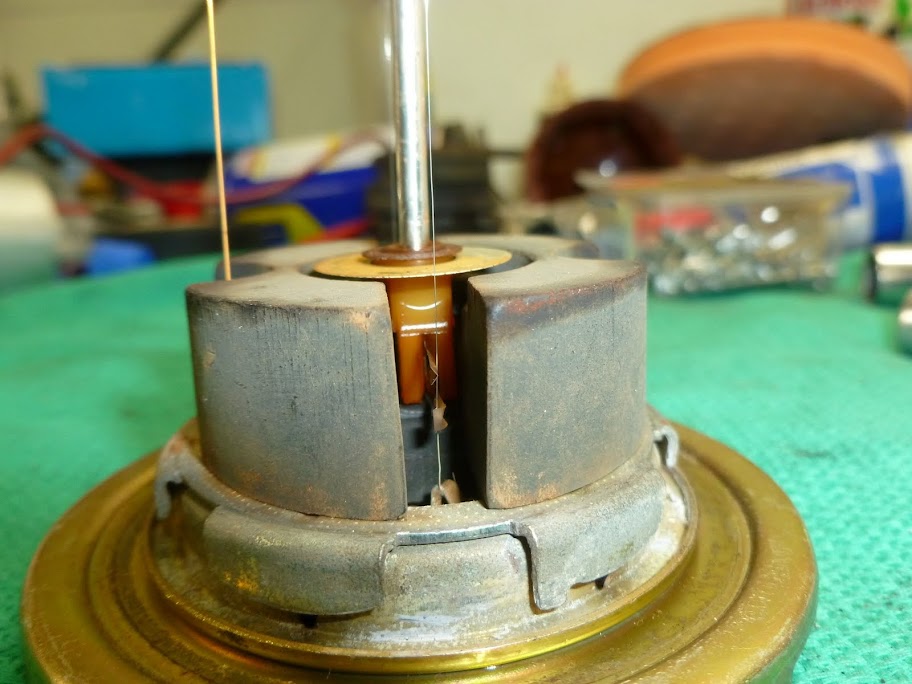
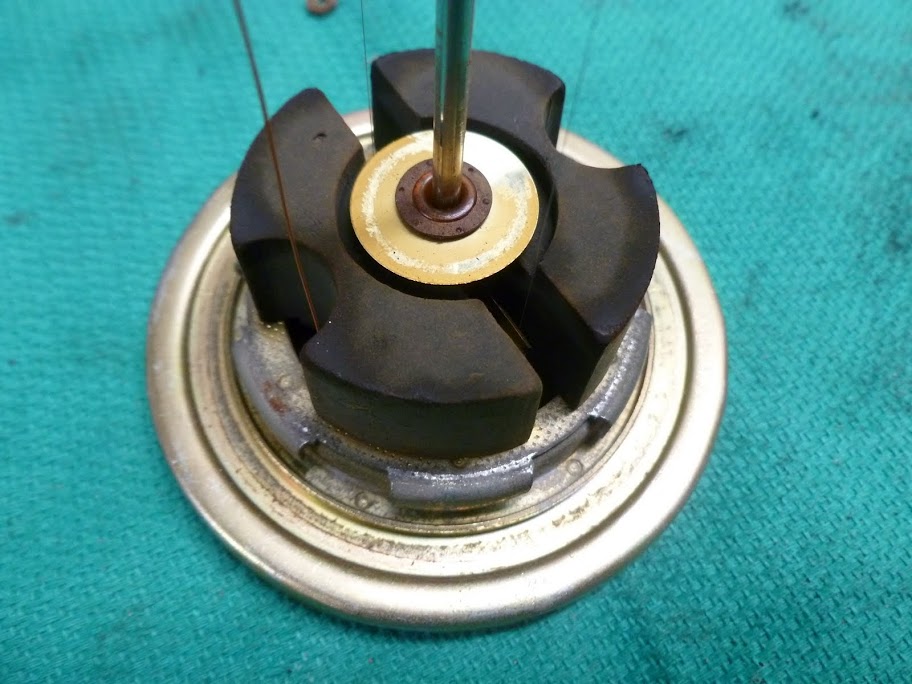
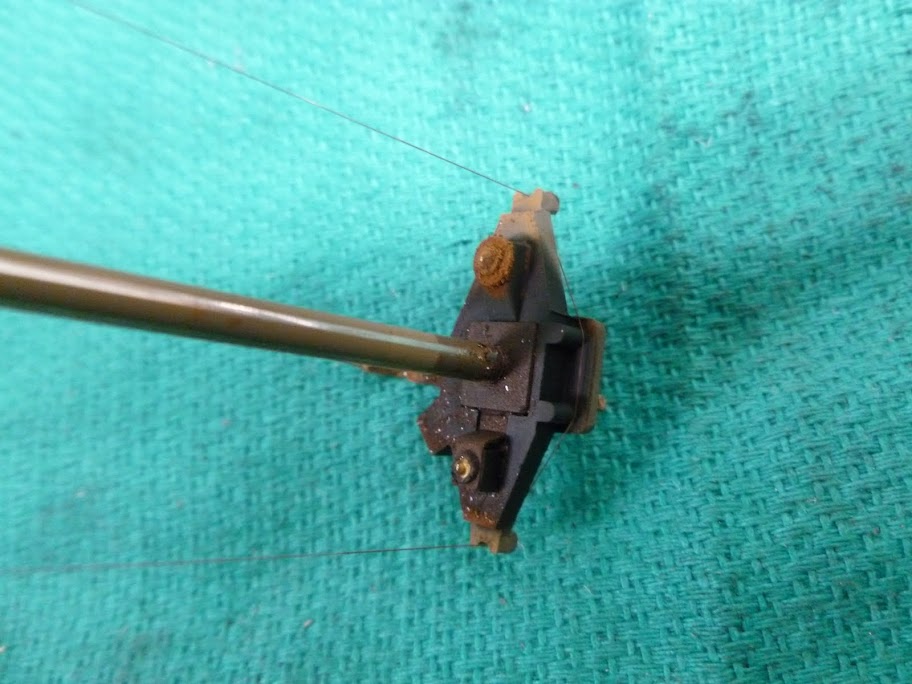
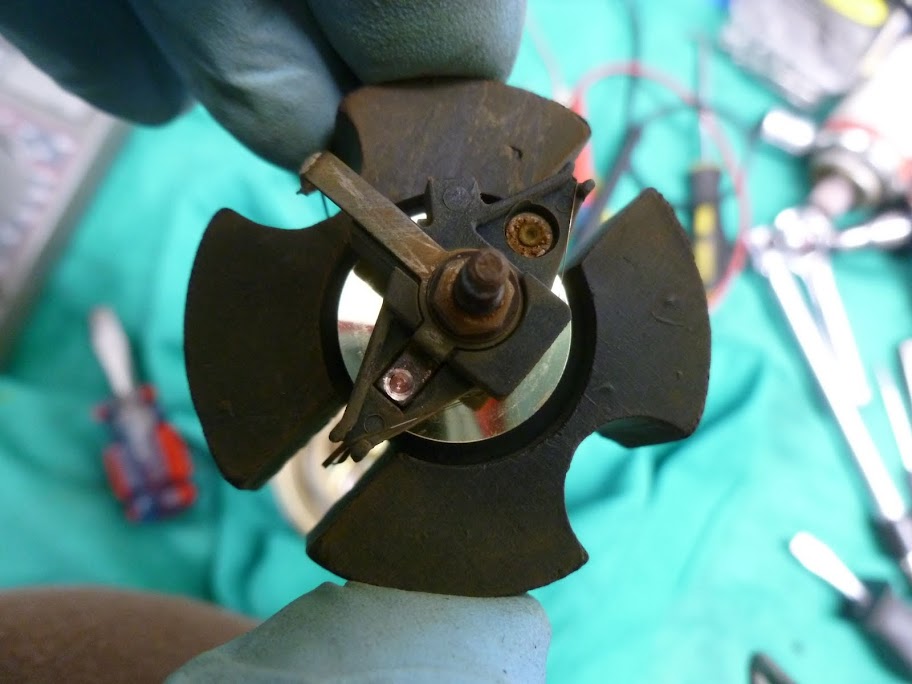
Euro-spec distributor (1976 California original was mostly all-retard, very little advance) was disassembled, cleaned and wear parts replaced
P1070707.JPG


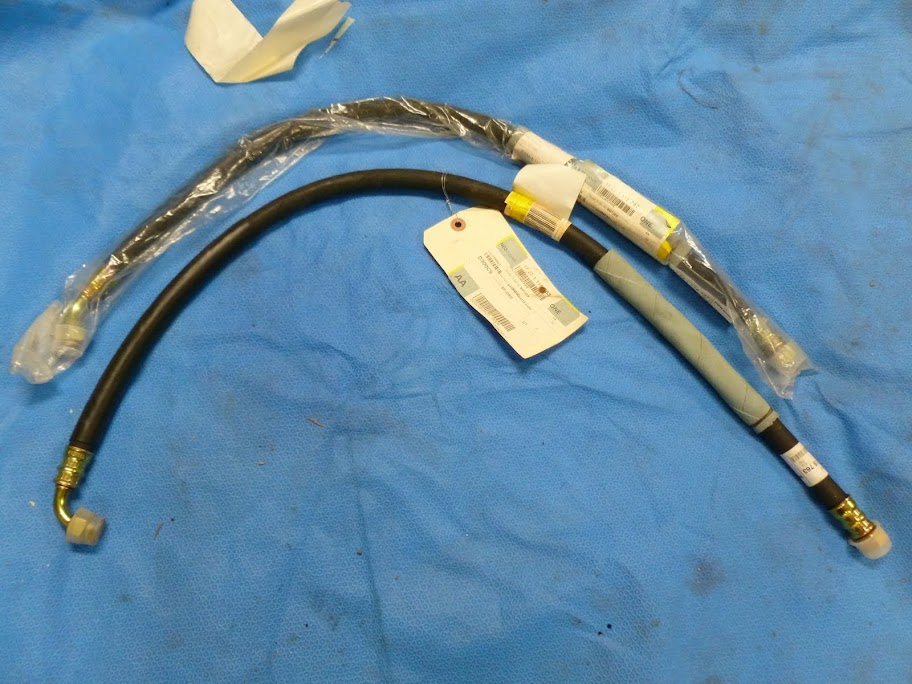
New automatic transmission hoses
P1070723.JPG


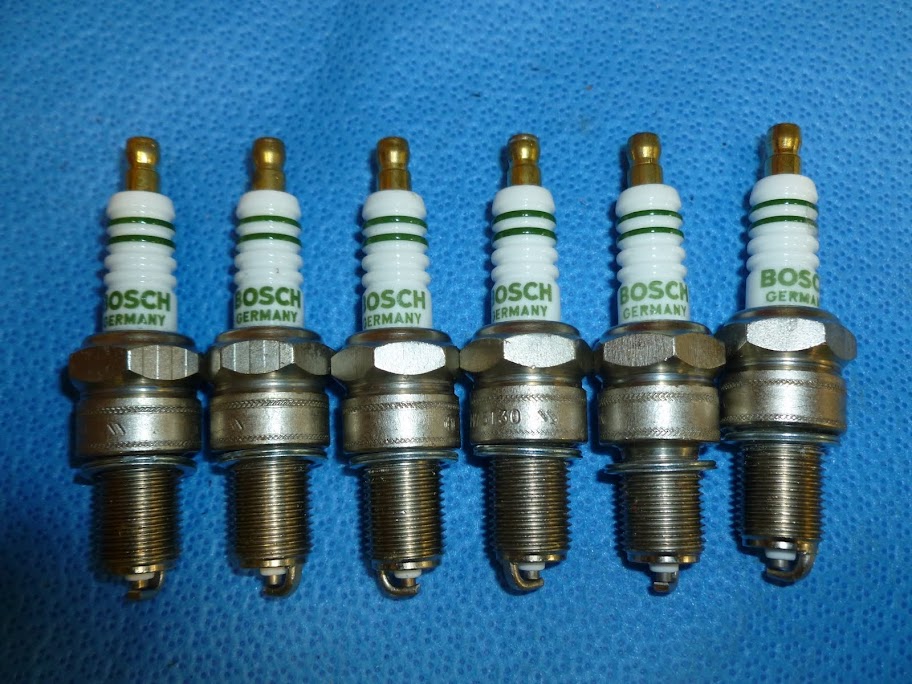
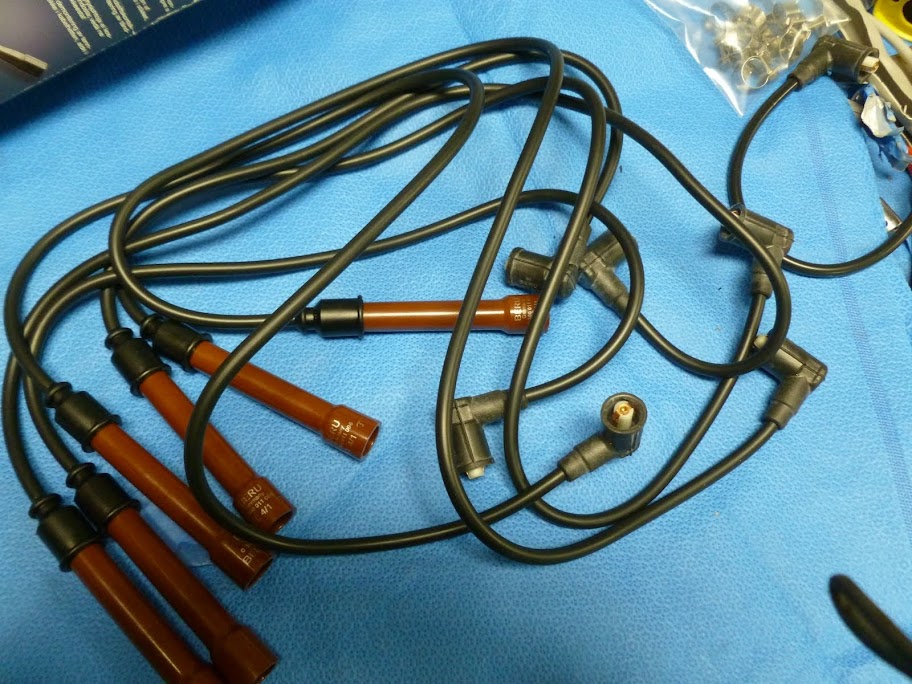
NOS Bosch Germany plugs ( I know NGK are better but I'm nostalgic...) and new Beru ignition wiring
P1070734.JPG

P1070746.JPG


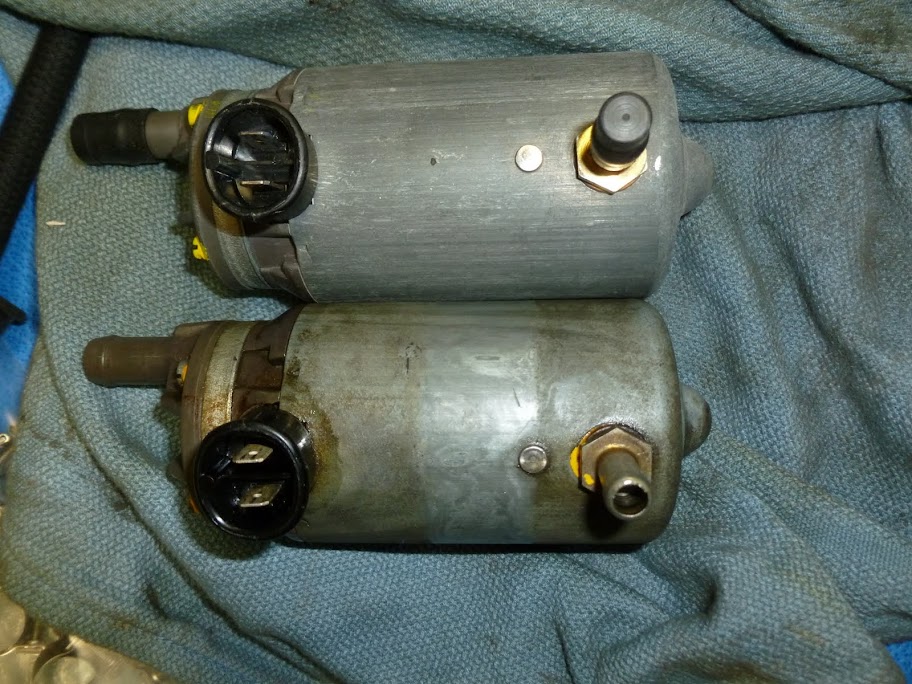
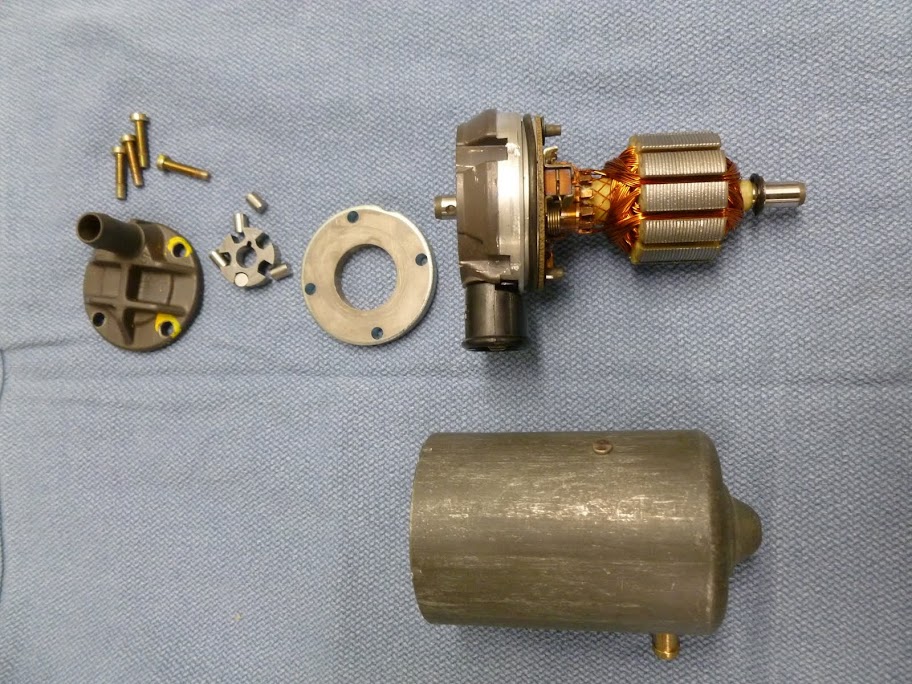
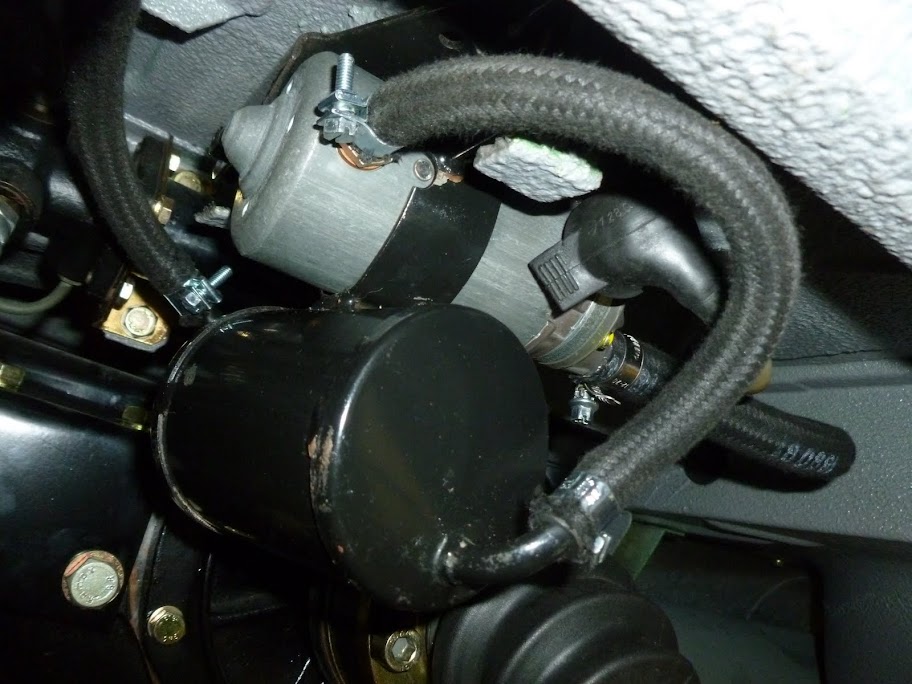
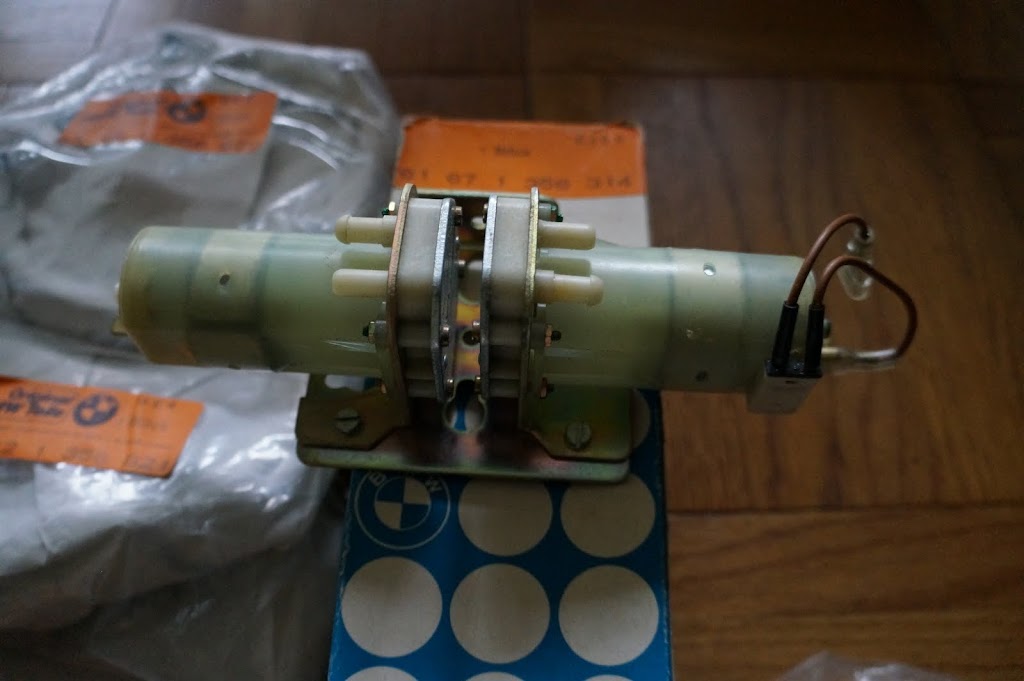
I located an NOS Bosch FI pump (top)...
P1070757.JPG


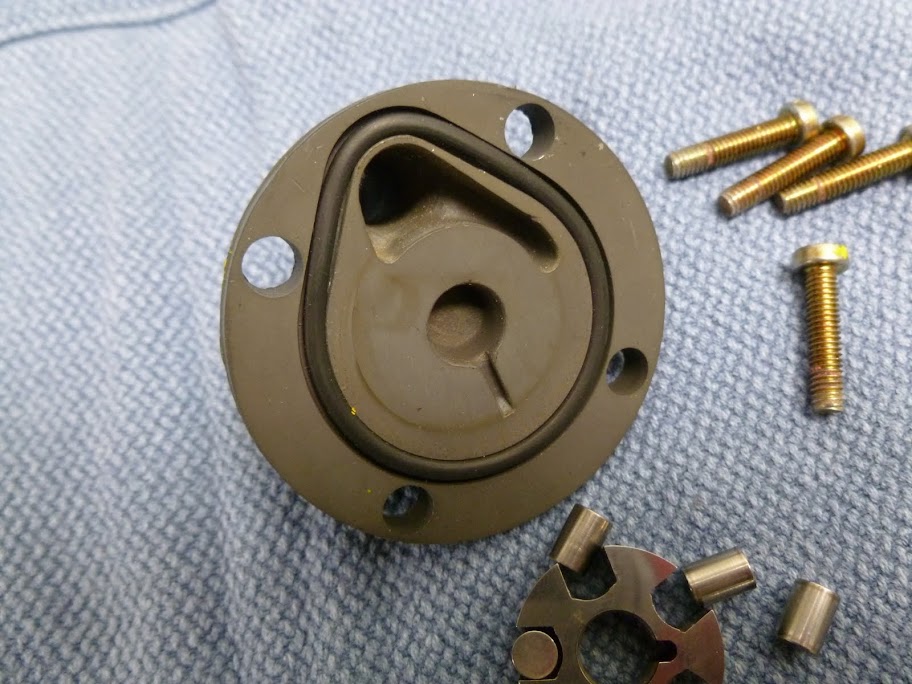
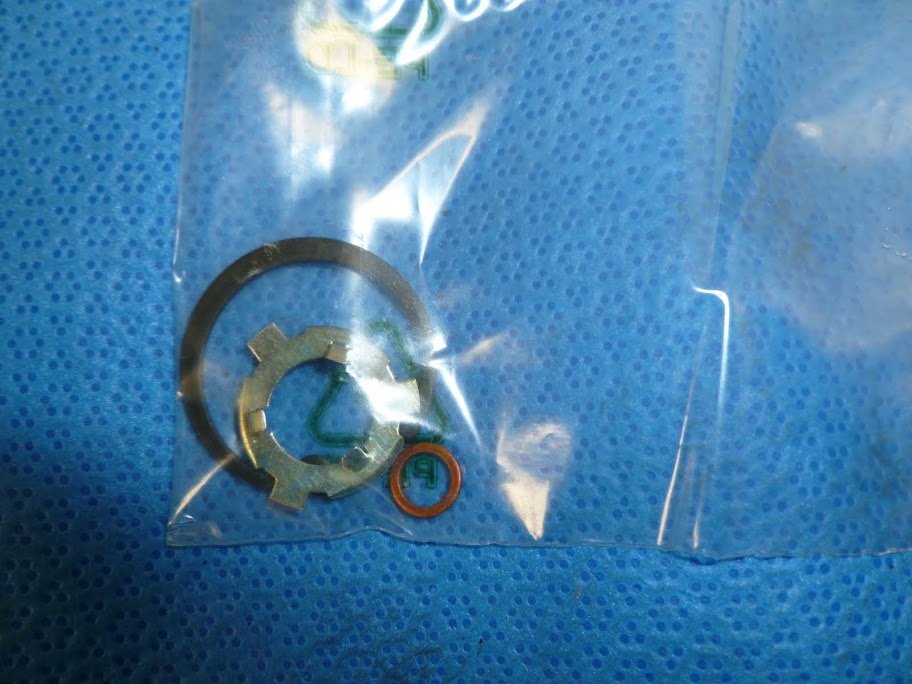
...but it leaked upon installation. I took it apart and identified a flattened O-ring that seals the innards against the outer can. It's the one seen to the left of the rotor assembly. Upon replacement the motor was tested for pressure and flow and it's remained bone dry with no leaks.
P1070761.JPG

P1070936.JPG


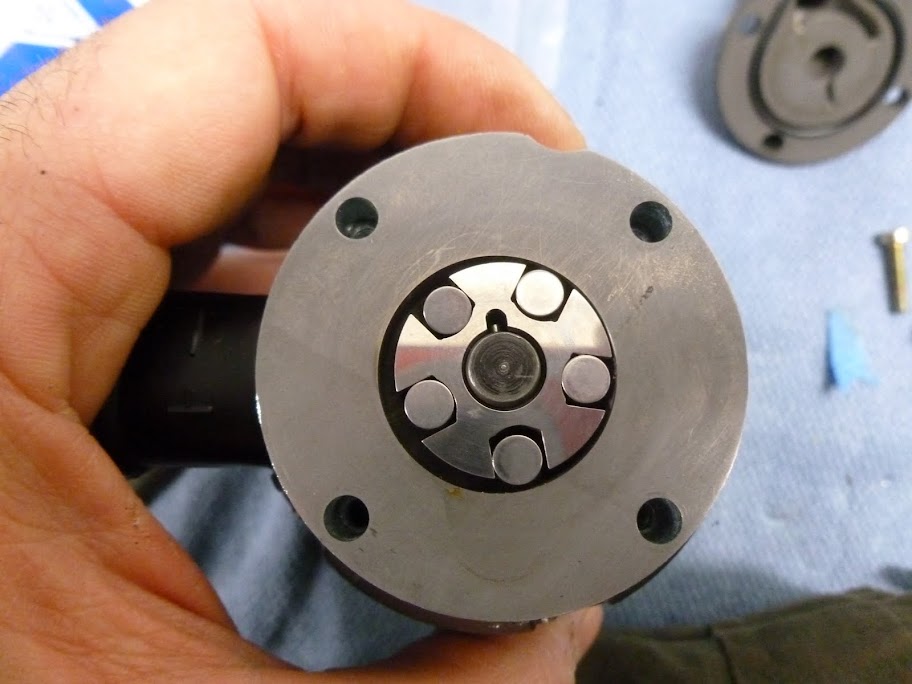
These O-rings in the pump have an oval, flattened cross section so it may appear they are defective but that is the intended profile. The surround plate for vane/roller impeller needs to be carefully positioned so it functions as intended and the impeller doesn't rub against it.
P1070768.JPG

P1070787.JPG


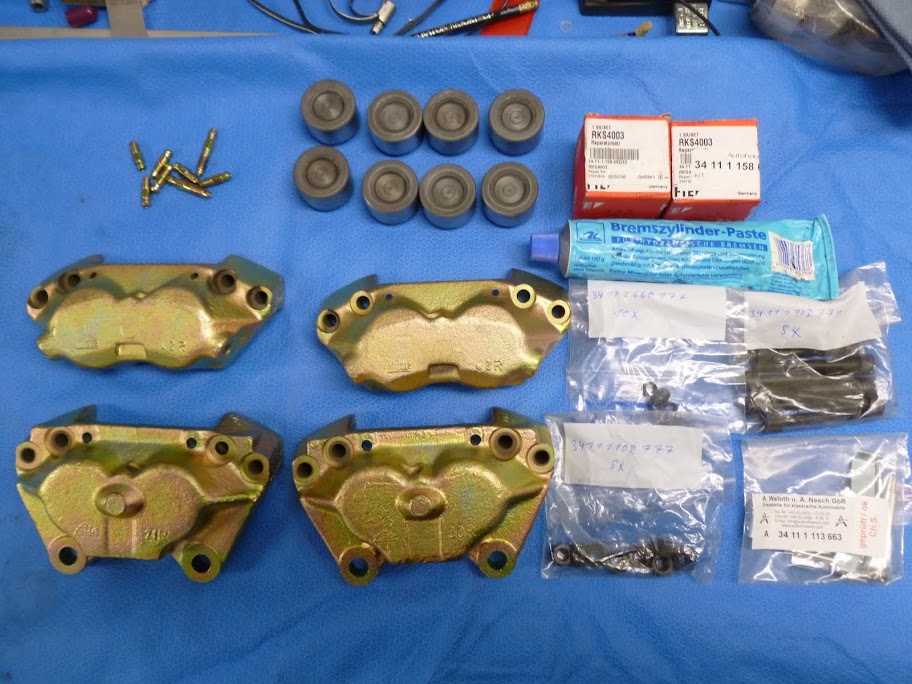
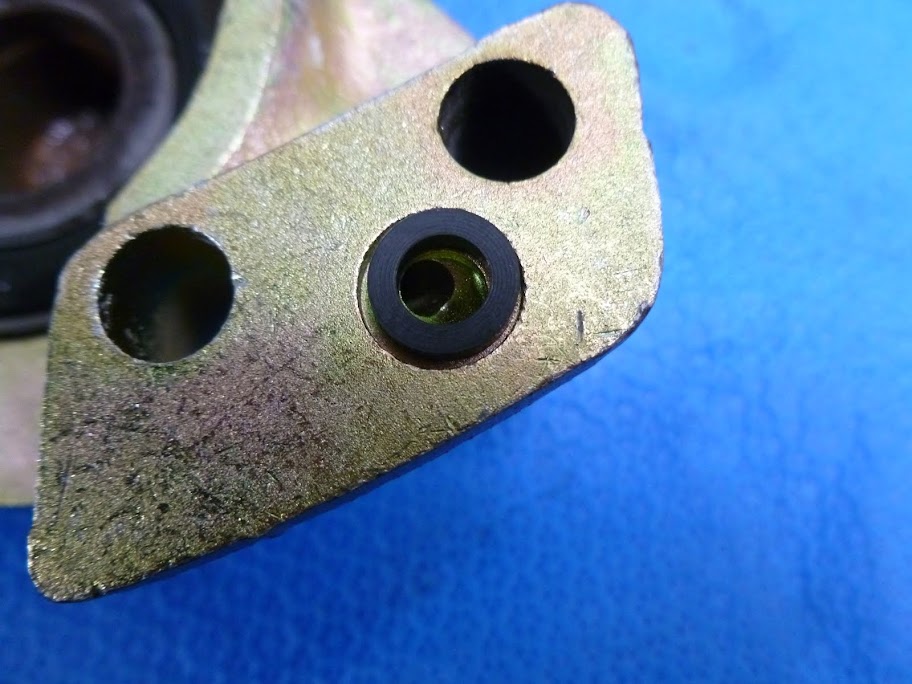
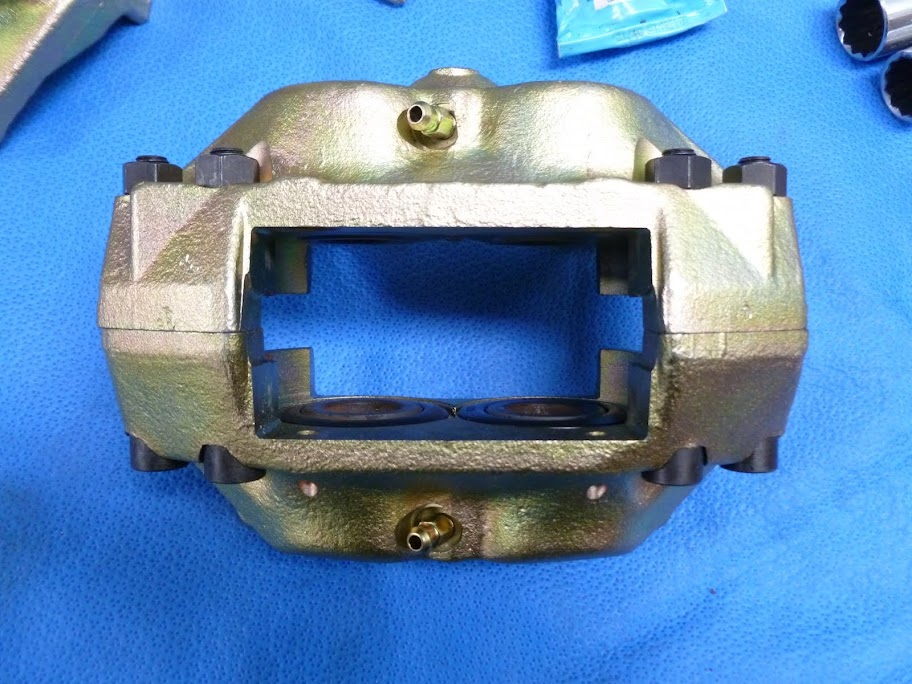
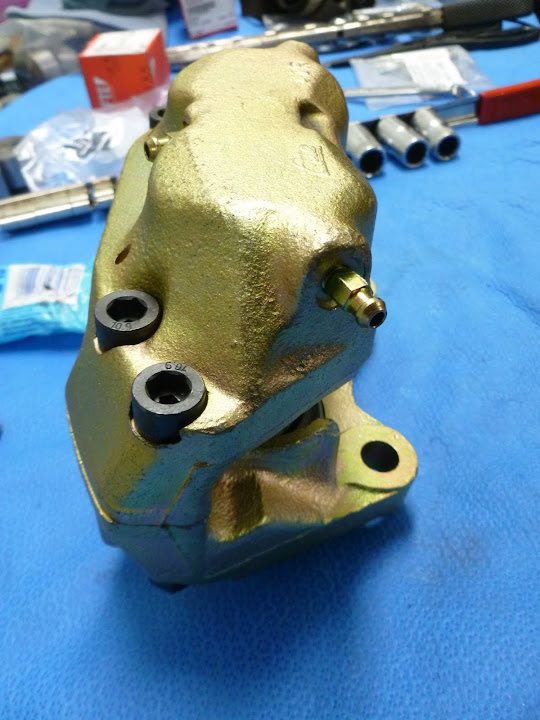
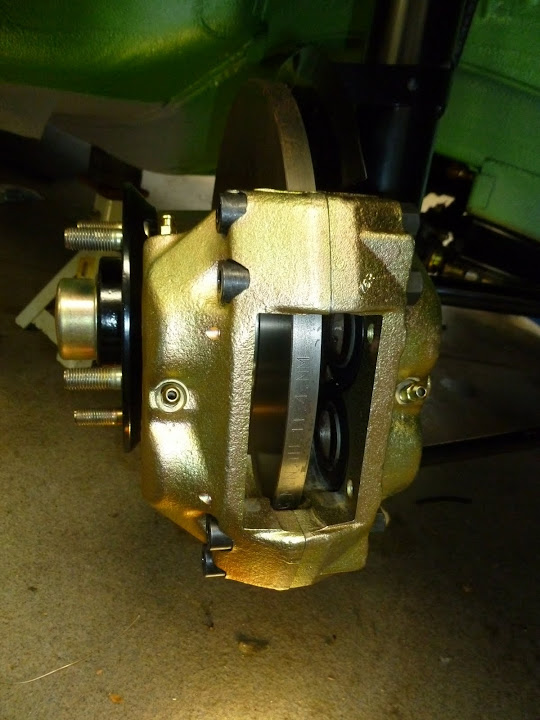
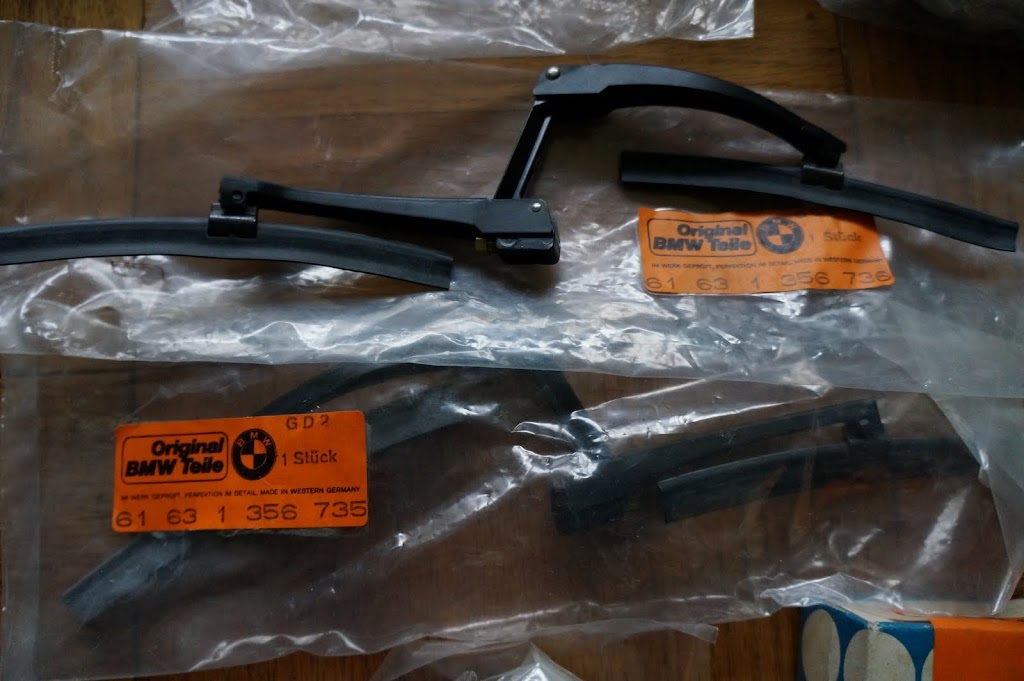
The front calipers coming together
P1070833.JPG

P1070841.JPG


The bolts are available from BMW but not the nuts, which are available from W&N.
P1070846.JPG

P1070848.JPG

P1070850.JPG


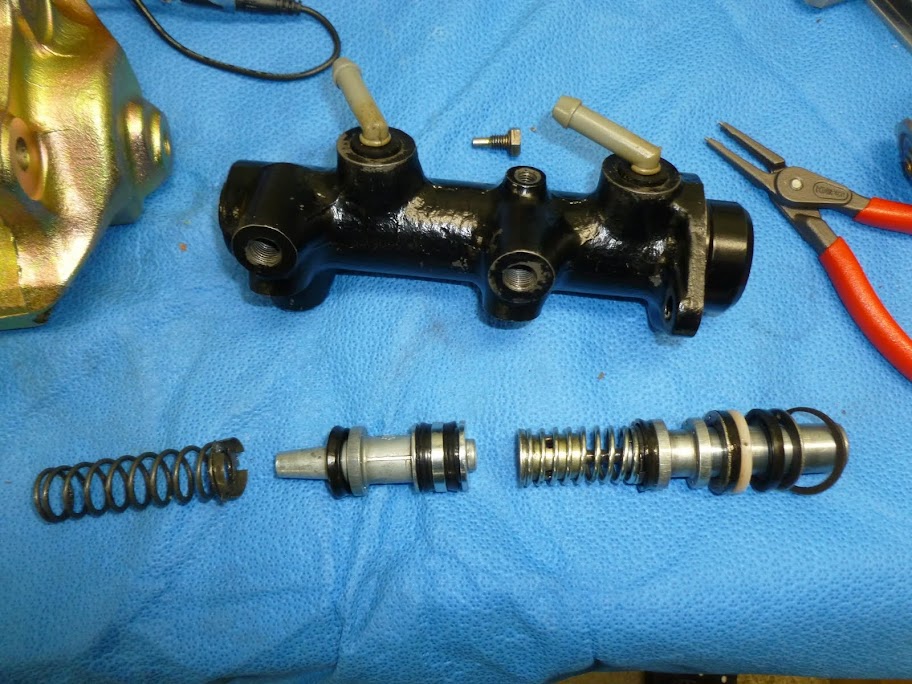
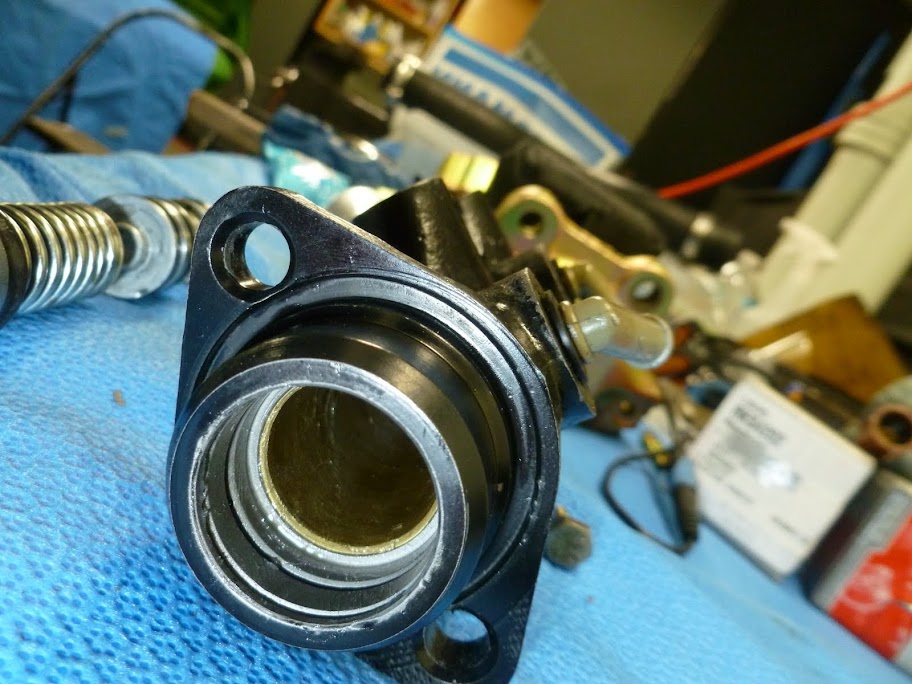
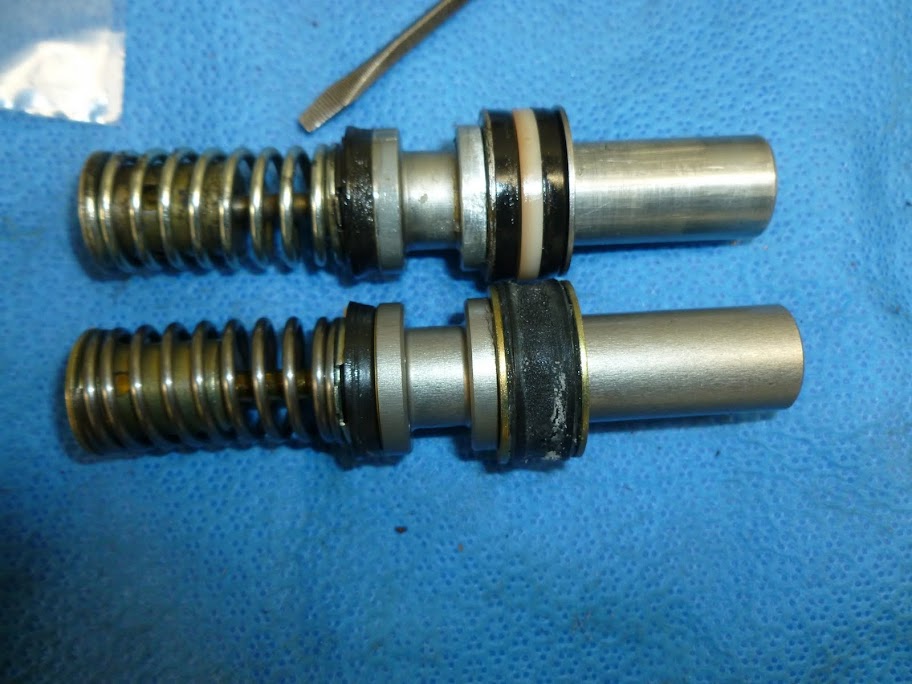
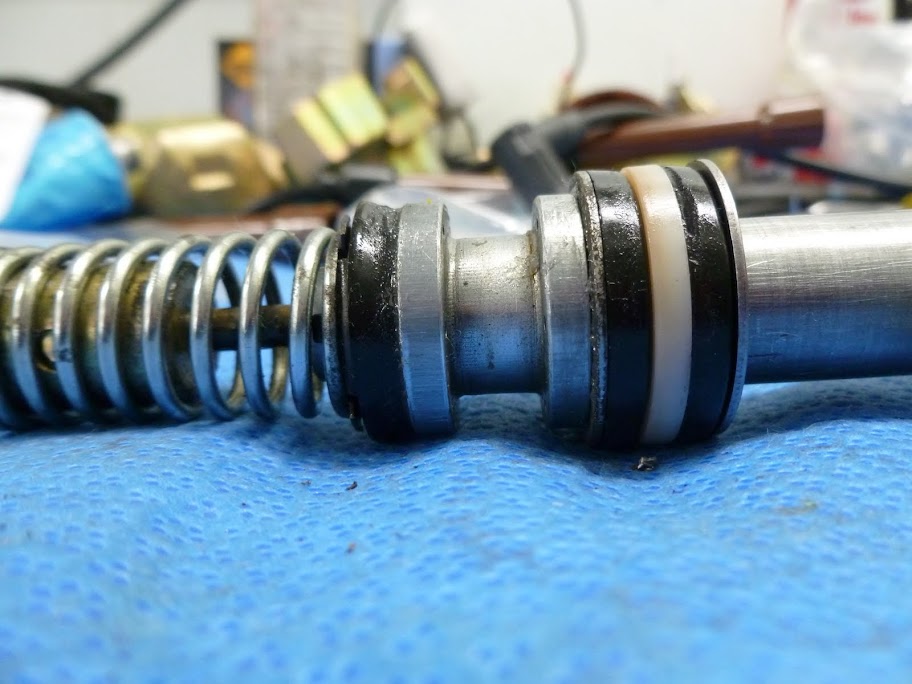
I had the master cylinder and booster rebuilt by White Post. Like another poster, my cylinder leaked from the weep hole indicating the outermost seal was not doing its job. WP did a nice job with the relining of the cylinder with a brass liner but it appears they are using inappropriate seals. I contacted the owner and he said to bring this up next time I send them something and "he would take care of me". Well, there will be no next time with White Post for me.
P1070883.JPG

P1070897.JPG


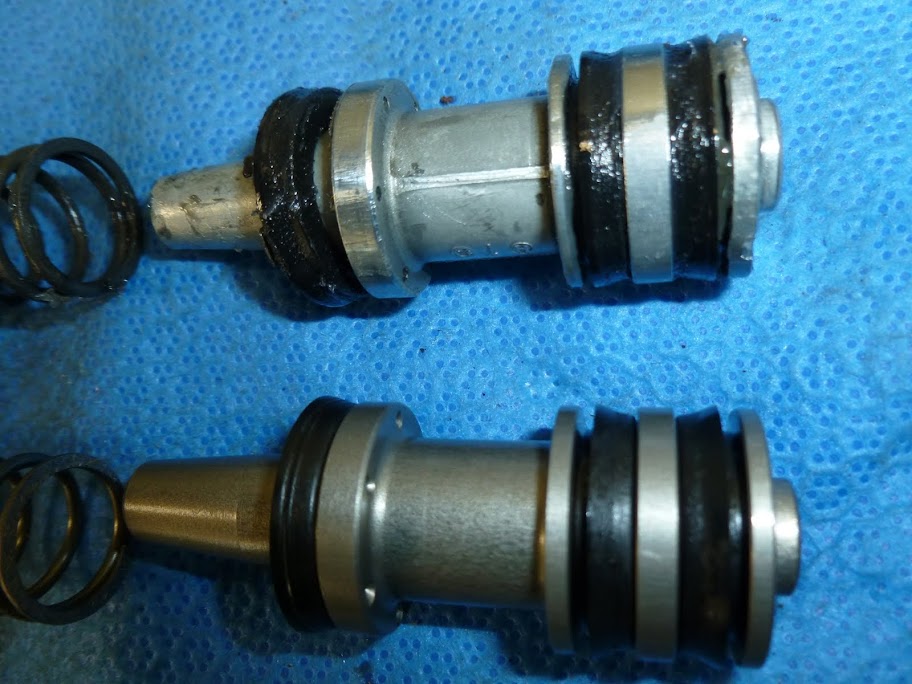
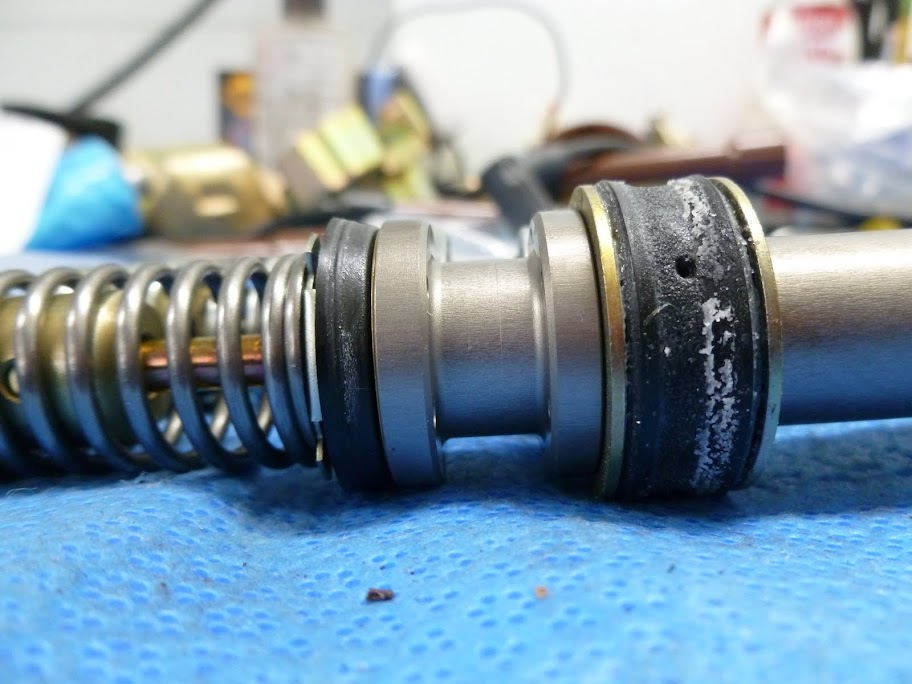
I bought a very nice FTE/FAG rebuild kit online. You can see the seals on the new parts (bottom) are far more "perky" around the edge than the ones White Post used.
P1070902.JPG

P1070904.JPG

P1070905.JPG


In addition, the outermost seal that failed looks like it's the wrong size or they simply reused old seals. Notice the new design that came with the FTE kit is a one piece, double-hump seal which appears to be more effective:
P1070906.JPG

P1070907.JPG

P1070908.JPG

P1070911.JPG


More to come later...
 
Last edited:

Nicad

Well-Known Member
Site Donor
Messages
3,511
Reaction score
536
Location
Toronto
I think that will be the neatest Bavaria in America when done. Your standards are impeccable Luis. Did the Calipers get plated or painted?
 

Luis A.

Well-Known Member
Site Donor
Messages
1,529
Reaction score
357
Location
Wisconsin
I think that will be the neatest Bavaria in America when done. Your standards are impeccable Luis. Did the Calipers get plated or painted?
Hi Bob. The calipers were zinc plated. ATE calipers of that era were zinc plated, unlike most of the other hardware, which used cadmium plating.
 

Nicad

Well-Known Member
Site Donor
Messages
3,511
Reaction score
536
Location
Toronto
Just curious what you do to the bores when plating? Rubber plugs?
 

Luis A.

Well-Known Member
Site Donor
Messages
1,529
Reaction score
357
Location
Wisconsin
Just curious what you do to the bores when plating? Rubber plugs?
I don't know what the plater used, but I actually would have prefered to have the cylinder bores plated. The coating is a few microns, fractions of a thousandths, thick and it would have protected the bore a bit without causing any interference.
 

Luis A.

Well-Known Member
Site Donor
Messages
1,529
Reaction score
357
Location
Wisconsin
After I had installed the engine in the car I had leak from the front crank seal. The hub didn't have any irregularities that I could detect and I installed the new seal just slightly more inboard just in the event there was a slight worn out area anyway but it still leaked. Not being a job I wanted to repeat, I bought a new hub and installed it using a hub holding tool and a rental (free) 600 Ft-Lbs wrench from Autozone. The wrench is impressive, about 3-1/2 feet long, thus requiring not very much force to obtain the required ~325 Ft-Lbs. The hood needed to be freed from the supports at the fenders so it could be sufficiently opened to fit the mongo wrench.
P1070954.JPG

P1070972.JPG

P1070978.JPG

P1070979.JPG

P1070984.JPG


Finally the car was ready for a test drive but didn't have the seats back from the upholsterer yet. If you've ever tried to drive a car without a seat, I'm here to tell you it's not that easy. The only chair in the house (no milk crates...) that fit is a very low Eames chair... and thus was born the E3 "Eames edition":
P1080092.JPG


For posterity, the underhood rubber seals that surround the heater box, two of them, are not available from BMW but I discovered that the trunk seal, which is available, has the exact profile and one trunk seal will supply sufficient length to make the underhood seals. Some cutting of the seal is required along the corners for the seal to sit properly. Old on right, new on left:
P1080095.JPG


I had the exhaust coated in Cerakote high temperature and it turned out very nice. The even sprayed the inside of the pipes.
P1080119.JPG

P1080123.JPG

P1080124.JPG


The fuel tank reserve tank light wan't working so out comes the assembly. The level indicator gauge responds to the varying resistance of the resistive wire and the float's sliding contact arms. In all these photos, the assembly is upside down.
P1080066.JPG

P1080065.JPG

P1080068.JPG


The shiny disk is the reserve indicator. When the level is low enough, the disk contacts both pointy contacts on the 2nd picture. The corrosion seen in one of the contacts has internally, within the plastic piece, interrupted the contact with the riveted connector on the back side.
P1080064.JPG

P1080076.JPG


Slow and measured drilling of the contact allowed both metallic pieces to once again be connected together.
P1080077.JPG


Some of the NOS headlight wipe/wash components being installed
DSC00815.JPG

DSC00828.JPG

DSC00831.JPG

DSC00833.JPG

DSC00834.JPG
 

afeustel

Well-Known Member
Site Donor $
Messages
551
Reaction score
177
Location
Houston
Luis,
From whom did you purchase your brake master cylinder rebuild kit?
 

Luis A.

Well-Known Member
Site Donor
Messages
1,529
Reaction score
357
Location
Wisconsin
Luis,
From whom did you purchase your brake master cylinder rebuild kit?

It's sold as a Raybestos MK1168 (the stuff in the box, including the instructions is FTE). It's very complete and of high quality. It even includes the copper washer for the bolt/stopper that's on top of the cylinder and the booster/MC sealing rubber washer.

It maps to BMW repair kit PN 34311103743 which is called for for all E9, E3 and others. You can find it at many online vendors.
P1070918.JPG

P1070909.JPG
 

RonP

Well-Known Member
Messages
495
Reaction score
12
Location
Sunset Beach, Ca
Beautiful work, Luis! What started out as a really nice platform has just turned into a most enviable piece of art. I applaud your efforts, sir.
 

bavbob

Well-Known Member
Site Donor
Messages
3,369
Reaction score
1,580
Location
Boston, Ma
Most impressive is your knowledge of furniture. Not many would have known that was an Eames chair.
 

Luis A.

Well-Known Member
Site Donor
Messages
1,529
Reaction score
357
Location
Wisconsin
Beautiful work, Luis! What started out as a really nice platform has just turned into a most enviable piece of art. I applaud your efforts, sir.
Thanks Ron, and also for your help in getting the car ready initially.

Tonight I took a short test drive after charging the A/C system over the weekend. Vent outlet temperature was a chilly 39-41 degrees during a muggy 80 degree afternoon. That was more thrilling to me so far than amost any other aspect of the project. Driving a 'classic' with AC is a new experience for me.
 

Luis A.

Well-Known Member
Site Donor
Messages
1,529
Reaction score
357
Location
Wisconsin
Some pics from its first real outing tonight. Drove great and looks even better. Numerous details to work through yet, including finding or making the steel pins that connect the wiper blades to the Bosch wiper arm; if anyone has some extras willing to part with please let me know.
IMG_2367.JPG


IMG_2362.JPG
 
Top