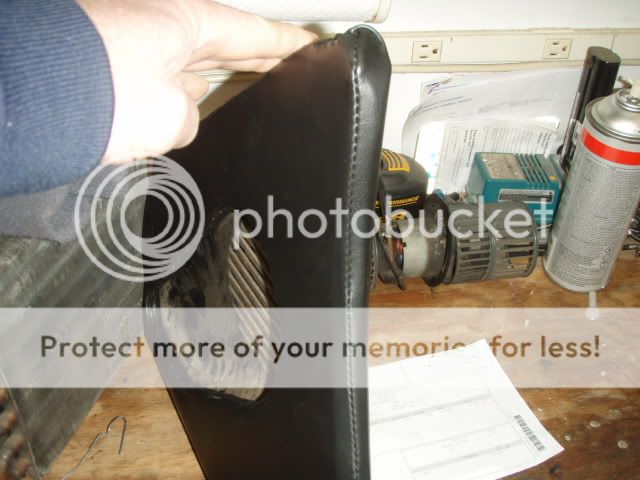
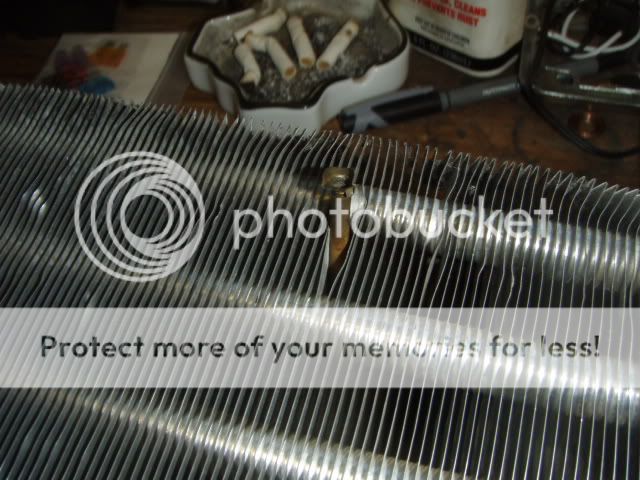
Don't remove the clips- this is just an old fashioned PITA..
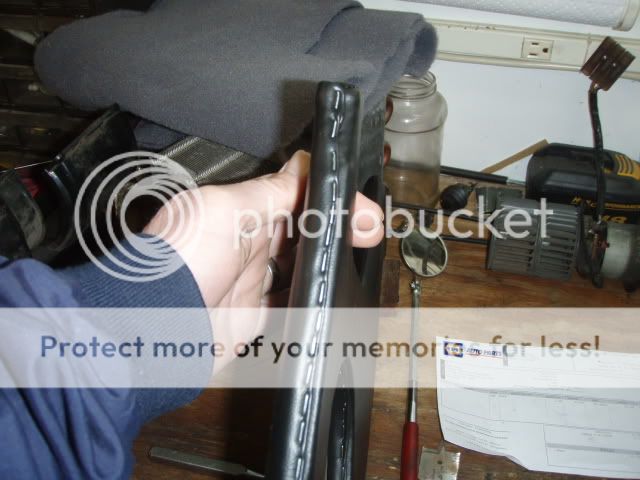
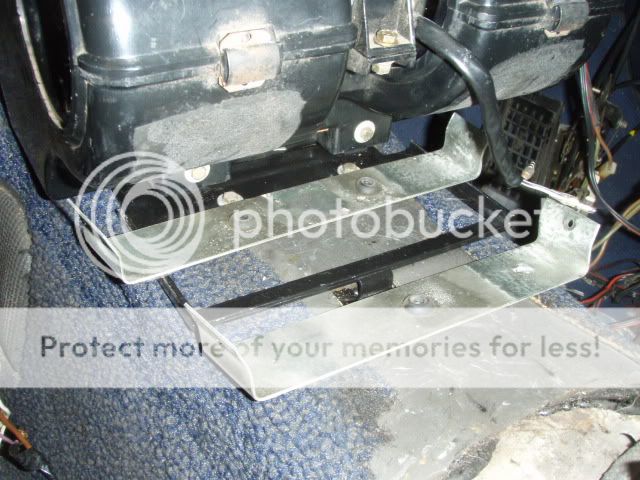
Take your time and wrestle it into position.
Take your time and wrestle it into position.
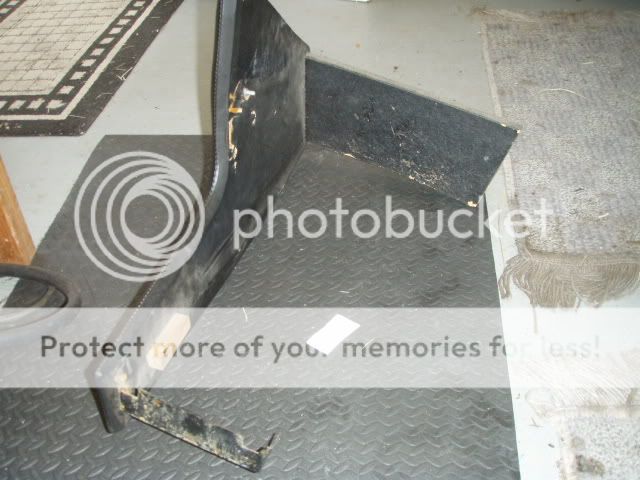

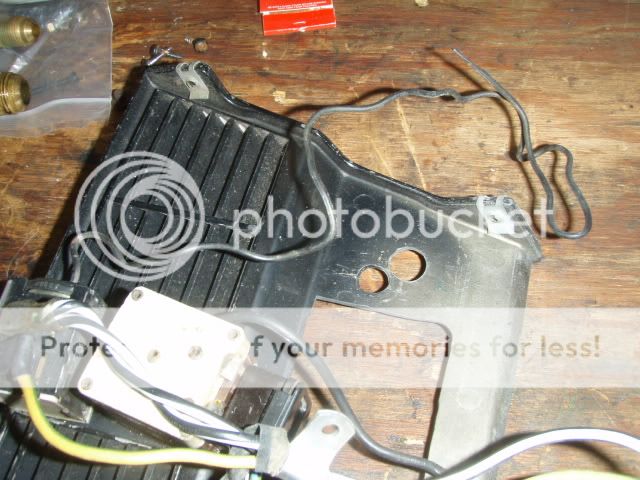
And where does this tube go? It's off the back of the "colder" knob on the front panel


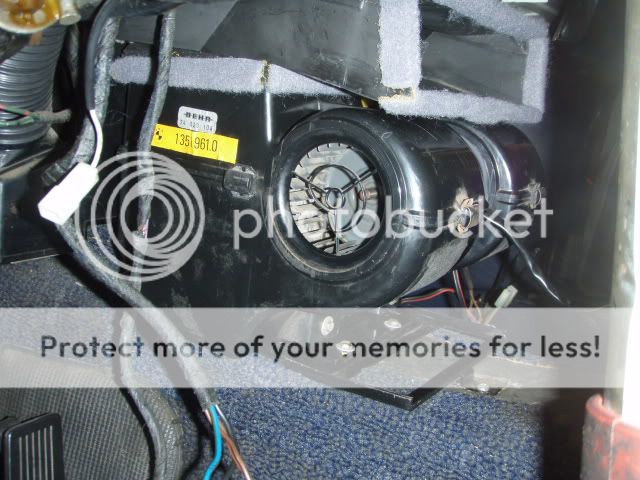
Here's a shot of the expansion valve. I got the last one in the States from my local BMW dealer. The guy that's going to make the hoses for me suggested very strongly to replace the valve. Remember, it's 38 years young! It's a PITA to get to and the only way to test it (as far as I know) is to have it all installed and pressured up. If it doesn't work, start over from Line One above.
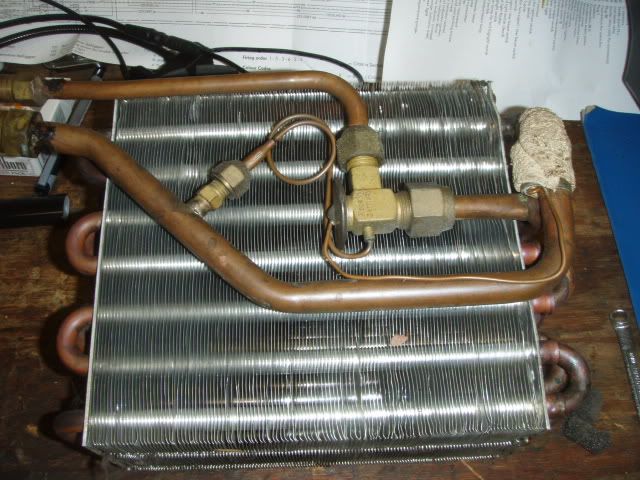
This Nostalgic AirParts expansion valve looks very similar to the OEM valve. Has anybody tried to modify their AC with this model?
http://www.nostalgicairparts.com/ai...sion-valve-with-female-equalizer-tube-417.php
Henrik

")
