You are using an out of date browser. It may not display this or other websites correctly.
You should upgrade or use an alternative browser.
You should upgrade or use an alternative browser.
Air conditioning upgrade photos/details
- Thread starter Stevehose
- Start date
The question was about:
x_atlas0 said:
Has anyone done more work with upgrading the interior-side components? (evap, blower, incredibly expensive, fragile, and rare interior ducting) I have heard from a few people using VintageAir and ICEAC, but when I have called them they said they had nothing that would work.
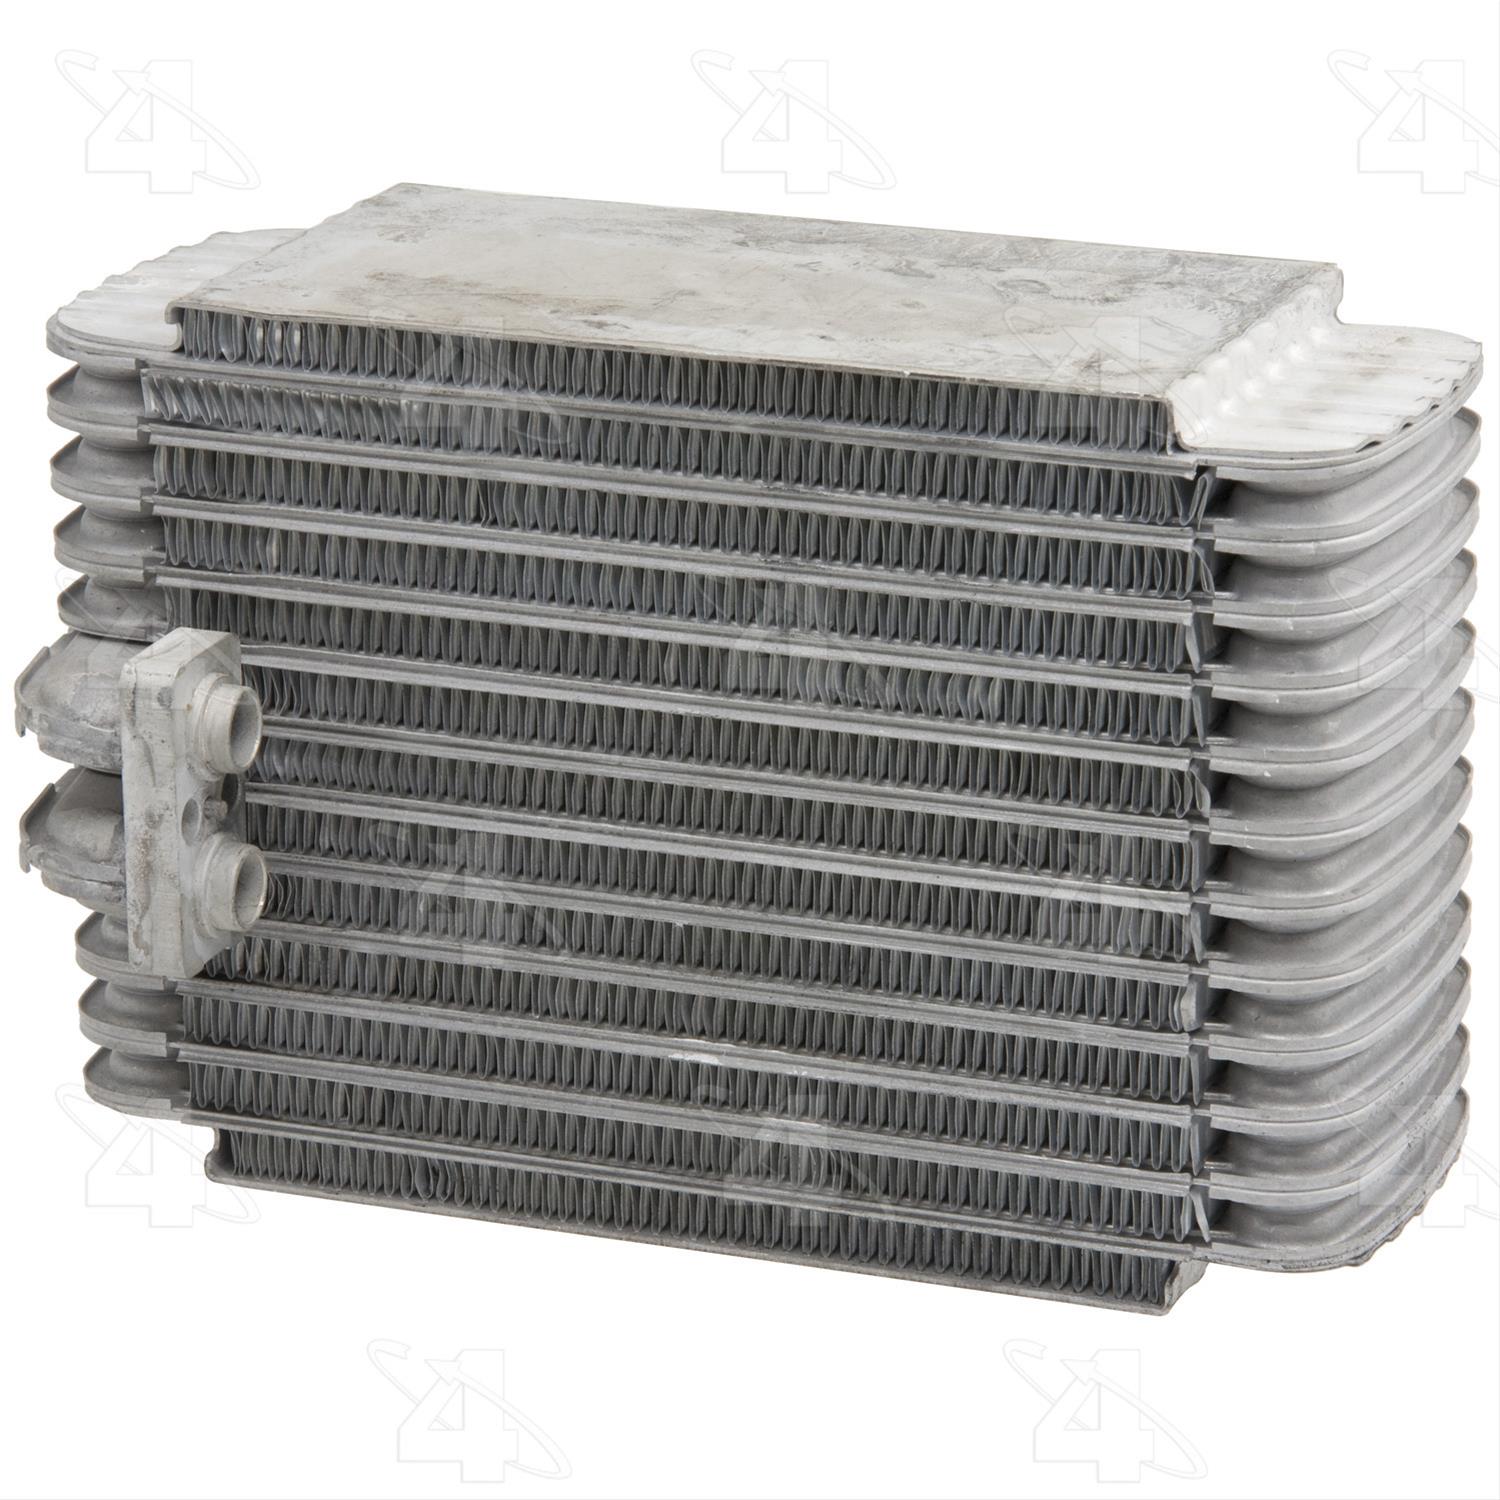
I didn’t want to tease this yet because I haven’t finished but I’m putting this evaporator in my car:

 www.summitracing.com
I won’t know whether it’s a success or an upgrade until I try it but I’ll share my notes here tonight or tomorrow. Feedback wouldn’t hurt.

Four Seasons 54961 Four Seasons Evaporator Cores | Summit Racing
Free Shipping - Four Seasons Evaporator Cores with qualifying orders of $109. Shop Air Conditioning Evaporator Cores at Summit Racing.
I won’t know whether it’s a success or an upgrade until I try it but I’ll share my notes here tonight or tomorrow. Feedback wouldn’t hurt.
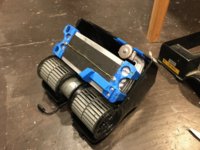
I intend to give this a full writeup but here are the broad strokes. The idea is to use an available evaporator (the one from the rear A/C of a Toyota Land Cruiser -- $60) and an available expansion valve (the one from the rear A/C of a Dodge Durango -- $30) and have them more or less drop into our E3/E9/E12/E21 evaporator box. The way the project is winding up it looks like the box needs to be slightly modified for clearance and the tubes out of the expansion valve would be custom.
I did a test today. I tied a trash bag on my stock evaporator box that I just took out of my car and an identical bag on my junk yard project box and turned both blowers on to see which bag filled up faster (proving that one or the other had better flow). It was a tie every time, so that's a good sign. As for cooling advantage I feel like that could only be measured side by side with a car with a stock A/C on a hot day, maybe at SoCal Vintage.


I did a test today. I tied a trash bag on my stock evaporator box that I just took out of my car and an identical bag on my junk yard project box and turned both blowers on to see which bag filled up faster (proving that one or the other had better flow). It was a tie every time, so that's a good sign. As for cooling advantage I feel like that could only be measured side by side with a car with a stock A/C on a hot day, maybe at SoCal Vintage.
Attachments
Someone has clearly done some homework there! Well done, Dave! Can’t wait to hear how it turns out once fully installed.
But first you talked about using a Vintage air unit and then it was a Land Cruiser one. Which is it?
But first you talked about using a Vintage air unit and then it was a Land Cruiser one. Which is it?
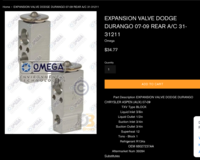
It's a Land Cruiser one. That it's from a Land Cruiser is incidental; I spent hours sorting through the FourSeasons website looking at evaporator core dimensions and then going over to RockAuto with the part number to see if they were cheap. It would have been nice to use the Land Cruiser expansion valve too but it has a big solenoid sticking off the side of it. The TXV I found has the same port dimensions but no solenoid. So size-wise this system should have the capacity of the entire back half of an SUV! And for what it's worth I don't know how that compares to the capacity of our cars' original system but the new TXV is sized for 1.5 tons cooling capacity. I think that's pretty adequate.
Here’s the item off their site
I learned Vintage Air does not ship to Canada. There process is kinda odd; you go through a quotation process before the purchase is authorized. So, I used this ebay site; a real Sanden 508, excellent price and delivery to Canada
Regards,
Bill
do you have to change the original red blade radiator fan when using the sander 508? If so what is a proper replacement?
thanks
Hervé
thanks
Hervé
The radiator fan does not affect the choice of AC compressordo you have to change the original red blade radiator fan when using the sander 508? If so what is a proper replacement?
thanks
Hervé
Last edited:
great..thank you..
ATL_Alan
Well-Known Member
It's a Land Cruiser one. That it's from a Land Cruiser is incidental; I spent hours sorting through the FourSeasons website looking at evaporator core dimensions and then going over to RockAuto with the part number to see if they were cheap. It would have been nice to use the Land Cruiser expansion valve too but it has a big solenoid sticking off the side of it. The TXV I found has the same port dimensions but no solenoid. So size-wise this system should have the capacity of the entire back half of an SUV! And for what it's worth I don't know how that compares to the capacity of our cars' original system but the new TXV is sized for 1.5 tons cooling capacity. I think that's pretty adequate.
I'm starting to think about the interior part of the A/C replacement and love this idea; have you had a chance to install and test this setup yet?
that's cool, did you 3D model the housing? do you have a scanner?I intend to give this a full writeup but here are the broad strokes. The idea is to use an available evaporator (the one from the rear A/C of a Toyota Land Cruiser -- $60) and an available expansion valve (the one from the rear A/C of a Dodge Durango -- $30) and have them more or less drop into our E3/E9/E12/E21 evaporator box. The way the project is winding up it looks like the box needs to be slightly modified for clearance and the tubes out of the expansion valve would be custom.
I did a test today. I tied a trash bag on my stock evaporator box that I just took out of my car and an identical bag on my junk yard project box and turned both blowers on to see which bag filled up faster (proving that one or the other had better flow). It was a tie every time, so that's a good sign. As for cooling advantage I feel like that could only be measured side by side with a car with a stock A/C on a hot day, maybe at SoCal Vintage.
View attachment 114946
View attachment 114944
View attachment 114943
View attachment 114942
View attachment 114940
View attachment 114941
So, I'm getting pretty close. I made a few decisions that have really slowed me down:
1. Going though the whole system part by part to make sure I don't sabotage my work since I made a few rush decisions back in 2014;
2. Documenting and measuring everything so that I'll be able to say with some certainty whether it's a worthwhile upgrade.
Hopefully this will be a good week and I'll have most of the system back in the car.
I actually don't have a scanner. I measured that SOB stitch by stitch with my calipers. It took forever. It's one of those slippery slope problems where the more accurate the model is when you're done the more worthwhile the process. Now I can draw up a fast little model of any evaporator or blower available and in about ten minutes' time I can know if it'll fit in the box. I need to hurry up and model all the brackets it attaches to too before it's time to bolt them back together.
Awesome Dave. very interested to find out where that leads you.
Rex Kapriellian
Well-Known Member
I like this idea
ATL_Alan
Well-Known Member
Yes, I'm also very interested to hear how this works in "the greenhouse".
ATL_Alan
Well-Known Member
Close! I can spot a few tiny differences -- the ports on the evaporator side are slightly different sizes despite the description saying they're the same and the depth of the ports is different. They all look VERY similar!
The one I'm going to use is from the 2001 - 2002 Durango. It's FourSeasons part number 39051.
Your challenge should you choose to accept it will be making or sourcing the tubes on the suction side. I elected to make them after buying a few kits that didn't work. The equivalent Toyota part number (for the tubes) is 88710-60850 but the shape isn't quite right.
You thinking of trying this? I'm thrilled anyone is thinking of independently validating the concept.
ATL_Alan
Well-Known Member
Yes, I'm going to give it a shot. It certainly makes sense that it would work and the limited space for the evaporator is definitely the biggest issue with replacing the stock system. My car is currently waiting on various and sundry pieces of the A/C system that I've purchased while reading all the great threads on the forum, so it will be awhile before Frankenstein's monster can be released to terrorize the village. I'll order this and will see about getting it assembled. I'm sure I'll have questions for you.
Sweet. And as soon as mine is complete and tested I'll do a write-up in a separate post and link to it here. I'll do up an exploded diagram with part numbers and sources to go with it.


