tdgray
Well-Known Member
That’s a beauty!
Originally I bought it at hbm.nl, but they don’t sell it anymore. It is still available here: https://www.torros.nl/nl-nl/mobiele...MIz_e35NHxjQMVIs5EBx38SCCbEAQYCiABEgLyBPD_BwEAbout to start my E9 restoration project, also have a tight space in my garage, really like your moveable car lift, car you tell me were to get the jack element and will it lift the complete car.
Thanks Peter

")
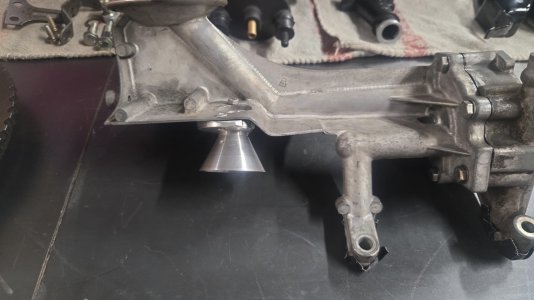
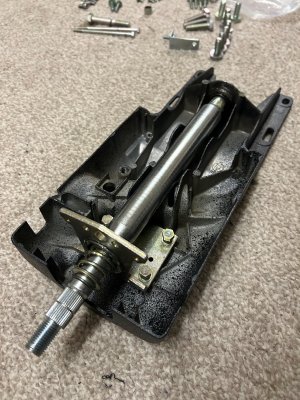
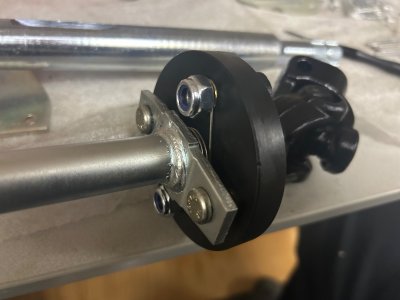
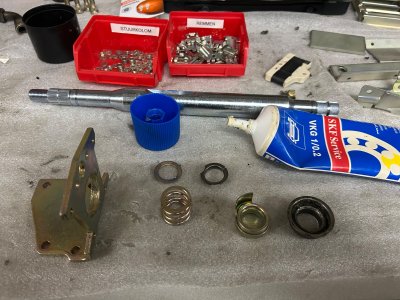
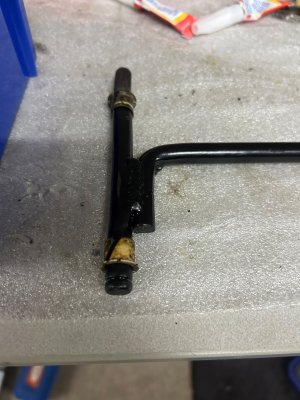
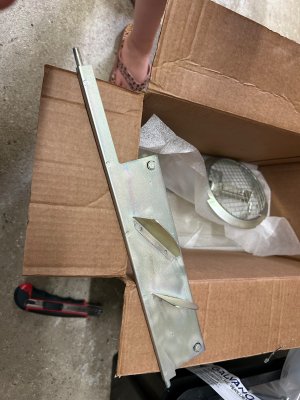
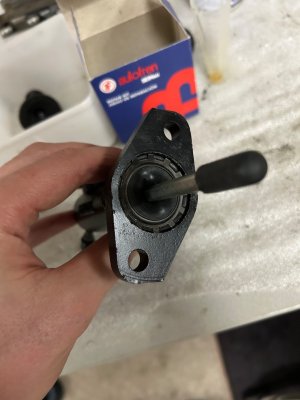
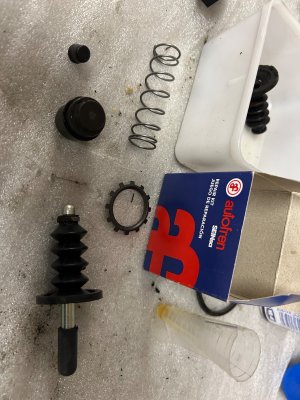
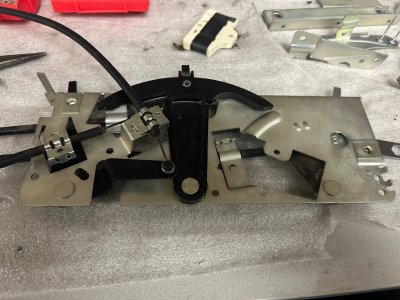
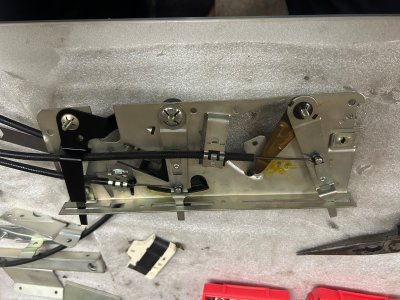
Thanks Chris, do we or you have a picture of that here on the forum? Did a check via the search option, found one with a guide on top of the pedal assembly were it looks like to have my bushings. But my pedal assembly does not have this welded on guide?It is for the gas pedal, it fits into the booster mount with a plastic bushing on each side. When the bushings wear out the pedal gets sloppy and will squeak.