Lean181
Active Member
Update #2
-Cleaning, organizing, and reassembly
The first month with the car basically consisted of organizing, cleaning, and putting away the various parts that were scattered around the interior and trunk.
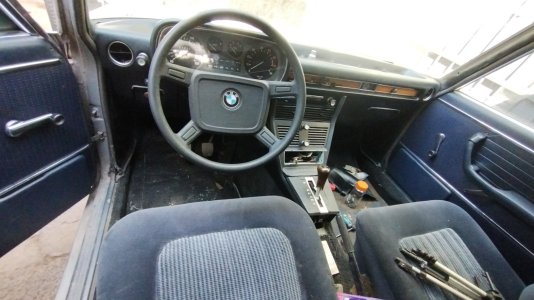
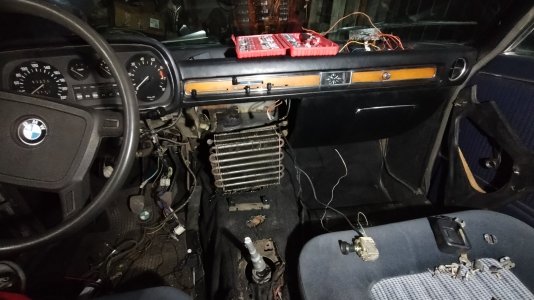
As you can see in the previous photos, the interior was quite disassembled in the center console area, presumably due to the replacement and adaptation of the manual gear selector.
Knowing myself, I couldn't resist organizing and reassembling this interior, taking the opportunity to clean it, and surprisingly, it was complete! Only a side air vent was missing (I'll probably have it 3D printed later).
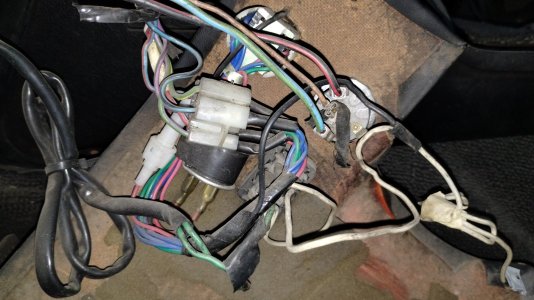
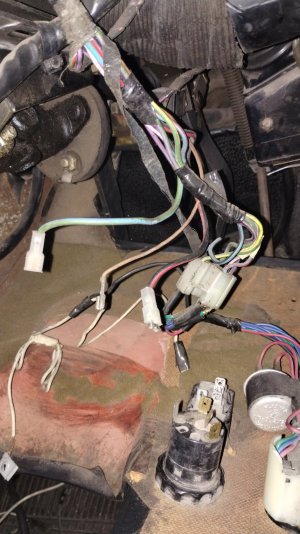
Now, while I was reassembling this glorious interior, I came across many extra wires, but luckily, there was little human intervention in the wiring. I found three main electrical modifications:
*Replacement of the hazard light switch: I believe the original one broke, and they adapted a generic one (which is working).
*Horn activation via a push button on the steering column: I discovered that at some point, the copper contact connecting the steering wheel to the column wiring, which provides the ground signal when the steering wheel buttons are pressed, broke and was replaced with a red button in the middle of the steering column. Unfortunately, this required drilling into the aluminum housing. (I've since managed to get the horn working correctly; future update).
*High/low beam activation via a button: I found the lever that switches between low and high beams broken, and in its place was a light switch on the lower panel that covers the column. Interestingly, I was surprised to learn that the left lever controlled the headlights and the right one was for the turn signals. I think it's super cool (keep in mind I was born in 2000, don't judge me, haha).
Once the wiring was sorted (a task I thoroughly enjoy), I was able to reassemble the rest of the interior, and it was definitely very gratifying to see it completely put back together (although it didn't last long). Luckily, everything was in excellent condition, except for the headliner, which was somewhat deteriorated over time. On the other hand, the seats had been reupholstered at some point, and the floor mats had been redone in black; I believe the original was blue, like the rest of the interior, so they were also in excellent condition.
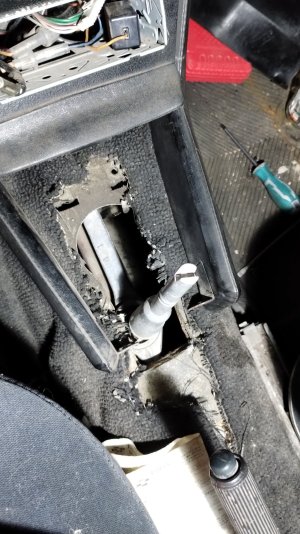
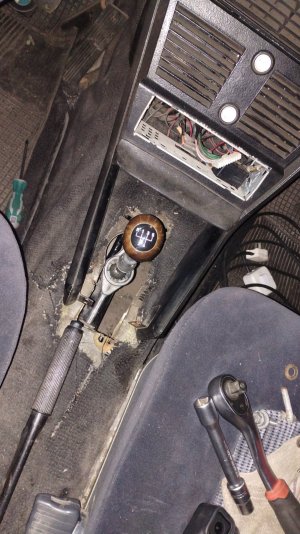
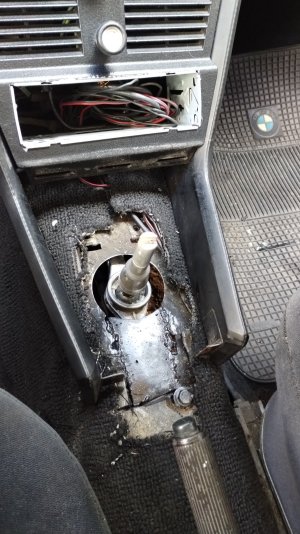
The only limitation I encountered inside was related to the gear selector. They adapted a long linkage system, and for some reason, instead of shortening it or finding a suitable model, they CUT THE CAR FLOOR to fit it. This clearly had consequences, not only for the floor, but also because the console couldn't be assembled properly, and when shifting gears, it would hit the handbrake. The solution was simple for me: find someone who could weld aluminum and have them shorten the piece. Fortunately, I found someone, and shortening the piece was the right approach. I was able to weld a small patch on the floor where they had cut it, and everything looked much better. It was my excuse to start welding, so you won't see any professional-looking welds. It was the first piece I welded, and I swear I improved as the project progressed. Now, the interior had a much more harmonious feel.
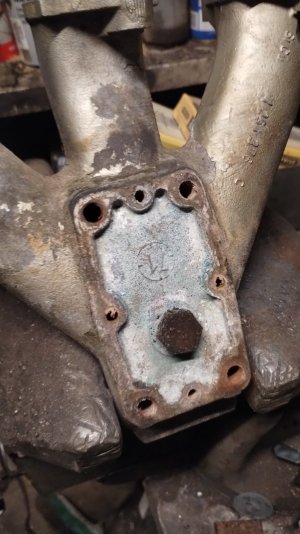
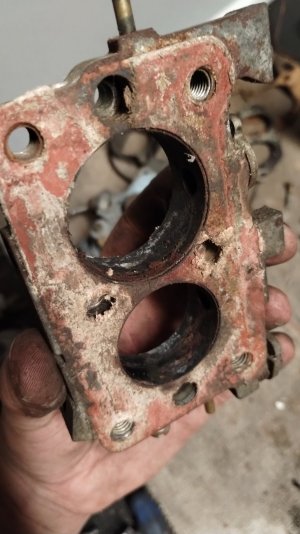
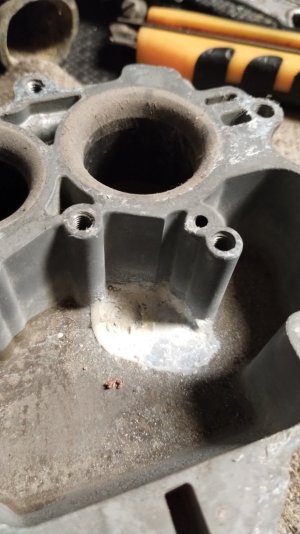
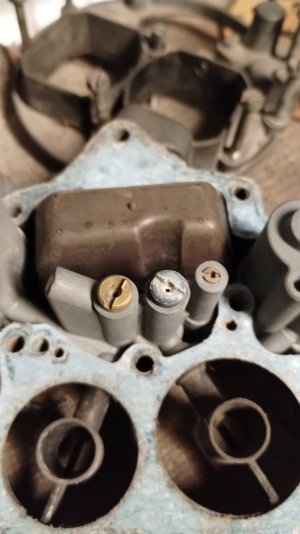
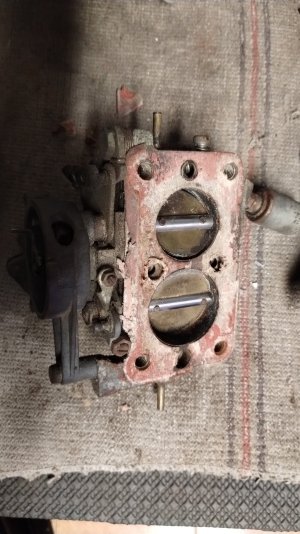
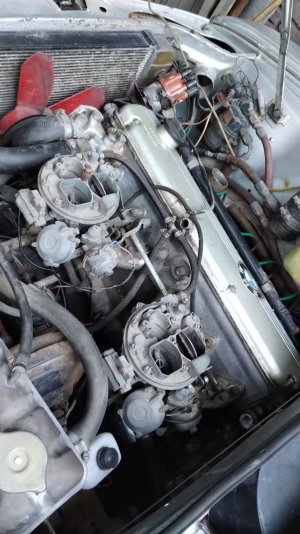
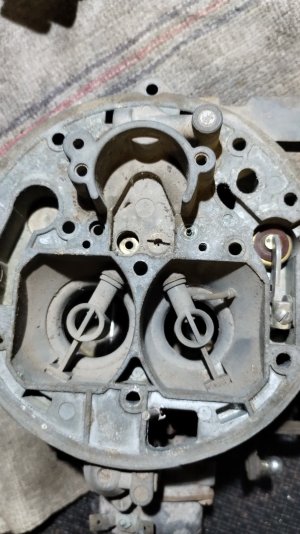
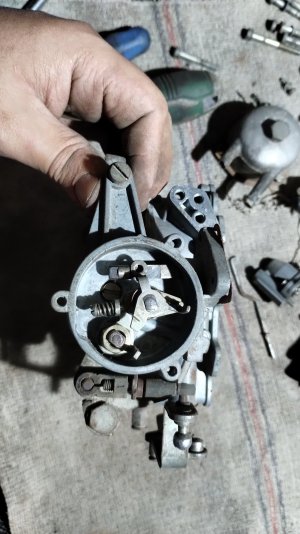
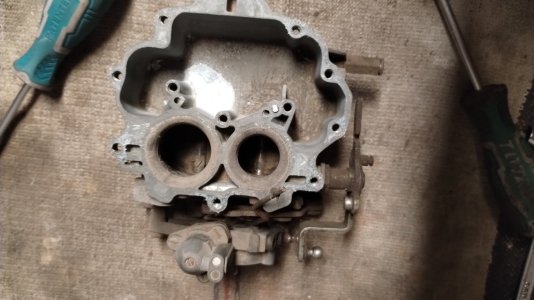
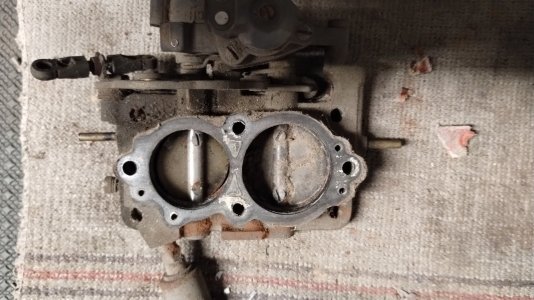
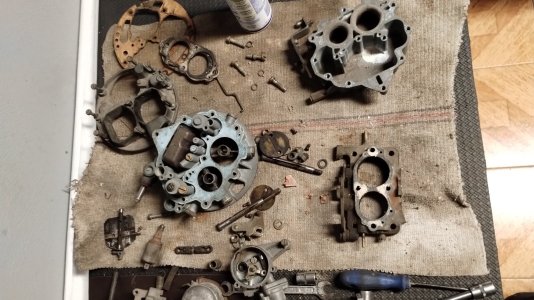
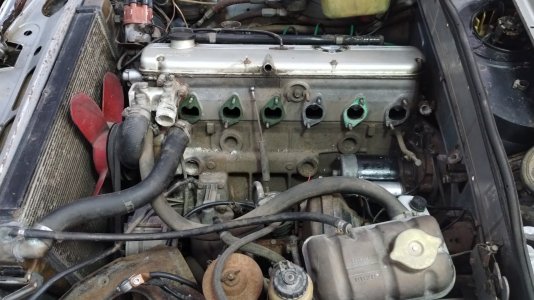
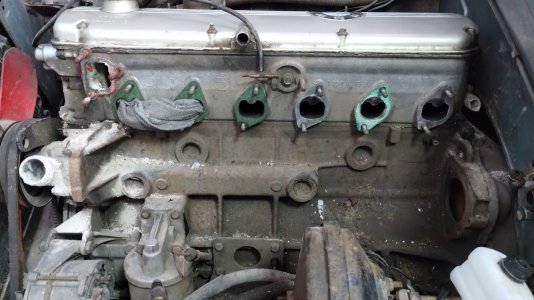
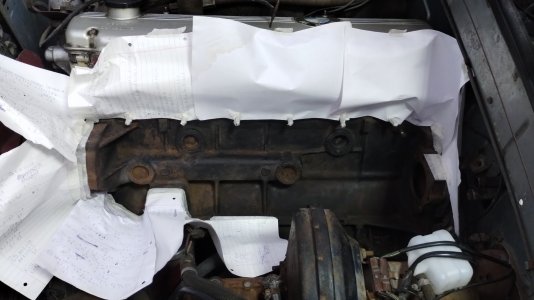
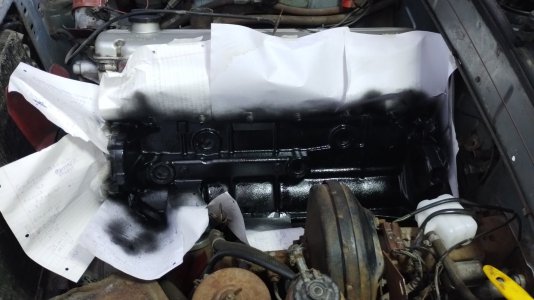
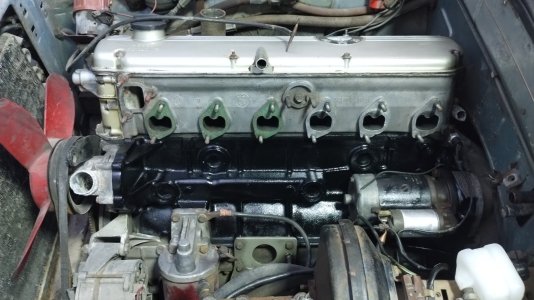
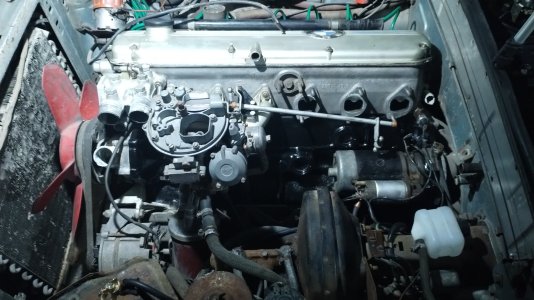
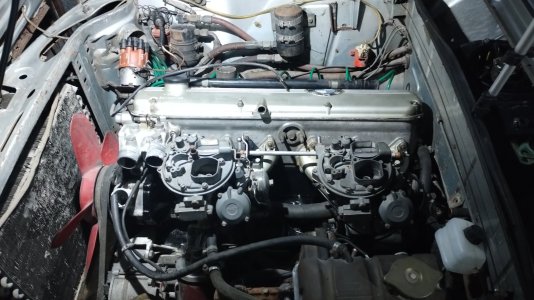
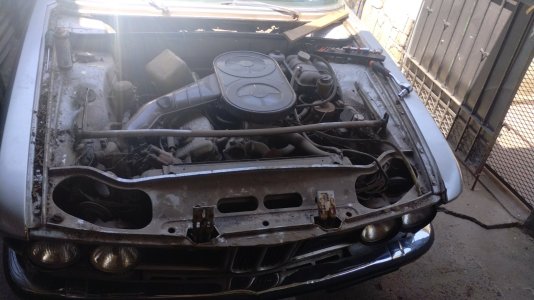
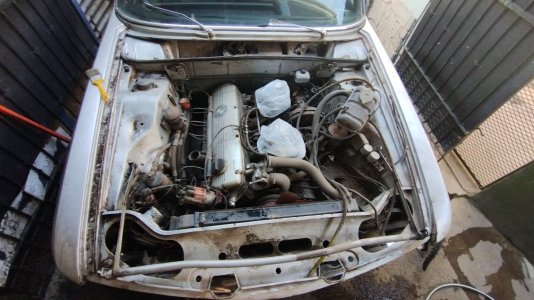
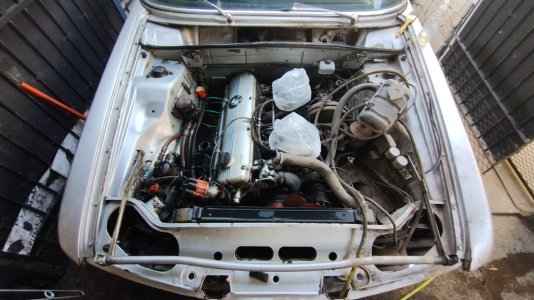
While I started reorganizing the interior, I couldn't resist and removed the hood to begin tidying up and checking for missing engine parts, as I had some disassembled components and screws scattered everywhere.
I started with a clean, and fortunately, just like inside, I had all the essential parts; not a single screw was missing. I even had the wiring for the automatic transmission, which I was later able to remove, taking care to leave the starter relay functional for the automatic model (thanks to the forum threads).
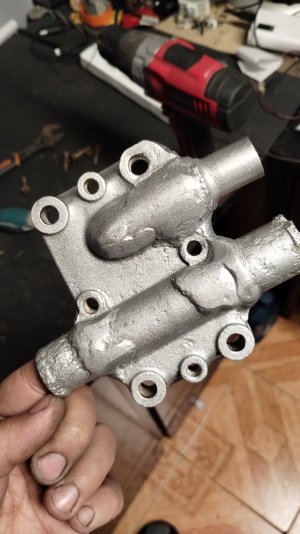
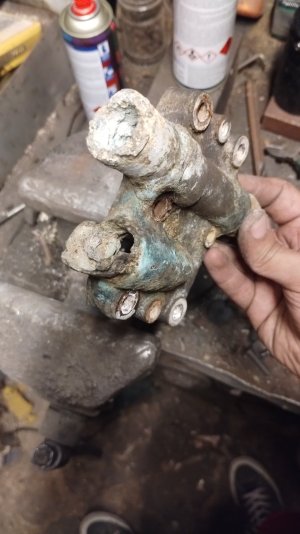
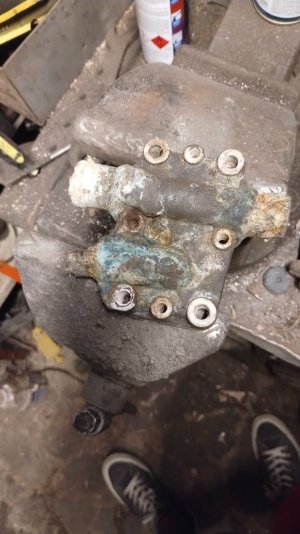
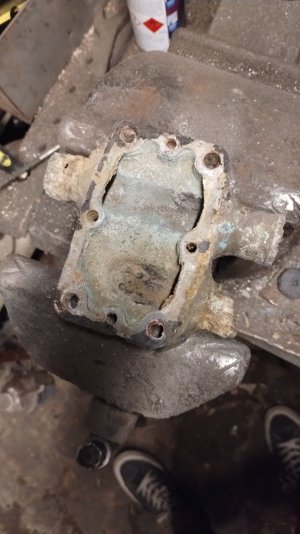
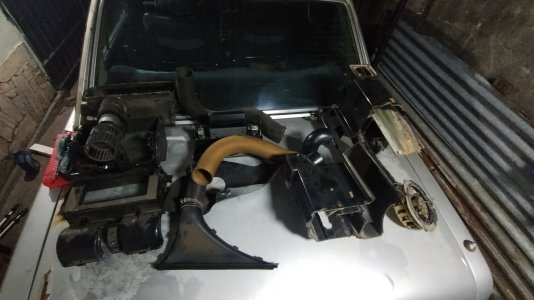
To wrap things up, already thinking about the next steps, I disassembled part of the interior again to clean the heating system, both the radiator and the air vents. Nobody wants to turn on the heat and be greeted by a ball of years-old dust! Luckily, everything was in good condition; I only found dust, old coins, and a dead ant nest inside the radiator, but nothing a quick cleaning couldn't fix!
Now, with much more order, cleanliness, and a clearer idea of what was missing, I could begin the mechanical work—that is, the starting process!
-Cleaning, organizing, and reassembly
The first month with the car basically consisted of organizing, cleaning, and putting away the various parts that were scattered around the interior and trunk.
As you can see in the previous photos, the interior was quite disassembled in the center console area, presumably due to the replacement and adaptation of the manual gear selector.
Knowing myself, I couldn't resist organizing and reassembling this interior, taking the opportunity to clean it, and surprisingly, it was complete! Only a side air vent was missing (I'll probably have it 3D printed later).
Now, while I was reassembling this glorious interior, I came across many extra wires, but luckily, there was little human intervention in the wiring. I found three main electrical modifications:
*Replacement of the hazard light switch: I believe the original one broke, and they adapted a generic one (which is working).
*Horn activation via a push button on the steering column: I discovered that at some point, the copper contact connecting the steering wheel to the column wiring, which provides the ground signal when the steering wheel buttons are pressed, broke and was replaced with a red button in the middle of the steering column. Unfortunately, this required drilling into the aluminum housing. (I've since managed to get the horn working correctly; future update).
*High/low beam activation via a button: I found the lever that switches between low and high beams broken, and in its place was a light switch on the lower panel that covers the column. Interestingly, I was surprised to learn that the left lever controlled the headlights and the right one was for the turn signals. I think it's super cool (keep in mind I was born in 2000, don't judge me, haha).
Once the wiring was sorted (a task I thoroughly enjoy), I was able to reassemble the rest of the interior, and it was definitely very gratifying to see it completely put back together (although it didn't last long). Luckily, everything was in excellent condition, except for the headliner, which was somewhat deteriorated over time. On the other hand, the seats had been reupholstered at some point, and the floor mats had been redone in black; I believe the original was blue, like the rest of the interior, so they were also in excellent condition.
The only limitation I encountered inside was related to the gear selector. They adapted a long linkage system, and for some reason, instead of shortening it or finding a suitable model, they CUT THE CAR FLOOR to fit it. This clearly had consequences, not only for the floor, but also because the console couldn't be assembled properly, and when shifting gears, it would hit the handbrake. The solution was simple for me: find someone who could weld aluminum and have them shorten the piece. Fortunately, I found someone, and shortening the piece was the right approach. I was able to weld a small patch on the floor where they had cut it, and everything looked much better. It was my excuse to start welding, so you won't see any professional-looking welds. It was the first piece I welded, and I swear I improved as the project progressed. Now, the interior had a much more harmonious feel.
While I started reorganizing the interior, I couldn't resist and removed the hood to begin tidying up and checking for missing engine parts, as I had some disassembled components and screws scattered everywhere.
I started with a clean, and fortunately, just like inside, I had all the essential parts; not a single screw was missing. I even had the wiring for the automatic transmission, which I was later able to remove, taking care to leave the starter relay functional for the automatic model (thanks to the forum threads).
To wrap things up, already thinking about the next steps, I disassembled part of the interior again to clean the heating system, both the radiator and the air vents. Nobody wants to turn on the heat and be greeted by a ball of years-old dust! Luckily, everything was in good condition; I only found dust, old coins, and a dead ant nest inside the radiator, but nothing a quick cleaning couldn't fix!
Now, with much more order, cleanliness, and a clearer idea of what was missing, I could begin the mechanical work—that is, the starting process!
Attachments
-
 IMG_20260105_194338329.jpg254.2 KB · Views: 59
 -
 IMG_20260117_224906841.jpg269 KB · Views: 47
 -
 IMG_20260106_094823267.jpg215.7 KB · Views: 41
 -
 IMG_20260106_210235373.jpg307.2 KB · Views: 37
 -
 IMG_20260118_202751015.jpg340.8 KB · Views: 42
 -
 IMG_20260216_150200847.jpg316.9 KB · Views: 36
 -
 IMG_20260111_140740688.jpg229.4 KB · Views: 36
 -
 IMG_20260111_172035348.jpg258.8 KB · Views: 38
 -
 IMG_20260111_173455294.jpg253.5 KB · Views: 34
 -
 IMG_20260129_001017946.jpg181 KB · Views: 34
 -
 IMG_20260129_212113280.jpg225.3 KB · Views: 43
Last edited:

 .
.