CSL Restoration

Marc-M

Well-Known Member
Messages
377
Reaction score
311
Location
Preston - Lancashire-UK
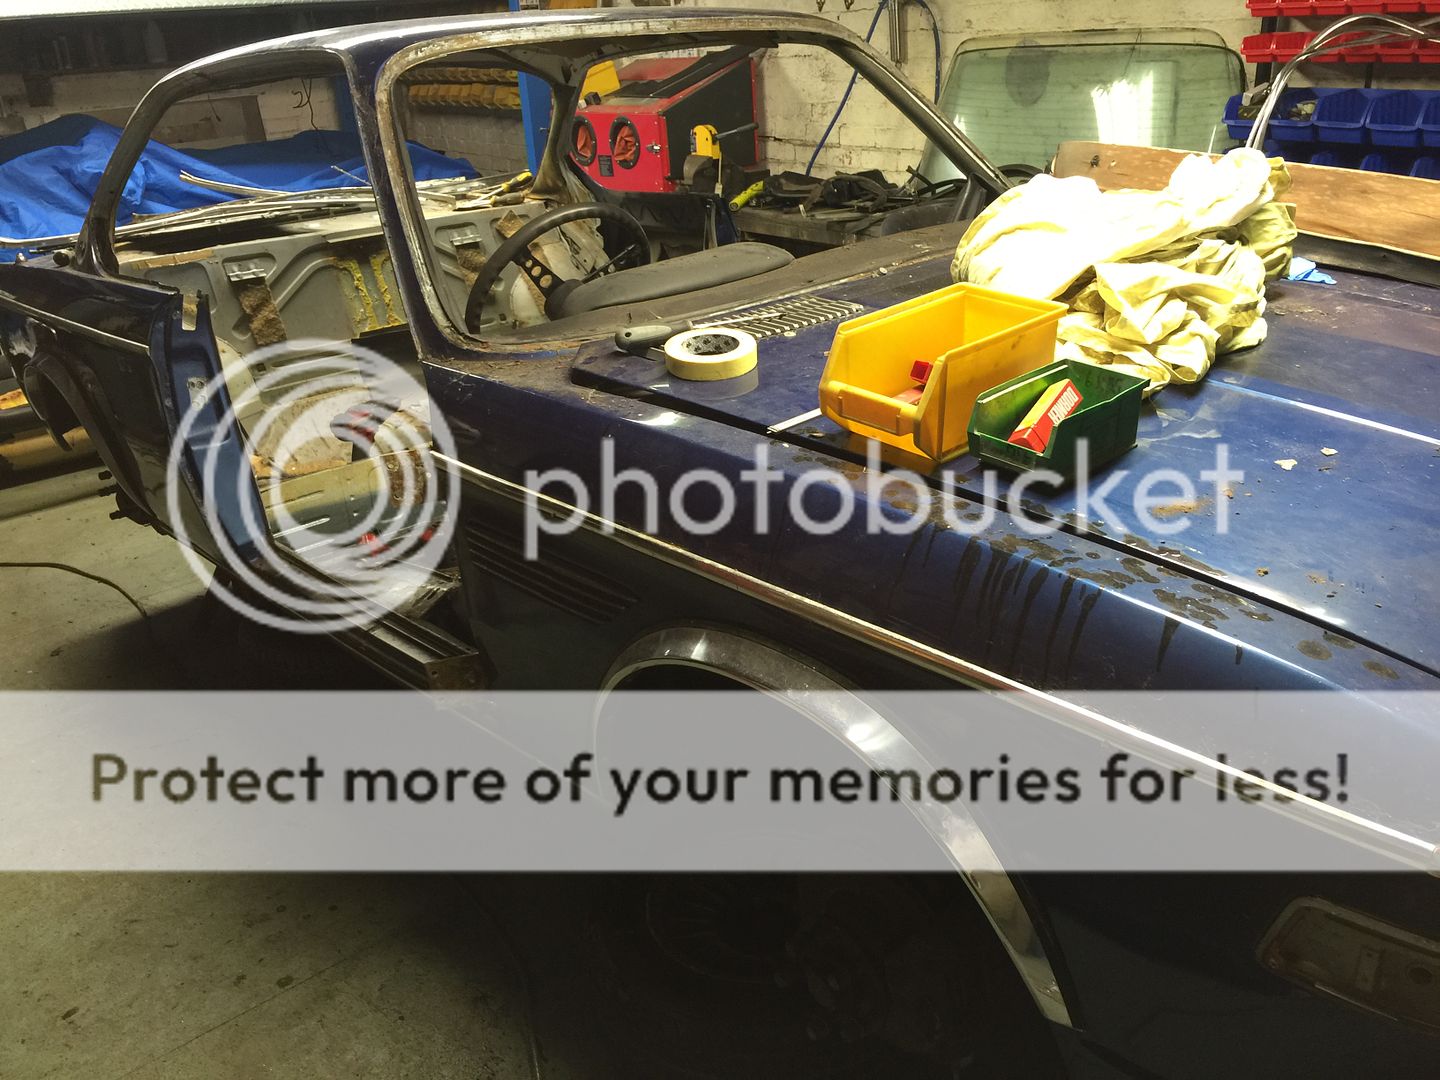
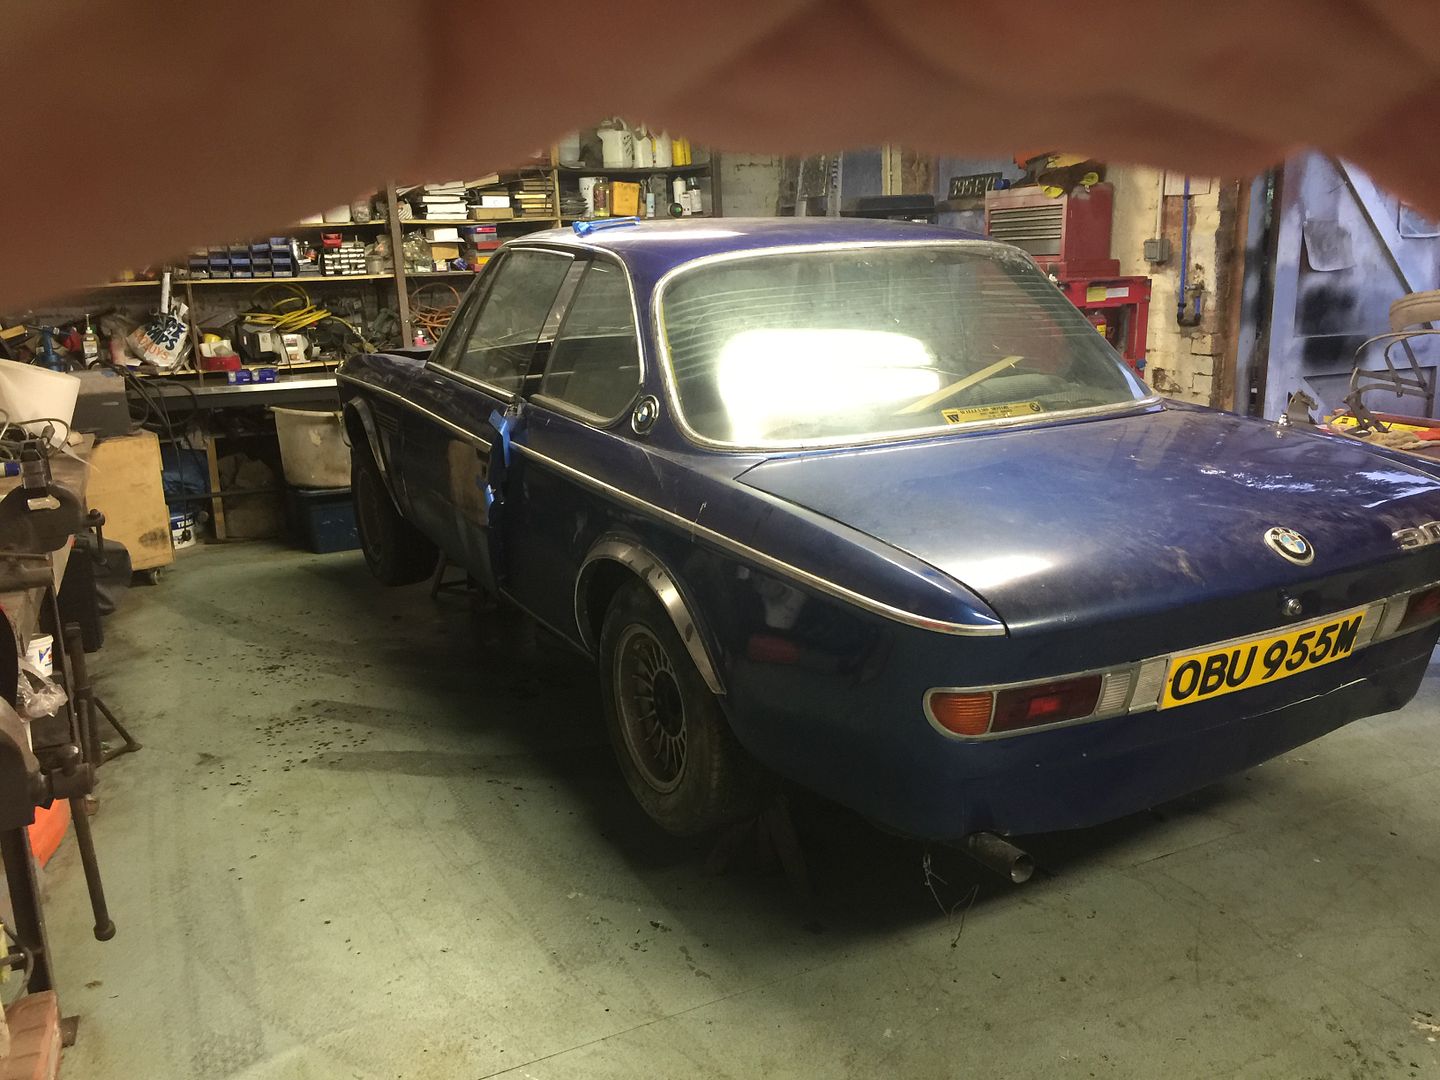
I have now started the strip out of the CSL and so far, so good.

The car has spots of rust but not as bad as others I have done.

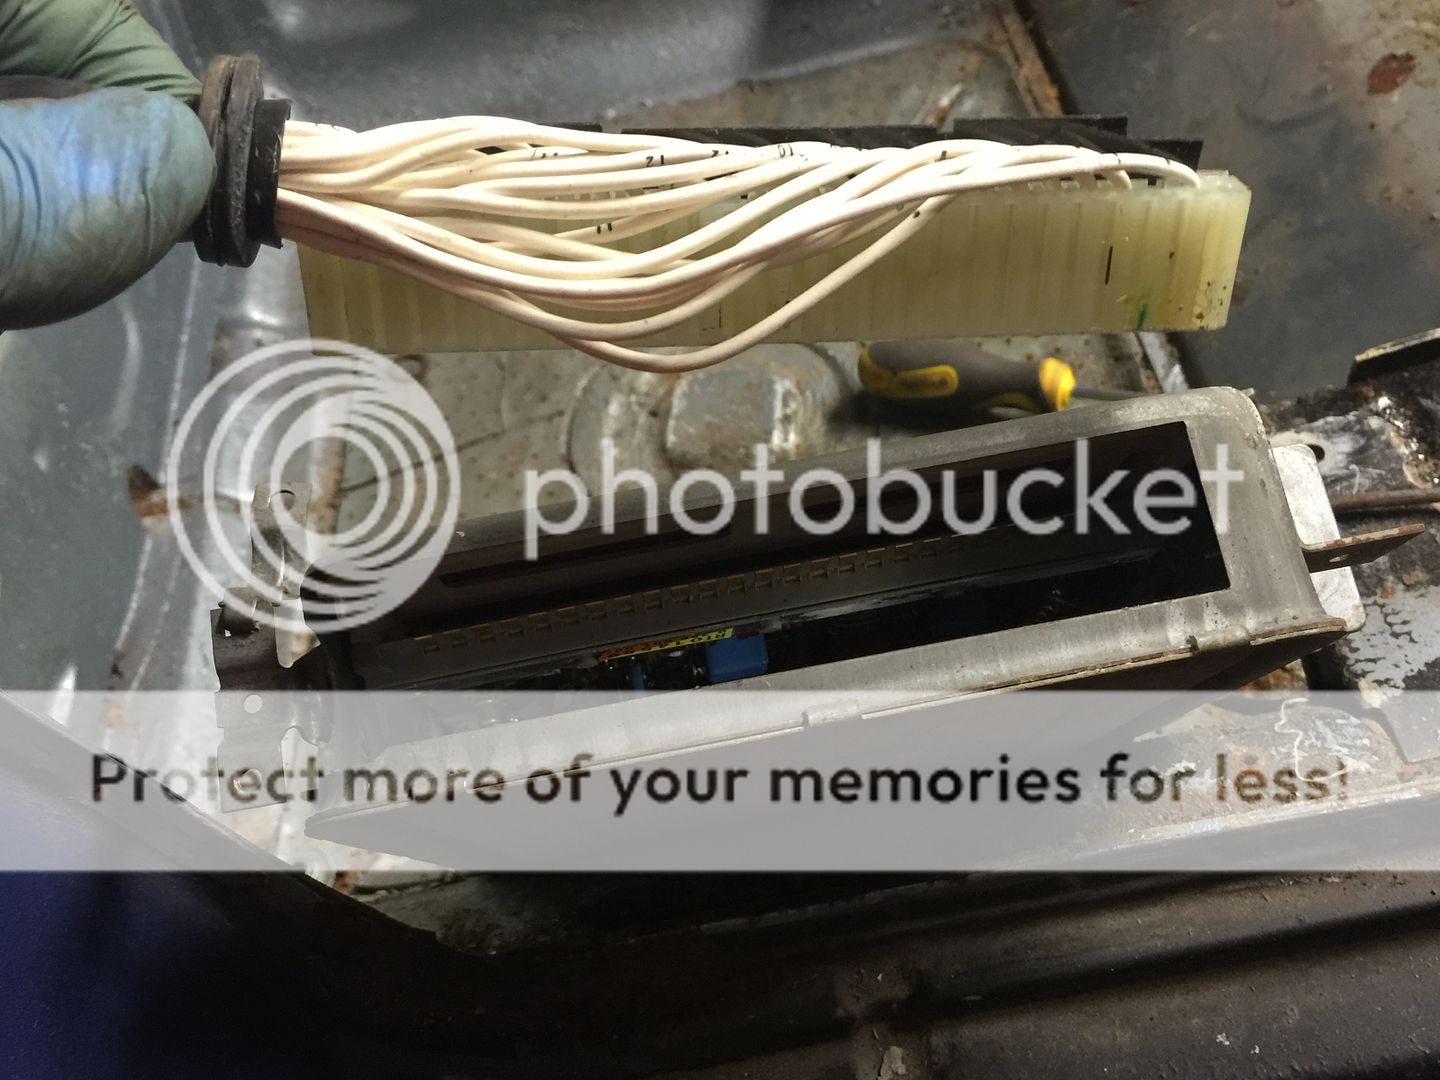
I have started stripping out the windows and interior trim.

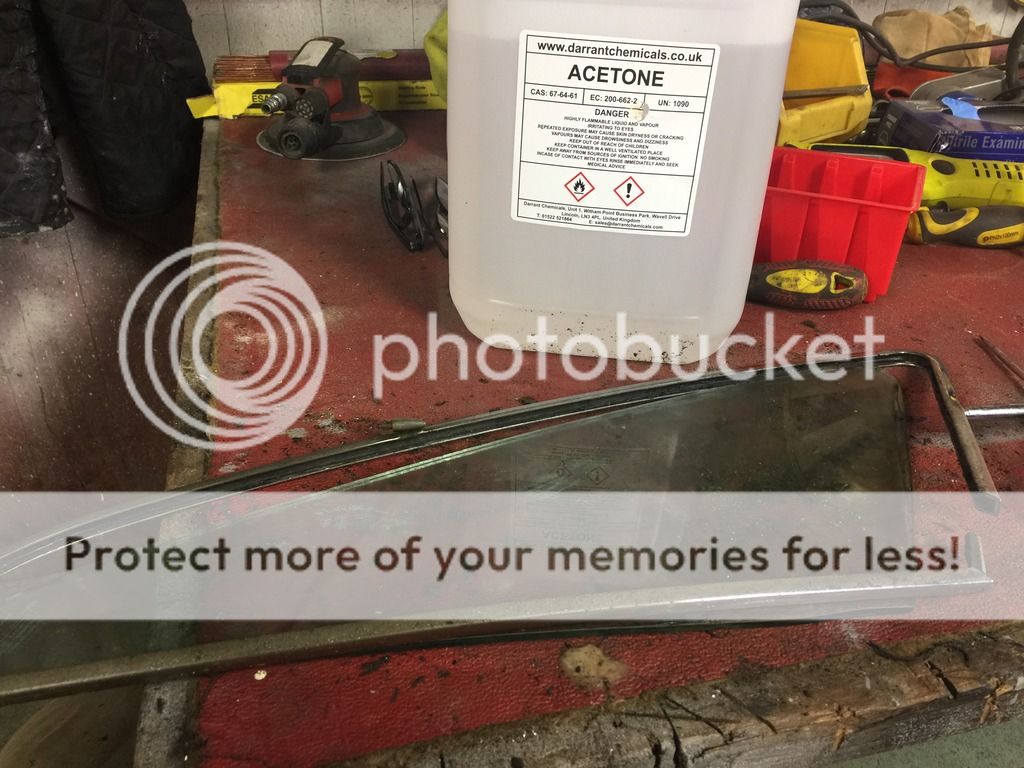
The Front window may have been a replacement back in the 70s as its made by Royal Doulton – I always guessed they made cups and plates!

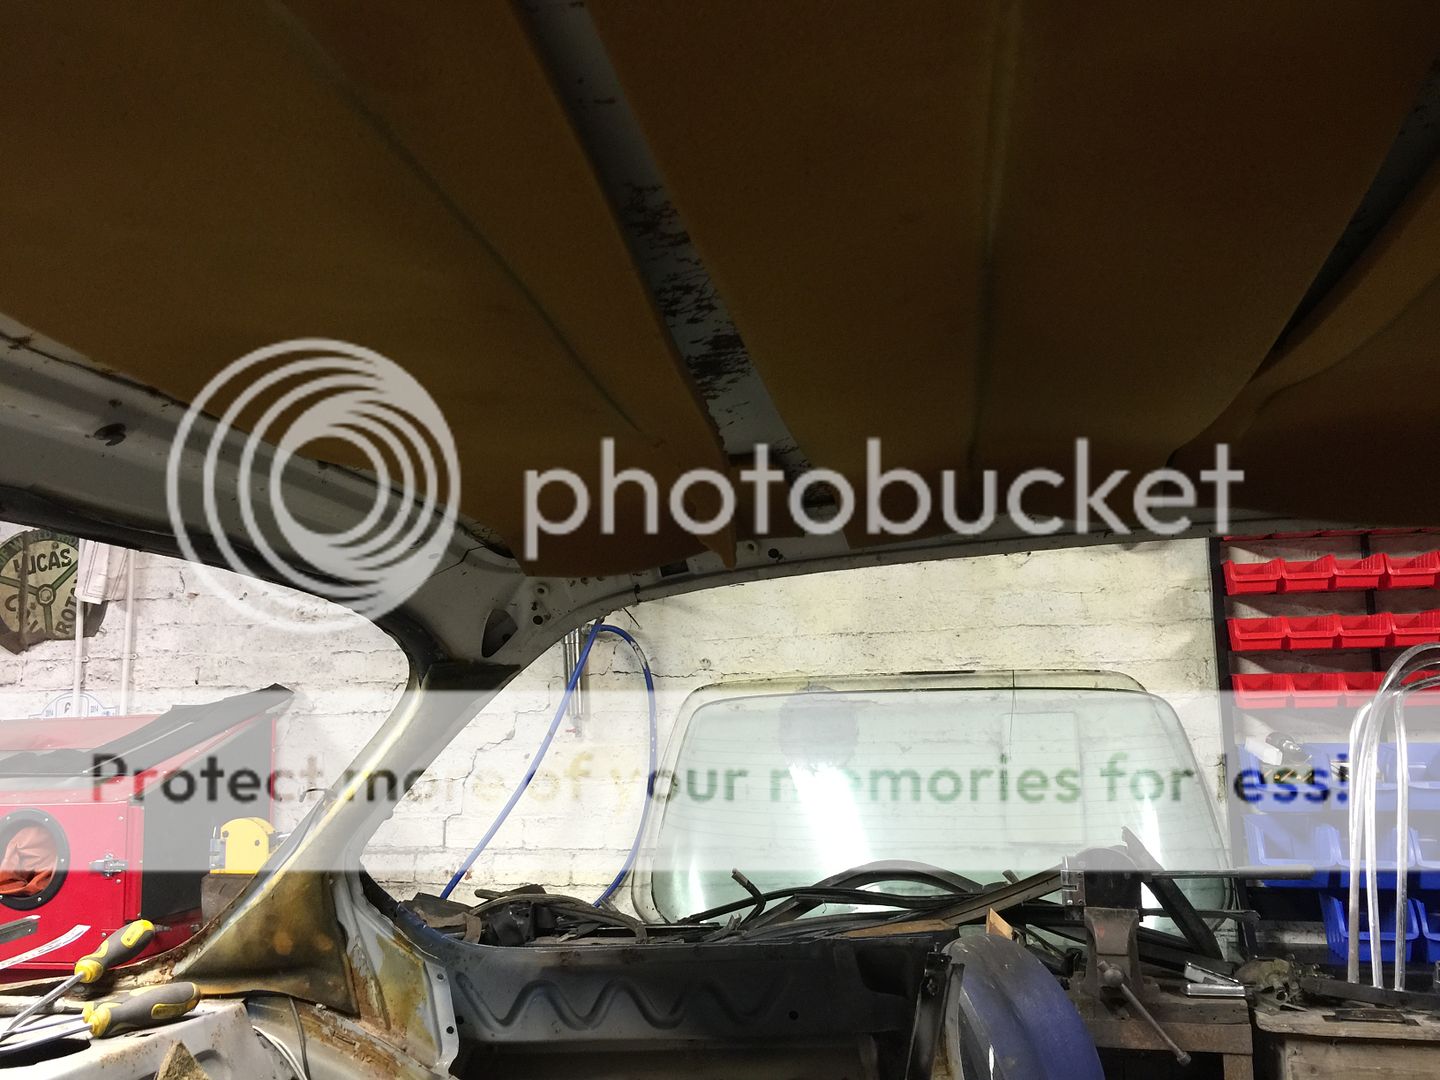
One nice feature that I will try and keep is the original Williams of Manchester BMW dealership sticker on the back windscreen.

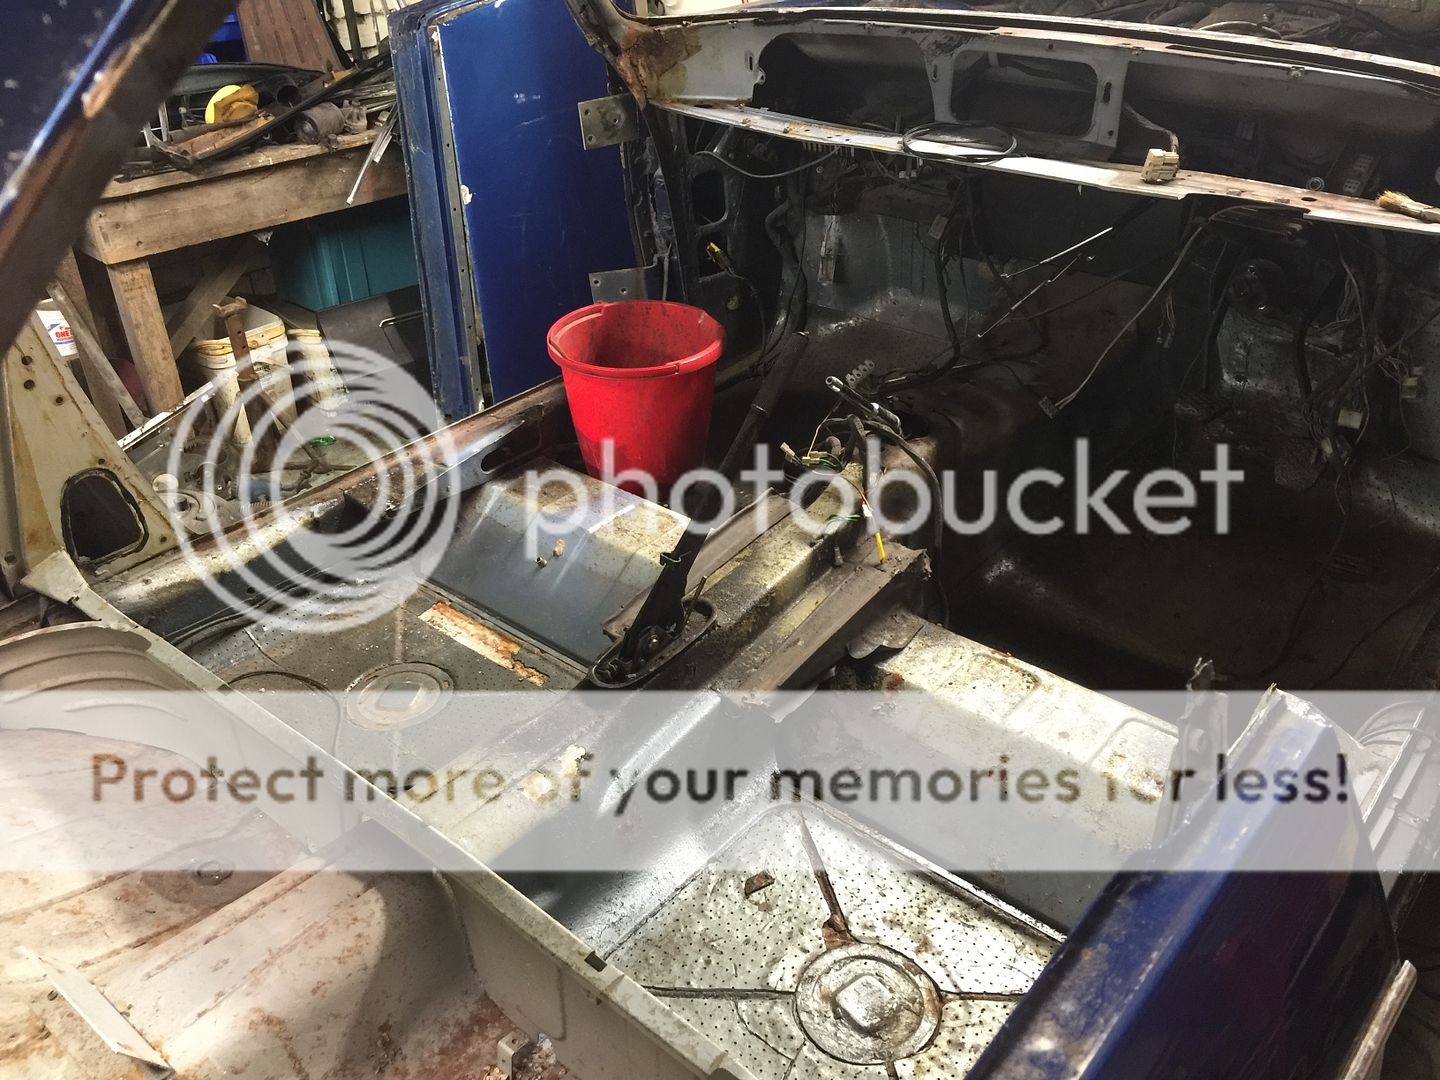
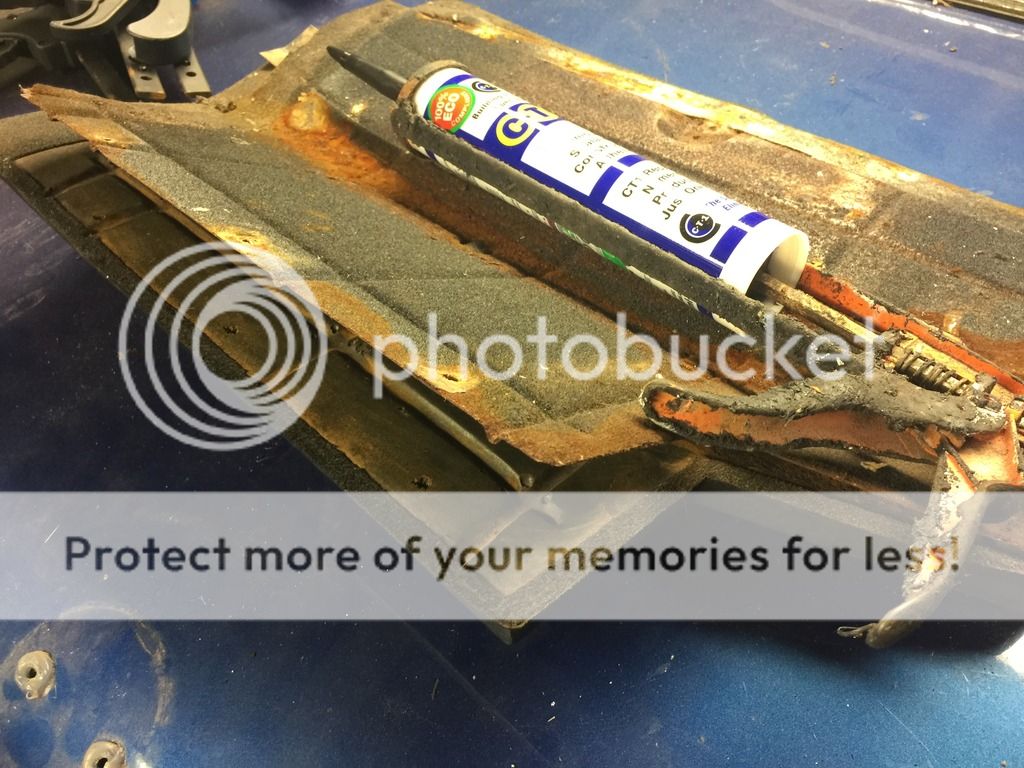
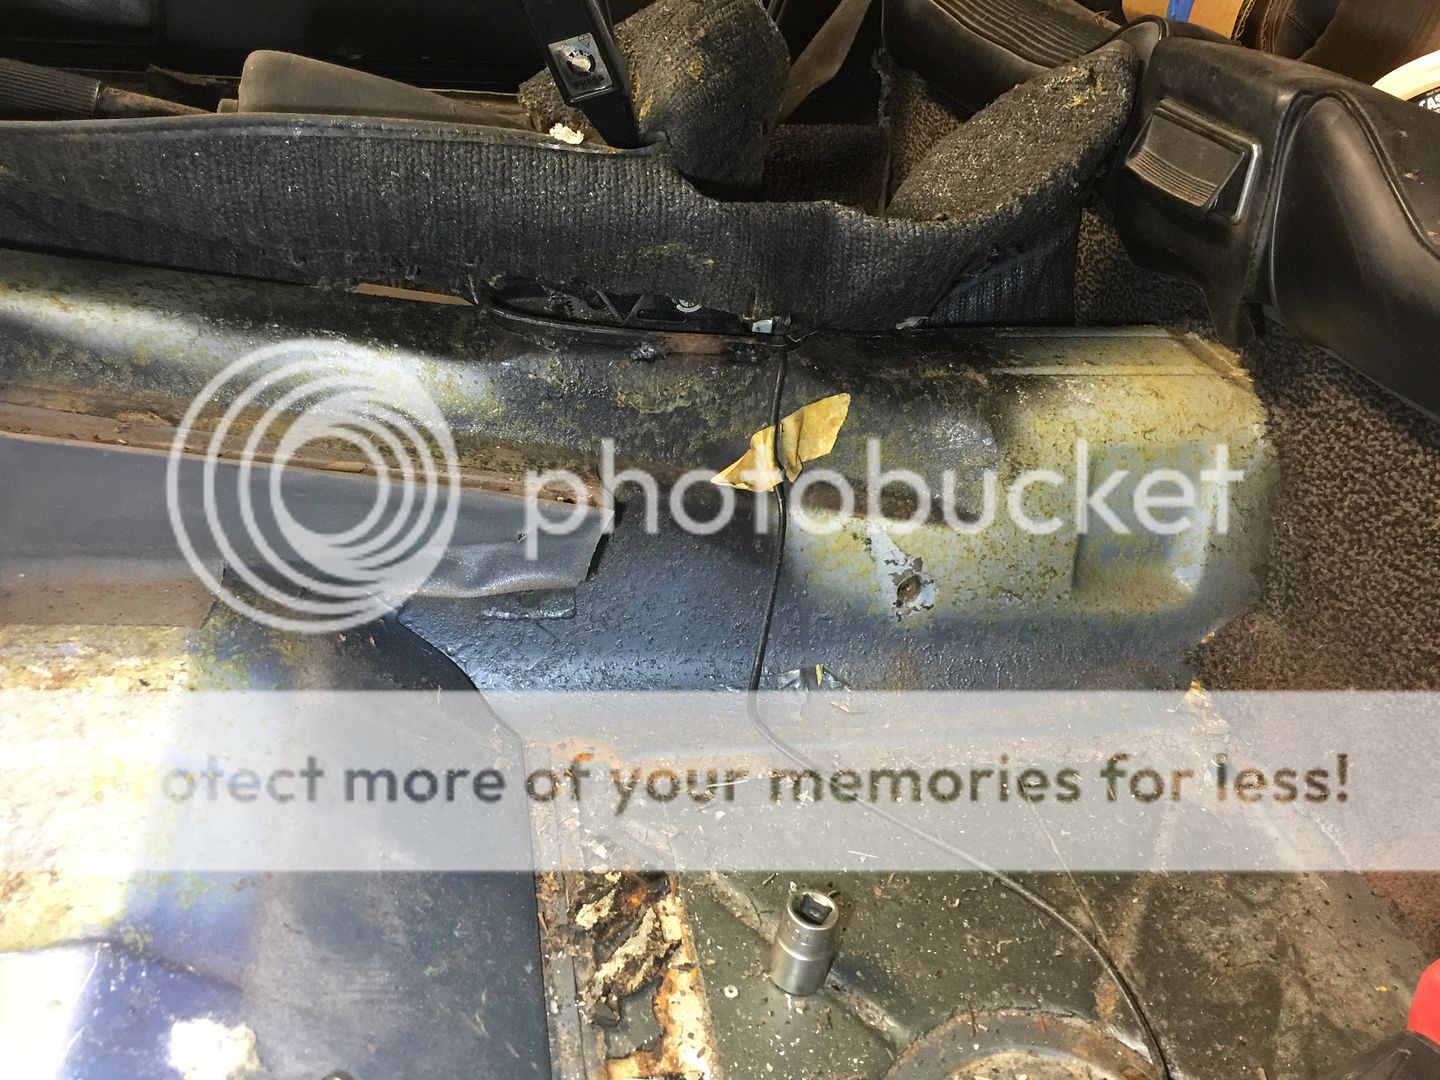
My car has sound proofing on the floor, and the way it has been put in looked like it was done at the factory.

However now I have stripped one side it can be clearly seen that the body colour that has been sprayed on the soundproofing after the car was built again proving that the sound proofing was done after.

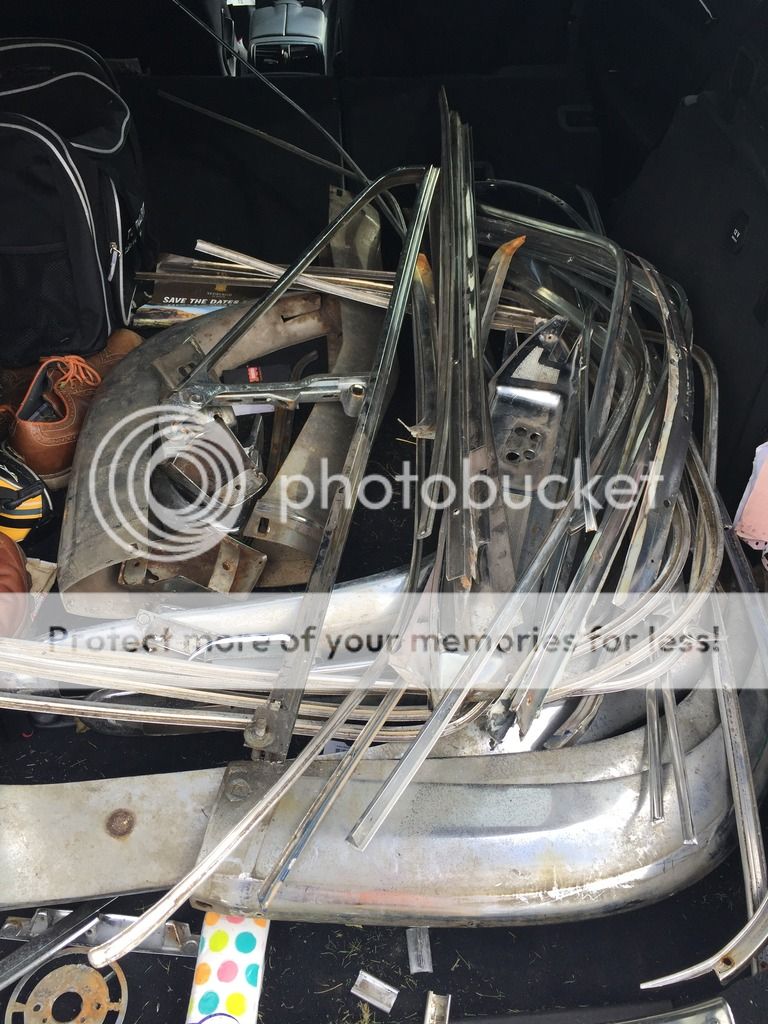
The aluminium trims from the window surrounds etc. all needs restoring but I wonder if it’s worth getting re anodized or just polished up and lacquered, there is an amount of flexibility in the trims when putting back – so a question is, has anyone found that this then cracks the finish – either the anodizing or lacquer?
IMG_7953_zpsrgqiyq4l.jpg

IMG_7948_zpsm0ygrl4l.jpg

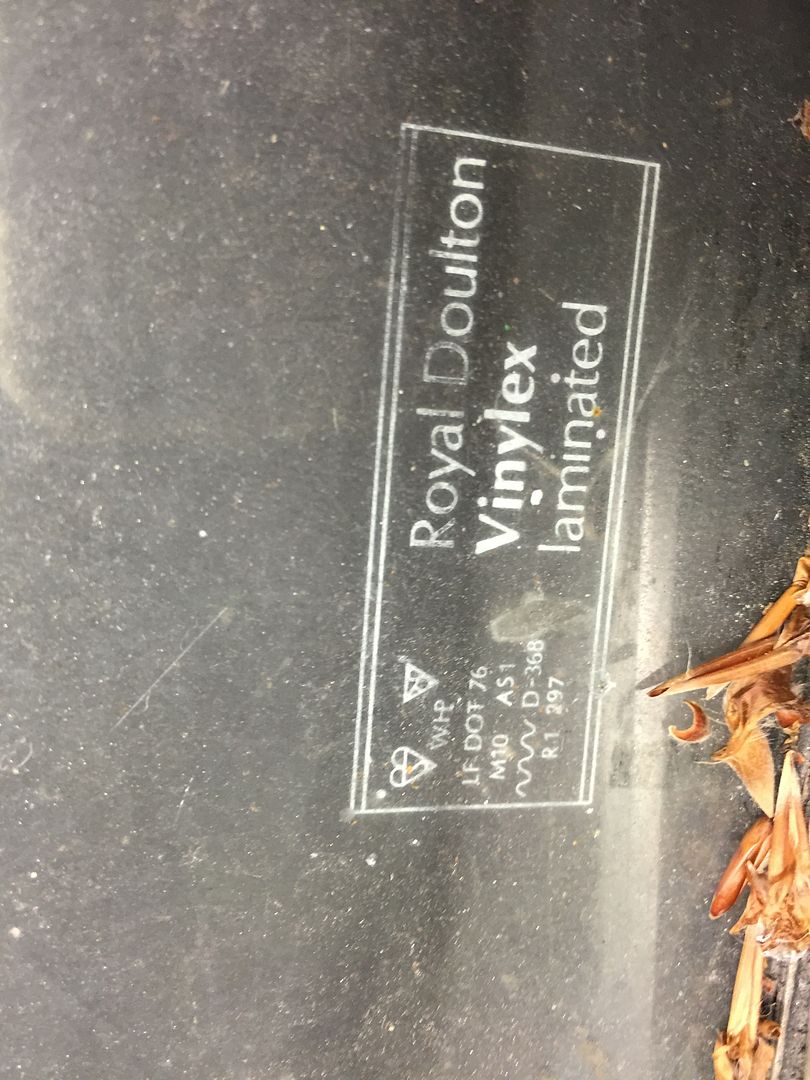
The front windscreen manufacture -
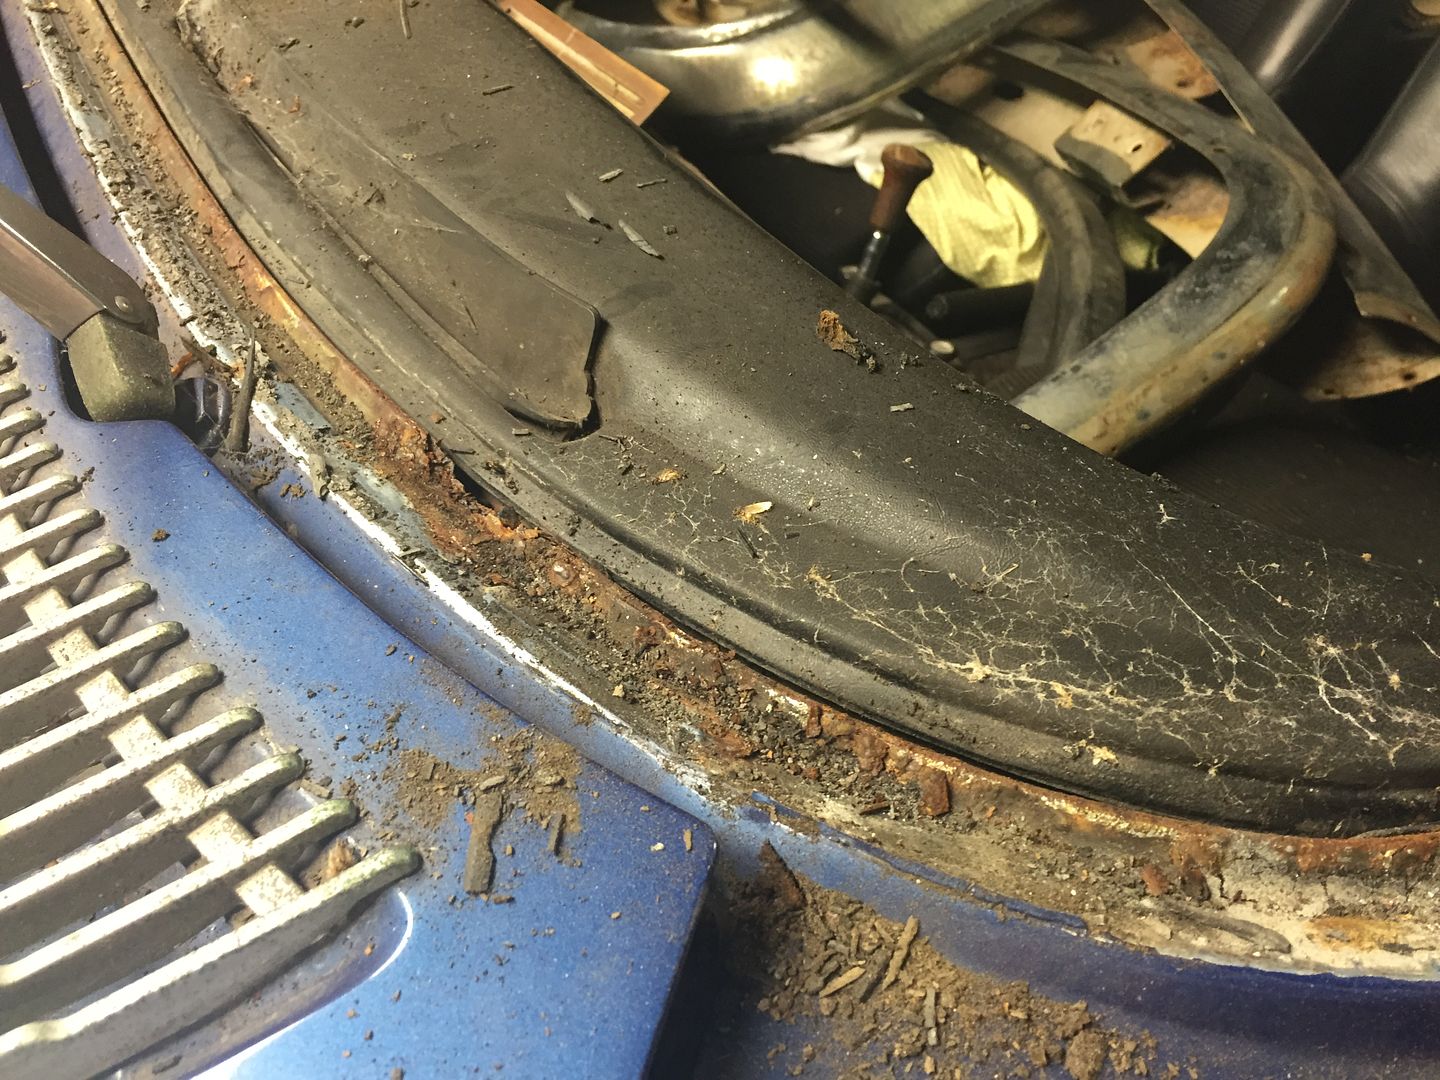
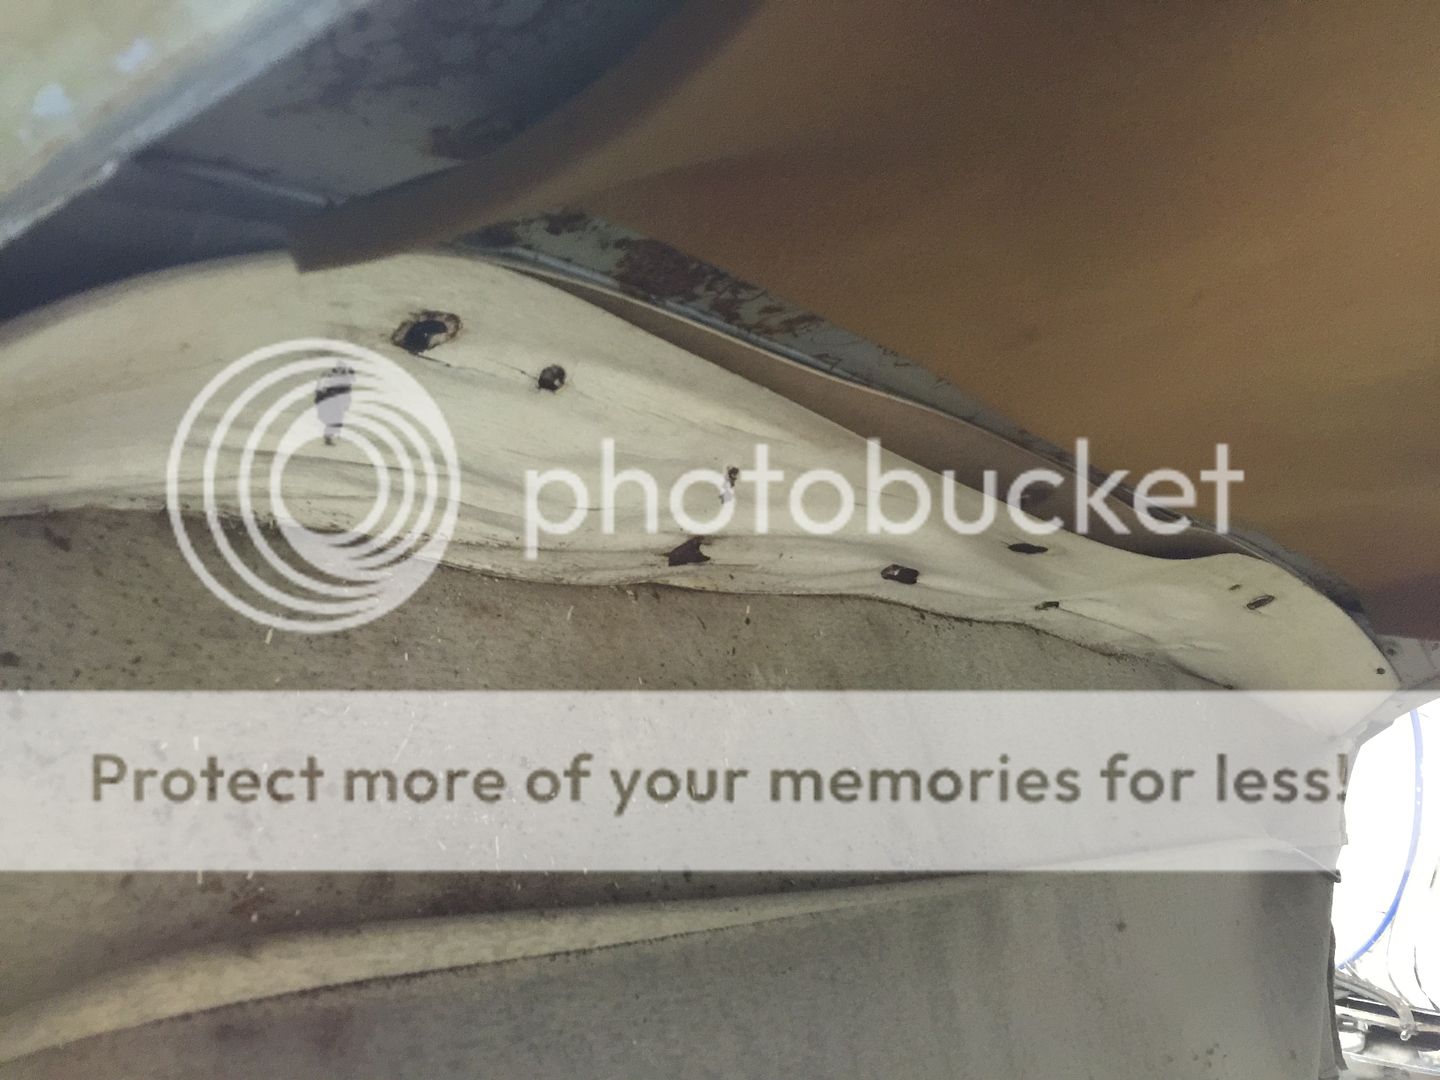
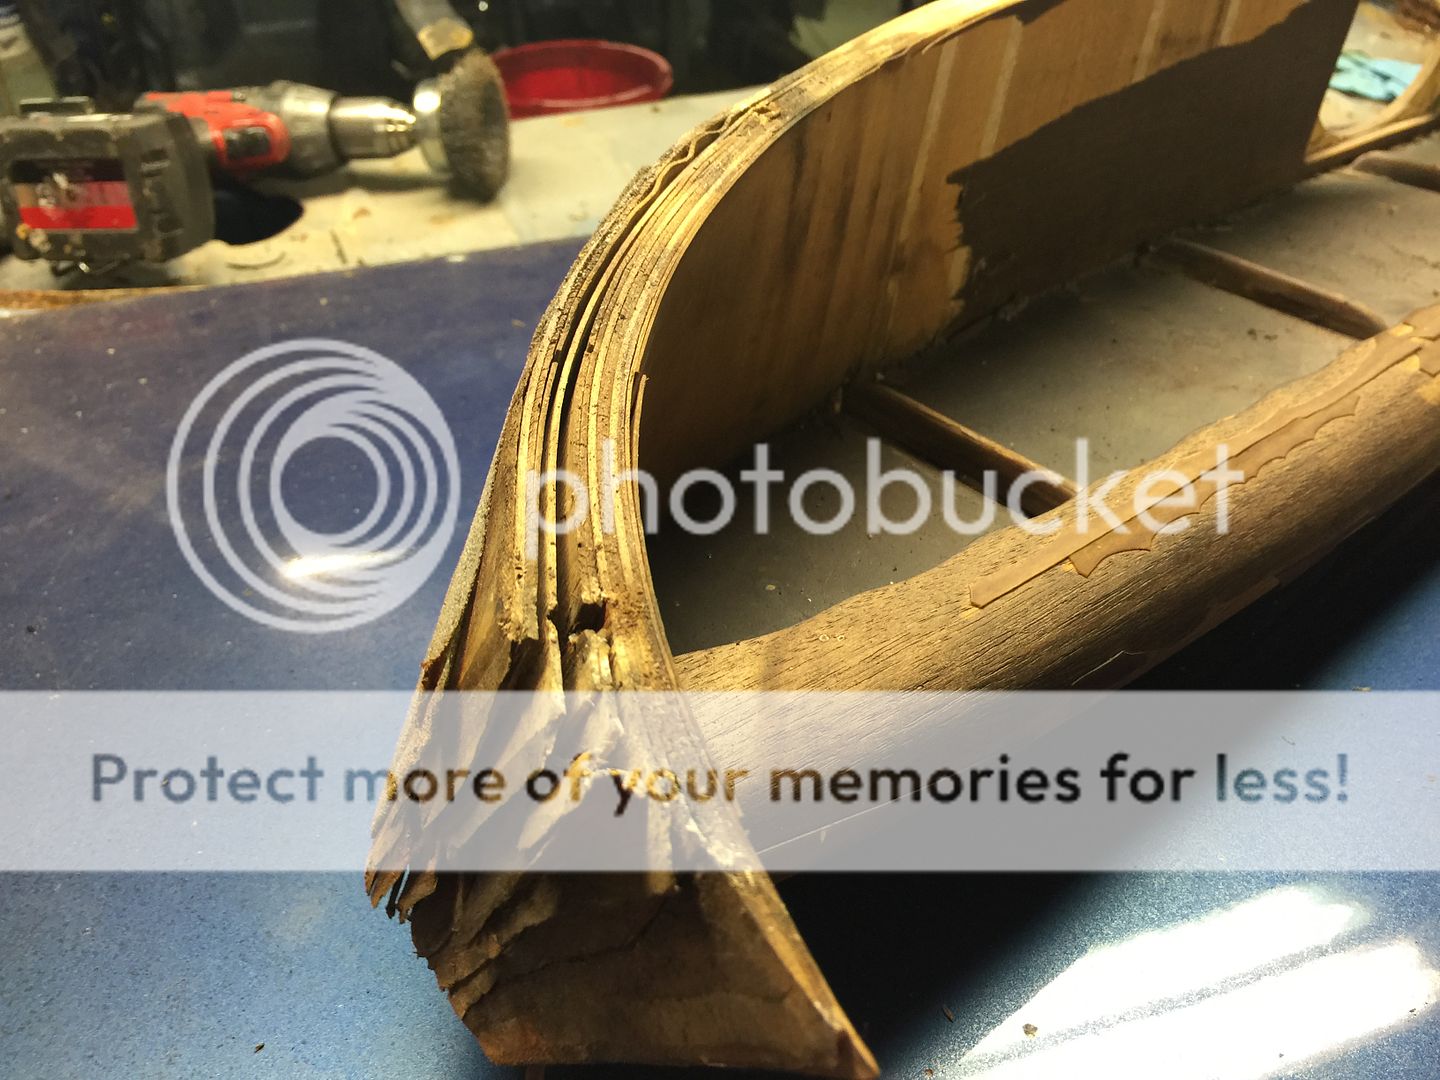
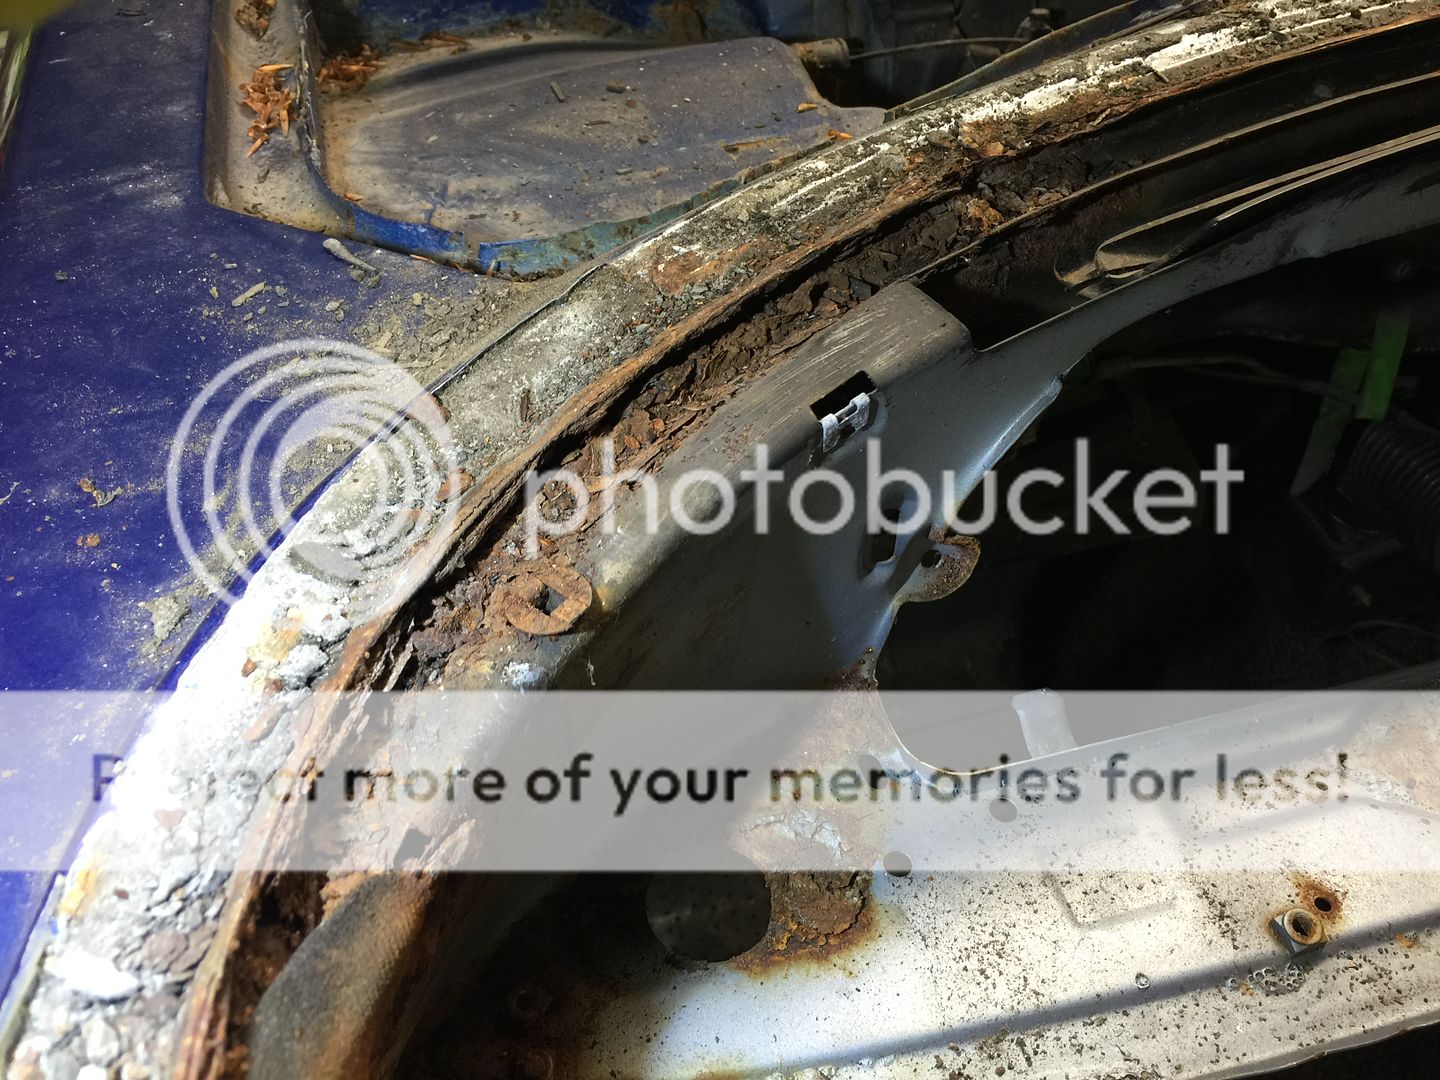
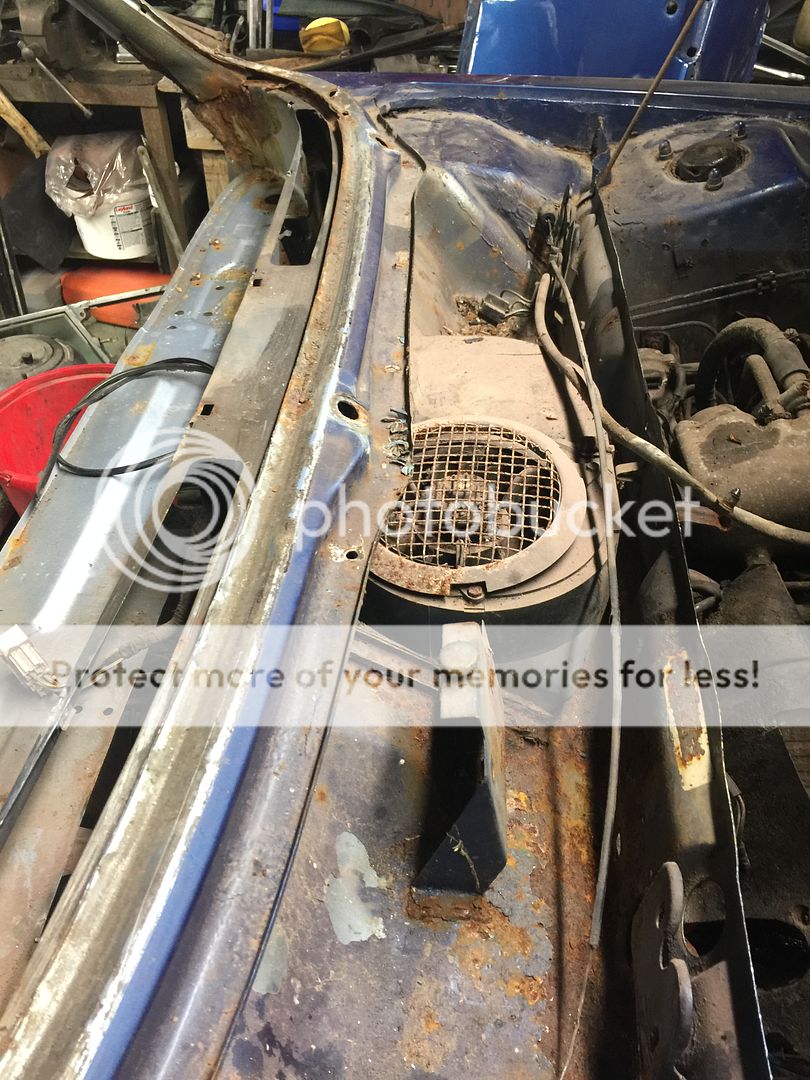
IMG_7967_zpshyjnorom.jpg

A bit of rot
IMG_7974_zpsllkkanin.jpg

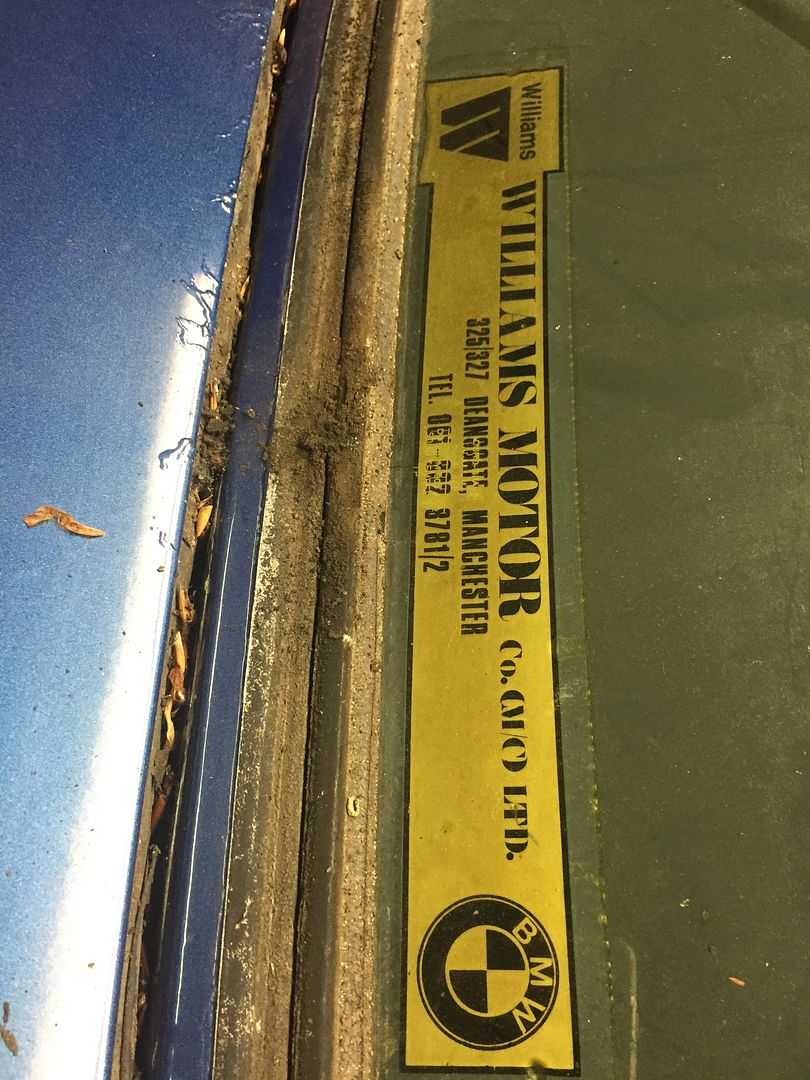
Williams BMW are still going in Manchester - Not so fat from me, so the car has lived in the NW of England all its life.
IMG_7989_zpsoqebmn6x.jpg

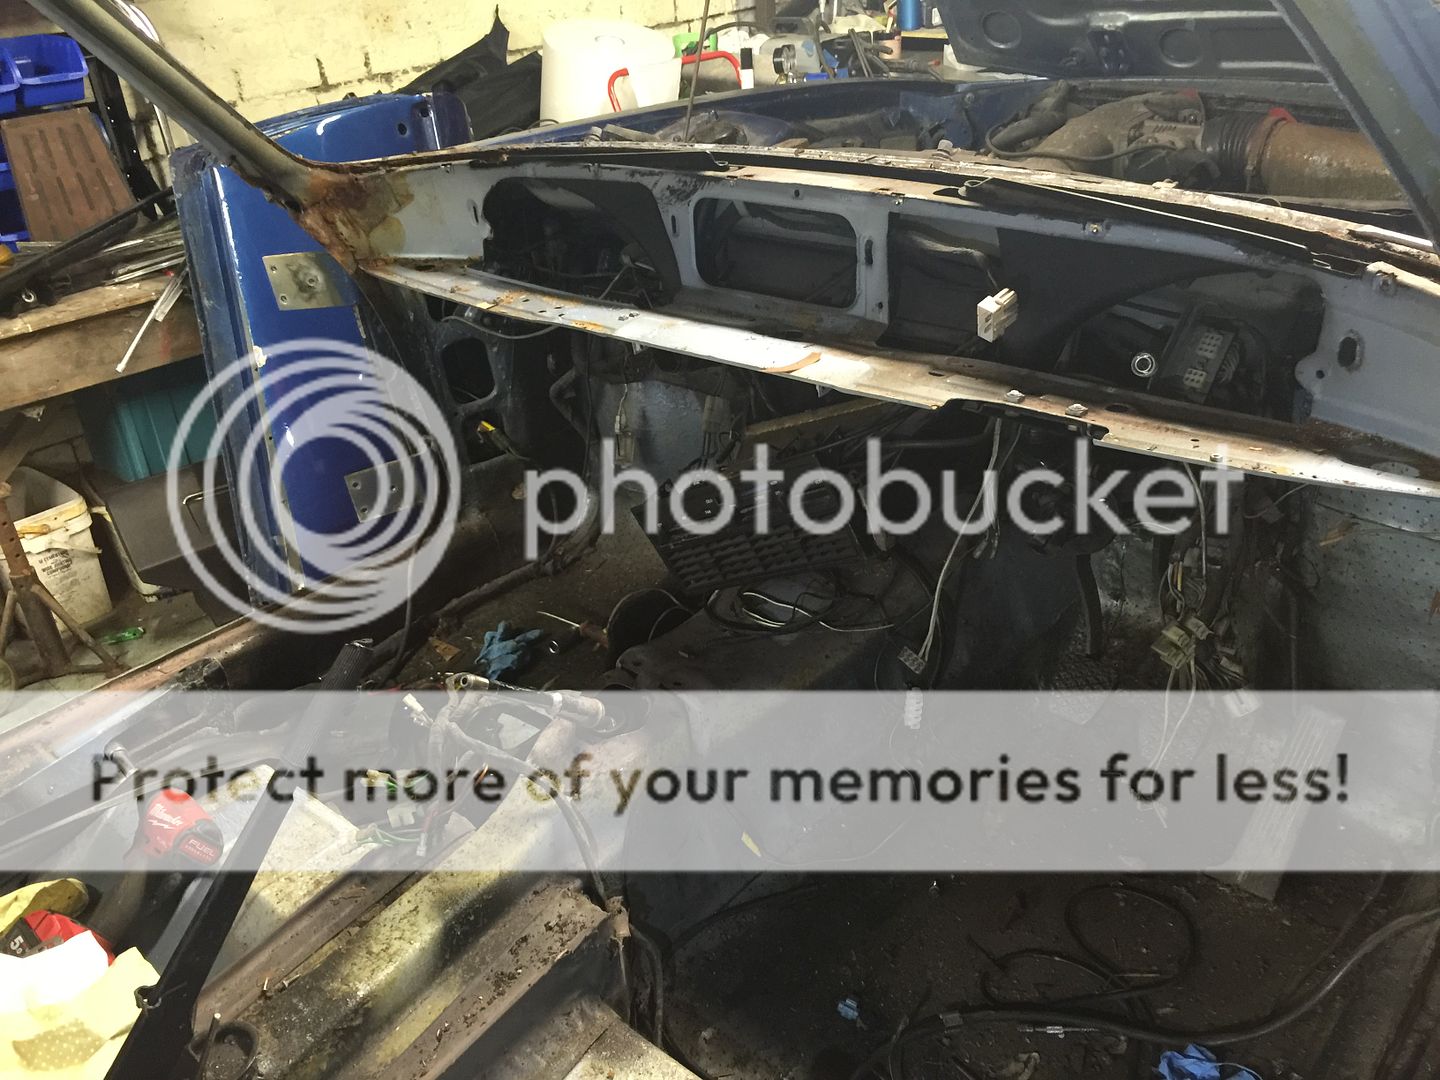
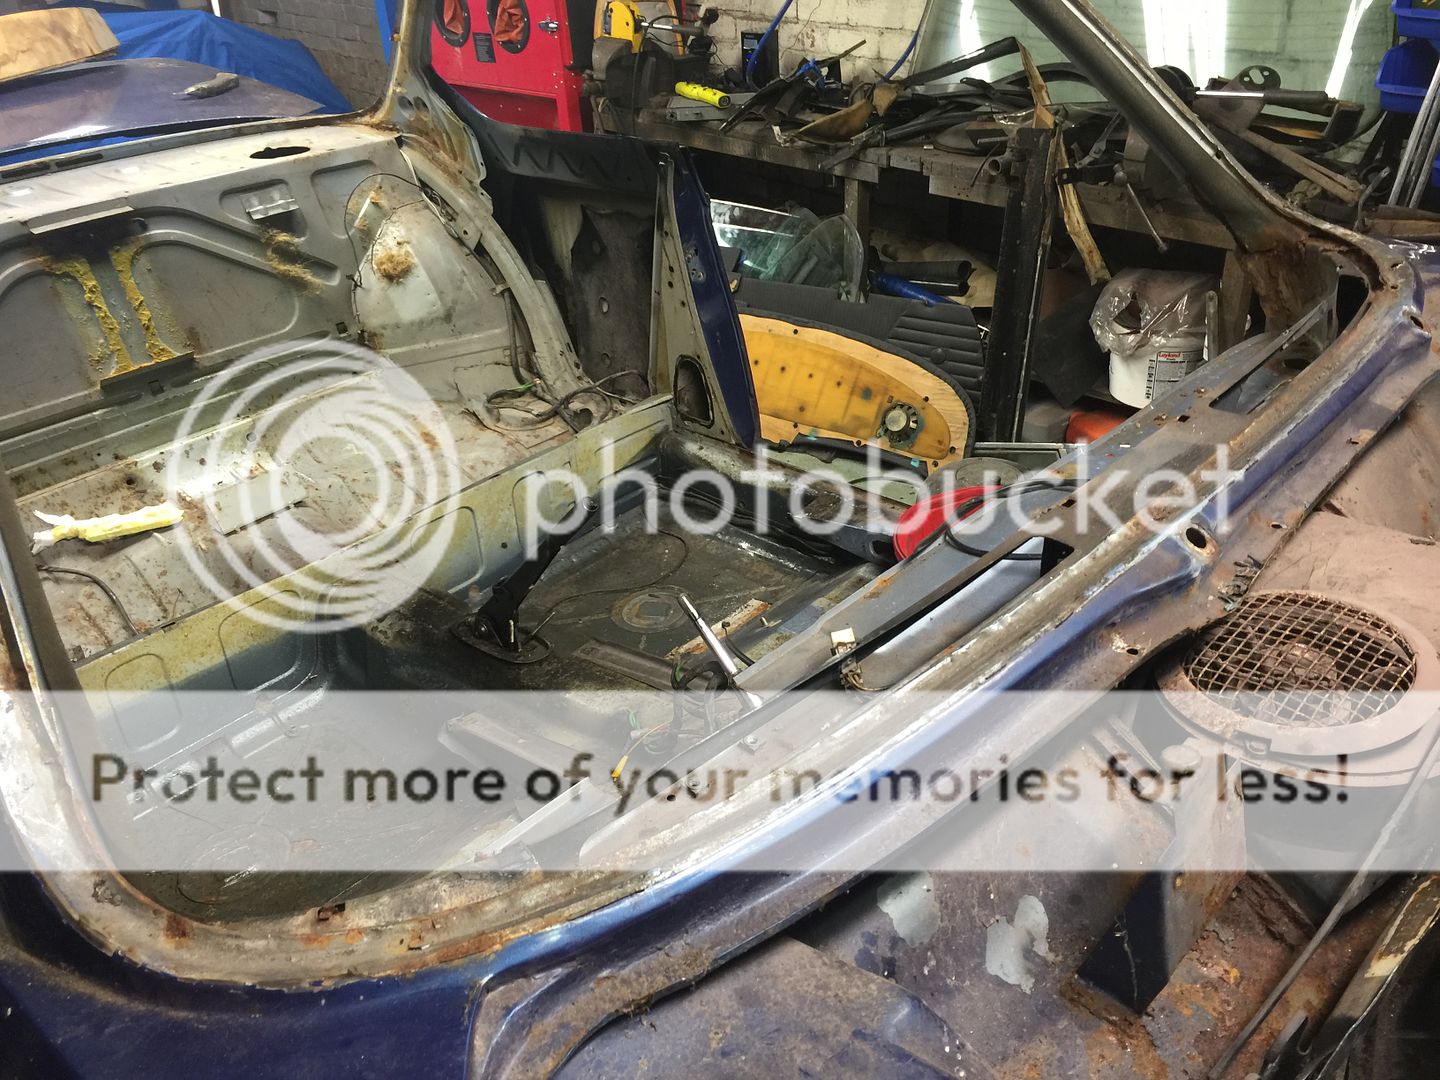
The start of the strip out -
IMG_7990_zps1ruwzyqy.jpg

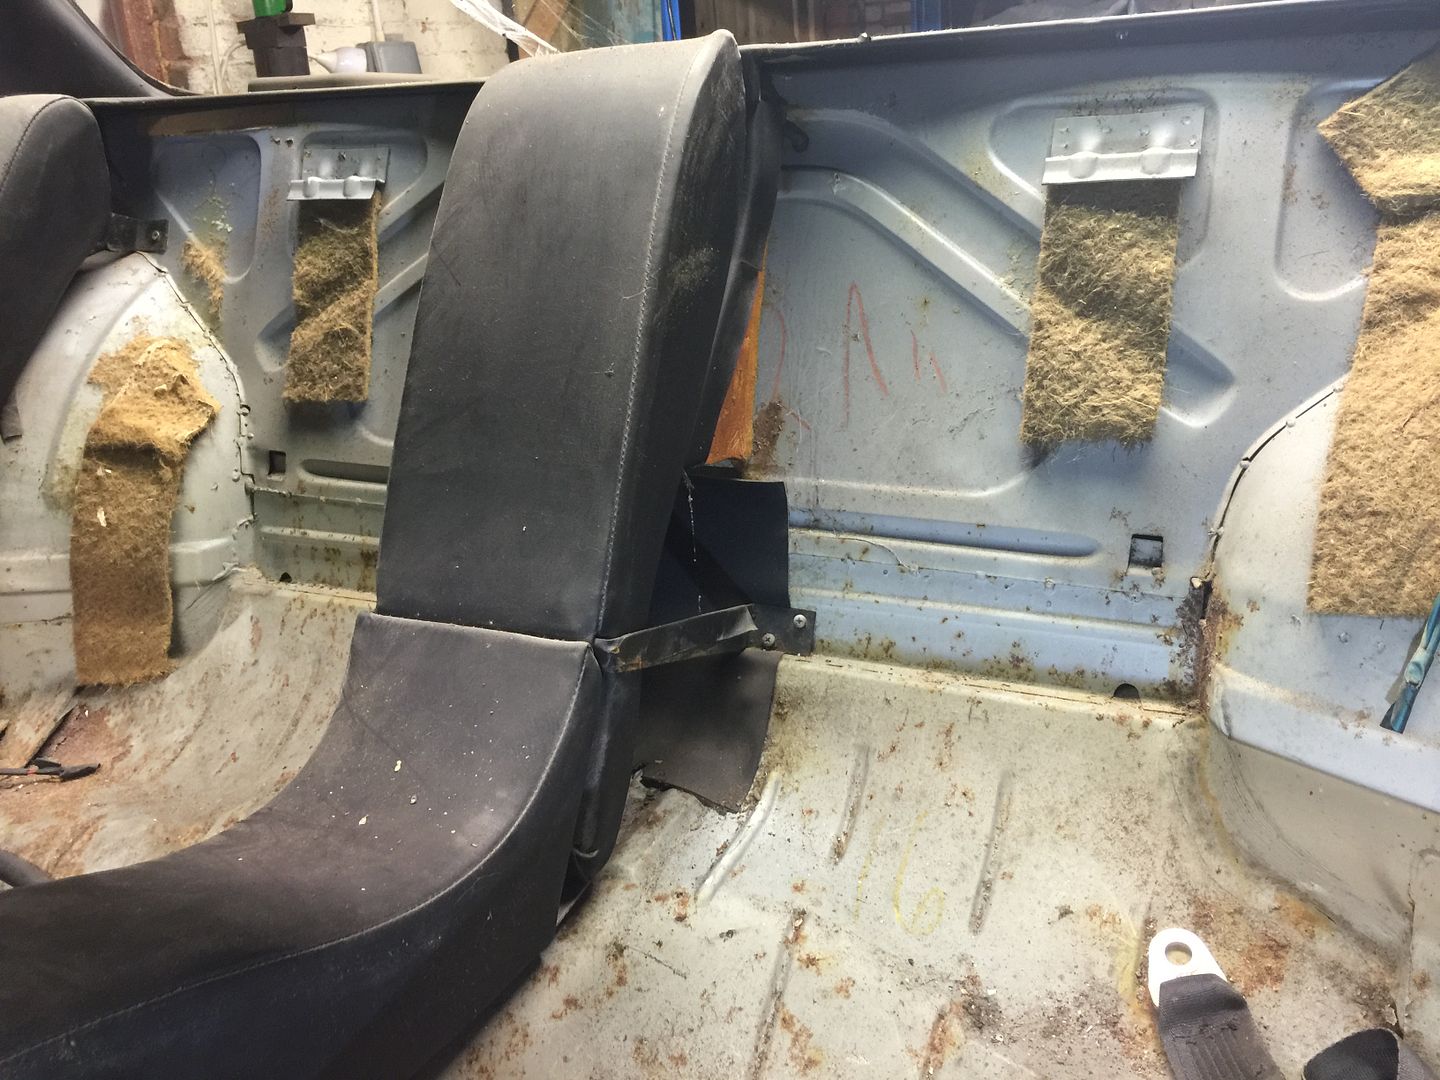
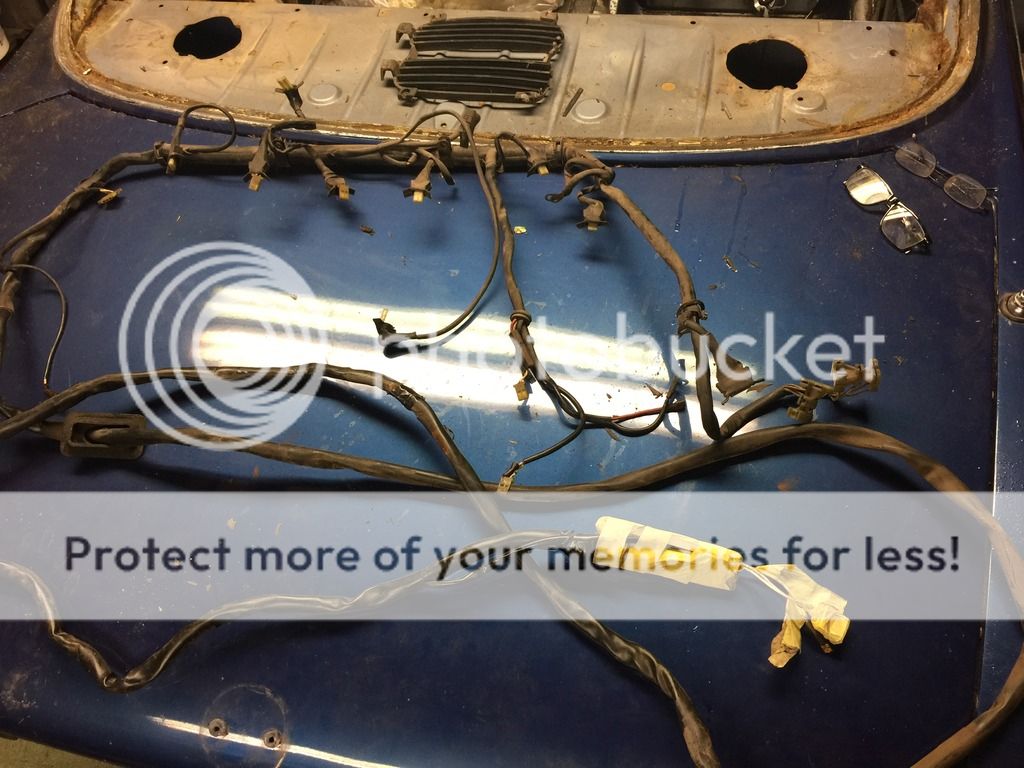
Rear seats out and some red writing on the rear....
 

burky

Well-Known Member
Site Donor
Messages
209
Reaction score
78
Location
Sydney
Go with the anodizing, firstly, if you wanted to polish and then clear spray you have to remove the anodizing,no problem start sanding with around 180 grit paper then work up to 800 to a 1000 grit untill all the scratches are gone along with the anodizing, then ideally a buffing wheel to polish to a fresh chrome like shine, unfortunatly, at this point the surface is so smooth the clear won,t stick, it may look ok for a period of time , but it will peel off, have you ever painted the bathroom and got a few drops on the mirror?.
Its always so tempting, the anodizing will not crack on installation!
Good luck with the resto,it will be rewarding and fun, I am getting closer , about a month, from final paint on my CSL.
 

Marc-M

Well-Known Member
Messages
377
Reaction score
311
Location
Preston - Lancashire-UK
Last night got a bit more stripping done.

The amount of anodised aluminium trim the car has is unbelievable, I have now taken most of it off with the exception of the anodized alloy trim in the door cards.

The door bottoms are both shot at and will need replacement steel panels, but salvageable.

I have decided to try and keep the original aluminium door skins as they are in good condition apart from a bit of oxidisation in a few places.

I have also decided to anneal the aluminium overlap on the door skin so’s it should be easy to get them to part from the steel inner sections… we will see if it works.

The headlining is now out, again that caused a bit of a head scratching moment due to the rear view mirror not wanting to budge as the spring loading must have seized that holds it in place.

I had to peel back the head lining as far as possible and undo the 3 screws for the mounting plate – small screwdriver and small hands!

Once it was out, the roof has light foam as soundproofing – again the UK cars were “city pack csl”. I will replace with new.

Fortunately, the head lining is in great condition and no rips, so will be going back in the car after a good clean.

My garage is in a total mess and this weekend I need to do a big tidy up, store all the trims and then get on with the dash removal.


I managed to snap the black plastic clips off that hold the rear of the headlining..
IMG_8203_zpsjisgbnh2.jpg

A bit of light foam as sound insulation ....
IMG_8204_zpsmi7hmbmi.jpg

Getting there - but my garage is a mess
IMG_8205_zpstfmbqcjl.jpg
 

aearch

Well-Known Member
Site Donor $
Messages
4,106
Reaction score
588
Location
pleasant hill , ca
i redid all my aluminum EVERY PIECE
just had them stripped and repolished
take a look at my 4301316 here
they look fantastic and you just need to use some mothers and super soft cloth to keepem perfect
 

OCCoupe

Well-Known Member
Site Donor
Messages
1,943
Reaction score
1,298
Location
Monterey, California

Markos

Well-Known Member
Site Donor
Messages
13,369
Reaction score
7,502
Location
Seattle, WA
Mike,

Will the ceramic coating crack if bent? Anodizing doesn't do that which is a plus...
 

OCCoupe

Well-Known Member
Site Donor
Messages
1,943
Reaction score
1,298
Location
Monterey, California
Anodizing can crack if you bend it too far. All the aluminum trim on my car has been cerakote-ed. I had to do quite a bit of bending when installing the belt line trim and have had no cracking issues. I'm pretty sure HB Chris and Paul Cain had their belt line trim finished with cerakote and their trim looks great.
 

aearch

Well-Known Member
Site Donor $
Messages
4,106
Reaction score
588
Location
pleasant hill , ca
wow mike how come you had to bend it
i was also wondering
what your under dash wiring looks like
how did you get your front window to seal to the rear
it seems to be a bear and not enuff play to get it to seal
w/ the new weatherstrips?
really have atime of it to get the door and window just right
 

Marc-M

Well-Known Member
Messages
377
Reaction score
311
Location
Preston - Lancashire-UK
Well another night and I am slowly getting there with the strip out of the interior.

Getting the dash out was a slow process, and finding all the fixings was interesting.

As I was trying to pull the dash out, there was one wood screw that I missed that was in the middle – it was the only wood screw, so an easy miss.

Once out the dash slipped out easily.

On inspection the wood is totally shot at and will need some specialty repairs as it has de laminated.

Poking around there are the usual rust spots around the window frame but that is not a problem and I look forward to making up some sections.

IMG_8287_zps9vu9esj3.jpg

A bit of work here I feel
IMG_8291_zpstleqa97i.jpg


Rust and a bit more rust - I guess that is only the start - but I like welding!


IMG_8299_zpsdofkfnt3.jpg

Date stamp on the back of the dash 1 Dec 1972 -


IMG_8298_zpsojkrklna.jpg

They say its got to look worse before it gets better, so the heater - foot pedals - Handbrake - Wiring loom and a good tidy up....
 

Marc-M

Well-Known Member
Messages
377
Reaction score
311
Location
Preston - Lancashire-UK
Not so far away now on having the interior all out.

I think I may have made a mistake buy disconnecting the heater control cables from the main heater box, - looking at it I think the whole lot was put in as one unit, so will connect back up as one unit once I refurb the unit before it goes back in.

Getting the pedal box / steering support out with the engine in it a non-starter.

The link to the throttle that run along the bulkhead is in the way, so will wait till I get the engine out next week.

Getting to the brake and clutch master cylinders is a pain in the ass- I have tried to undo the brake lines but again they are all seized up – so this confirms it will all have to sorted next week.

Taken the brain box out – does anyone know how to test this unit? knowing my luck I will put it back and it’s the part of the car that has not been checked and will be faulty.

Started striping out the windscreen wiper unit and found it totally seized up but I do like the way it’s all self-contained in one, very well designed compared to my other British cars.

A large amount of debris that has been collected in the recess that the wiper / heater lives, but after a good vacuum out there only seems to be surface rust, but again once it comes back from media blasting it will probably look like it’s been shot at with a 12 bore.

It looks like the rear axle and the engine all will come out under the car – so will have a good look to see if it’s possible.

More to follow!

IMG_8373_zpskxvkpxaq.jpg

The brain is out - just now need to find out if it works!
IMG_8374_zpsaftxx2zs.jpg

All cleaned out and looking not so bad
IMG_8376_zpszi1upeo9.jpg

You can see on the rear seat support that run between the B posts where the sound proofing was put in and they then sprayed it in the same body colour -there is a clear line of paint
IMG_8377_zpszj6jr5bi.jpg

No holes in the bulk head yet! - I guess there will be when it comes back from media blasting
IMG_8378_zpsfwe7b9yh.jpg
 

30csl

Well-Known Member
Site Donor
Messages
1,345
Reaction score
15
Location
London/Herts
As UK csl's go that is looking pretty solid - like you say there will be holes once blasted but hopefully they wont be too big! The brains as far as I have seen don't give much trouble. Where they sit affords them a nicer enviornment than many other parts. The whole lot should come out but for ease you may want to do each end at a time with the propshaft out first.
 

Marc-M

Well-Known Member
Messages
377
Reaction score
311
Location
Preston - Lancashire-UK
Not a whole lot to report apart from taking out the main fuel injection wiring loom.

I found that the best way of removal was to bring it back out of the car from the front.

The multi connector that goes into the brain was taped up to protect it.

With a bit of wiggling, it just got through the hole in the floor.

I am starting now to get all the hoses and wires off the engine ready for that to come out this week.

IMG_8583_zpsbo2odfrg.jpg

The fuel injection loom - in not to bad a condition, but will need to be checked.
IMG_8584_zpsvnbcufwa.jpg

I took the distributor out with all its bits on, so I can make sure that it all goes back in the same way....
 

Aussiecsi

Well-Known Member
Messages
1,126
Reaction score
335
Location
Perth, Western Australia
Hi Marc, your injector harness looks pretty good . FWIW, Walloths now sell a repair kit which includes things like rubber boots etc . Obviously a lot easier to do repairs /refurb while harness is out of the car . Cheers, Simon
 

Markos

Well-Known Member
Site Donor
Messages
13,369
Reaction score
7,502
Location
Seattle, WA
Not a whole lot to report apart from taking out the main fuel injection wiring loom.

I found that the best way of removal was to bring it back out of the car from the front.

The multi connector that goes into the brain was taped up to protect it.

With a bit of wiggling, it just got through the hole in the floor.

I am starting now to get all the hoses and wires off the engine ready for that to come out this week.

IMG_8583_zpsbo2odfrg.jpg

The fuel injection loom - in not to bad a condition, but will need to be checked.

Good job! I just did this myself. Lots of wiggling. If you are missing the plastic tube that covers the injection airing, it is worth mentioning that it is the same tube used for the spark plug wires. Also, WD-40 works really well for cleaning wiring.
 

Marc-M

Well-Known Member
Messages
377
Reaction score
311
Location
Preston - Lancashire-UK
The last few nights I have been trying to get all the chrome and aluminium trim together to send off for chroming and anodizing as this always takes months.

All I can say is there is a hell of a lot of it so it won’t be cheap!

The biggest problem I have faced so far is getting the chrome surround off the ¼ light windows.

These seem to have been siliconed in, and were not for coming off with just a pull.

I decided to use acetone poured onto the window and run a new Stanley knife blade around the edge to soften / degrade the sealant.

There is little room to get the knife blade in, but after 10 minutes or so the acetone started to soften the silicone (or sealant) and the chrome came off with a little bit of easy persuasion, and without bending the chrome surround.

Still to get off the car is the waistline alloy trim – head light surrounds and the side grills.

I think (yet to be confirmed) but the grill vents on the bonnet/hood feel so light they could be plastic that have been chromed??

The other little bit of playing around i did was to re bond the glove box outer to the steel inner section.

I have used a product called CT1 – it’s a silicone / glue fixing.

I have used this before and found it to be a great product.

IMG_8619_zpshx4torvf.jpg

Took 20 mins each side to get it free and a few lids full of Acetone - but a good easy way of getting the chrome off the window

IMG_8616_zps8iasenyb.jpg

All camped up and should be good to go - I just now need to find a good way of cleaning the rust off or finding a way to re finish it

IMG_8615_zpselqqw7n0.jpg

The CT1 to re bond the glove box -after a bit of prep of the steel

IMG_8612_zpsrnre7sor.jpg

Only 70% of all the stuff that need refinishing - you would not think the car had so much on it.....
 

Markos

Well-Known Member
Site Donor
Messages
13,369
Reaction score
7,502
Location
Seattle, WA
Keep us posted on the glove box. I had a delaminated on listed for $25. Nobody took the plunge so my plan was to fix and reflock. I am just swimming in free time so i'll jump right on that. :D
 
Top