CSL Restoration

Marc-M

Well-Known Member
Messages
377
Reaction score
311
Location
Preston - Lancashire-UK
Not had the time to really get stuck into the car last week, but I have managed to do a few things.

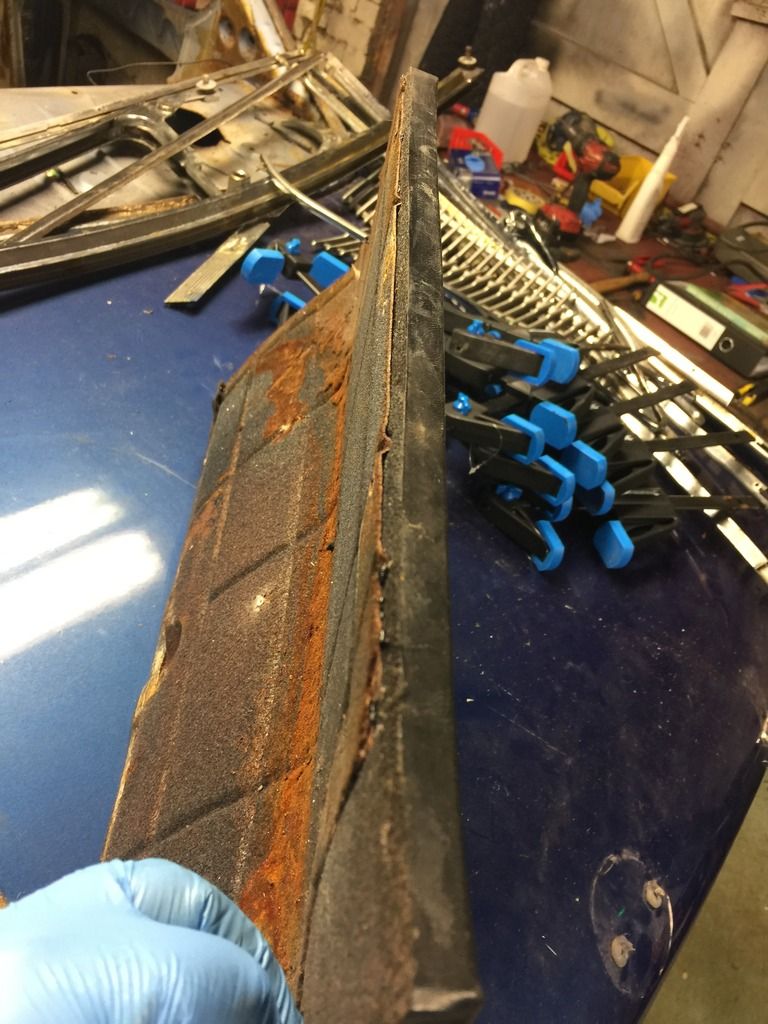
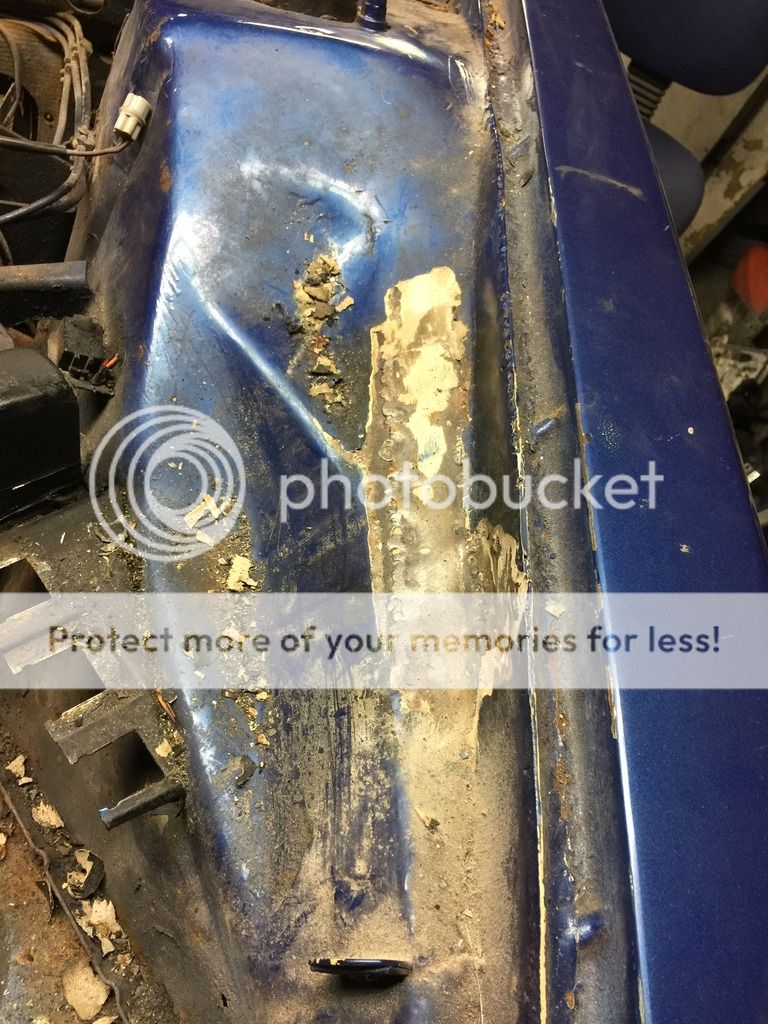
The glove box was delaminating , its now back as it should be and ready for a clean and re flock.

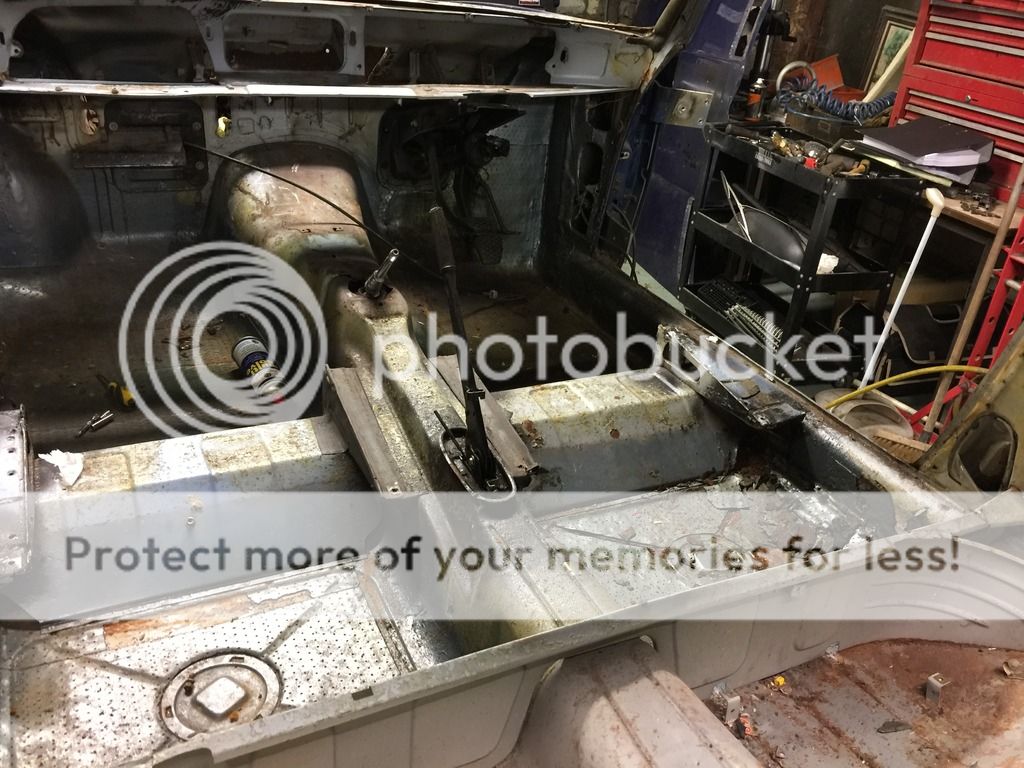
The fuel tank is now out of the car and although it looks a bit scabby it still held ¼ tank of 20 years old stale fuel.

It will be dipped to remove all rust and then I will put in a tank sealer.

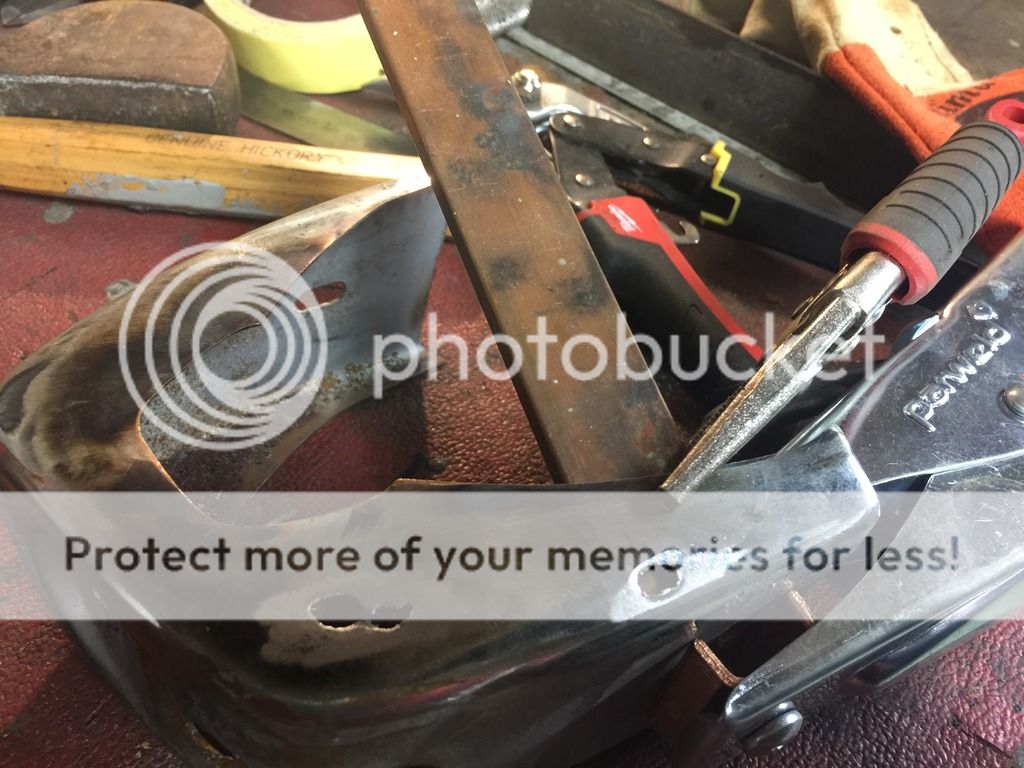
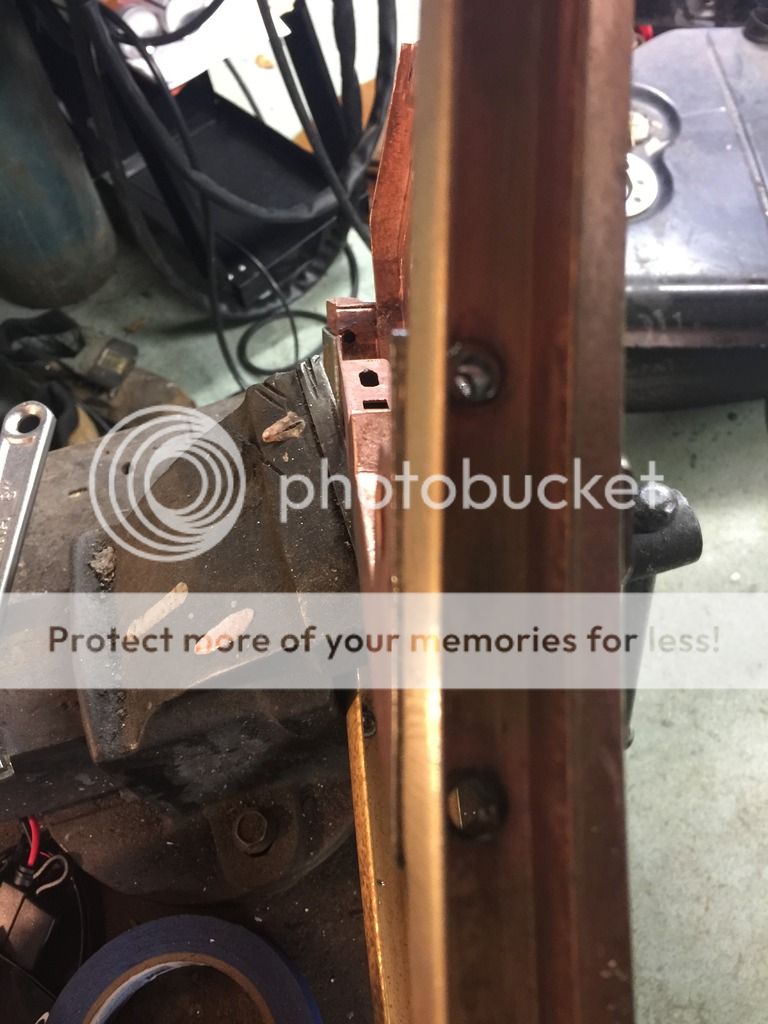
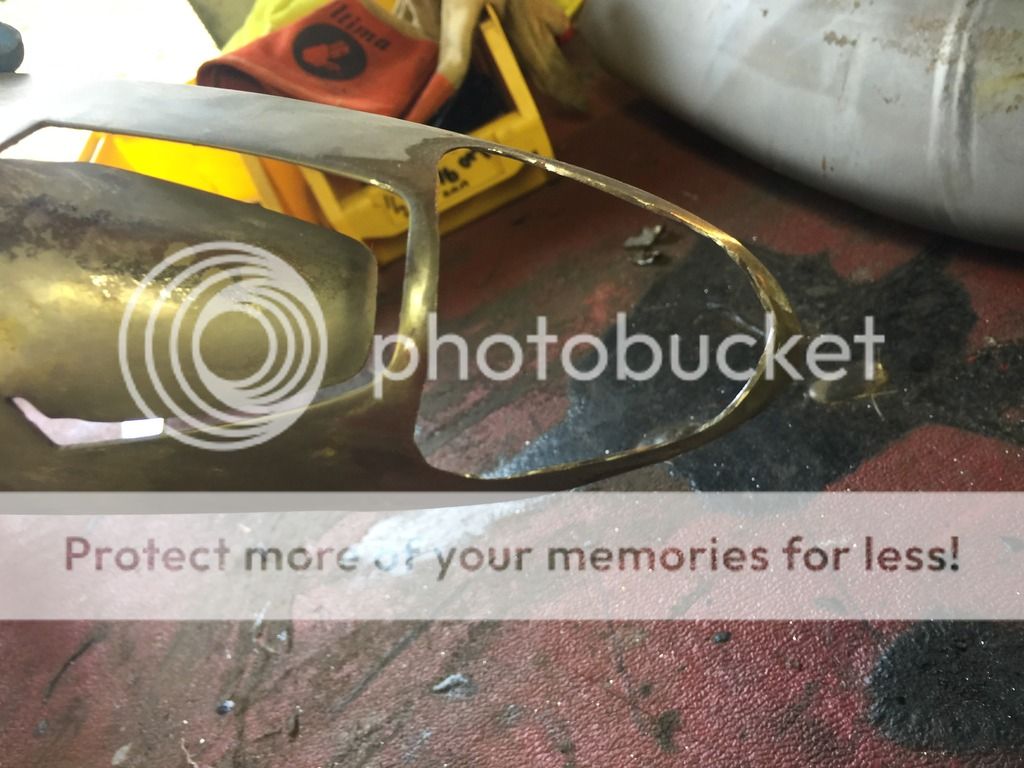
The rear lights are out and will need restoring, over spray all over the insides ..

Does anyone have a good way of removing the coloured lenses out of the chrome surround?

I need to get then re chromed but it looked like they are fused in!!! – my only idea so far would be to carefully grind the rear of the lenses around the aperture to get them out and then stick them back in with epoxy???

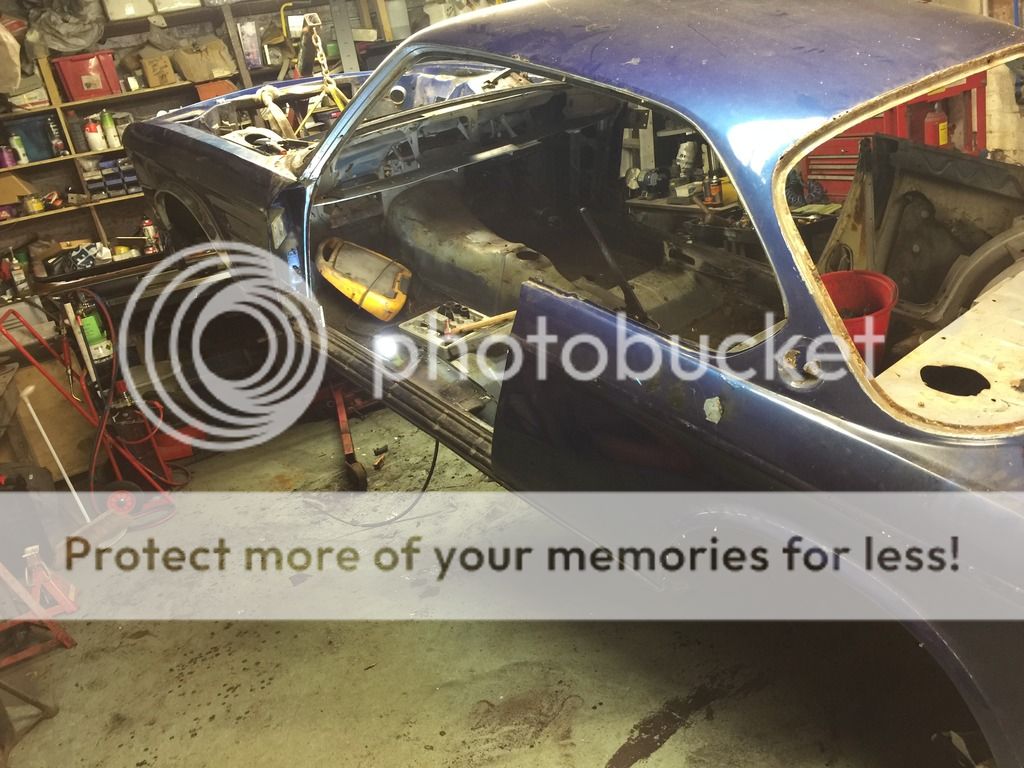
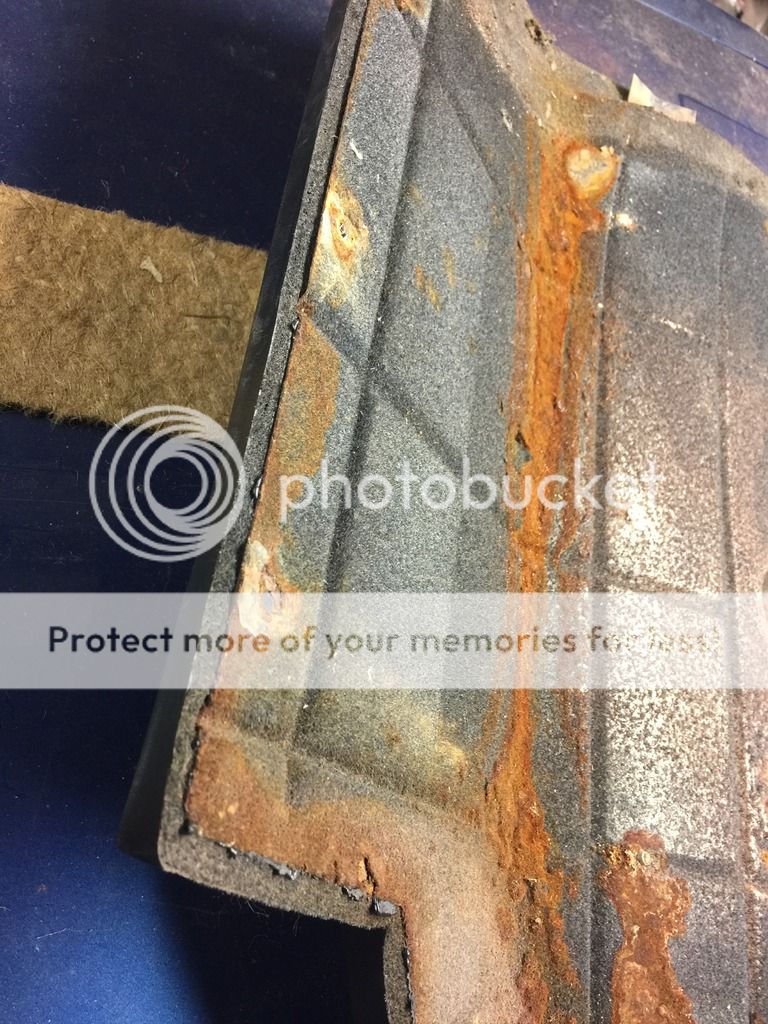
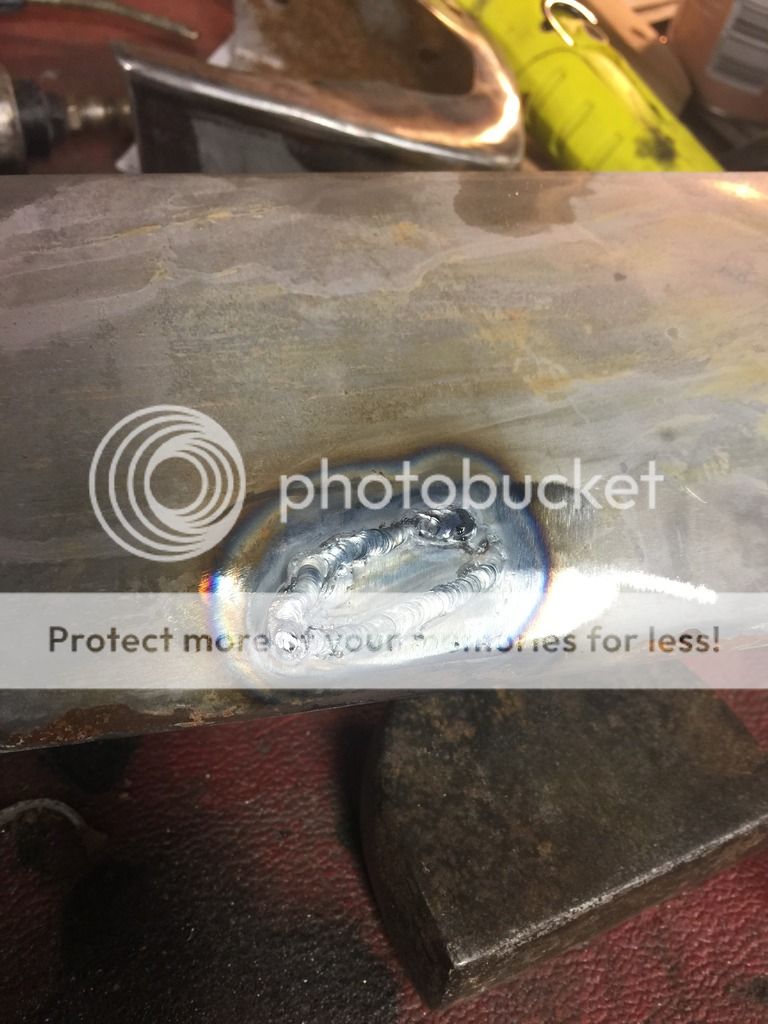
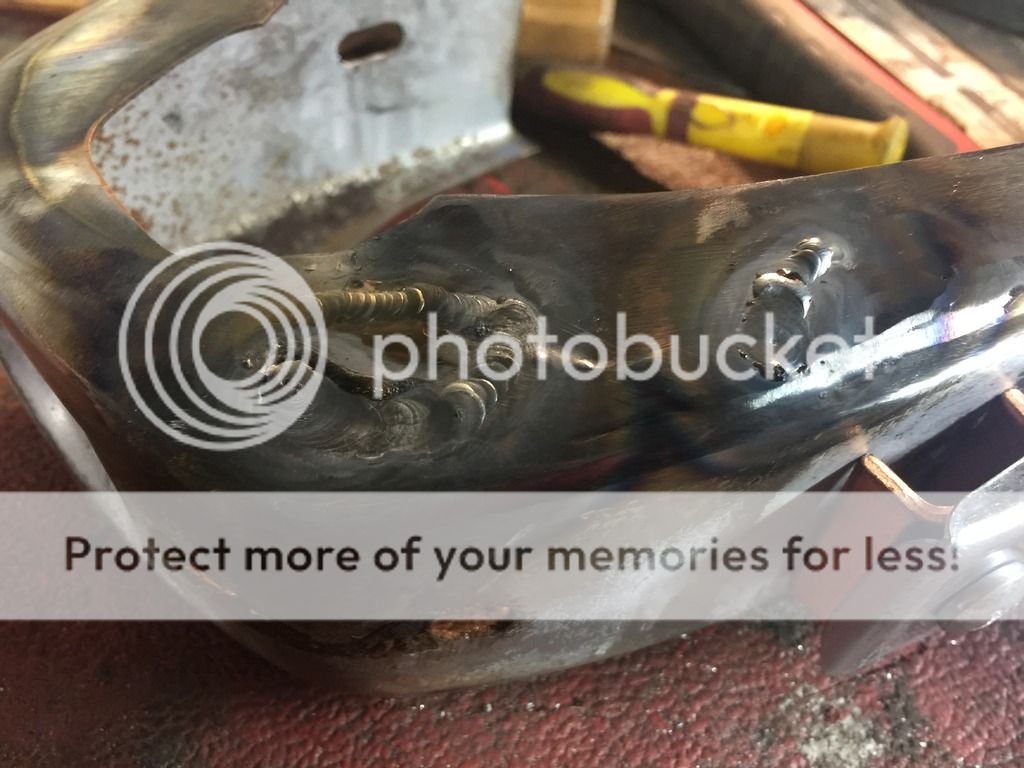
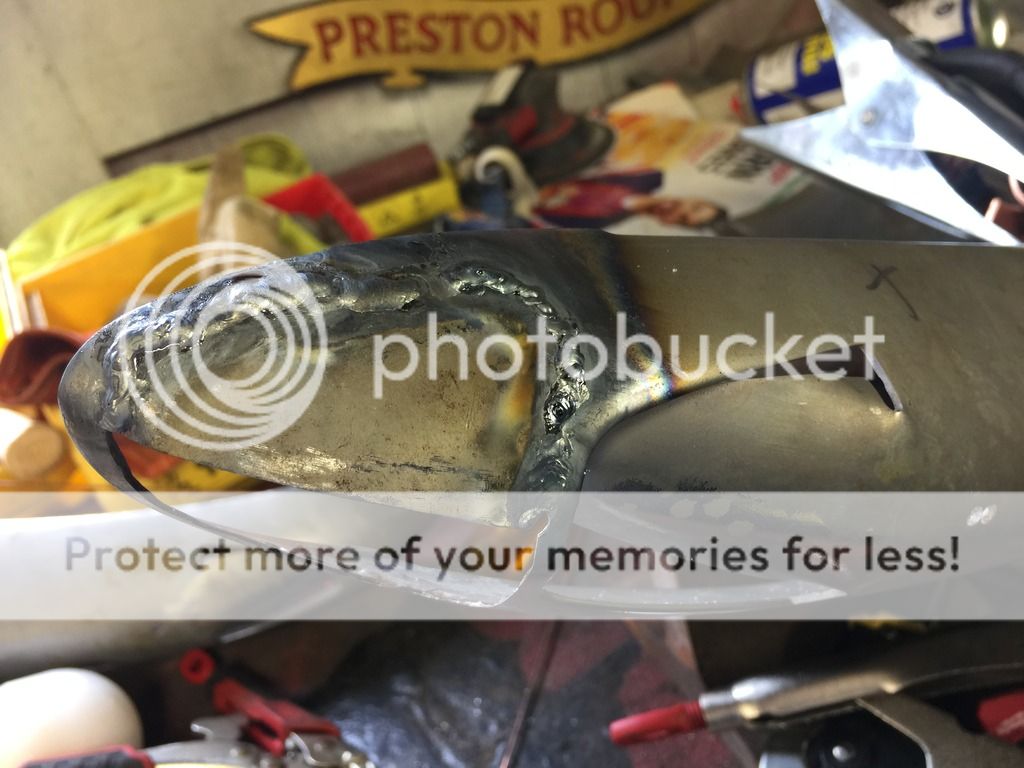
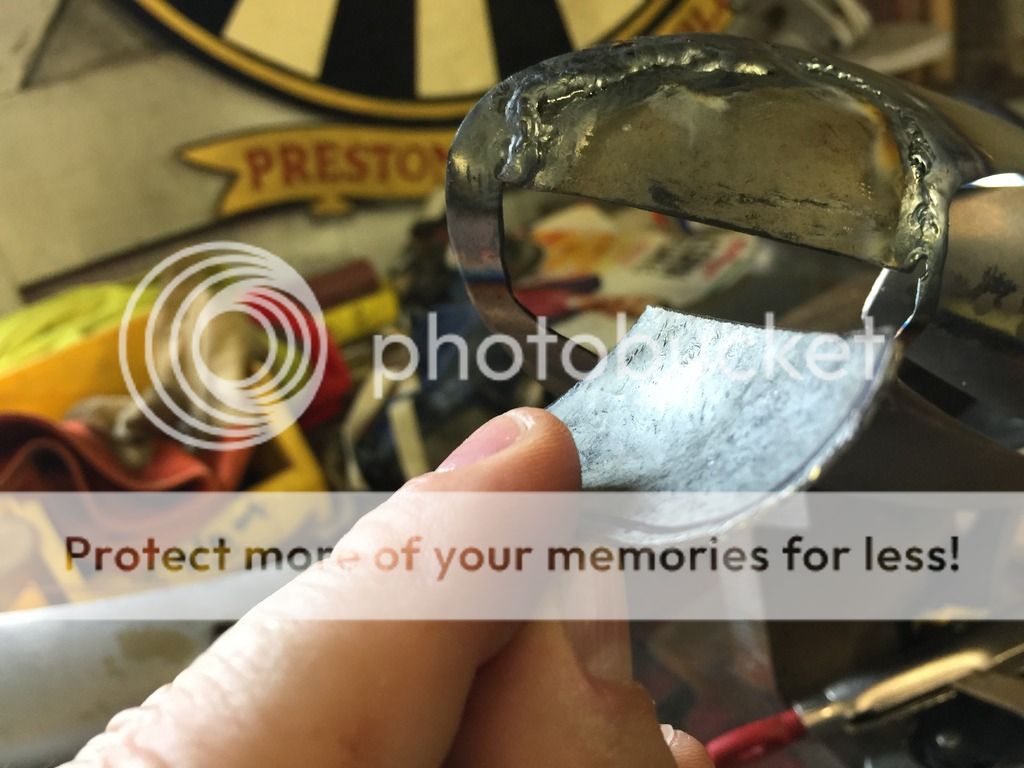
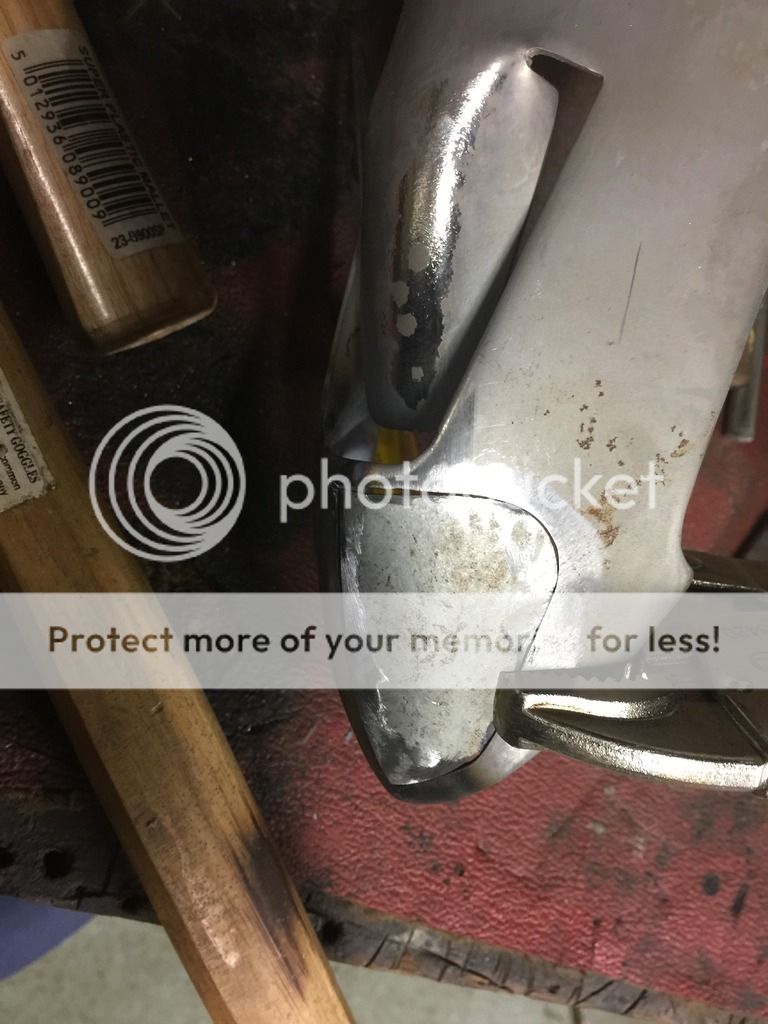
The boot floor looks quite good on first inspection, but a closer look shows some repairs that are just amateur at best, these will be taken out and done correctly.

The spare wheel floor has 1 hone in it so far!

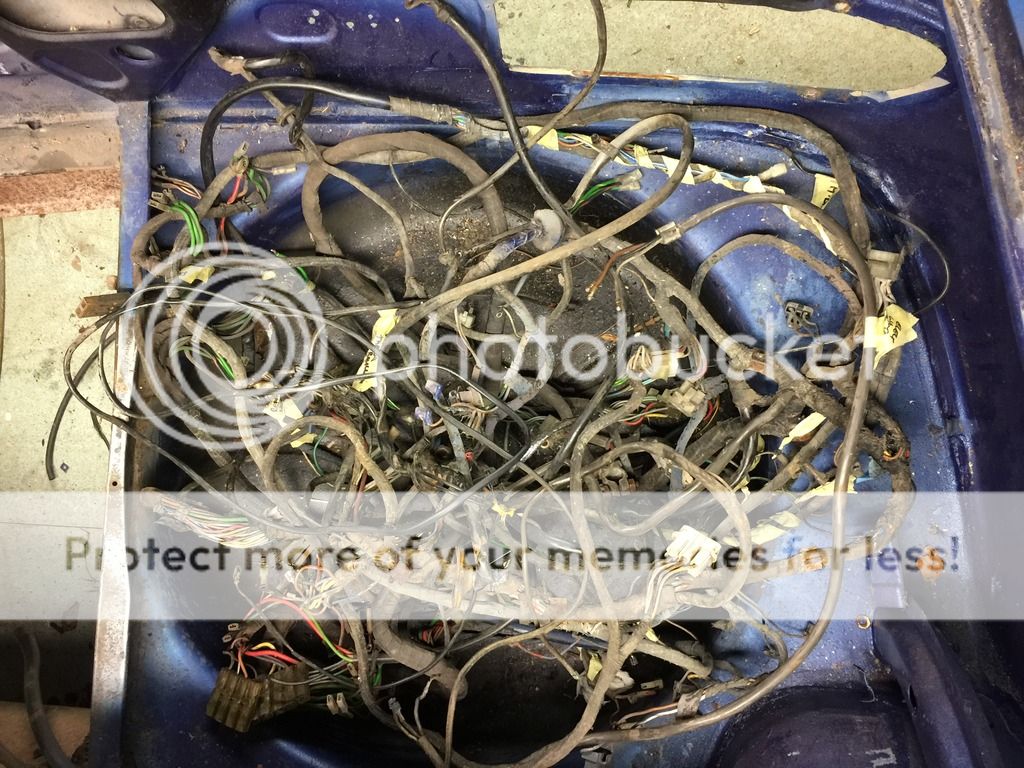
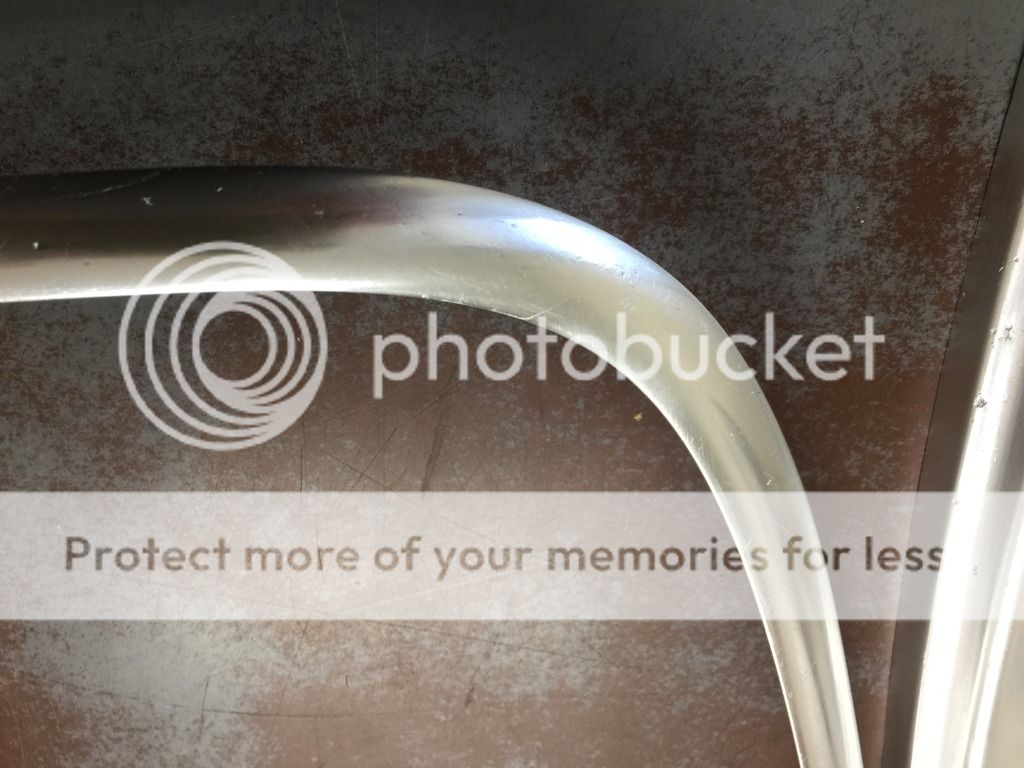
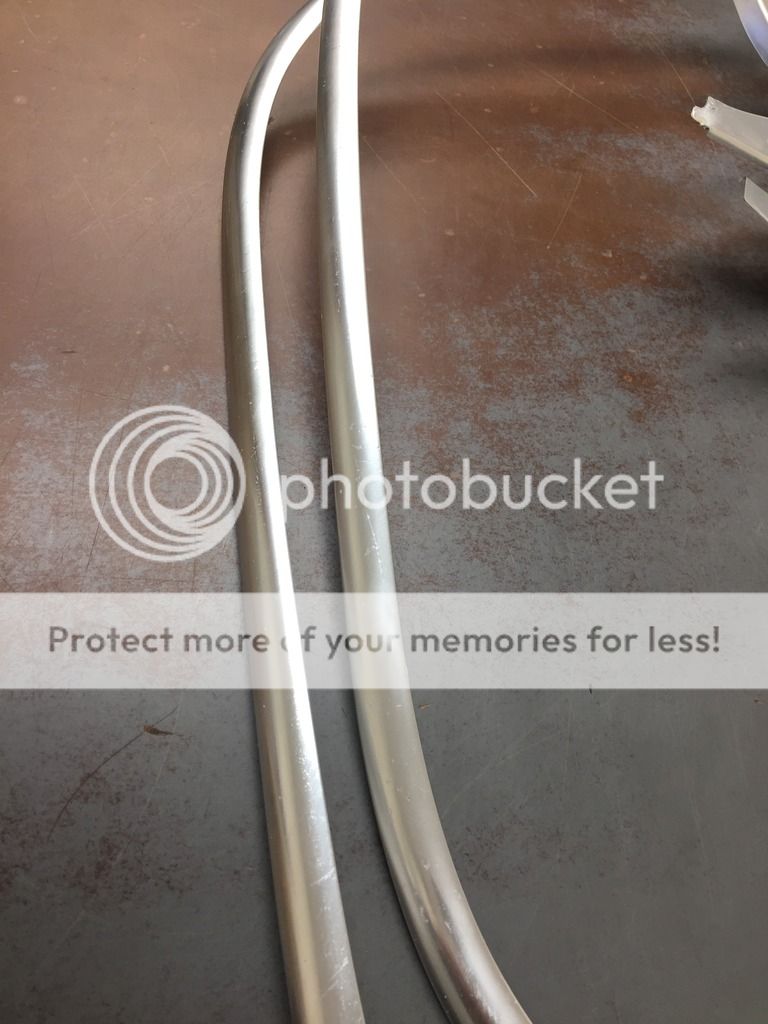
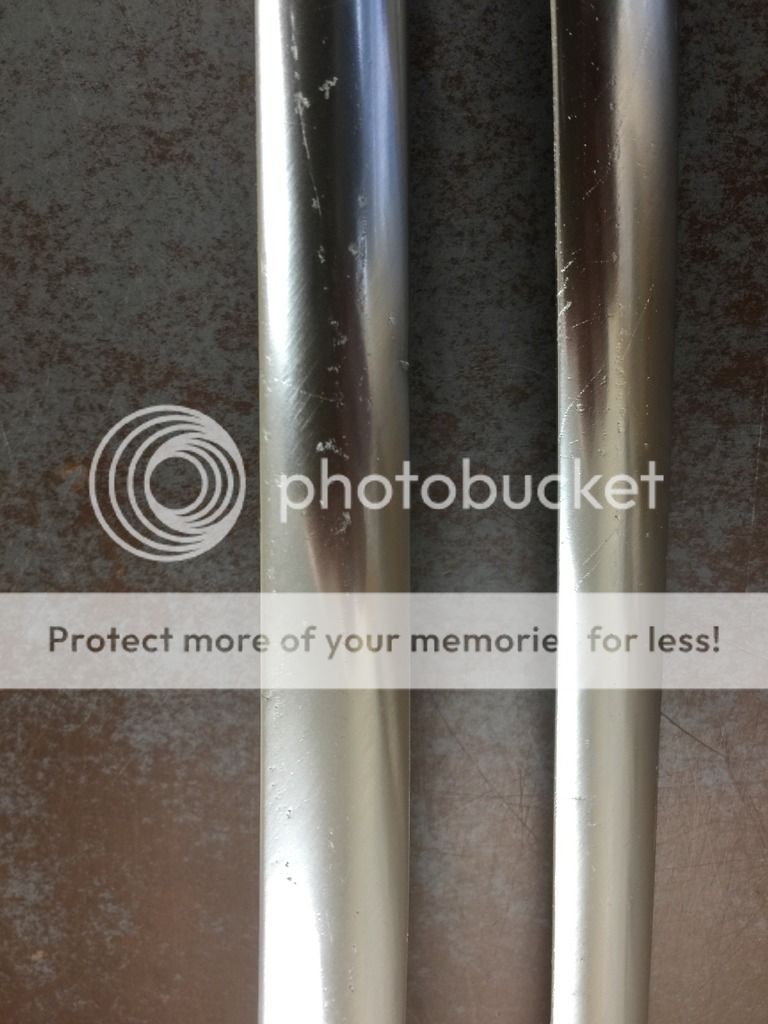
What I am finding with the car is a lot of “home mechanics” work – loads of silicone sticking trim on!

IMG_8700_zpsod64akhe.jpg

Now bonded, but a good clean and a re flock required
IMG_8702_zps1cpuv4bt.jpg


IMG_8733_zpsczvf06kw.jpg

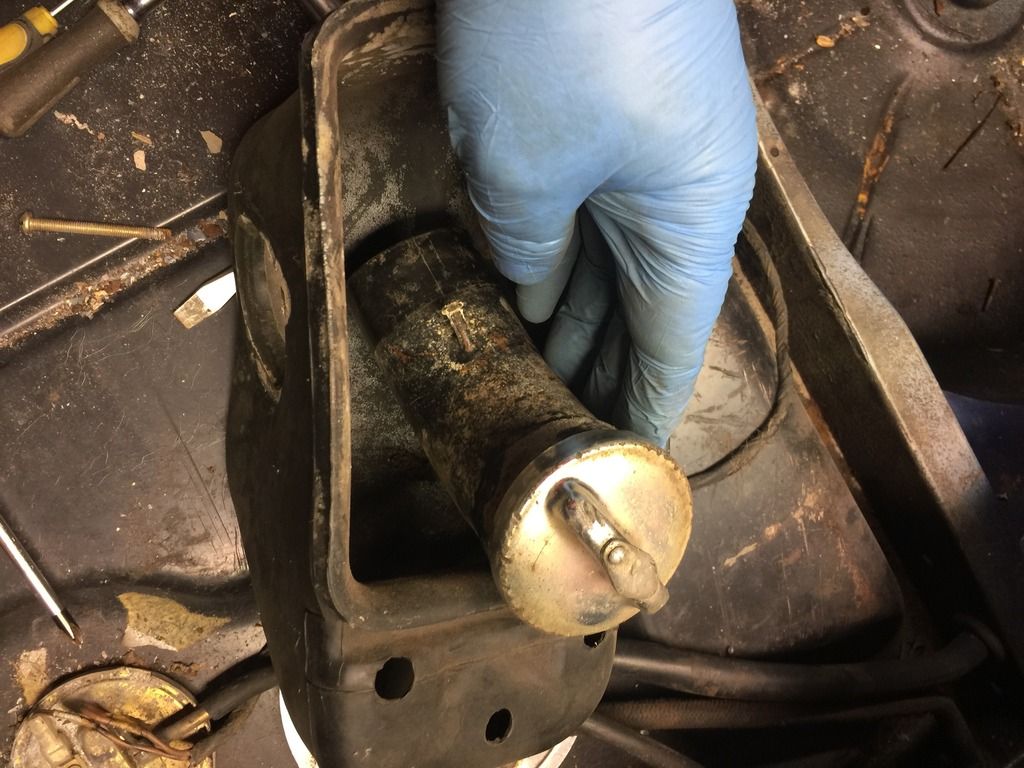
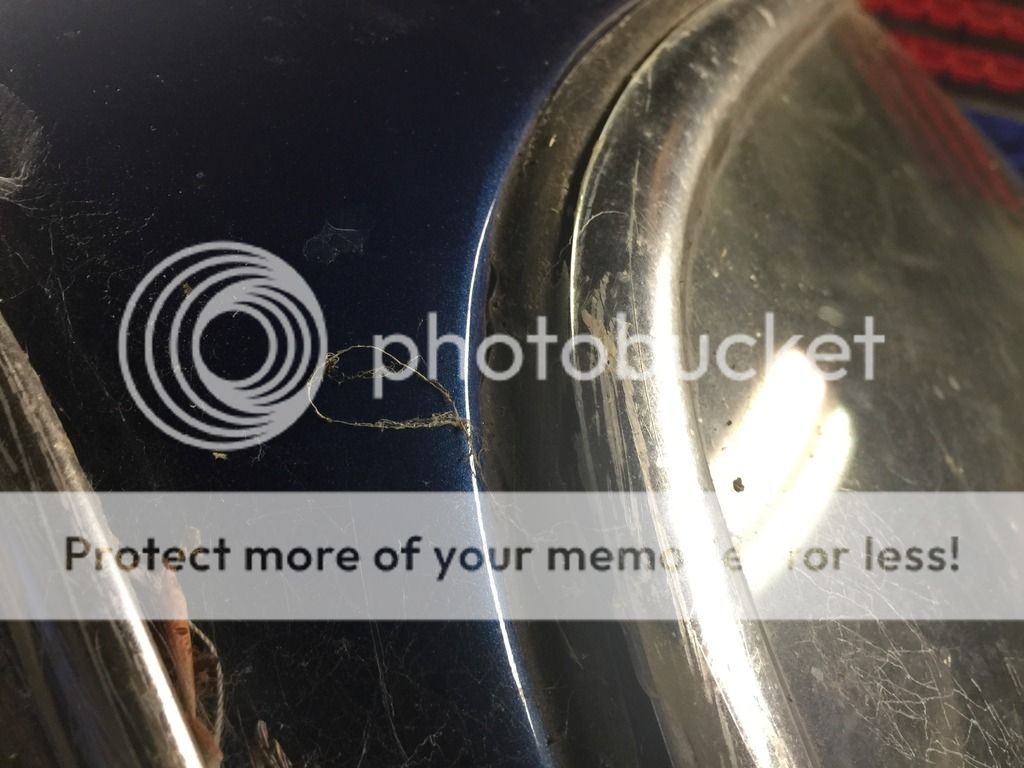
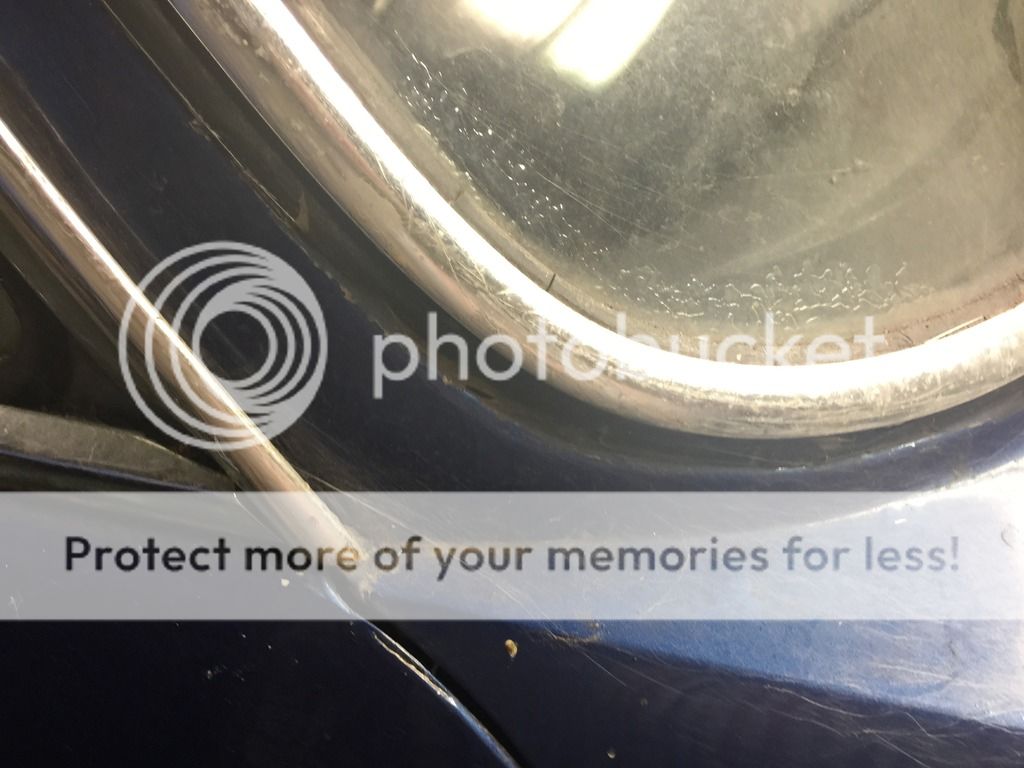
Is this the original fuel cap? looks like it as its had a good battering...
IMG_8741_zpsy09miom5.jpg


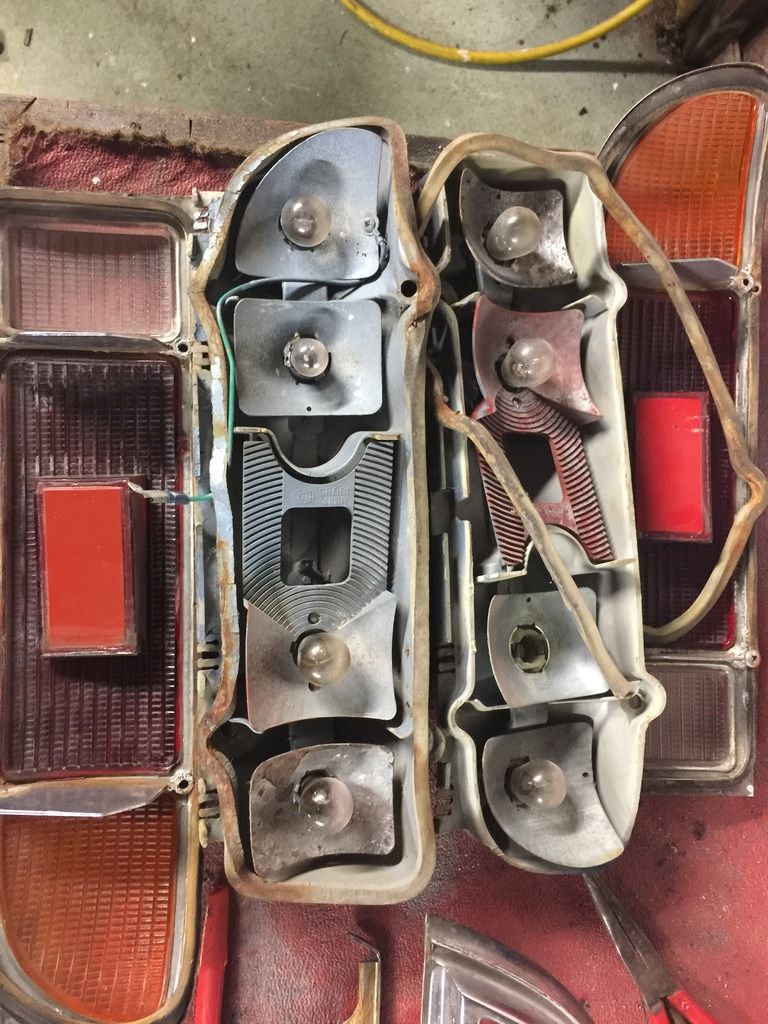
Rear lights out - full of overspray - why do they do this - 2 mins masking up is what it takes - now its a good few hours cleaning and sorting
IMG_8743_zps92ljmozc.jpg

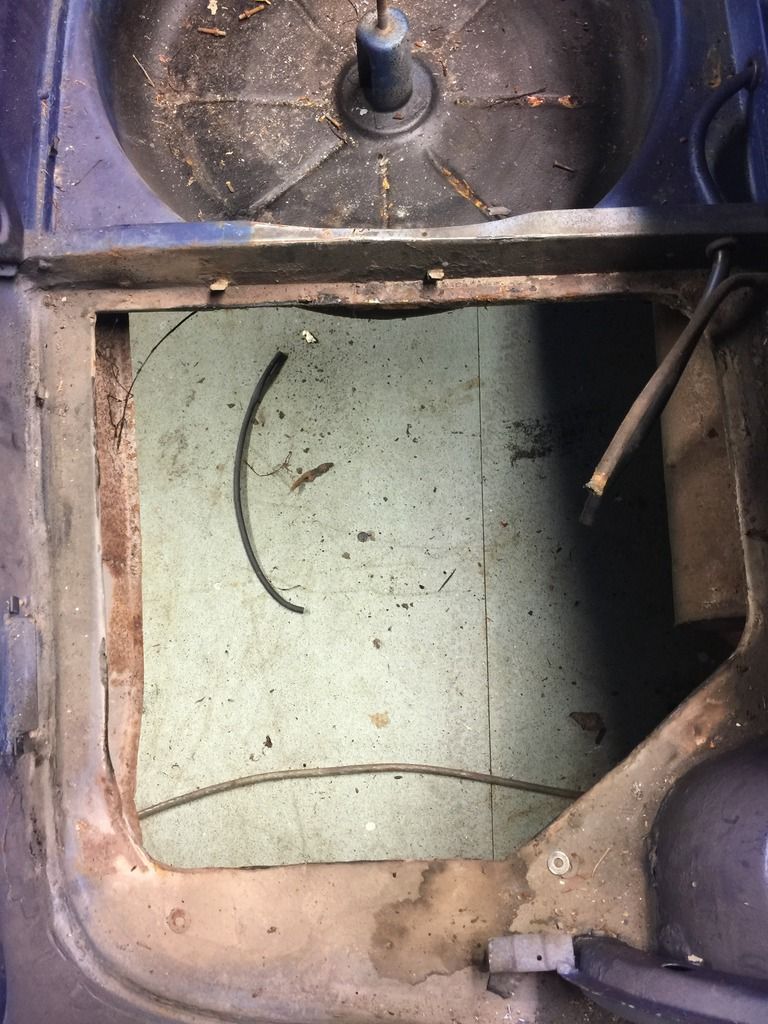
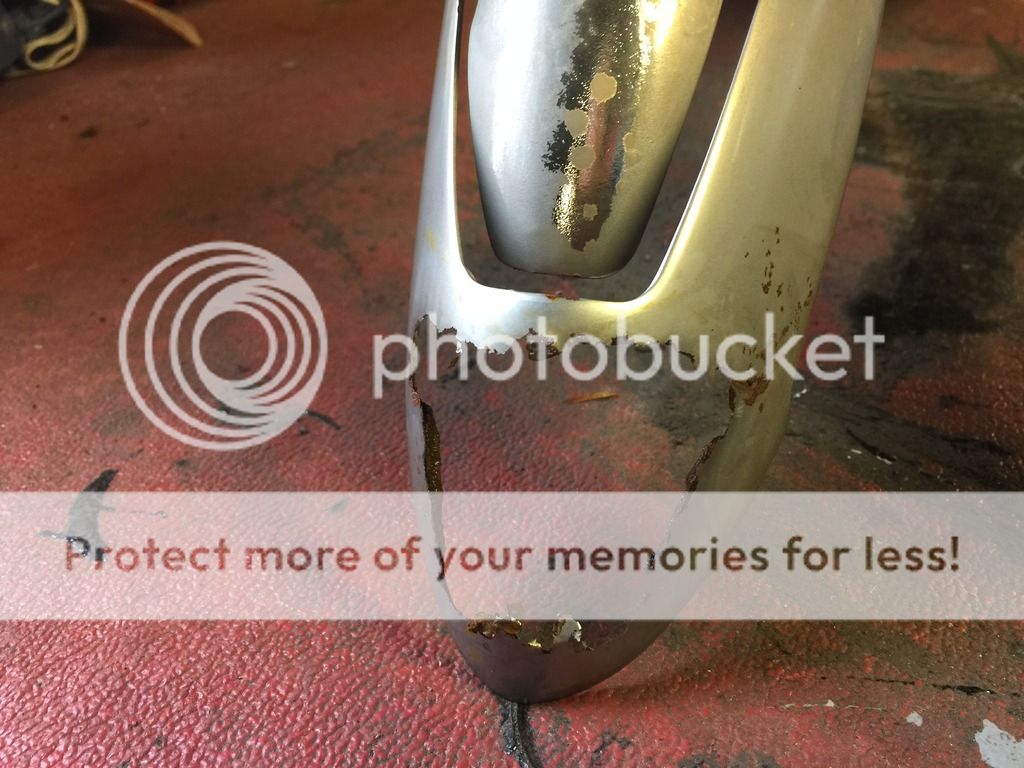
Looks ok form here - but look at the hole for the fuel tank, the LH edge - not a straight bit- sections put in , but shoddy work.
 

30csl

Well-Known Member
Site Donor
Messages
1,345
Reaction score
15
Location
London/Herts
Yes you can grind the edges of the lense on the inside - i have also had success with a pliers or vice grips catching the bead and breaking it of in bits.
The fuel cap looks like a BMW one - my cars have two different caps - one locking but different to yours.
How does reflocking work? Can most trimmers do it?
 

Marc-M

Well-Known Member
Messages
377
Reaction score
311
Location
Preston - Lancashire-UK
Today I took a couple of ally trims from my chrome plater who has taken the anodizing off and polished the items for me to take to the bright anodizing company.

The anodizing chap told me that there is no guarantee that they will be any good! And then showed me a trim that has been done for another customer – not that bright and full of tiny specks that he tells me is oxidation on the aluminium.

So I told him to have a go, but I think it’s not going to be to my standard. We will see in 6 days’ time.

Has anyone had these issues and is there any remedy to getting the old trims back up to factory fresh – or am I barking up the wrong tree?
 

Marc-M

Well-Known Member
Messages
377
Reaction score
311
Location
Preston - Lancashire-UK
When I went to the chrome platers on Friday they gave me a few bits back…

The front over rider and ½ the rear bumper when striped has a few holes in them – so I have had to weld them back up and smooth off.

The other problem was that the window ¼ sections are made up of 2 different types of metals and they needed splitting because the plating sequence is different – they would have split them had it been held with set screws on both sides but the section is held in with 2 set screws on one side and 2 rivets on the other, so had to drill them out.

On reassembling I will tap the riveted side and put in set screws, I will probably have to grind down the screw heads on the rivet side so will use stainless steel fixings.

IMG_8799_zpszmrofkdp.jpg

I set in a small oval section of steel in the rear bumper where the hole was - Tig does a nice clean job
IMG_8800_zpsokyopek1.jpg

The copper flat section that is behind was used to stop a big puddle of weld building up behind - I decided to just use weld rod and fill the holes
IMG_8801_zpsvwwiglhd.jpg

All filled and ready for making smooth.....
IMG_8802_zps6ajgzuv4.jpg


Bit of a rubbish picture - but showing the 1/4 window frame where the 2 rivets needed to be drilled out..
 

Marc-M

Well-Known Member
Messages
377
Reaction score
311
Location
Preston - Lancashire-UK
All the wiring is now finally out.

The only one single wire that goes to the relay that is bolted on the rear seat upstand by the brain had to be cut.

It is a good few hours of a job carefully getting both the main rear and the front loom out.

The biggest problem I had was threading the front loom out as I still have all the brake servos in place, so threading it though the front was a slow process with all the grommets on.

All the looms look in quite good condition, so I think I just need to check there are no shorts, clean the plastic and re wrap the cloth sections.

While I took a 5-minute brake I decided to see what was going on with the front wings and how they did the repair to the passenger side back in the 80s

I checked the thickness of the wings via the side indicator hole with Vernier gauge and after scraping the paint off I am getting a 0,88 mm thickness and I am getting the same reading as the undamaged wing.

So it looks like they put the right wing on, but made a mess of attaching it.

This is not a problem and I will look forward at unpicking the shoddy work.

IMG_8859_zpsjthhewd3.jpg

Well it looks quite bad when its all its all in one big pile - but its quite simple when you have a diagram, and the loom is put back in the correct position
IMG_8857_zps5wbfocvp.jpg

Drivers side - showing the wing, and how it has been fixed to the inner wing - by the factory
IMG_8856_zpsm46dxfpp.jpg

Passenger side wing - showing how not to fix it to the inner wing - then to try and make it look good - a smatter of car body filler over the top - how bad is that!
IMG_8860_zps83srxxaj.jpg

Its starting to look tidy inside the car now - I look forward to taking off all the sound proofing that was put in - Not!
 

Marc-M

Well-Known Member
Messages
377
Reaction score
311
Location
Preston - Lancashire-UK
Due to lack of parts supply, I decided to see if re anodizing all the aluminium would be a good option.

I decided to try the 2 door finishers and the windscreen surround

The door finishes were quite badly oxidised and although were quite shiny needed either redoing or scrapping.

The window frame surround was shot at with milky bits and deep scratched and pitting.

So the first process was to strip off the bright anodizing and then polish this was done at my chrome platers

My chrome plater who polishes said that there must be a compromise due to

  1. If he was to polish out all of the marks some of the aluminium could be too thin.

  2. Due the aggressive polishing required, the parts would distort and be out of shape.

  3. To get an even polish on the whole lot is time consuming.
So with his advice he polished the items to a satin finish, a sort of mid-way option.


I then took them to the Anodizers and he was quite under whelmed at the prospects of the items coming out and good- I went away unhappy!

So after the process I rang and the chap a the anodizers and he was quite upbeat about it.

Went to collect the parts today and I must say they are to a ½ decent standard – not perfect by any means but nearly acceptable, and especially when some off the parts are no longer available.

The finish is not quite as bright as a new item, but I would say ½ way between bright and satin.

I think with these results I will get all my bits done and ask the polisher to try even harder to get the imperfections out.

I would be interested in your comments on the re done parts.

Thanks

IMG_8904_zps1ezrfb4w.jpg

Not like chrome - but clean and even finish
IMG_8905_zpsz49qb71f.jpg

You can see the pitting, but again not perfect but ok
IMG_8908_zpswhytycmy.jpg

IMG_8911_zps4gjlgoaq.jpg


Close up of the pitting and you can still see the remnants of the deep scratches but the finish is quite constant..
 

Marc-M

Well-Known Member
Messages
377
Reaction score
311
Location
Preston - Lancashire-UK
With a little help from my friend ( a lot of help) we got the rear sub frame out.
All the nuts and bolts - not that many of them- all came off and nothing was seized a big bonus.
We spent most of the time trying to get the hand brake cable free where they are located in the hubs
After taking the disks and pads off and freeing the cable ends there was not a chance they would come free, so had to chop them, this is the first thing I have had to butcher to get free...
The rear sub frame has a good coating of rust, and I will only know what is needed once its been blasted.
IMG_8941_zpsznayrfdr.jpg

IMG_8940_zpsd0hlslmb.jpg
 

Christopher

Well-Known Member
Site Donor
Messages
475
Reaction score
109
Location
London
Marc - in my humble opinion, and from experience, i would suggest it's as well, and more cost effective, to get things right the first time.
As i understand it parts that have been stripped and reanodized require continous maintenance (i.e repolishing) to get them to appear half decent. Especially if these are exterior parts
I'd suggest it would be more cost effective over time to take the plunge and invest in the brightwork that is still available from BMW, especially the beltline trim that could prove a PITA to replace once the car has been assembled. It's a straightforward enough job on a freshly painted bodyshell, and the brightwork really sets it off.
The costs can seem daunting, but there is some satisfaction to be had from putting a permanent tick on the list of things to do
 

30csl

Well-Known Member
Site Donor
Messages
1,345
Reaction score
15
Location
London/Herts
Yes when i restored my yellow csl I had the belt line trim polished and stove enameled - it has lasted well - 16 years later but the car is inside and never driven in bad weather but in hindsight i wish i had just bought it all new!
 

Marc-M

Well-Known Member
Messages
377
Reaction score
311
Location
Preston - Lancashire-UK
Had to pick up the bumper from the chrome shop due to when they striped the chrome off a large hole has appeared at the end - so another repair was done this weekend.

IMG_8945_zpsvctwz0xj.jpg

IMG_8947_zpsmhodckx2.jpg

IMG_8956_zps0jma6bwx.jpg


After a good bit of metalwork a couple of section were made
IMG_8959_zpsbxoatlmn.jpg

IMG_8962_zpsbziszyqi.jpg


IMG_8964_zpsx721tp58.jpg

How it looks after a good linish..
 

Cornishman

Well-Known Member
Site Donor
Messages
705
Reaction score
163
Location
Essex, UK
Mark
I am so impressed with your workmanship, the welding is great especially the bumper that you have just shown us.
It looks like you are going for an "as new" finish, however if you are going for "excellent" rather than a "new" finish then slight imperfections make it more real. I like the door trims and how they appear in the photos, i.e. Great examples of 40 year old door trims.

I have finished my car to a different level, (lower than you are doing) much closer to "good and useable" because I feared that if I made it near perfect that I would never take it out and be so careful about getting it wet or damaged. That is the reason I did not get it resprayed 18 months ago when I had it in pieces. However when I take it to concourse events I am struck by how beautiful some of the cars are, then I drive mine home vs put it on a trailer, and remember why it is not as clean. Do you have a vision of how you want it to end up, and are you prepared to share that vision?

Good luck with the restoration and please keep sharing the photo's.

C.
 

Peter Coomaraswamy

Well-Known Member
Site Donor $$
Messages
3,787
Reaction score
896
Location
Austin, TX
Hi Marc, Super work great to have more crazy people on the forum doing this stuff and at least it's a CSL! :), By posting your pictures you are doing all of us a service and what I may suggest is that before you spend tons of money on some stuff post what you are going to do and then some of us may have that odd part that we can send you. Just a thought but I mentioned things like; "if I can't find this part......... then I'll have to make one" and often someone comes out and says "oh, I have one of those things laying around". This is an exciting thread and I love the detailed pictures of previous owners not-so-great work, it shows people who are looking to purchase an e9 that they need to be very careful :)

Thanks!
 

Marc-M

Well-Known Member
Messages
377
Reaction score
311
Location
Preston - Lancashire-UK
Dear Peter and Cornishman
Thanks for your posts -I will try and answer your questions....
The CSL will be done as near as perfection I can do - I have restored many cars in my spare time ,mostly british classic cars , and as I have got older (50) I seem to be getting more methodical and my attention to detail is getting a bit over the top.
I actually prefer restoring cars than driving them.
I like welding and making sections ...I'm odd.
Now here comes the other odd bit - although the cars are all perfect , I will drive them in all weathers and let all my friends drive them, and faster the better, as long as they don't kill themselves ...
I like going to classic car shows - but I don't like showing as I loose the option to go when I get bored !
My view is " they are a work of art, and that they are there to be enjoyed by all, but not to get to carried away as they are bits of tin ( apart from my Daimler Dart - glass fibre - now that is a good fun car).
Peter - will do regarding parts -
There are more parts available for a jag xk150 than the E9 !
I will keep the pictures coming , the problems I get will be shown .... It's all just good fun.
Regards
Marc
 

Marc-M

Well-Known Member
Messages
377
Reaction score
311
Location
Preston - Lancashire-UK
IMG_9001_zpsm3eaqlsx.jpg

My good friend came around last night to help me get the engine and sub frame out of the car.

After undoing 8 nuts off the top of the front suspension struts - 4 big bolts that holds the sub frame on the chassis and 2 nuts that hold the gearbox cross brace on, the whole lot was lowered down onto a dolly with an engine lift.

We had to lift the whole car up to slide the assembly out – but how easy is that.

Only took a couple of hours and that included undoing all the ancillary’s.

It’s going to be enjoyable rebuilding all this before putting on the car.

IMG_9009_zpsaahdqpgm.jpg

IMG_9003_zps0iryed8a.jpg
 
Top