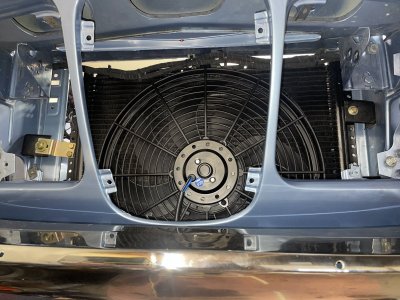
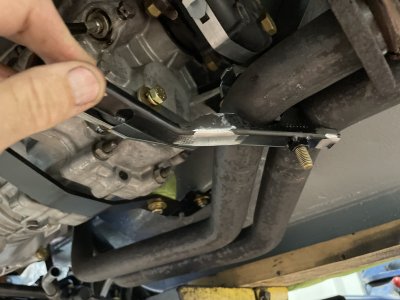
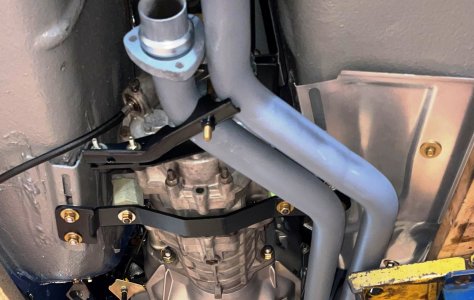
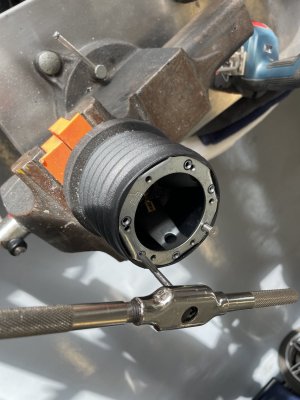
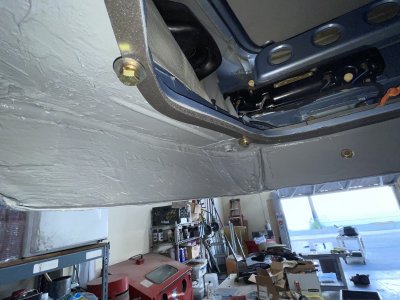
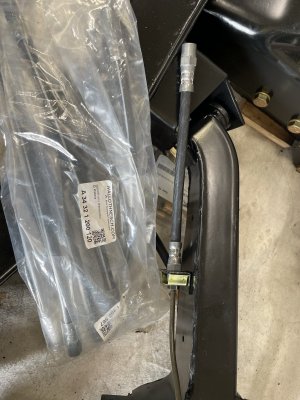
While the car is down for the trans swap I removed the two core radiator and am replacing it with a copper three core. Additionally it will be converted to the later style viscous coupling / clutch and an 8 blade fan assy., which I believe is early E12/E24. The last part of this upgrade is key -adding the OEM plastic fan shroud. Fingers crossed tomorrow when the radiator drops in its not too close to the fan blades. I am still using the original pulley so the ID has to be opened up to mate to the later water pump flange.
Project 10: Rebuild the cooling system with more modern BMW Parts
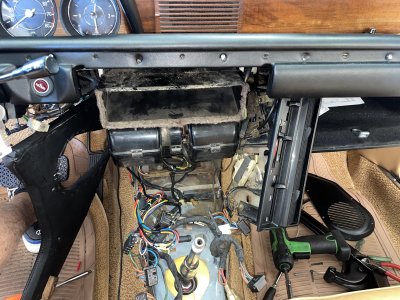
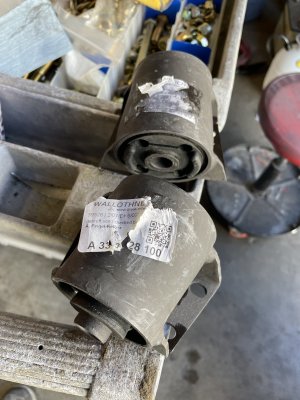
The first photo is from mid-June 2011 from the PPI photos. Dirtiness aside everything was original, friction fan clutch, 2 exhaust valves were cracked & the head gasket was 2mm from failing.
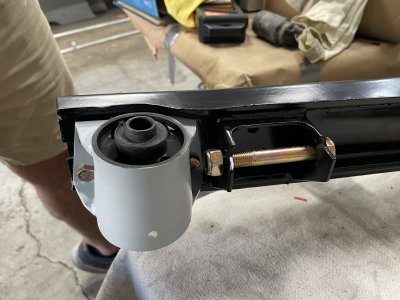
2nd photo is after having the radiator triple cored in the same dimensions as the original. The friction cloth was replaced with a viscous clutch .The head was replaced by a 1986 head from a 5 or 7. Cindy drove Athena to Concord MA. On her way home on 95, the fan had unexpectedly loosened & wobbled into the radiator, folding the fins flat while sending red plastic shrapnel under the car. Cindy was able to take the nearest exit. The Flatbed $500 from Concord MA to Gardiner ME. The post-mortem was the fan locking clip was compromised & failed.
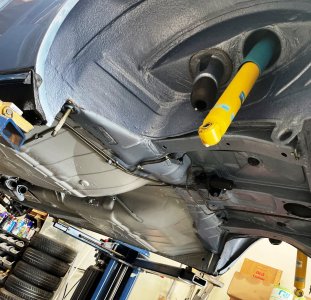
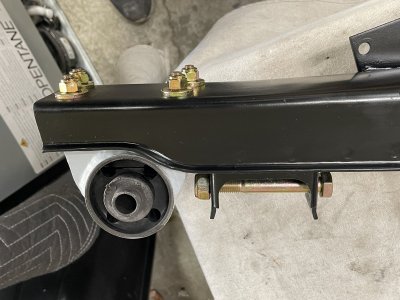
3rd photo is from 2016, engine bay was restored & now has a triple core radiator, viscous clutch & a black fan.