When does the "assembly crew" arrive?
You are using an out of date browser. It may not display this or other websites correctly.
You should upgrade or use an alternative browser.
You should upgrade or use an alternative browser.
My Coupe Project
- Thread starter OCCoupe
- Start date
-
- Tags
- restoration list
Can't wait to see it in person! Looks excellent in the photos.
Thanks, I am really happy with the results. I think you will be impressed.
looks amazing mike, just like i knew it would.
i am interested why you chose to put the 'tar insulation pads' back? what purpose do these actually serve? as they can trap moisture (in a very bad place), ive seen lots of folks leave them off after repaint. i am sure you looked into it thoroughly, so am interested in your thoughts.
Thanks Alan!
I put the tar insulation back for the sake of keeping it looking the way it did when it left the factory. I seem sealed where the sheet metal over laps then used 3m seem sealer to actually mount the insulation. This was all done on top of 3 layers of primer, the first being self etching primer. The hood pads were then primed in place then painted twice with paint and clear coat. The 3m seam sealer is reactive and hardens to a rubber like finish; so I feel pretty good that water will stay out from under the pads. In addition I do not wash my cars and I don't drive them in the rain. I prefer not to introduce any food for the rust monster. I just make sure the car is always clean and use lots of quick detailer to keep the paint clean.
Let's hope I'm not wrong about this one...
Last edited:
bimmerboy73
Well-Known Member
looks incredible! love the color. certainly have an appreciation for the road you've traveled to get this far. Should be a blast putting it all back together, Using all new fasteners i'm guessing?
OC....?
Knowing the owner and the level of detail he pursues, is O C Orange County or Obsessive Compulsive?
Knowing the owner and the level of detail he pursues, is O C Orange County or Obsessive Compulsive?
bimmerboy73
Well-Known Member
welcome! any pictures?
I just started on my E9 about 3 weeks ago in sunny Brisbane Australia. I have a long way to go but looking forward to the many challenges ahead. Great restoration and I like the colour. Well done.
Impressive!
Mike,
Very nice project you got there. Now start pacing yourself and forget about polishing the inside tranny gears. You can get that some other time.
Gary
Mike,
Very nice project you got there. Now start pacing yourself and forget about polishing the inside tranny gears. You can get that some other time.
Gary
..... this car seems to come out real great. :razz:
Nice lines, gaps and a wonderful paint job, congrats. The effort was worth it !
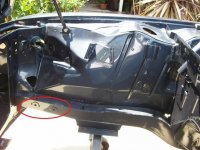
Found an interesting detail in the pictures. Is that a common mod to have an easy assembly of the front bumper brackets ? Never seen this before.
Nice lines, gaps and a wonderful paint job, congrats. The effort was worth it !
Found an interesting detail in the pictures. Is that a common mod to have an easy assembly of the front bumper brackets ? Never seen this before.
Attachments
..... this car seems to come out real great. :razz:
Nice lines, gaps and a wonderful paint job, congrats. The effort was worth it !
Found an interesting detail in the pictures. Is that a common mod to have an easy assembly of the front bumper brackets ? Never seen this before.
OH NO! Those are not supposed to be there! Now he will remove them and have the shell repainted...again
That is part of the US/NA design for 1973 coupes with the 2 1/2 MPH bumpers.
It's been about 3 months since my last update. Haven't had time to get a whole lot accomplished. Sub-frames are disassembled and just about ready for powder coating. I have been buying all the parts necessary to complete this. I've also been working on getting the engine built. Here is a picture and a couple of videos of the engine on the simulator this morning.
https://plus.google.com/photos/1088...6074945506856226354&oid=108806435260707728615
https://plus.google.com/photos/1088...6074952137659103250&oid=108806435260707728615
m90 L-Block
94mm bore
Carillo H-Beam Carillo Connecting Rods 145.5mm
90mm BMW crank from a 3.8 e34 M5 NIB
B35 Head
Paul Burke n21 cam
10.25:1 Compression Ratio
Attachments

Now I know why my upper front cover leaks oil ")
Hey Mike - Looking great.
Does the engine simulation help break the motor in? I haven't seen that done before..
Gary
Does the engine simulation help break the motor in? I haven't seen that done before..
Gary
Hey Mike - Looking great.
Does the engine simulation help break the motor in? I haven't seen that done before..
Gary
Thanks Gary.
The simulation helps seat the rings, it helps settle in the moving parts, as well as lubricating the internal components. It does help with some breaking in; but in general it is a good way of ensuring the engine is tight and that everything is working ok such as the oil pump etc...
stphers
Well-Known Member
Rings
That's interesting. Every thing that I have ever done or read on the break in procedure on rings is that you want to run the car from 1500 to about 3500 under a quick hard load 15-18 times . This puts pressure on the rings to force them into the cylinder wall to help them get properly bedded in. Have done well over a couple hundred engines in my life, a lot of them BMW, when I worked at the dealer. Anything else was always very iffy about getting the rings to seat properly. How does this help seat the rings, very curious?
Thanks, Rick
Probably not a ring seating issue but it can tell if there is resistance, that everything is moving as it should and that oil pressure is good. My motor got the same procedure. I was also told to run motor at 3000 rpm for 15 minutes for my new cam by Paul Burke.
Small update
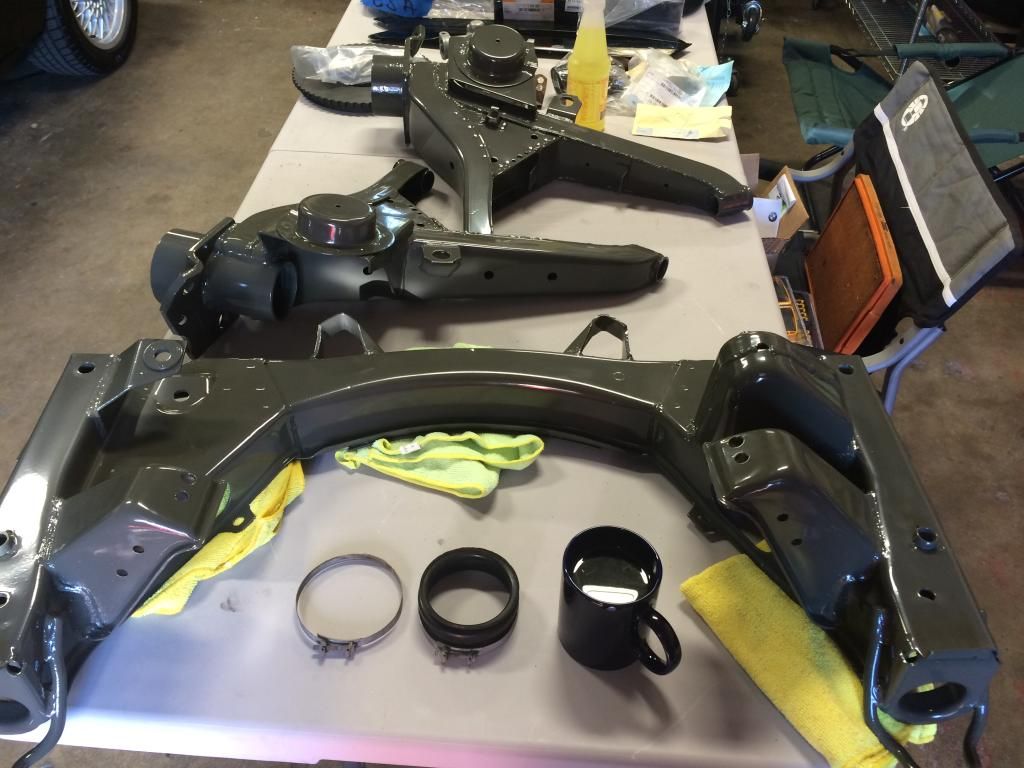
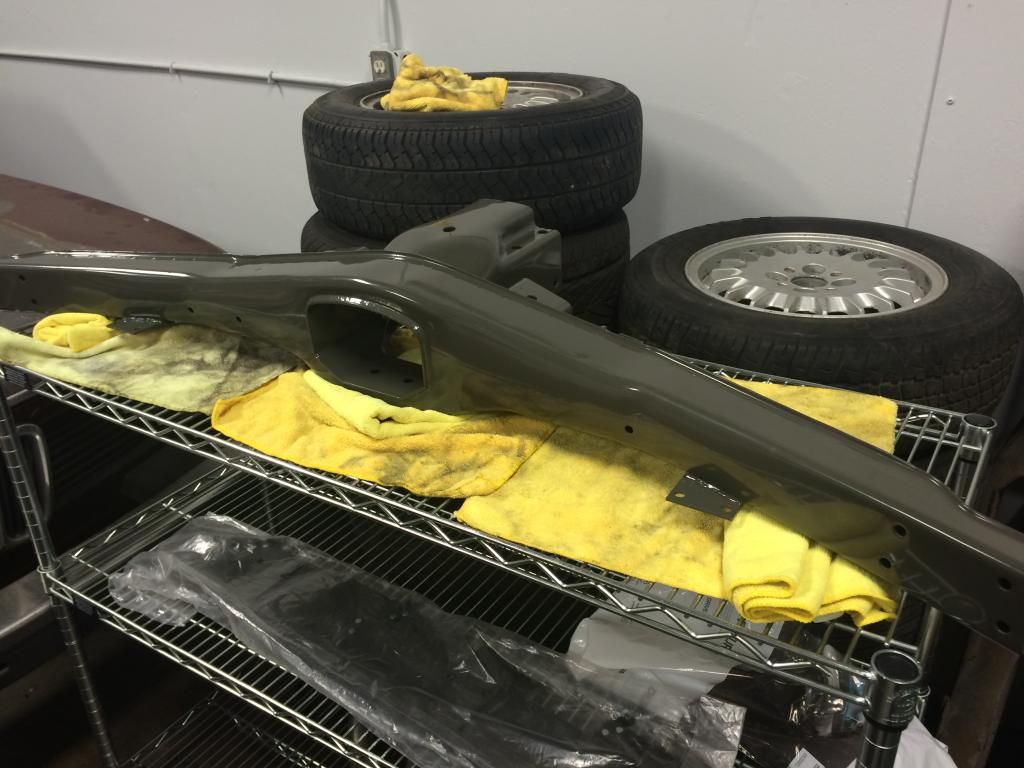
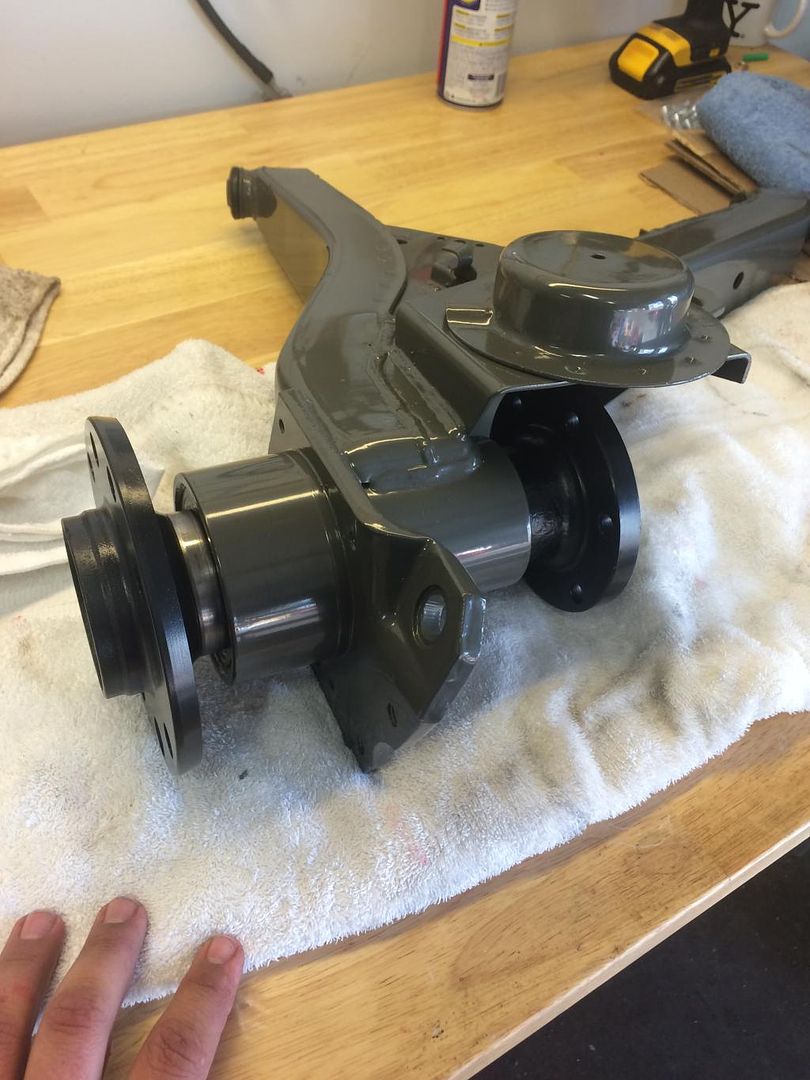
I took the sub-frames to have them blasted and then had some cracks repaired before taking them for powder coating.
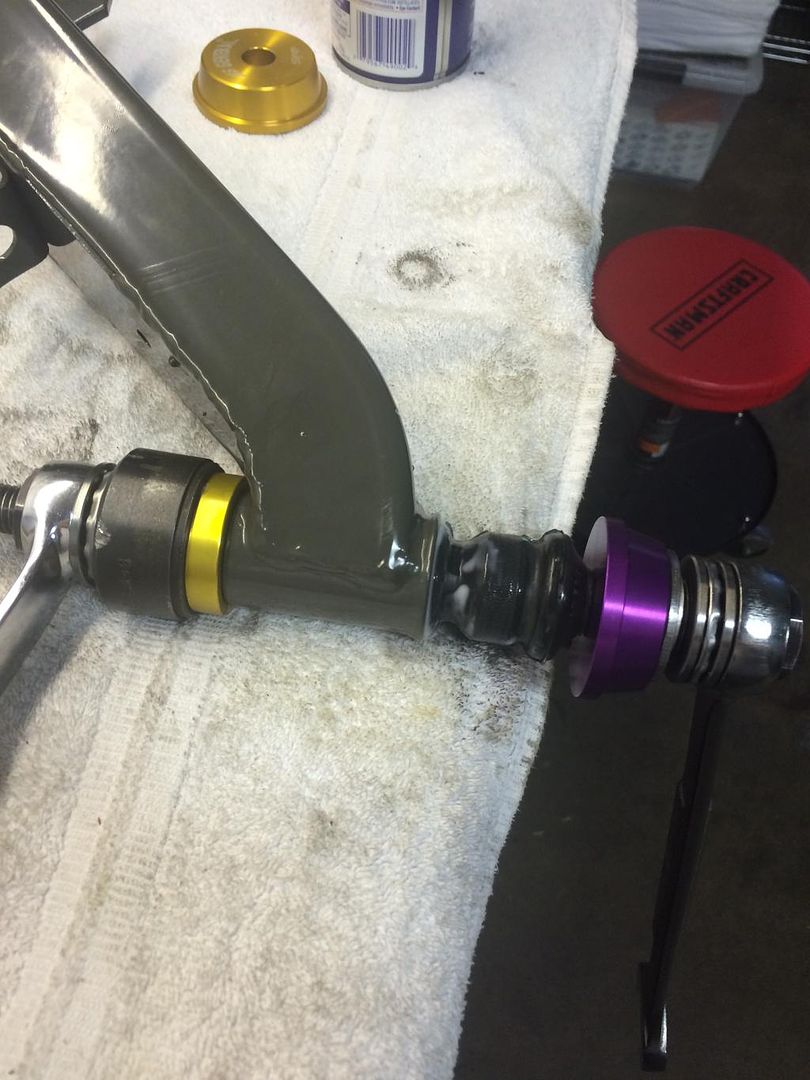
In addition I have started to press in bushings and bearings so that I can get ready for the rear sub-frame install.
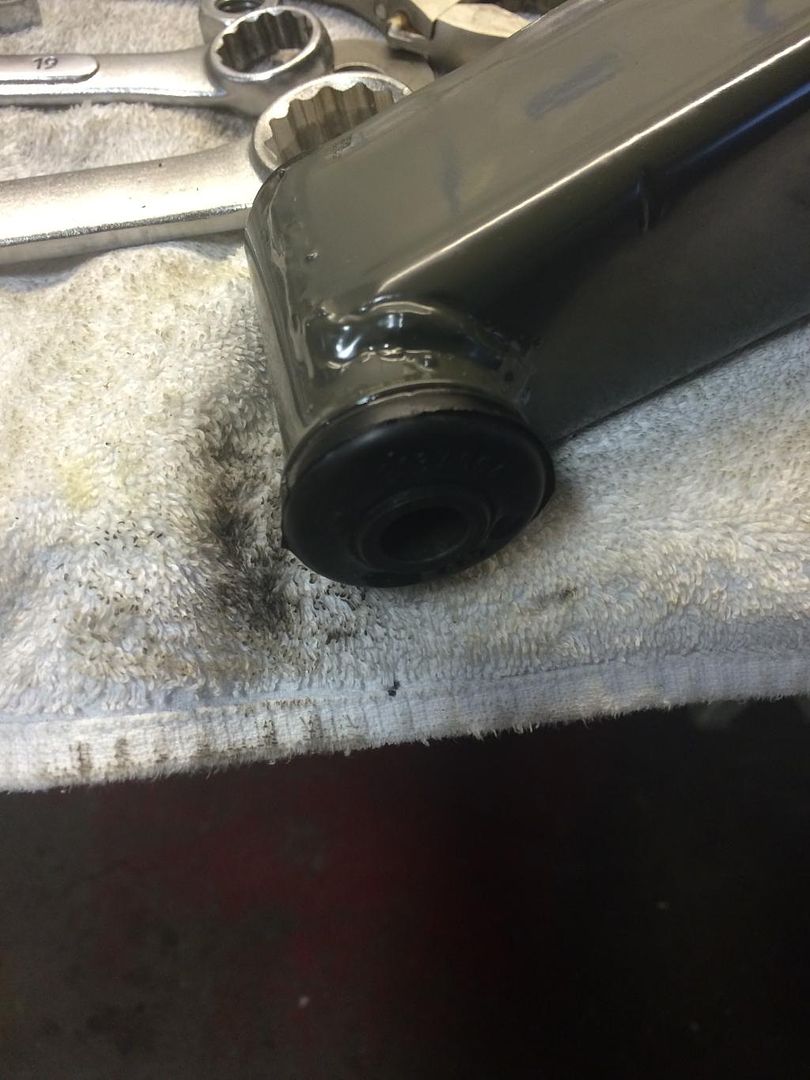
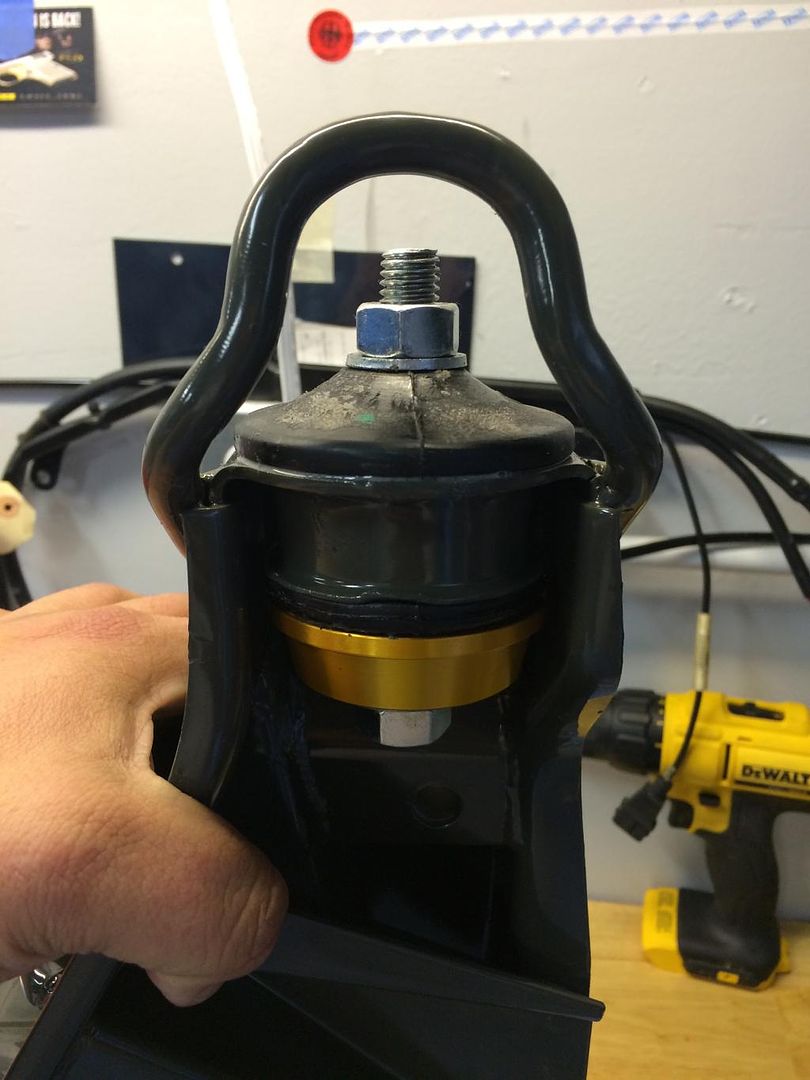
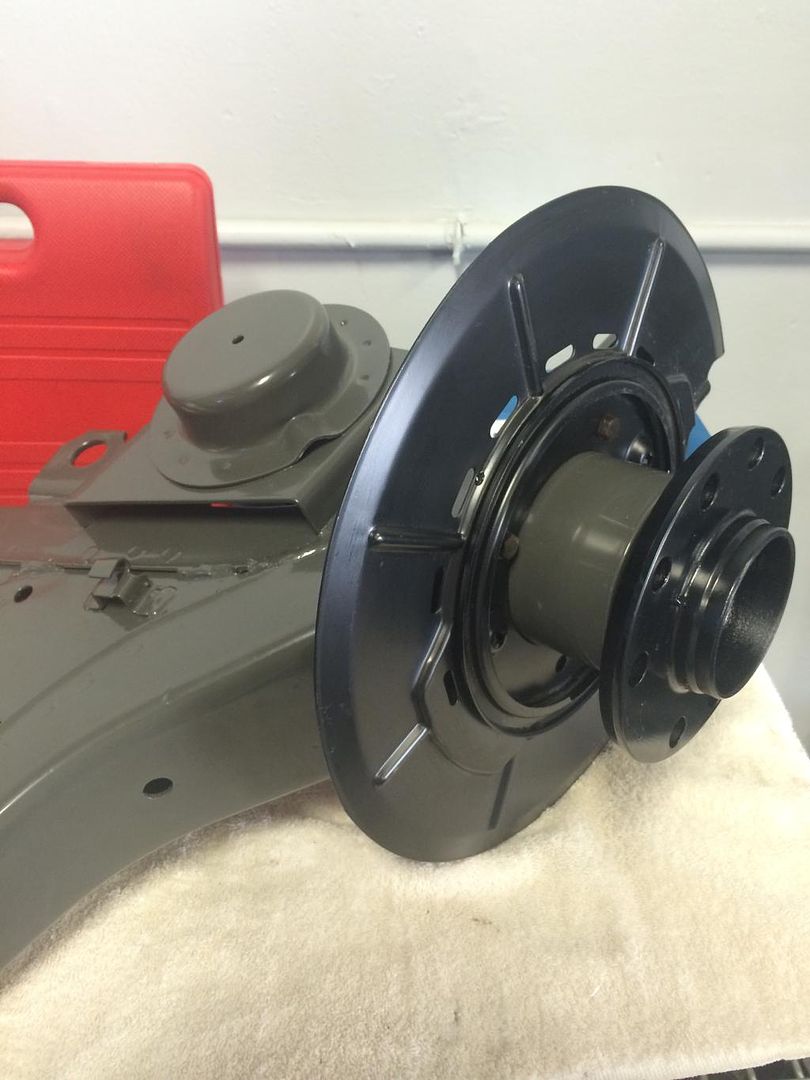
Oops! I forgot the backing plate.
Better.
I took the sub-frames to have them blasted and then had some cracks repaired before taking them for powder coating.


In addition I have started to press in bushings and bearings so that I can get ready for the rear sub-frame install.


Oops! I forgot the backing plate.

Better.

And this looks even more amazing in person! I know there will probably be a comment on grey-green subframes but they look awesome and many coupes and 2002s came with these. Why, who knows?
RonP
Well-Known Member
Mike,
Why the grey powder coat? Just curious. Also, did you know that Ireland Engineering now has poly subframe bushings? I had them on my last coupe and they were incredible!
Why the grey powder coat? Just curious. Also, did you know that Ireland Engineering now has poly subframe bushings? I had them on my last coupe and they were incredible!
Mike,
Why the grey powder coat? Just curious. Also, did you know that Ireland Engineering now has poly subframe bushings? I had them on my last coupe and they were incredible!
The Shneider 2800 had the sub-frames finished in this color and I really liked it. I also have seen a couple of other original coupes and 2002s with the same colored sub-frames. I don't think there was any particular reason why they randomly chose this color or black. I think it looks very classic. Also this is the correct color for the CSI airbox.
As for the bushings, I went stock. I'm not looking for anything harsh, I'm getting too old and frail for poly bushings!
Last edited: