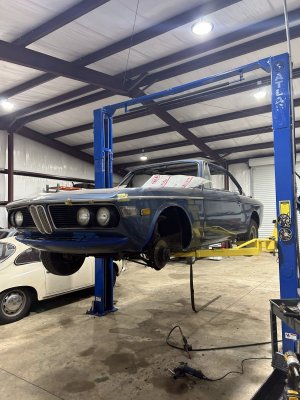
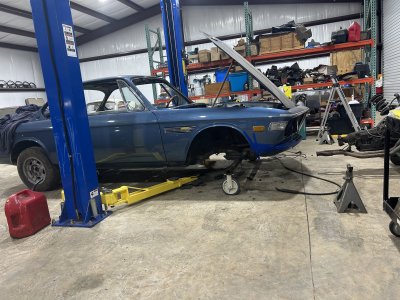
My new to me 73’ 3.0cs

Steve, thanks for clarification on the power of the a/c in the south. Truthfully I had hoped you had found the solution to giving modern a/c to a coupe. I may just try to install the rear a/c from one of my old parts e24 cars if I actually ever really start into the silver car like I want to.

Markos, the 265/6 is probably a better trans. Many 265/5 (close ratio) trannies suffer the lay shaft bearing failures as well as destroyed synchronizes on that 2nd gear shift. Like you, I’m using mine for the novelty of it. It somehow makes the car just that little bit more exotic.
 
The a/c will not cool the car down if it's been parked while baking in the hot southern sun. It will keep you cool during morning and evening drives, and keep you alive mid day. If you get caught in rain it will keep windshield from fogging up. It's great on road trips. I would like to put some clear UV tint on my windows, except the front and rear windshields are a big challenge for installers because of the curves, this would help the a/c in a big way.
I have the Xpel 70% tint on all of my windows. The front and back can be done by an experienced installer like the person who did mine in South Florida. Now all of the UV sunrays are gone and the heat coming through the windows is greatly reduced.
 
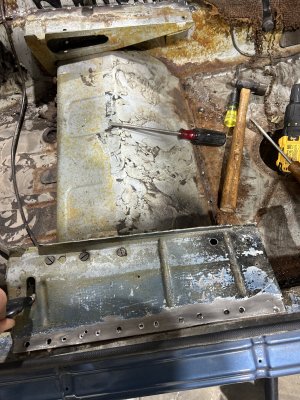
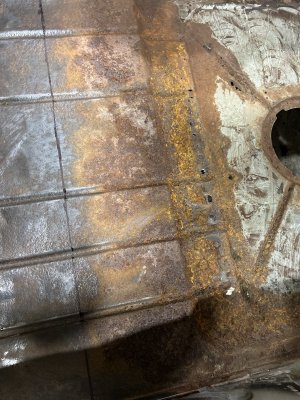
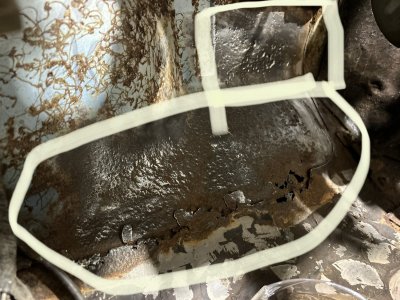
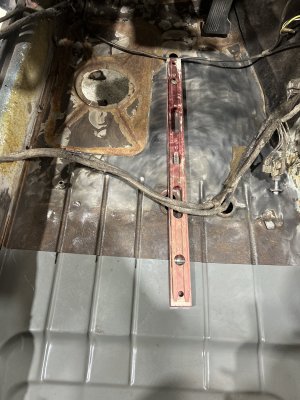
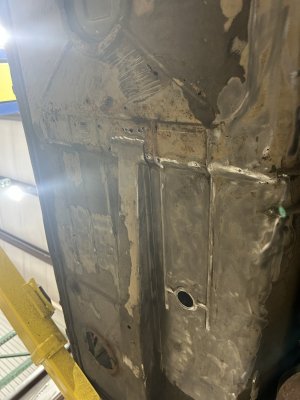
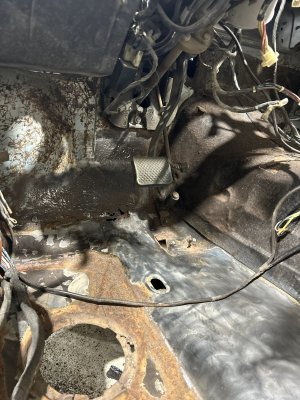
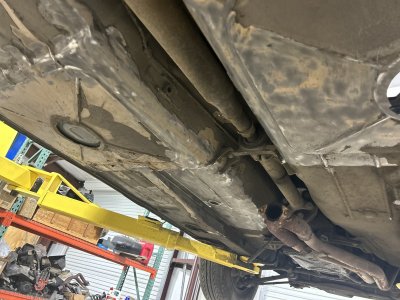
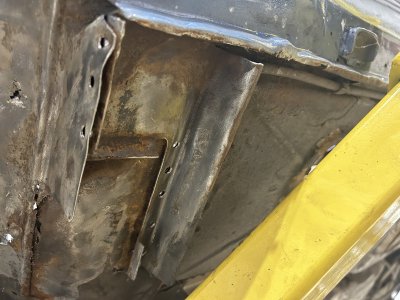
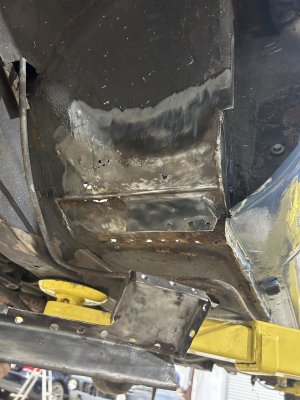
Updating this as more of a restoration/motivation thread. I’ve decided to take on more of this myself than originally planned. Mainly to keep costs down but I don’t want to suffer on the quality. I do not work nearly as fast as most of yall, so updates will come as soon as I have questions or make notable progress. The last week or so I’ve been getting ready to repair the drivers floor.
Removed the seat bracket.
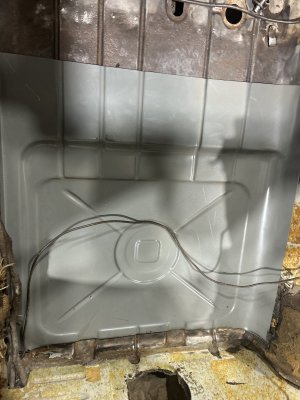
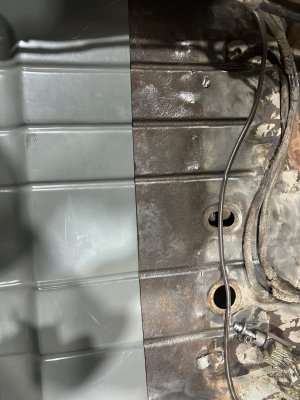
Mocked up the rear pan.
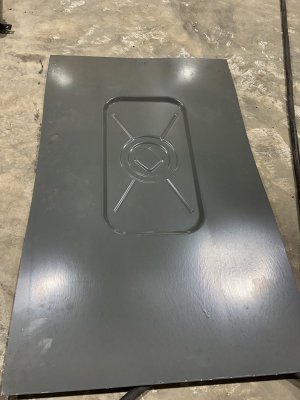
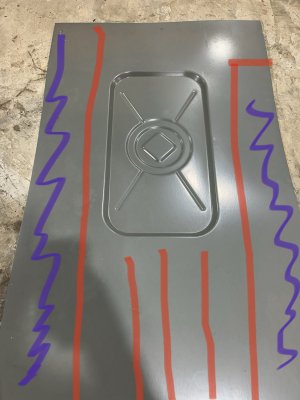
Coming up with a plan for the front pan. Walloths floor pan lack of quality is making things more difficult especially for a novice like me.
 

Attachments

  • 822253EA-D357-4E4B-A26D-3DCE1BACBAD2.jpeg
    822253EA-D357-4E4B-A26D-3DCE1BACBAD2.jpeg
    506.4 KB · Views: 111
  • 5DDAB66A-7C33-4922-A5F2-550F5C05D433.jpeg
    5DDAB66A-7C33-4922-A5F2-550F5C05D433.jpeg
    545.4 KB · Views: 102
  • 80726065-D7EC-45D4-AAAE-5AD58D82E758.jpeg
    80726065-D7EC-45D4-AAAE-5AD58D82E758.jpeg
    277.7 KB · Views: 95
  • 0CE31E8D-F4A3-4C1D-8BF1-2BC88372D031.jpeg
    0CE31E8D-F4A3-4C1D-8BF1-2BC88372D031.jpeg
    370.2 KB · Views: 93
  • 1CD6C1DE-8C3E-4261-BF79-0A10B61162DD.jpeg
    1CD6C1DE-8C3E-4261-BF79-0A10B61162DD.jpeg
    269.4 KB · Views: 95
  • 1790608F-342F-4C5C-B896-17545D4ED72B.jpeg
    1790608F-342F-4C5C-B896-17545D4ED72B.jpeg
    374.3 KB · Views: 90
  • 06B44B94-8477-4FB2-A2F0-1BEB7B048EAC.jpeg
    06B44B94-8477-4FB2-A2F0-1BEB7B048EAC.jpeg
    418.9 KB · Views: 94
  • 64DA4ECF-4700-4493-AC64-8758DF92BDD7.jpeg
    64DA4ECF-4700-4493-AC64-8758DF92BDD7.jpeg
    353.7 KB · Views: 87
  • AFC3F01C-15B6-41B0-9D31-6828F1F2CD71.jpeg
    AFC3F01C-15B6-41B0-9D31-6828F1F2CD71.jpeg
    369.4 KB · Views: 85
  • 14D92051-9476-4900-BB75-62827484A311.jpeg
    14D92051-9476-4900-BB75-62827484A311.jpeg
    253.3 KB · Views: 83
  • 66F5C6AD-39E2-4413-9CCA-7289BC571689.jpeg
    66F5C6AD-39E2-4413-9CCA-7289BC571689.jpeg
    440 KB · Views: 82
  • 213D4962-431B-45E3-AE1A-C6A1FC86781B.jpeg
    213D4962-431B-45E3-AE1A-C6A1FC86781B.jpeg
    327 KB · Views: 82
  • B3D0CB38-09D6-4A82-8EF4-59D29D83840C.jpeg
    B3D0CB38-09D6-4A82-8EF4-59D29D83840C.jpeg
    310.5 KB · Views: 83
  • 131D0B0A-6CB9-4500-B5B3-DAF144AAAE91.jpeg
    131D0B0A-6CB9-4500-B5B3-DAF144AAAE91.jpeg
    331.5 KB · Views: 79
  • 4BC3FEEB-7470-44BC-94AD-ACB03C45F8E0.jpeg
    4BC3FEEB-7470-44BC-94AD-ACB03C45F8E0.jpeg
    216.2 KB · Views: 106
indeed the floor pans from Walloth are missing some details.
Here's some suggestion what i did to get them as accurate as I'd liked them to be:

I've used a bead roller for the beads, and shrinking dies to get the curve up front. The oval and rectangular openings can also be straight cut into the plate. Pressing in the depressions is for the die-hards ( as it needs a custom pressing die) .

I think the pressing die (tool) I made to press the rectangular depression, is still with a forum member in the US somewhere. I agreed to send it to him, if he would send it on to the next forum member in need - interested?

I think I might not need to cut out my original. But if I decide to replace, I will definitely take you up on that offer.

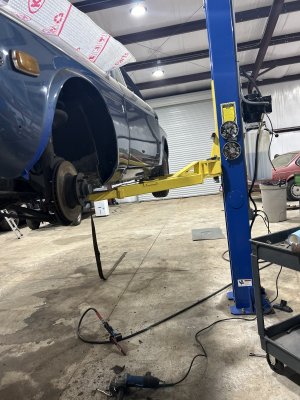
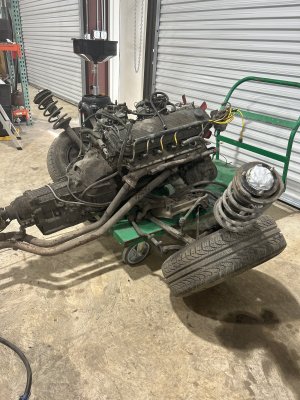
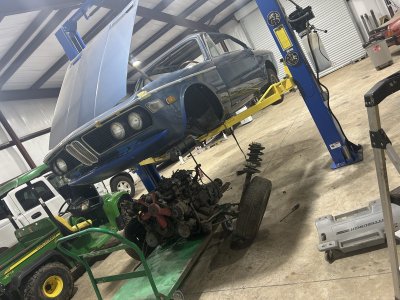
Small update. Dropped the entire front subframe with the engine and transmission.
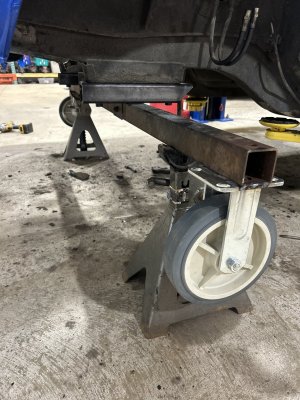
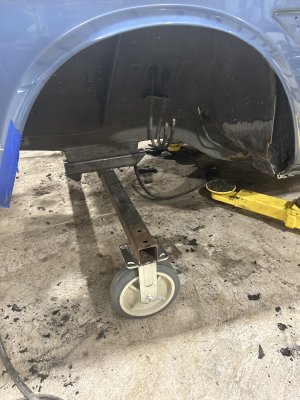
Made the front part of the chassis cart/dolly.
Found some more rust that appears to be partially repaired around the left rear subframe mount. but more exploring is required once rear end is dropped.
 

Attachments

  • 08394849-C5CF-4146-808F-8192B242FCFC.jpeg
    08394849-C5CF-4146-808F-8192B242FCFC.jpeg
    447.2 KB · Views: 96
  • 5F690088-2530-4A54-A76D-F0C51EDA4F24.jpeg
    5F690088-2530-4A54-A76D-F0C51EDA4F24.jpeg
    500 KB · Views: 94
  • D55AF4DA-E665-47CA-B7AF-D40AA5EEACDC.jpeg
    D55AF4DA-E665-47CA-B7AF-D40AA5EEACDC.jpeg
    381.6 KB · Views: 86
  • EA73BAC4-AA89-4A64-A525-BE98937A66EB.jpeg
    EA73BAC4-AA89-4A64-A525-BE98937A66EB.jpeg
    428.3 KB · Views: 84
  • A292955B-838B-447D-9FBF-BAC711A7162B.jpeg
    A292955B-838B-447D-9FBF-BAC711A7162B.jpeg
    429.3 KB · Views: 97
Back
Top