Patricia A. Mayer's 3.0 CS / Paul Cain's Fjord project / The 300 mile Test Drive / VIII / Final Punch List

paul cain

Well-Known Member
Site Donor $$
Messages
679
Reaction score
1,327
Location
Orange County
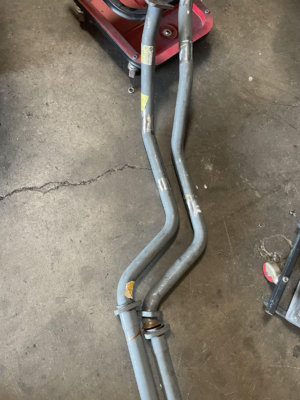
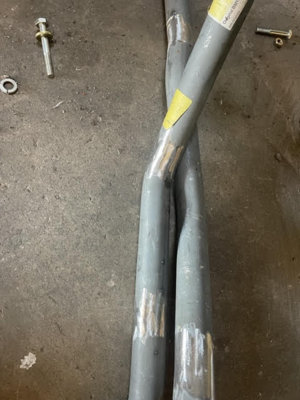
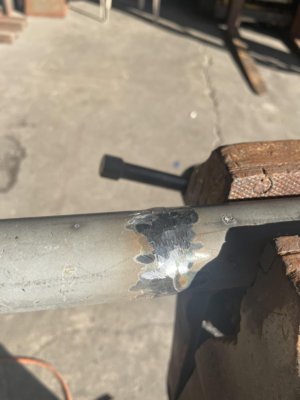
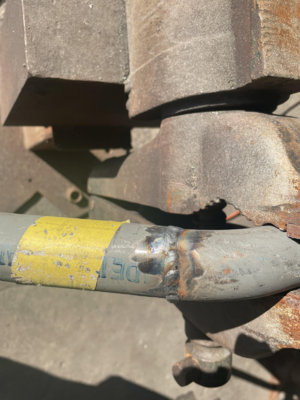
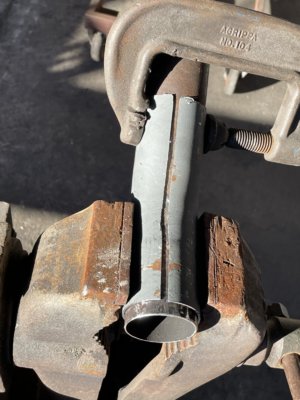
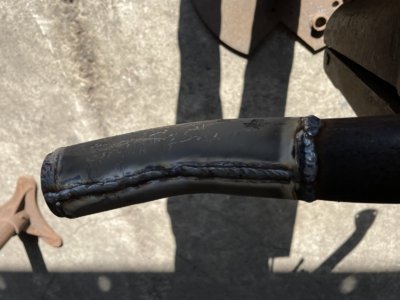
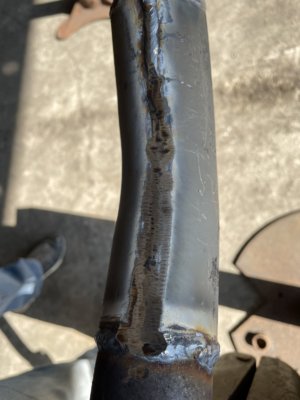
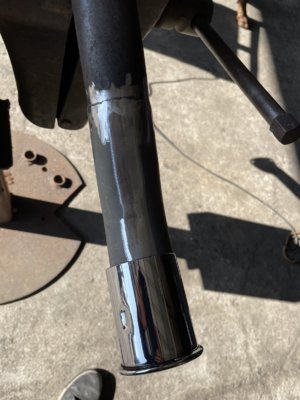
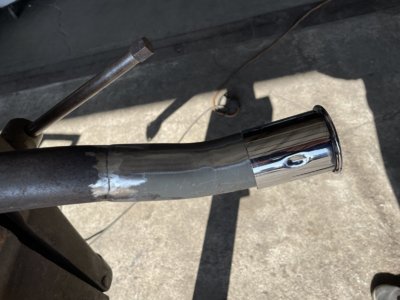
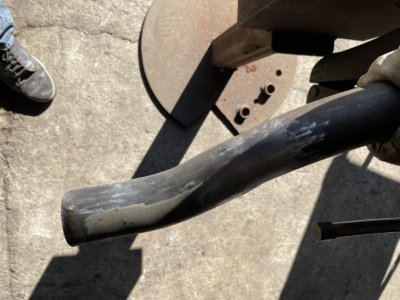
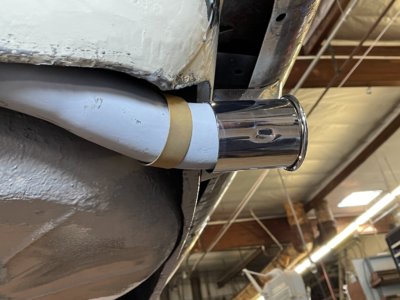
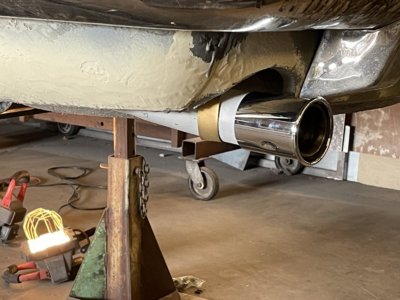
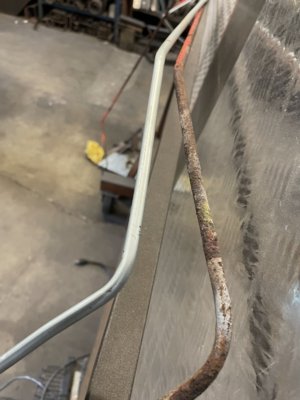
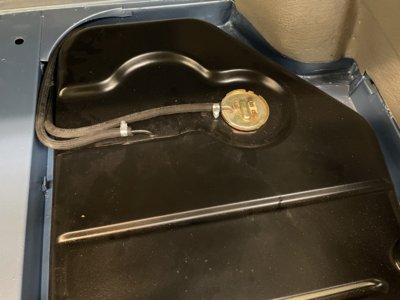
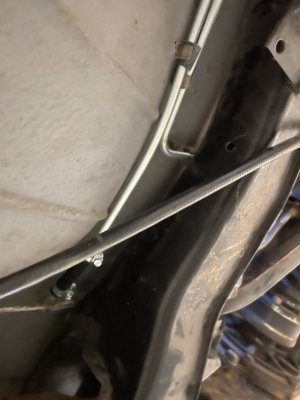
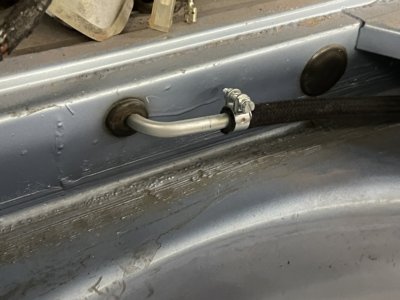
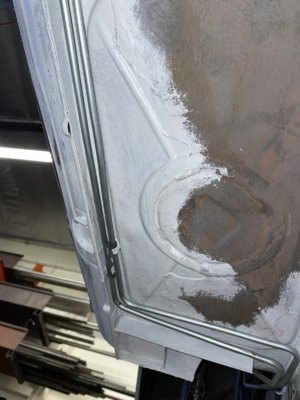
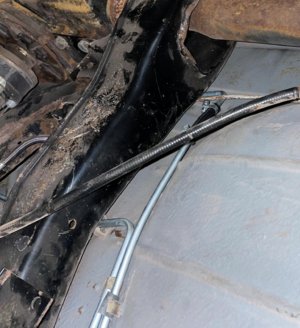
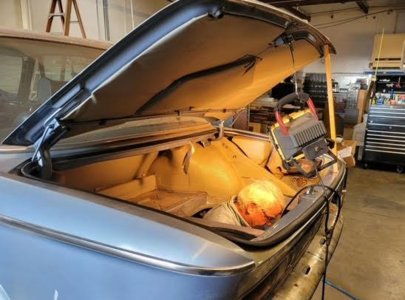
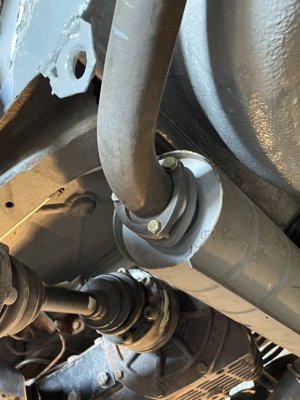
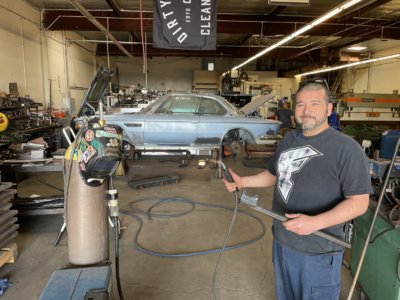
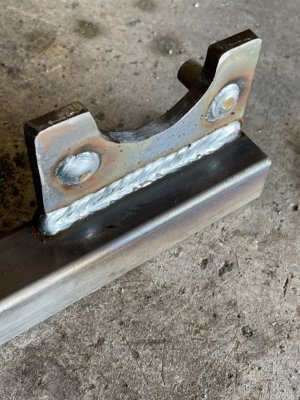
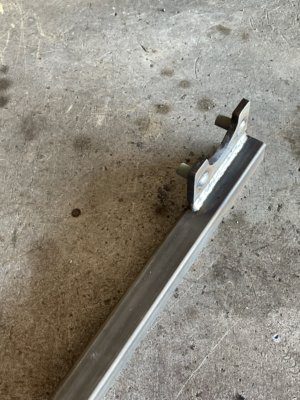
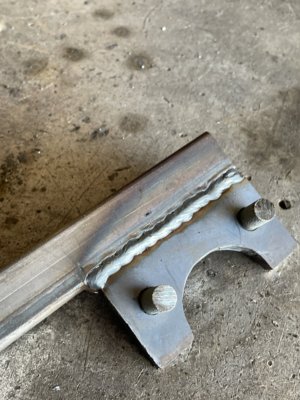
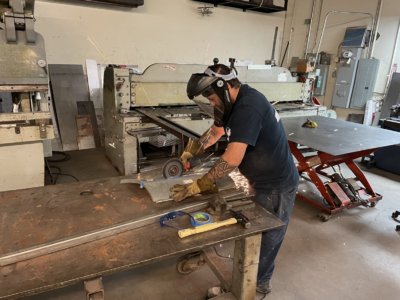
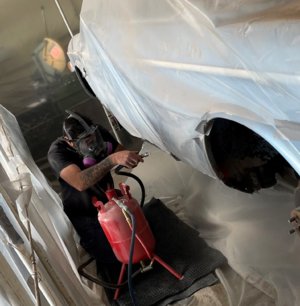
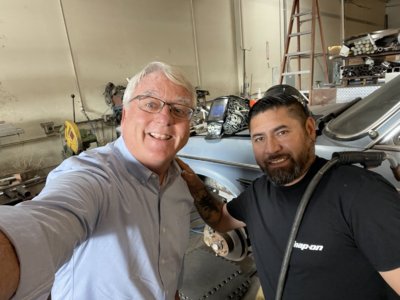
We did not complete all the body welding by Xmas. This is not for lack of trying. Elbert -the metal fabricating maestro, works a day job and has been moonlighting nights and a few weekends to get this project done. We would not be at this point without his expertise. A pleasure to assist in the shop and a total professional. We he arrives 'its all business' -its get to work and stay focused. He has done all the sheet metal fab, W&N panel trimming, final fitting and welding. He was very quick to adopt the 'return it to the factory look' stating, "I get it'. It's immensely gratifying to see each of his final efforts. We worked together on the early metal prep, I do all the panel paint prep and priming on the new sheet metal or what ever he has fabricated. If he is still welding, I follow behind and grind back the excess weld beads on the new seams. Then prime. I took on the bumper fab and fitting in parallel. Each of these days have been so gratifying. If its not obvious. I am recently retired, have carte blanc access to an awesome shop, working with great guys. I am having a blast.
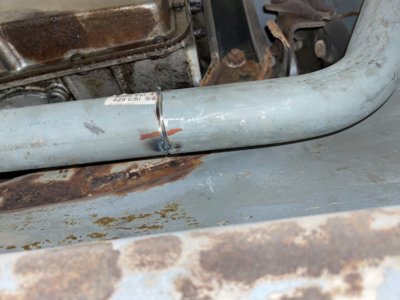
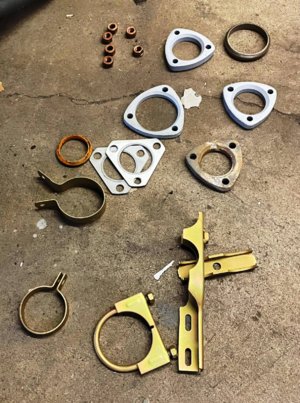
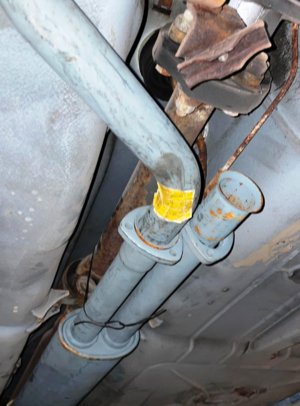
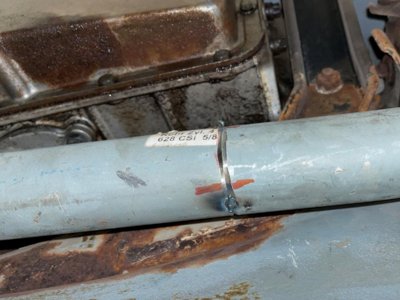


Attachments

  • IMG_9107.jpg
    IMG_9107.jpg
    348.7 KB · Views: 293
  • Two.jpg
    Two.jpg
    302.9 KB · Views: 256
  • Elbert.jpg
    Elbert.jpg
    264.3 KB · Views: 231
Last edited:

paul cain

Well-Known Member
Site Donor $$
Messages
679
Reaction score
1,327
Location
Orange County
Today I started on the exhaust system after really, really fighting to remove the stainless heat riser pipe plumbed into the exhaust manifold. This Rube Goldburgian canister sits along the block and is in the way of a proper exhaust system. We finally extracted it and saved the threads on the manifold for plugging later.

The OEM downpipes I had purchased from German were, uhhmmm, for another, later BMW model using the M30 block. Well. I thought I would have some 'minor' fit issues. Boy was I wrong. The angles and downpipe section was way off for an E9 firewall. After studying this for 5 minutes, I went to work cutting them to adapt to the E9 firewall and drive tunnel, connecting to the E3 Si muffler. I hope to finish the second downpipe tomorrow and get started on the rear sections.

We will weld this system back up, full install it and drive the car for a 50-100 miles to find all the knocking, buzzing and misfit alignment issues. Then remove it for proper gray coating and fresh hardware when we do the transmission swap.

Here is today's progress:
 

Attachments

  • unnamed (3).jpg
    unnamed (3).jpg
    458.4 KB · Views: 238
  • IMG_9317 (1).jpg
    IMG_9317 (1).jpg
    268 KB · Views: 223
  • unnamed (6).jpg
    unnamed (6).jpg
    576.8 KB · Views: 183
  • unnamed (1).jpg
    unnamed (1).jpg
    246.8 KB · Views: 185
  • IMG_9317 (2).jpg
    IMG_9317 (2).jpg
    294.3 KB · Views: 152
  • IMG_9353.jpg
    IMG_9353.jpg
    275.9 KB · Views: 148
  • IMG_9355.jpg
    IMG_9355.jpg
    380.5 KB · Views: 160
  • IMG_9330 (1).jpg
    IMG_9330 (1).jpg
    342.8 KB · Views: 152
  • IMG_9353.jpg
    IMG_9353.jpg
    275.9 KB · Views: 164
Last edited:

paul cain

Well-Known Member
Site Donor $$
Messages
679
Reaction score
1,327
Location
Orange County
More exhaust system work today. Welding up the new connections then grinding back until smooth. Tomorrow will be the full installation.
 

Attachments

  • one.jpg
    one.jpg
    253.3 KB · Views: 157
  • five.jpg
    five.jpg
    438.9 KB · Views: 158
  • four.jpg
    four.jpg
    38.5 KB · Views: 140
  • three.jpg
    three.jpg
    214.2 KB · Views: 137
  • two.jpg
    two.jpg
    351.6 KB · Views: 190

paul cain

Well-Known Member
Site Donor $$
Messages
679
Reaction score
1,327
Location
Orange County
Exhaust Final Chapter: When stock is no longer stock.

I wanted a stock exhaust. Including the (3rd) center muffler. After years of coupe ownership, I believe the two rubber mounts that are holding up the rear most muffler are horribly under-engineered. And at $74 for a pair, its becoming a bit insulting to replace them often. So poorly designed that mechanics typically double them up on both sides to carry the very heavy load of the back half of these systems. I am all for keep this coupe very stock, but being in 'fabricators paradise' for a few more days, I could not resist the urge to solve this problem.

I added one addition rubber mount just aft of the first muffler. This is in between the front face of the rear subframe and the driveshaft. Both new mounting tabs are the same dimensions and thickness of the stock ones on either side of the rear muffler. These tabs will get etching primer, primer and Wurth stone guard rocker schutz later -just like the first two stock ones. As you can see it (image four) it is already under a load -spreading the weight carrying over three mounts. Bottom tab is slotted to final adjust the height of the pipe.
 

Attachments

  • one.jpg
    one.jpg
    336.9 KB · Views: 173
  • three.jpg
    three.jpg
    205.2 KB · Views: 185
  • two.jpg
    two.jpg
    324.7 KB · Views: 164
  • four.jpg
    four.jpg
    282 KB · Views: 187

Dohn

Well-Known Member
Messages
422
Reaction score
301
Location
Dayton, Ohio
Great idea on the hanger. When I was having fuel flow problems my car stumbled so badly one time that it broke the rear hanger! Drove home with the exhaust banging on the bottom of the car. Shop couldn't find a replacement, so they fabbed up a kluge. Fortunately for them, I'm no purist...
 

paul cain

Well-Known Member
Site Donor $$
Messages
679
Reaction score
1,327
Location
Orange County
When 55mm = 60 mm.

I searched high and low for a new OEM 60 mm rear tailpipe. They are unobtainium. Then I went about researching to retool one - correctly with the very large radius around the spare tire well. I had a close friend at Burns Stainless quote this project. It would have been a min. run of 10 pieces at $290 each. I knew that would not fly. Then I had a conversation with Sven Larsen who tooled up the stainless version a few years ago. Nice piece! but it was stainless and I was really after the mild steel.
I have a strong preference for the factory part as this is a very complex fit and pipes knocking on sheetmetal is really irritating. So I settled on a 55mm OEM Part with a twist.

Solution: Go with a factory 55mm pipe (2800 CS) and 'grow' the last 9 inches into a 60 mm OD pipe.
Image 1: The light gray pipe is a cut-off from the back of my new center muffler (originally for an E3). This extra piece had this nice bend in it that matched the rear tail pipe end. I sent it down the band saw and cut it in half. I then calmshelled it over the 55mm stock pipe and crushed it into place.
Image 2 Then we got out the wire welder and layed down a few dozen yards of weld bead.
Image 3 Rough grinding
Image 4 more grinding
Image 5 dry fit the new 60mm chrome tail pipe (nice interference fit)
Image 6 Final sanding with a small drum sander
Image 7 Etching primer and full installed
Image 8 Going for the full OEM look with a 60mm tailpipe and a tip that is not sticking out beyond the bumper
 

Attachments

  • 1.jpg
    1.jpg
    346.1 KB · Views: 185
  • 2.jpg
    2.jpg
    204.5 KB · Views: 176
  • 3.jpg
    3.jpg
    199.6 KB · Views: 186
  • 4.jpg
    4.jpg
    241.5 KB · Views: 173
  • 5.jpg
    5.jpg
    237.3 KB · Views: 175
  • 6.jpg
    6.jpg
    274 KB · Views: 187
  • 7.jpg
    7.jpg
    258.7 KB · Views: 174
  • 8.jpg
    8.jpg
    294.3 KB · Views: 222
Last edited:

Stevehose

Well-Known Member
Site Donor $$
Messages
13,003
Reaction score
5,679
Location
Sarasota, FL
Amazing work. The original 60mm tip is 100mm long, yours appears to be the 80mm one if it matters. Would there be any way to put the 55mm tail pipe on an expander machine to stretch it 5mm?
 
Last edited:

paul cain

Well-Known Member
Site Donor $$
Messages
679
Reaction score
1,327
Location
Orange County
Amazing work. The original 60mm tip is 100mm long, yours appears to be the 80mm one if it matters. Would there be any way to put the 55mm tail pipe on an expander machine to stretch it 5mm?
Steve,
Thanks for your kind words. Good work on the exhaust? Maybe. But not as good as a recent Jambalaya in Hilton Head!

Yes, there are very, very powerful hydraulic tube expanders. It all depends on the quality of the tubing: seam welded vs. seamless. Seam welded can't take this process. 55 to 60mm is a very reasonable bump in OD on these tools, but it is very hard to be consistent. Biggest drawback is that its reach inside the tube is limited to a few inches and must be in straight line.

Are there any 100 mm x 60mm ID chrome tips laying around anywhere?
 

paul cain

Well-Known Member
Site Donor $$
Messages
679
Reaction score
1,327
Location
Orange County
Fuel system: From end to end.
Tank was removed and thoroughly cleaned. Everybody has their method, I like used bicycle chain pieces and a 1/2 a gallon of lacquer thinner with vigorous shacking in all orientations. Multiple rinses with more lacquer thinner. This was an OEM replacement tank in very good order to start with. Image 9 is the sticker still on the tank as a replacement part. Sending unit was working smoothly. FWIW, you need 1.2 meters of body to tank gasket (image .5).
Image .5 A fresh coat of satin black and an new factory body gasket
Image 1 Old vs. new fuel lines. Should I keep the car totally original? ;)
Image 2 Tank back in (presented from the bottoms up on a '74) with the correct Cohline cloth fuel line
Images 4-6 First test fit of the fuel lines back on the body. This is all temporary as these lines will come back off for all lower pans still need Wurth Rocker schutz. For now, its gotta to be a driver temporarily.
Image 8 Its hard to count how many hours went into the lower valence preservation. Ugly, Dirty, Thankless and Nasty work. Here goes: media blast, grind, etching primer, DTM primer, Wurth Rocker schutz, then a final coat of urethane flat gray paint. No one will ever see these nooks and crannies surrounding the fuel tank, but they are all preserved for now, clean and sealed off slightly better than at Karmann and ready for the tank to go back in once and for all.

Image 10 is indication on the spare tire well and tow anchor of what will be the final outcome.
 

Attachments

  • .5.jpg
    .5.jpg
    344.2 KB · Views: 188
  • 1.jpg
    1.jpg
    245.4 KB · Views: 215
  • 2.jpg
    2.jpg
    271.9 KB · Views: 190
  • 3.jpg
    3.jpg
    193.6 KB · Views: 193
  • 4.jpg
    4.jpg
    262.9 KB · Views: 196
  • 6.jpg
    6.jpg
    271.4 KB · Views: 196
  • 5.jpg
    5.jpg
    379.1 KB · Views: 203
  • 9.jpg
    9.jpg
    301.1 KB · Views: 186
  • 8.jpg
    8.jpg
    38.5 KB · Views: 191
  • 10.jpg
    10.jpg
    307.3 KB · Views: 198
Last edited:

JMinPDX

Well-Known Member
Site Donor
Site Donor $
Messages
1,269
Reaction score
1,308
Location
Portland OR
Just an awesome job Paul. One result of doing the bumper swap that’s seldom mentioned is the rear lower valence will suddenly be more visible. I notice every flaw every time a look at it mine now. A job for another day.
 

Dohn

Well-Known Member
Messages
422
Reaction score
301
Location
Dayton, Ohio
C'mon, Paul, let's get the slots on those hose clamp bolts lined up! Quit your slackin'...
 

paul cain

Well-Known Member
Site Donor $$
Messages
679
Reaction score
1,327
Location
Orange County
Dohn,
Touche! These are all rough fit / first fit attempts. All this will likely come back out with painting. Good catch!
 

rsporsche

Moderator
Site Donor $$
Messages
10,685
Reaction score
3,712
Location
Atlanta, GA
When 55mm = 60 mm.

I searched high and low for a new OEM 60 mm rear tailpipe. They are unobtainium. Then I went about researching to retool one - correctly with the very large radius around the spare tire well. I had a close friend at Burns Stainless quote this project. It would have been a min. run of 10 pieces at $290 each. I knew that would not fly. Then I had a conversation with Sven Larsen who tooled up the stainless version a few years ago. Nice piece! but it was stainless and I was really after the mild steel.
I have a strong preference for the factory part as this is a very complex fit and pipes knocking on sheetmetal is really irritating. So I settled on a 55mm OEM Part with a twist.

Solution: Go with a factory 55mm pipe (2800 CS) and 'grow' the last 9 inches into a 60 mm OD pipe.
Image 1: The light gray pipe is a cut-off from the back of my new center muffler (originally for an E3). This extra piece had this nice bend in it that matched the rear tail pipe end. I sent it down the band saw and cut it in half. I then calmshelled it over the 55mm stock pipe and crushed it into place.
Image 2 Then we got out the wire welder and layed down a few dozen yards of weld bead.
Image 3 Rough grinding
Image 4 more grinding
Image 5 dry fit the new 60mm chrome tail pipe (nice interference fit)
Image 6 Final sanding with a small drum sander
Image 7 Etching primer and full installed
Image 8 Going for the full OEM look with a 60mm tailpipe and a tip that is not sticking out beyond the bumper
Paul ... i have the unobtanium, that i'm NOT going to use, i put the fritzbits stainless exhaust on my coupe. its NOS that came from Europe. make me an offer if you want it.
 

paul cain

Well-Known Member
Site Donor $$
Messages
679
Reaction score
1,327
Location
Orange County
Officially Phase I is complete. All of metal working is done: Full bumper conversion to Euro, New exhaust system fitted and all of the rusted sill panels removed and replaced with new sheet metal. The goal was to finish all the welding on the car while in the fab shop. I think we are 'there'.

To that end: the project would not be this far along if not for generosity and expertise of the shop owner -Mr. Juan Tobias Jr. He has been incredibly kind in allowing full access to allow me to use the metal fabrication machines all within 10 feet of the car. He is an exceedingly talented welder, fabricator, tool maker with a keen sense of good engineering. And an all around great guy. Its been a blast these last few months, having a good laugh about me 'clocking in', leaving early and overtime on weekends.

Here is a quick example of BMW Tool we just cranked out last week. The differential input flange holder. I'd fab the pieces and Juan would 'glue it together' in seconds. Like all professionals, he makes it look so easy.

Saluda Juan Tobias! Phase I has been a blast with you -every day. I am going to miss 'going to work' at this shop.


Attachments

  • Juan Tobias Jr..jpg
    Juan Tobias Jr..jpg
    360.3 KB · Views: 148
  • flange breaker.jpg
    flange breaker.jpg
    462.7 KB · Views: 145
  • flange breaker 3.jpg
    flange breaker 3.jpg
    521 KB · Views: 144
  • flange breaker 1.jpg
    flange breaker 1.jpg
    374 KB · Views: 143
Last edited:

paul cain

Well-Known Member
Site Donor $$
Messages
679
Reaction score
1,327
Location
Orange County
Someone asked earlier how I was going to hold the Calif. Blue plate on the car. This is tricky, as I want to keep the 'floating' Euro plate frame in place, it leaves very few options that are not large and clumsy looking with an additional plate on top. Plus, I wanted the Calif. plate and its frame to be a 'quick release'.

Solution? Two custom brackets, first with mating dowel pins welded to the back side of the Euro plate holder and a set of high strength magnets. The Calif plate frame then has two matching 'barrels' that are welded in place and these will slide over the two dowels on the Euro frame. The magnets hold the two brackets together.

This was the first prototype fitting. It will get some more 'love' in the shop with cleaning up the bores of these two barrels and rounding off the dowels for easier insertion.


The final result is a success. The Calif. plate 'floats' above the Euro plate by 7-8 mm and there are no visible brackets.

Euro plate holder to go for gold zinc plating. The calif plate bracket will likely be satin black. Euro plate frame is stainless and will go out for polishing. Lamps will return to the bumper.
 

Attachments

  • plate 1.jpg
    plate 1.jpg
    119.7 KB · Views: 129
  • plate 2.jpg
    plate 2.jpg
    298.4 KB · Views: 132
Top