Lan-renewal of door trim, rubbers, clean and regrease of mechanisms,...

deQuincey

Quousque tandem...?
Site Donor
Messages
8,416
Reaction score
2,430
Location
BIO - 43°15'46.5"N 2°56'03.7"W
for the people interested, there is a solution planned for the mechanism spring support,

a drawing:

Nuevaimagen-1_zps98aaf9b7.jpg


it is in production right now...

panel is prepared and finished with all the holes done:
tip: to make a better fit i opened the holes for the clips to 12mm instead of 11mm, if there is a deviation while marking the holes you will find very difficult to position 14 clips onto the door

070320135116_zpsc7527110.jpg
 
Last edited:

deQuincey

Quousque tandem...?
Site Donor
Messages
8,416
Reaction score
2,430
Location
BIO - 43°15'46.5"N 2°56'03.7"W
the damned thing !

here you are this little ba***rd, it is only 450gramms ! but,...

070320135124_zpsd70ee733.jpg


this is the mechanism that holds the triangular window and rotates it open and close

the system consists of a cilindric part that is able to hold the triangular window frame rod, the holder has an evident M8 bolt, and a not so evident plate that is fixed by a clamp and a bolt (you can see the back of the clamp in the previous picture (a black tab only), and the bolt is in between the grease in the next pic),

the PO mechanic was not smart enough to figure out about the second fixing point so you can see how he destroyed the holder. it still works, but is a piece of s**t

you can guess there will be something else by the second, and smaller hole in the plate, it is evident for a skilled guy isn´t it ?

070320135123_zps48ceb288.jpg


before dismantling anything, i marked all the positions to be able to replicate the assembly leter on: this is the lower fixing for the window rail

070320135118_zps93e581ac.jpg


now the top fixing for the window rail:

070320135120_zpsf35747ea.jpg


the sliding part and the window plate:

070320135119_zpsdffad926.jpg


the front lower sliding pad:

070320135121_zpsfa4fc353.jpg


soak all these bolts on penetrating fluid a day or two before attempting to loose them, they are rusty and thus blocked ! so if you are not careful you can even break the glass

now it comes the tedious job of cleaning all these dirty bits !
 
Last edited:

rsporsche

Moderator
Site Donor $$
Messages
10,679
Reaction score
3,704
Location
Atlanta, GA
dQ, this area of your car must have been dirty, even though you got the parts dQ clean, their is dirt on those fingers and under the thumb nail ... i think this is a first.

all in all, another great post.
thanks!
 

deQuincey

Quousque tandem...?
Site Donor
Messages
8,416
Reaction score
2,430
Location
BIO - 43°15'46.5"N 2°56'03.7"W
dQ, this area of your car must have been dirty, even though you got the parts dQ clean, their is dirt on those fingers and under the thumb nail ... i think this is a first.

all in all, another great post.
thanks!

you r right
it was dirty as he**
and not a conventional dirty, but a nasty mixture of old grease, dust, sand, and dead insects
i can not clean my finger nails, no way
but soon i will finish with cleaning and i will start with the assembly...:-D
 

deQuincey

Quousque tandem...?
Site Donor
Messages
8,416
Reaction score
2,430
Location
BIO - 43°15'46.5"N 2°56'03.7"W
more

triang. window frame:

070320135125_zps8417aad5.jpg


end of felt weatherstrip:

070320135128_zps4ff3f9ab.jpg

070320135129_zpsb3226dee.jpg


remove

070320135131_zps1a9de2ad.jpg


copy end:

080320135136_zps133a5b82.jpg


080320135137_zps44432f2c.jpg


change triang window, remove rivets:
070320135130_zps00316f34.jpg


you remove the window taking it out by turning it slightly

080320135133_zpseea1dc6e.jpg


place new rivets after introducing new window

080320135132_zps2ae9fd40.jpg


080320135139_zpse81e4fc7.jpg


cleaning and preparing bits for painting

090320135141_zps6384cebf.jpg


090320135142_zps18c0bbe6.jpg


i plan to reproduce the rubbers

090320135143_zps238e22e0.jpg
 

deQuincey

Quousque tandem...?
Site Donor
Messages
8,416
Reaction score
2,430
Location
BIO - 43°15'46.5"N 2°56'03.7"W
door lock handle

finally i decided to remove everything of the door lock, inlcuding the handle, someone told me that it was a PITA, so i was reluctant to do this, but:

110320135190_zps48802bde.jpg


surface rust, removed and rust converter applied

251120135281_zps0f992fee.jpg


mechanism, ready for cleaning:

251120135282_zps7f110d9b.jpg


clean door panel and new rubber stops:

251120135283_zpsabb5b4b5.jpg


cleaned and new bolts, nuts and washers:

251120135285_zps08bf8d53.jpg
 
Last edited:

deQuincey

Quousque tandem...?
Site Donor
Messages
8,416
Reaction score
2,430
Location
BIO - 43°15'46.5"N 2°56'03.7"W
apologies for my mistake

when i wrote about the door stop assembly position, i made a mistake, i was unsatisfied by the "feeling" of the door while opening and closing, so i investigated a bit, on the manuals and finally on a friends car, and the result is that the right position of the door stop is THIS !:

251120135286_zps9d4ca1f0.jpg
 

deQuincey

Quousque tandem...?
Site Donor
Messages
8,416
Reaction score
2,430
Location
BIO - 43°15'46.5"N 2°56'03.7"W
solving the axis problem

remember this ?

270220135078_zpsfe611682.jpg


well, after some struggle trying to fix the damaged part i ended up making a new one with a different fixation approach:

Mungia-20130314-001781_zps6ca31a73.jpg


but i need to prepare the surface to hold this part, the PO welding procedure damaged the area:

here you can see how the replacement part has been introduced after reopening the area, you can see the part prepared for the left side mechanism, and an special bolt and a washer that will act as fixing and retaining the part in its place:

261120135287_zps4afb7c65.jpg


the washer has been bent to provide a spring action:

261120135288_zps427cb199.jpg


i fixed the bolt using loctite medium strength glue

261120135289_zpsd415f725.jpg


261120135290_zpsad124804.jpg


once fixed the mechanism works ok and is prepared to be assembled in the door

261120135291_zps304d1172.jpg
 
Last edited:

deQuincey

Quousque tandem...?
Site Donor
Messages
8,416
Reaction score
2,430
Location
BIO - 43°15'46.5"N 2°56'03.7"W
assembly almost done, some facts and tips

the assembly of all the elements is not difficult, but there are two important aspects,

first of all is the need of a sequence, some elements can be assembled, others can be compromised and impossible to introduce once other parts are mounted

second, is the inherent difficulty of the adjustment of all the elements to provide a correct movement and fit of the window

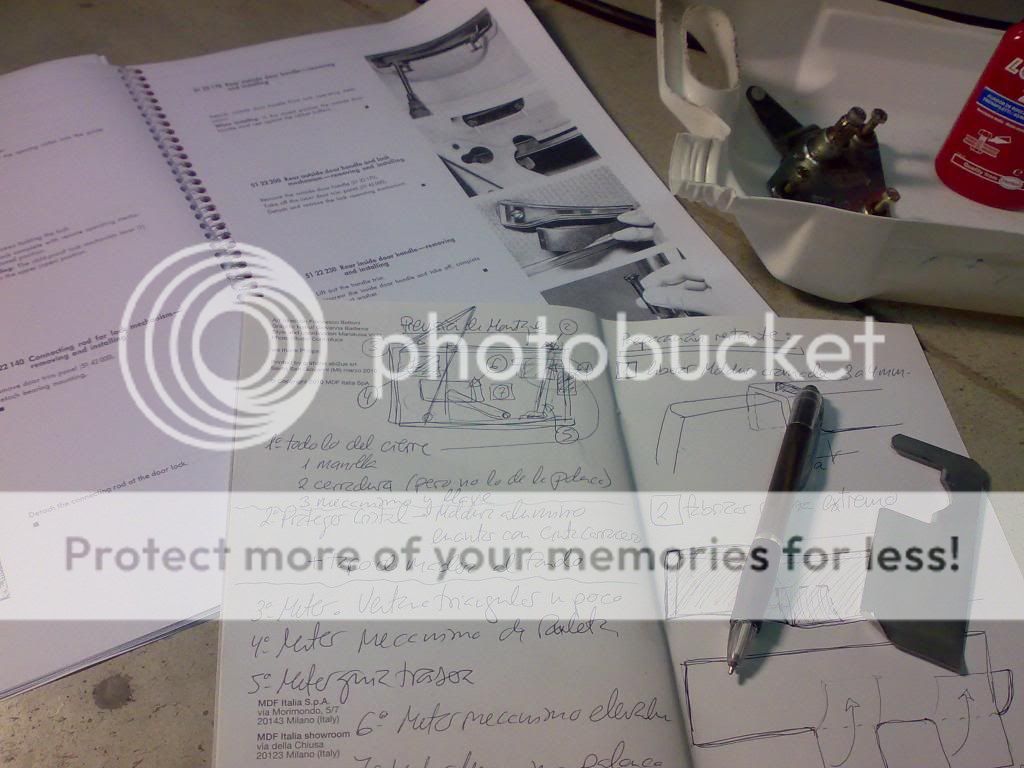
my experience says, that for a completely dissasembled door, the sequence is :

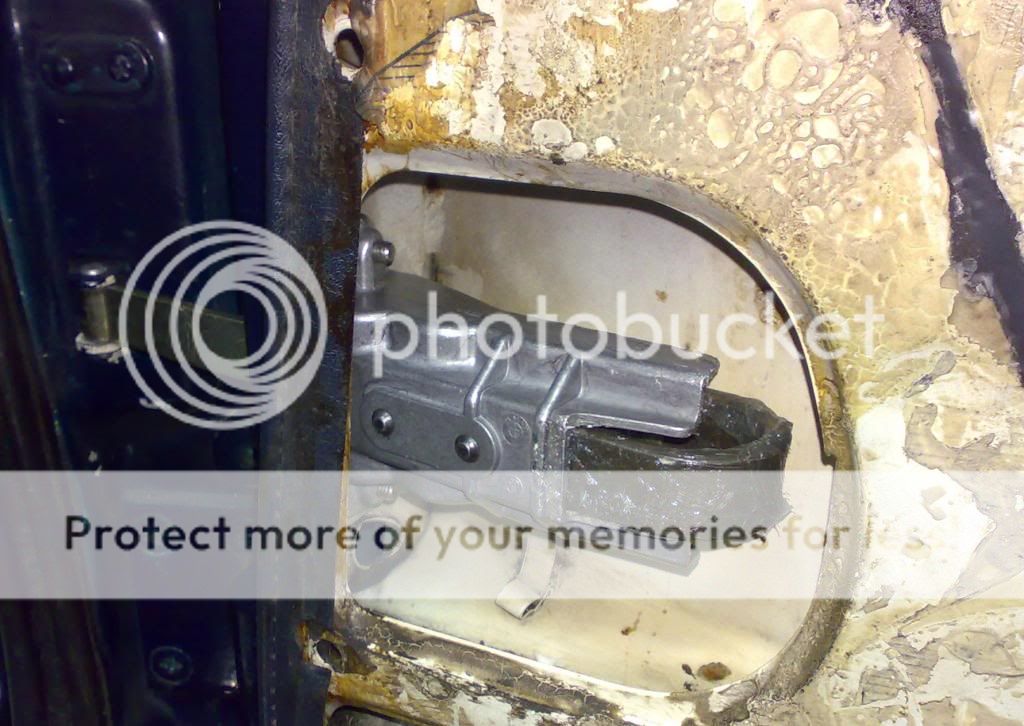
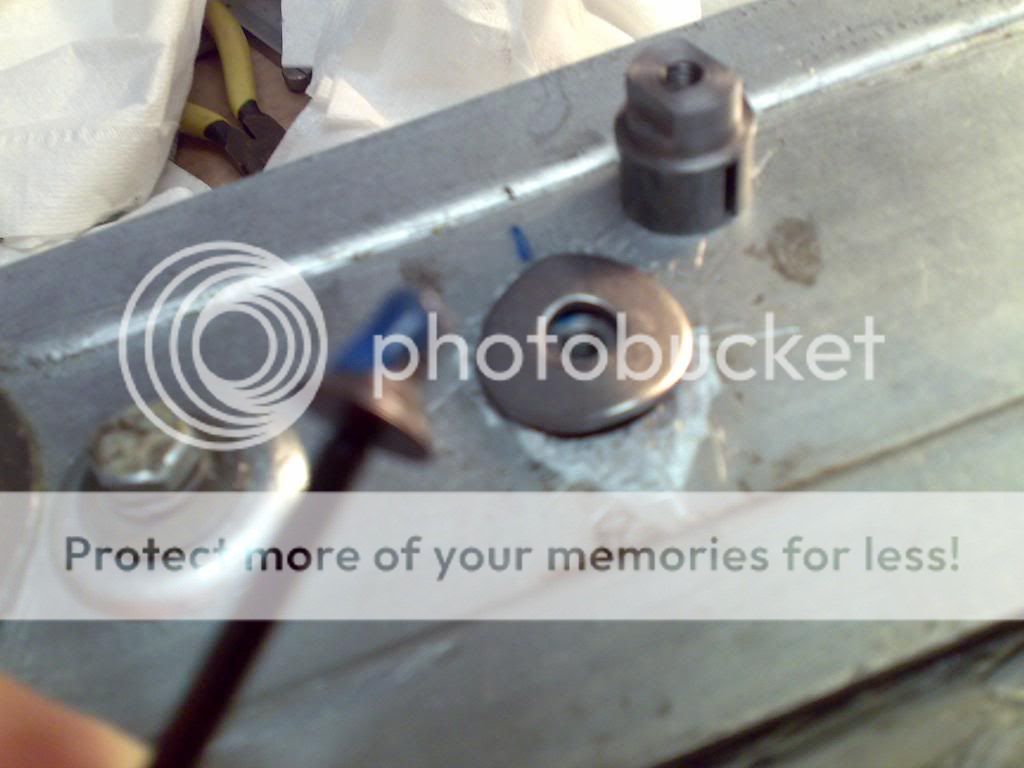
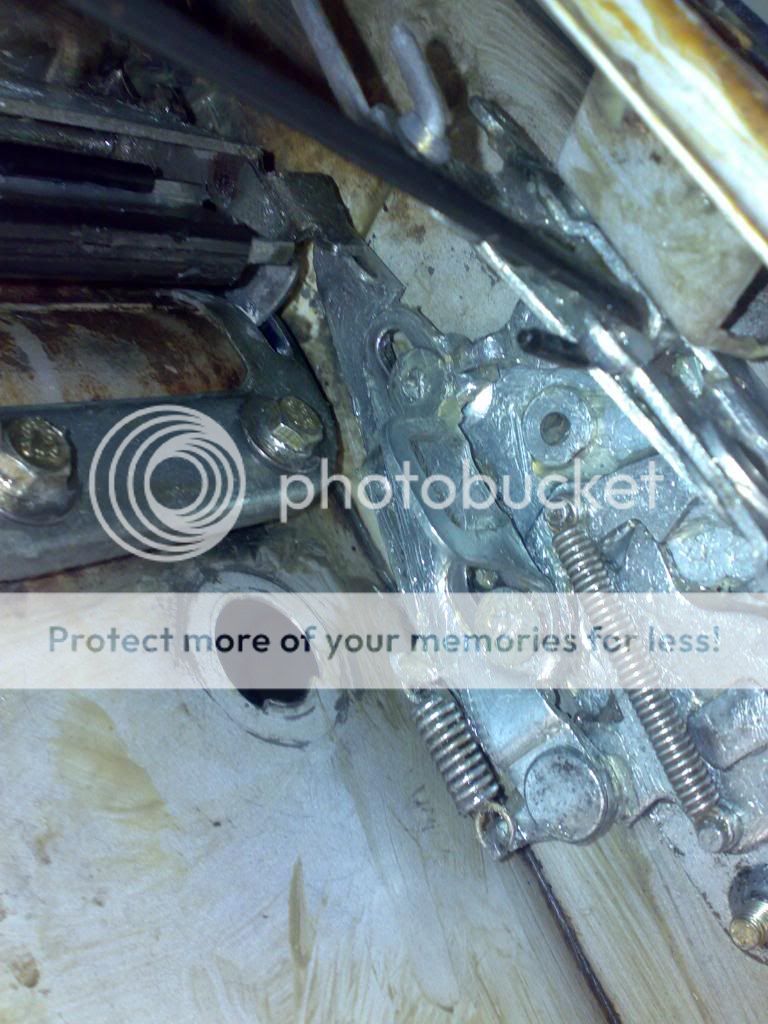
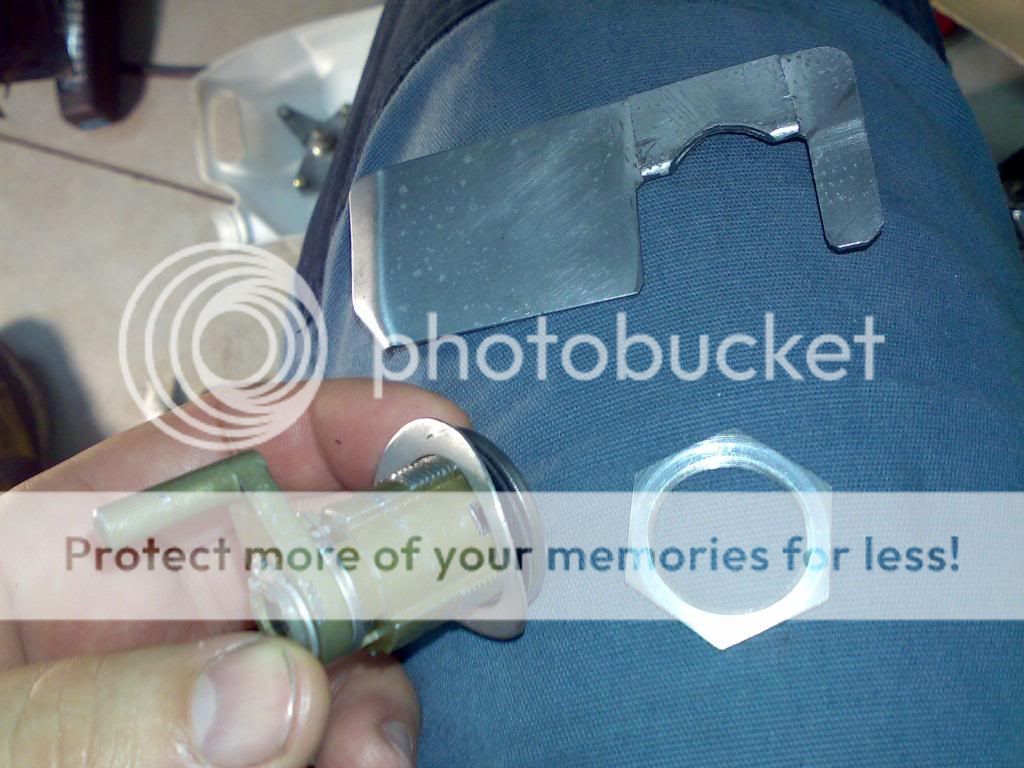
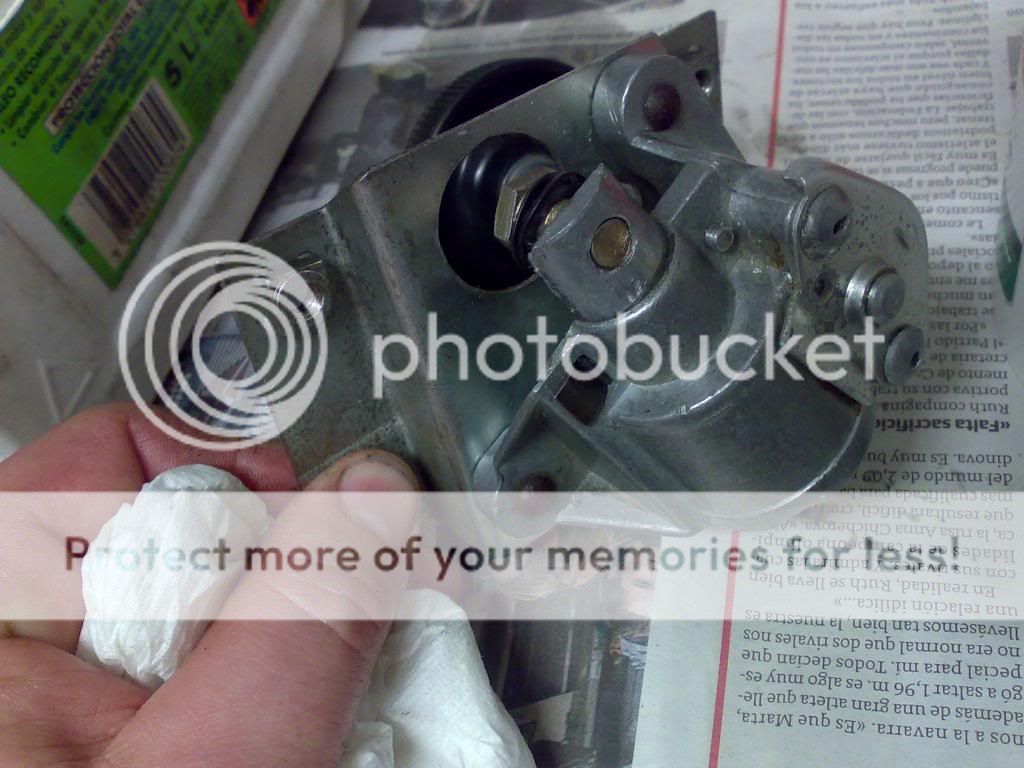
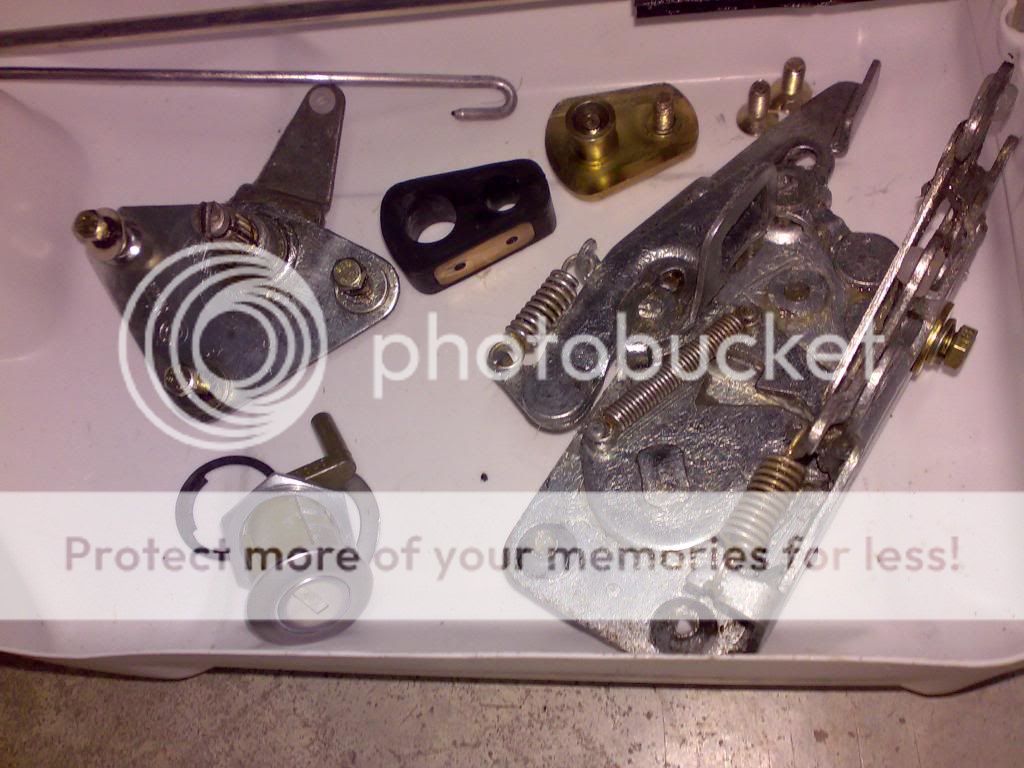
first is the outer handle and its mechanism, then is the door lock mechanism, then the door lock itself, following this sequence it is straight forward, but one last issue, the final adjustment of the outer handle must be done at the end of this block of parts

(do not assembly now the inner handle mechanism, this IMHO is the last mech to be assembled in the whole door)

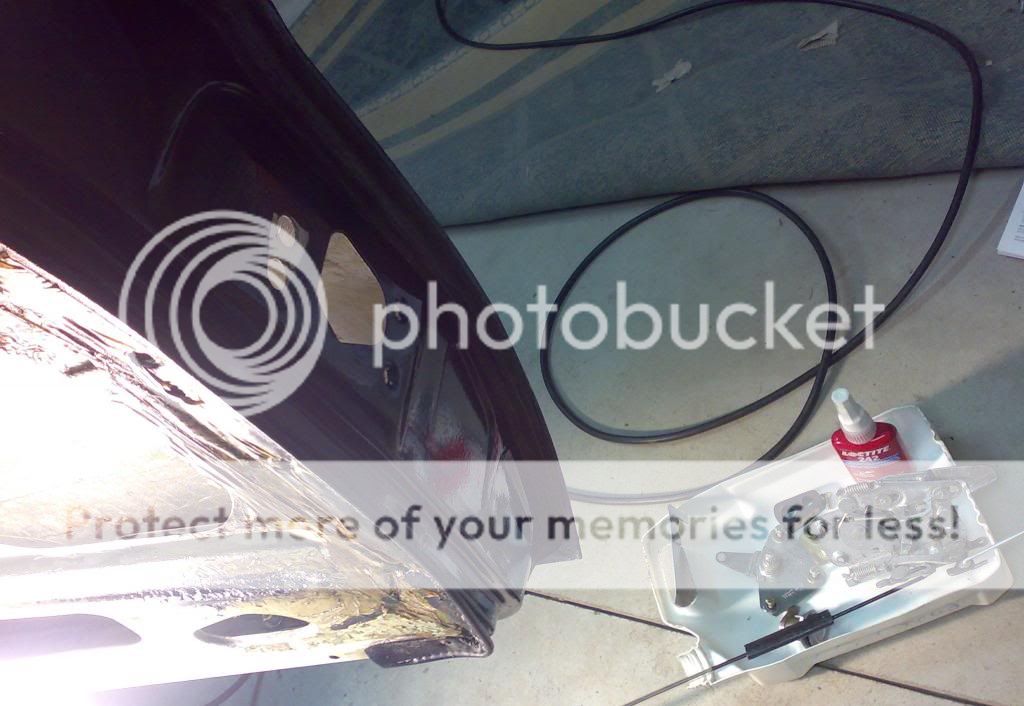
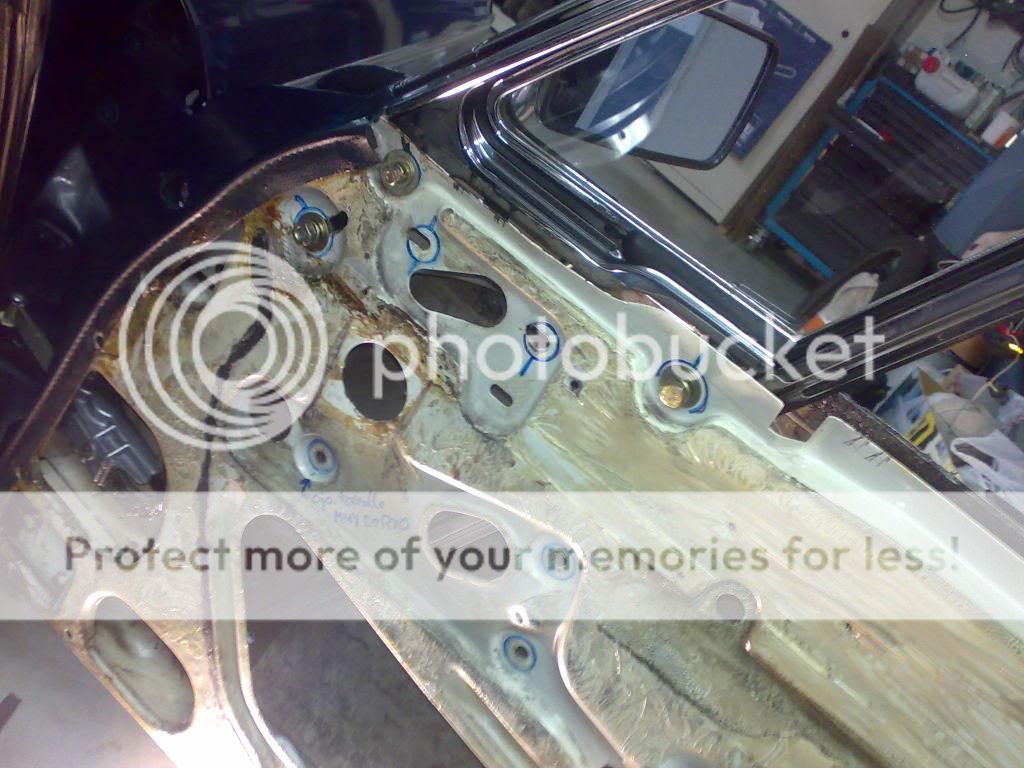
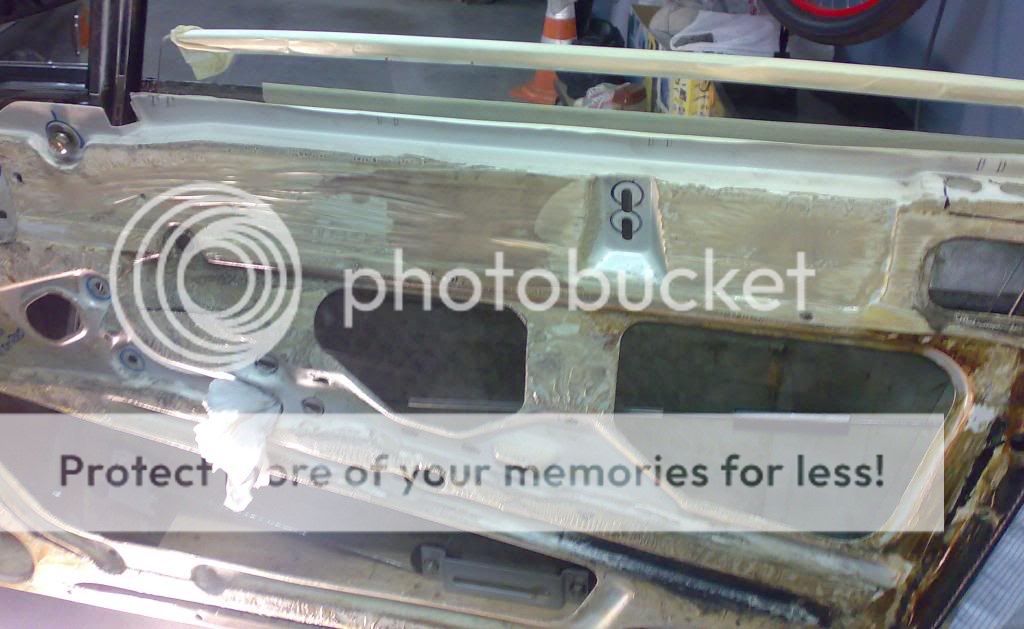
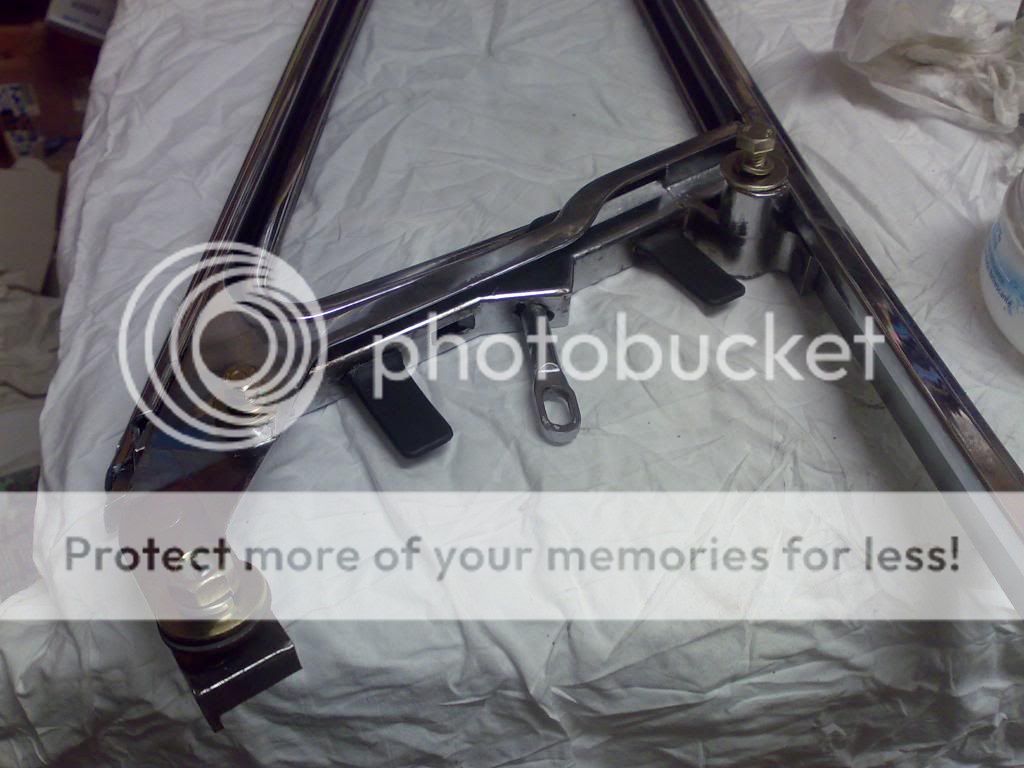
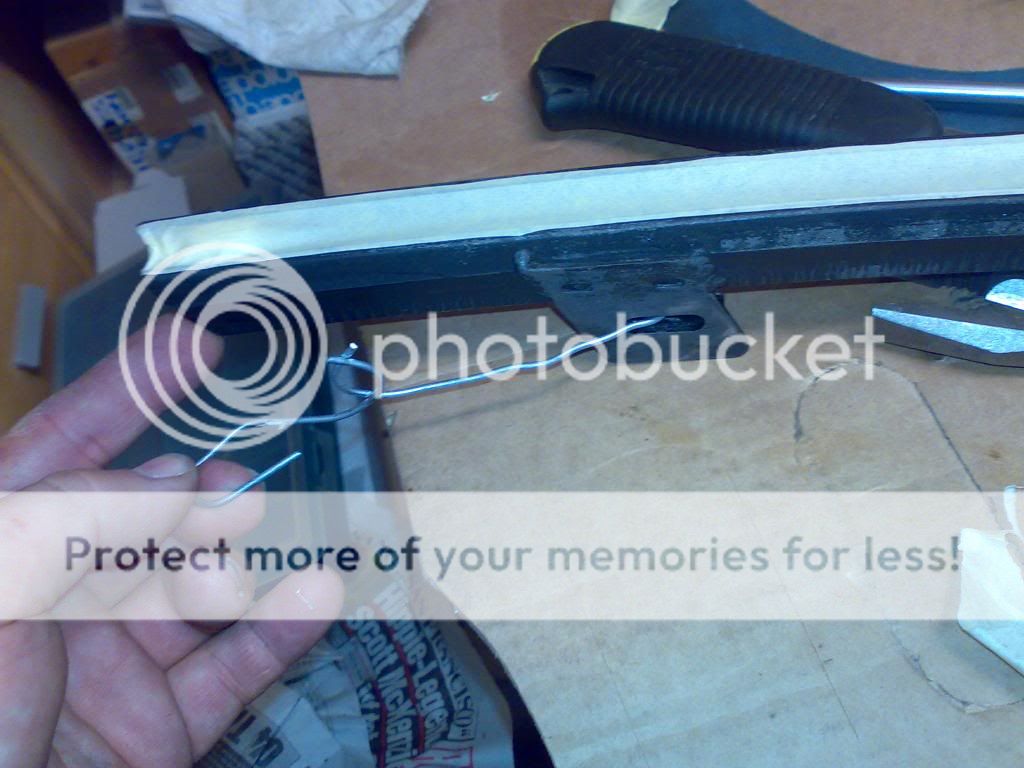
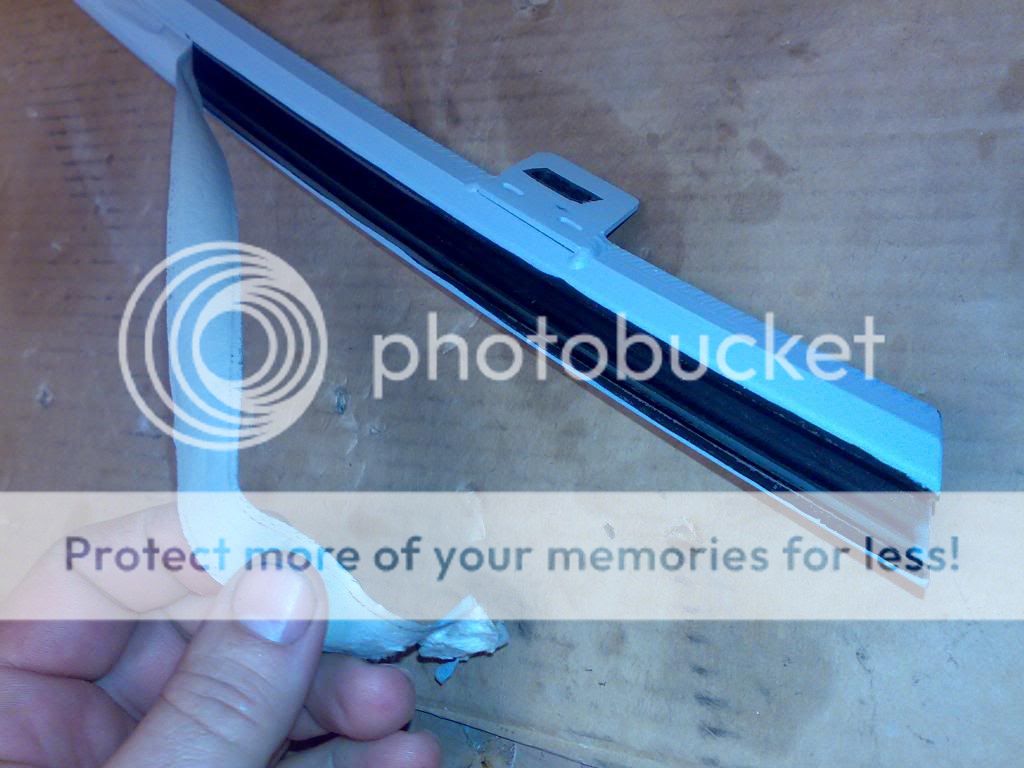
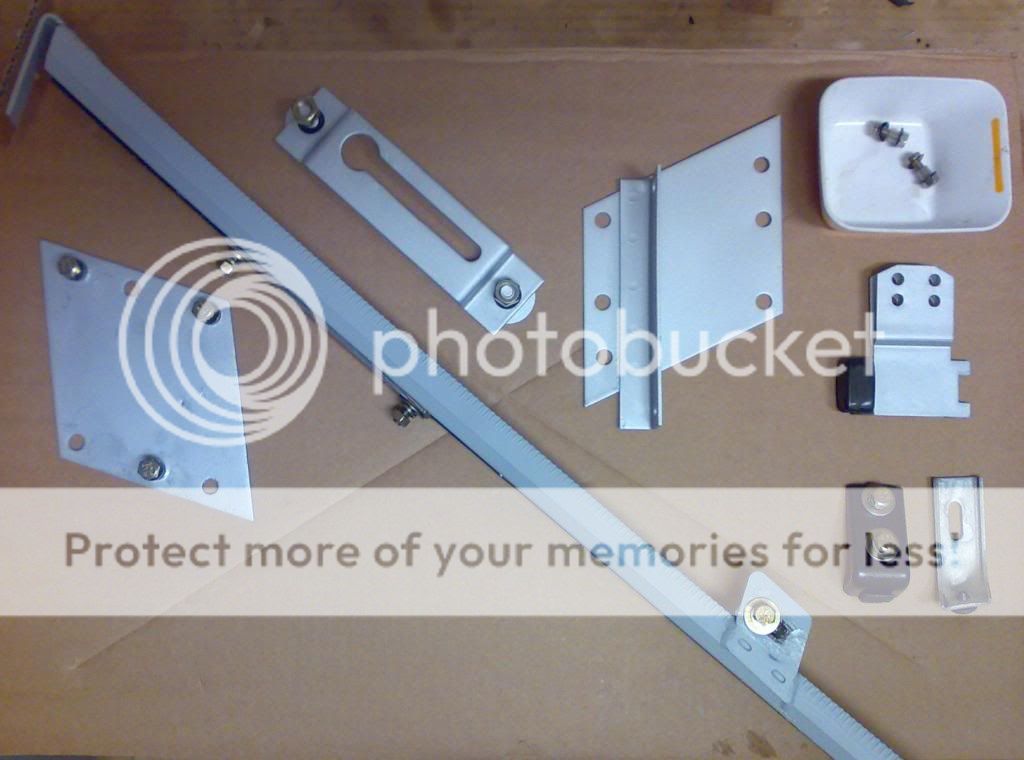
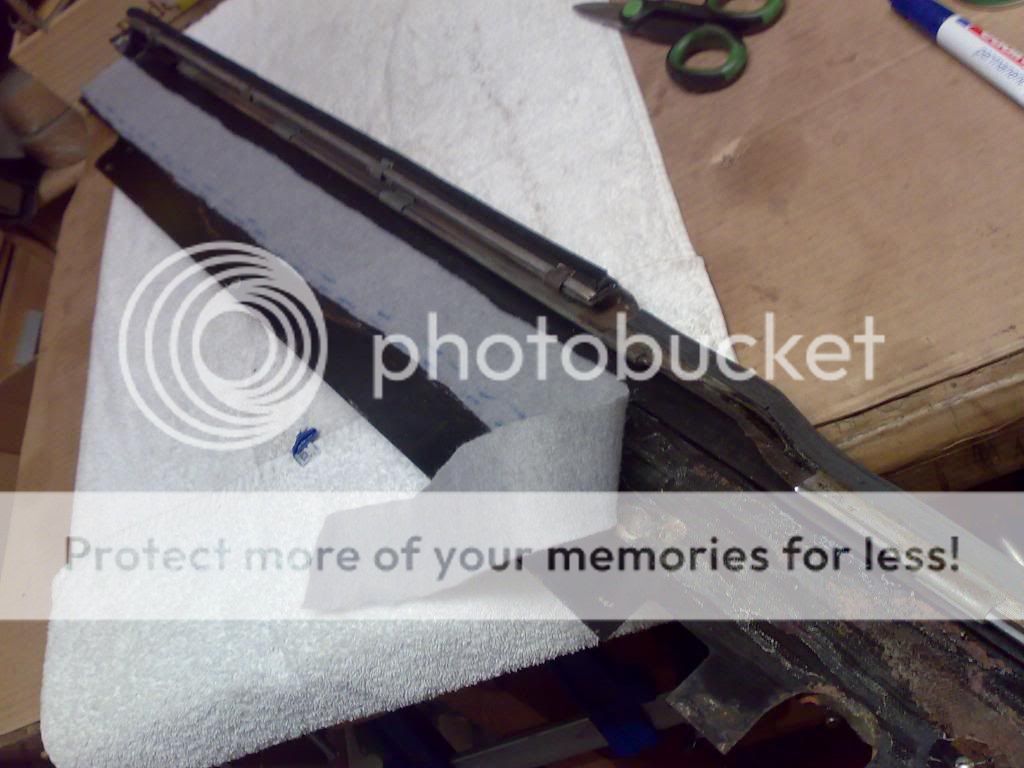
when this is finished, the next part is the triangular vent window, the complete frame, place it in its position , but do not tighten the nuts and bolts

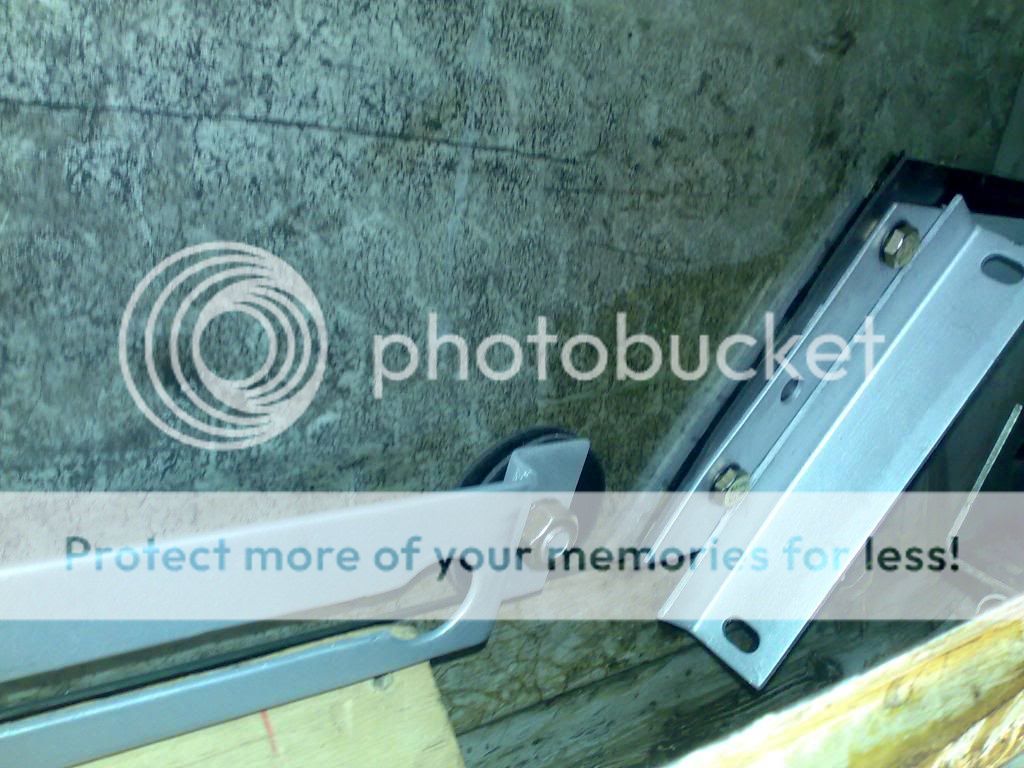
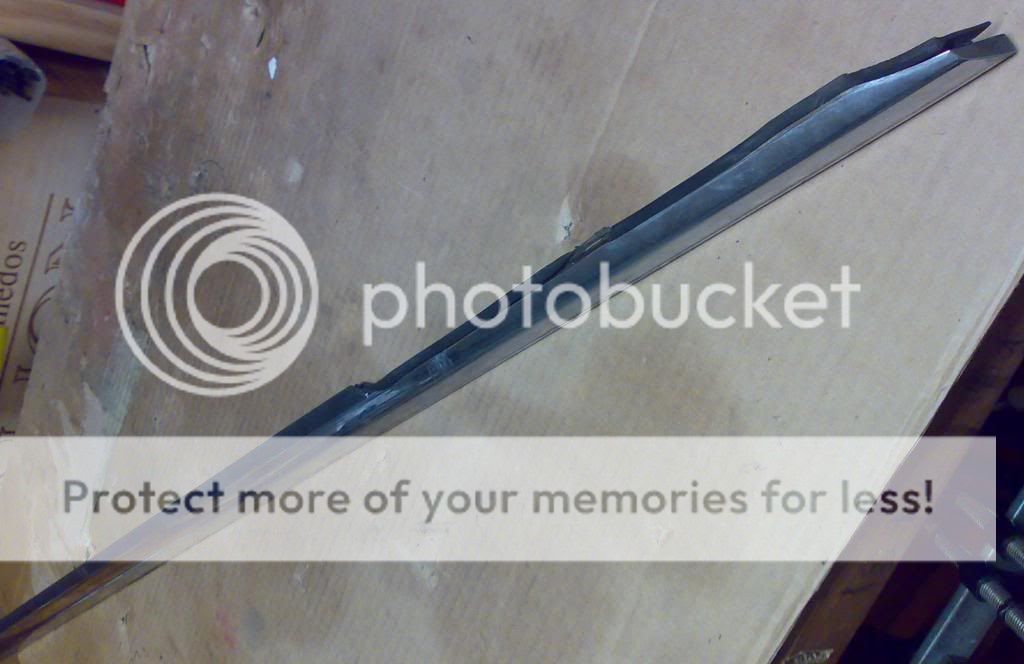
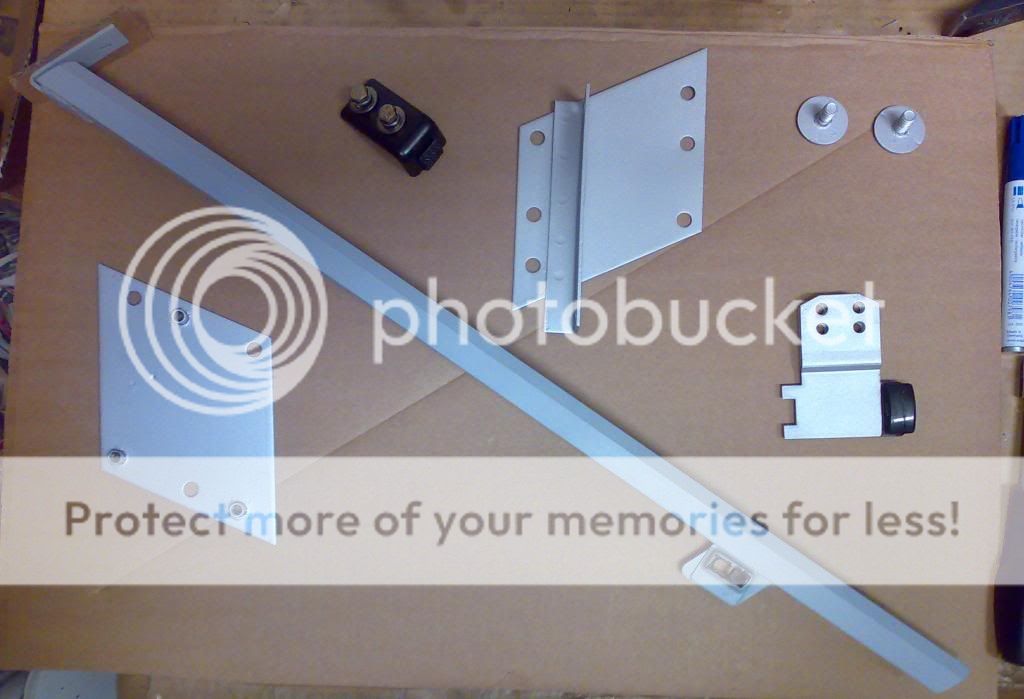
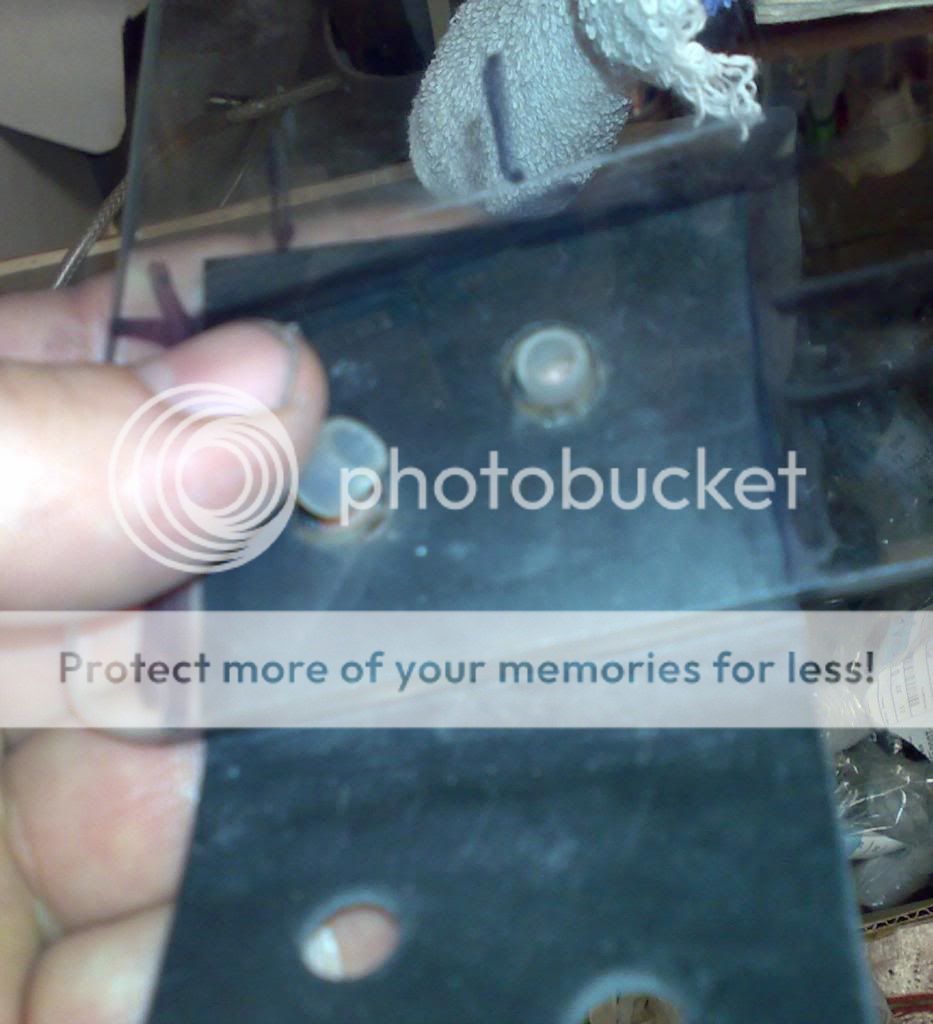
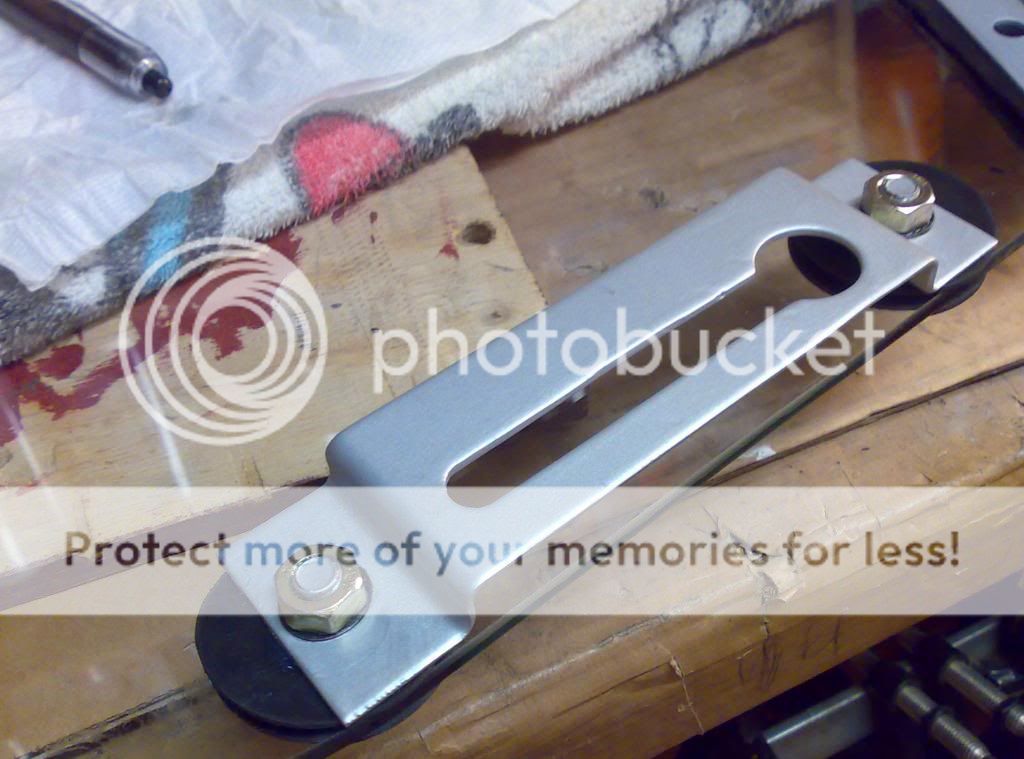
then the window glass itself, but to introduce it you will have to remove the big support that move along the rear guide,

then introduce the rear guide, and with this part in position, introduce and fix the above mentioned support,

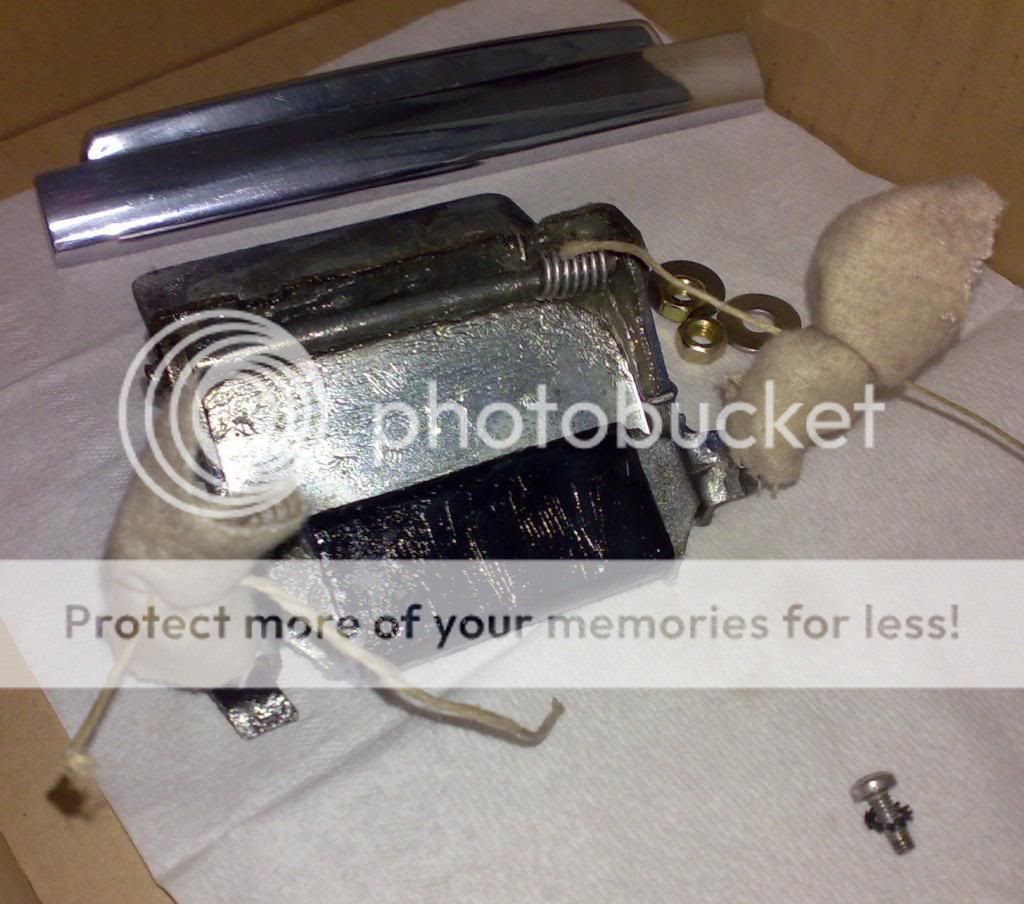
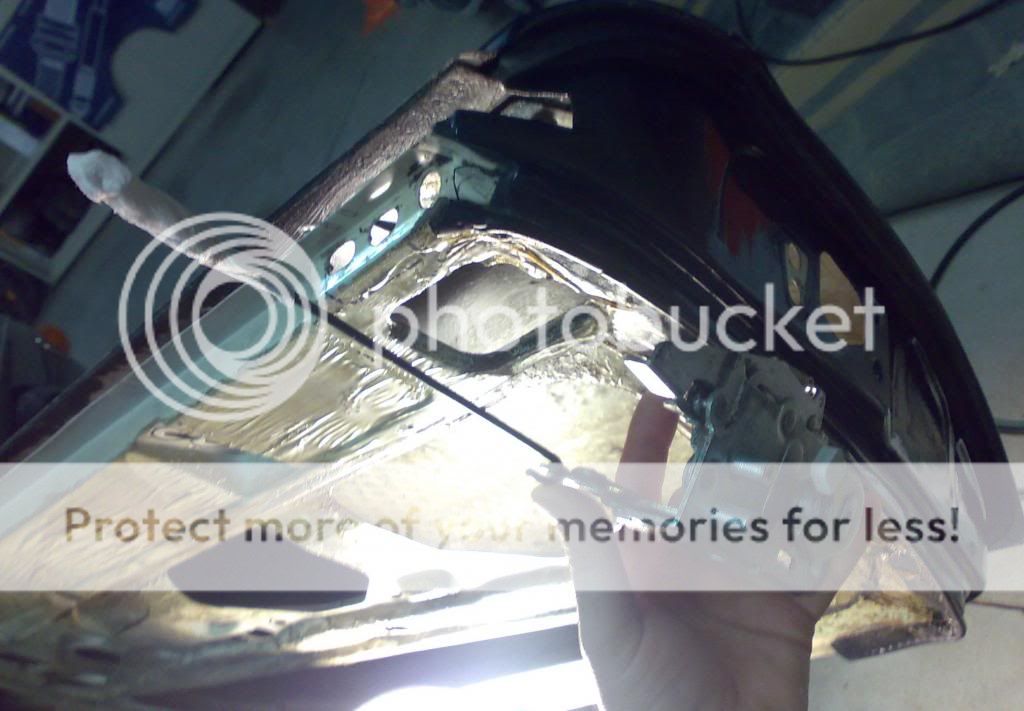
now introduce the vent window mechanism from under

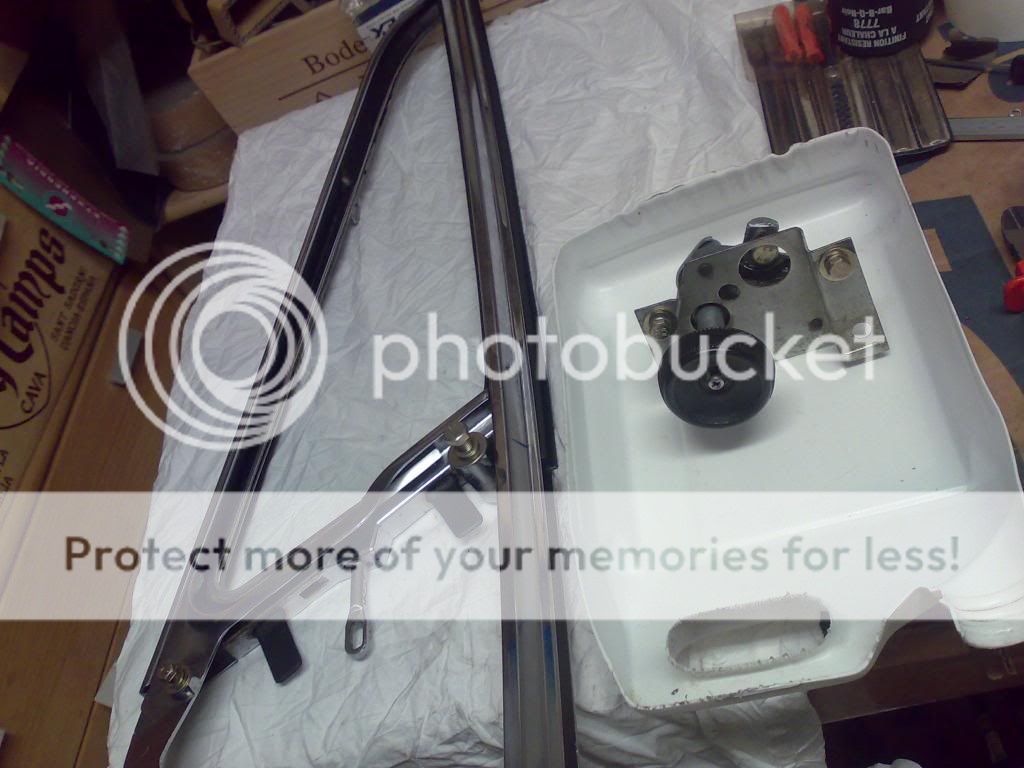
before any window adjustment, introduce the window lift mechanism, the adjustment will be influenced by the whole system

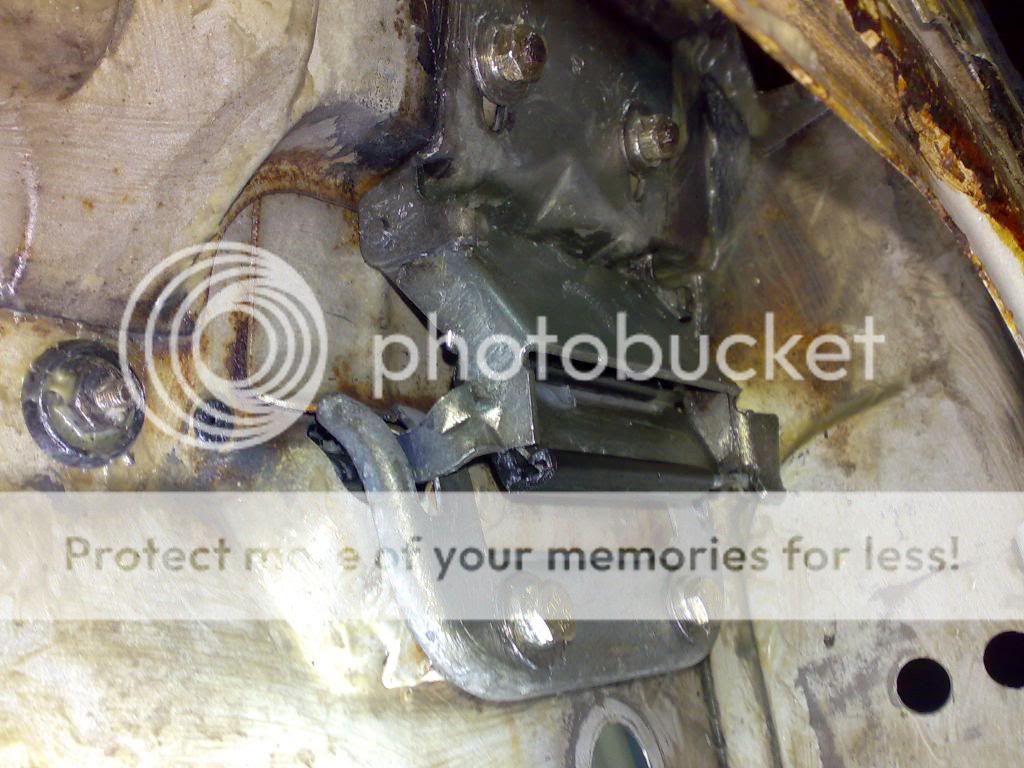
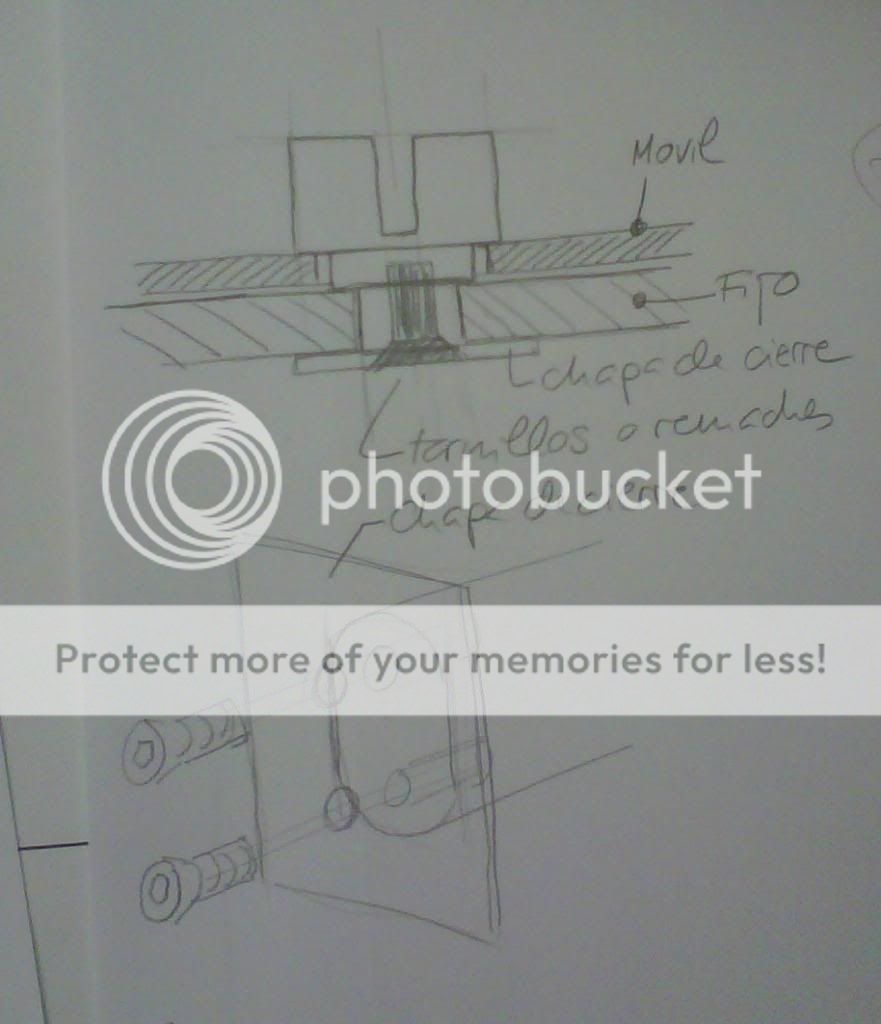
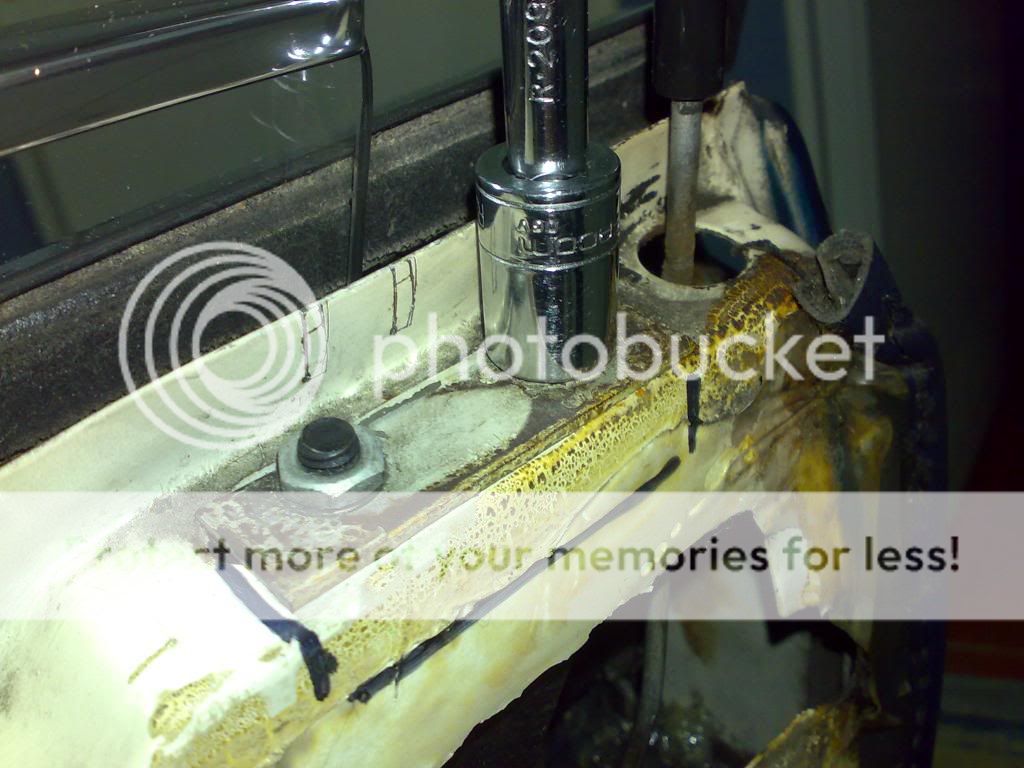
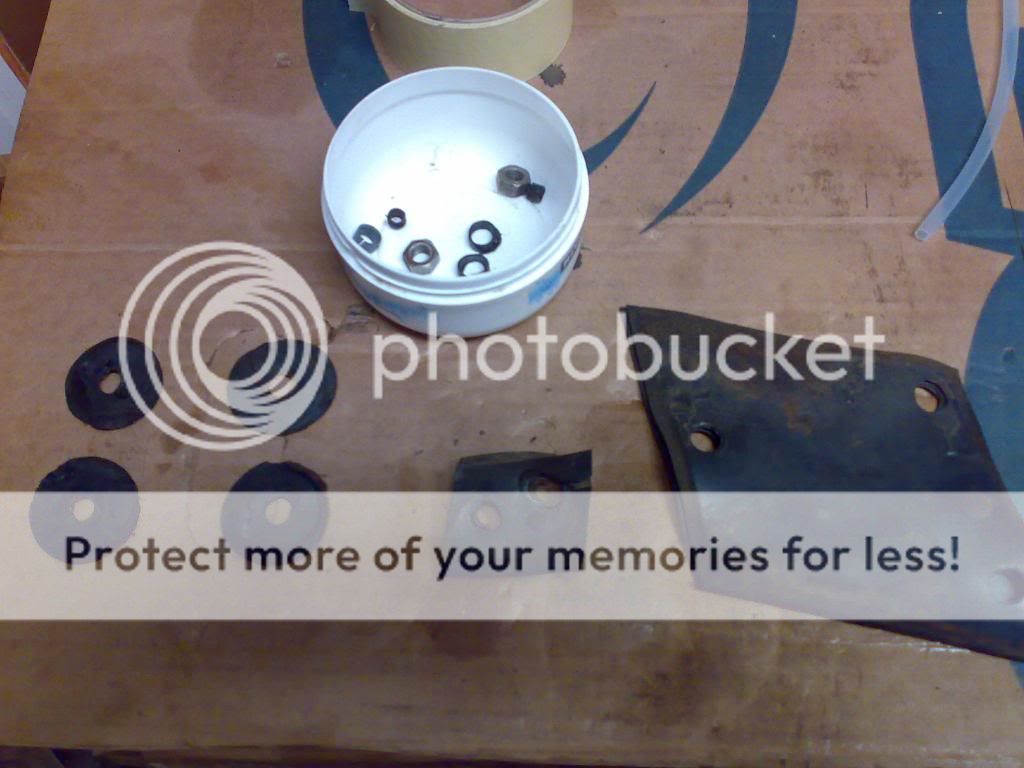
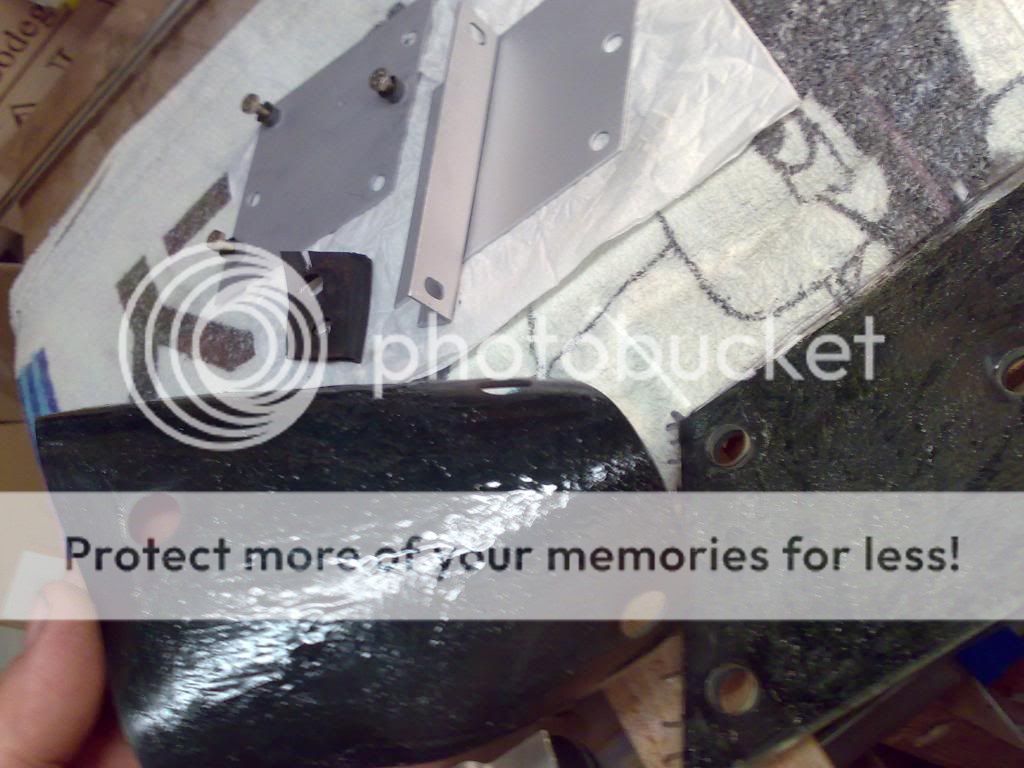
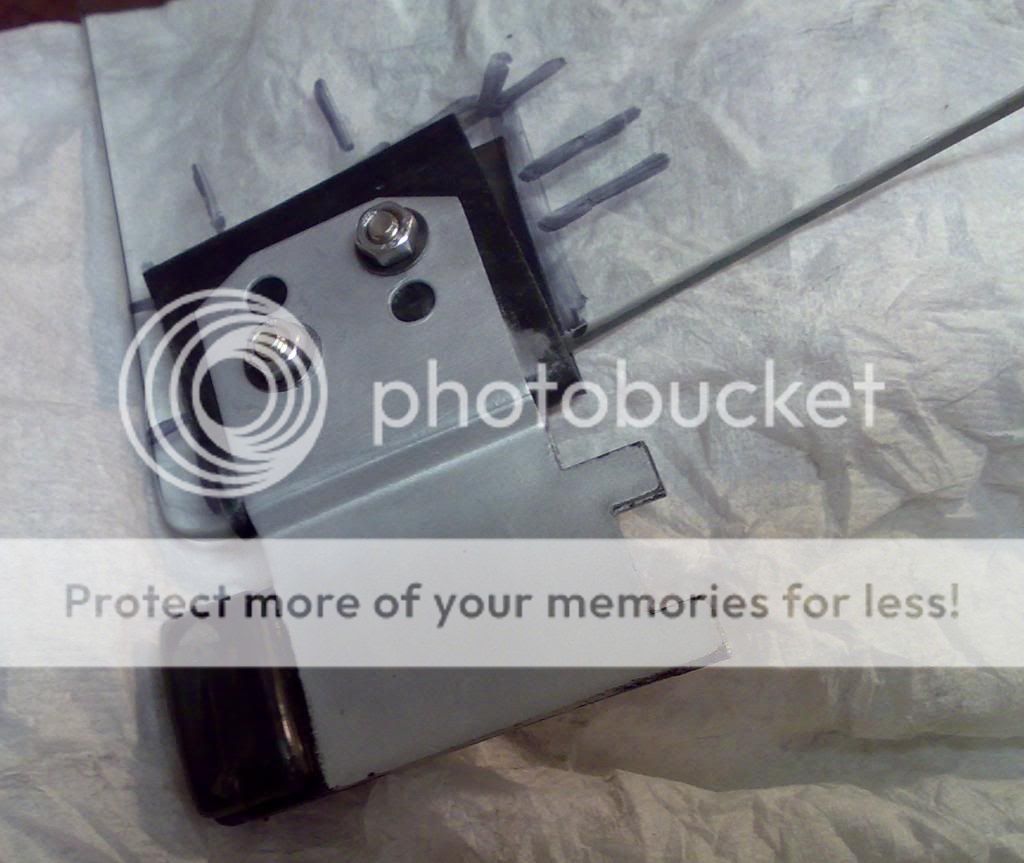
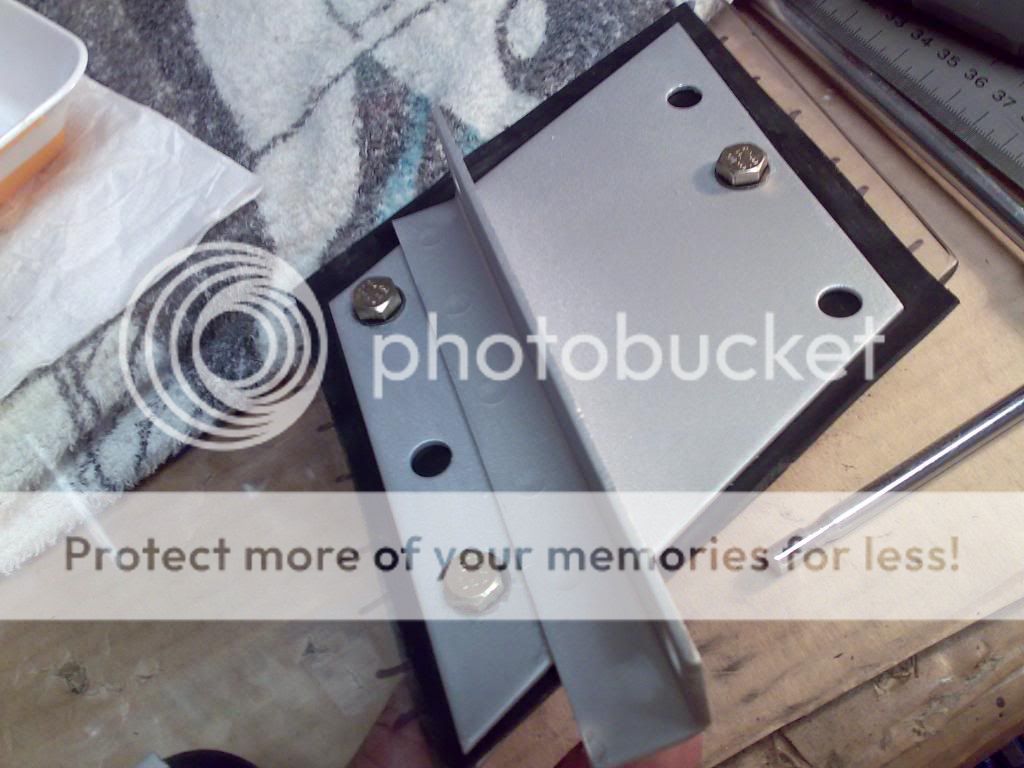
in my experience, the adjustment is too complicate, not only you will have to compensate the paralelism of the guides, but the position of the mentioned big support within the window glass is also an aspect to be considered

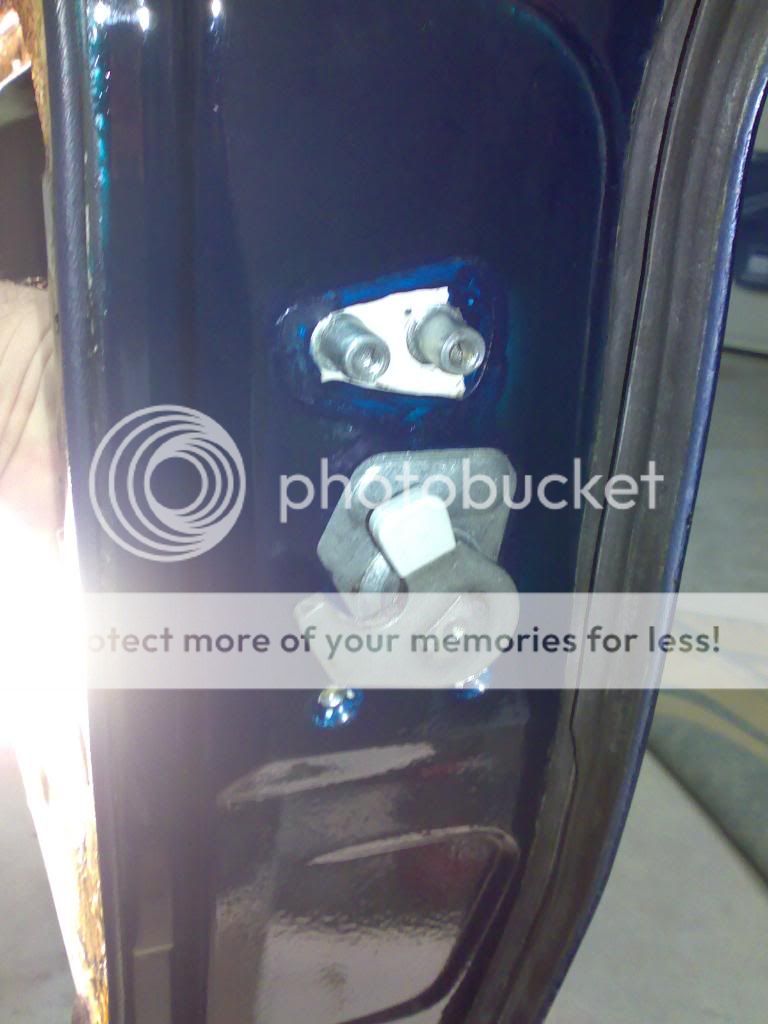
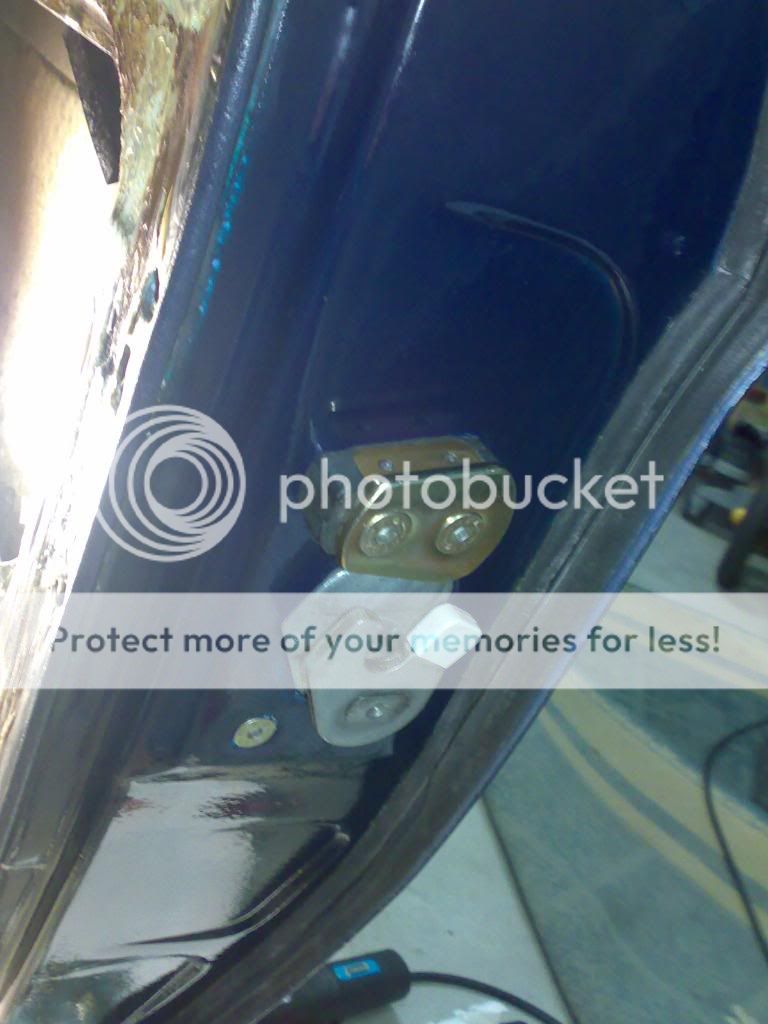
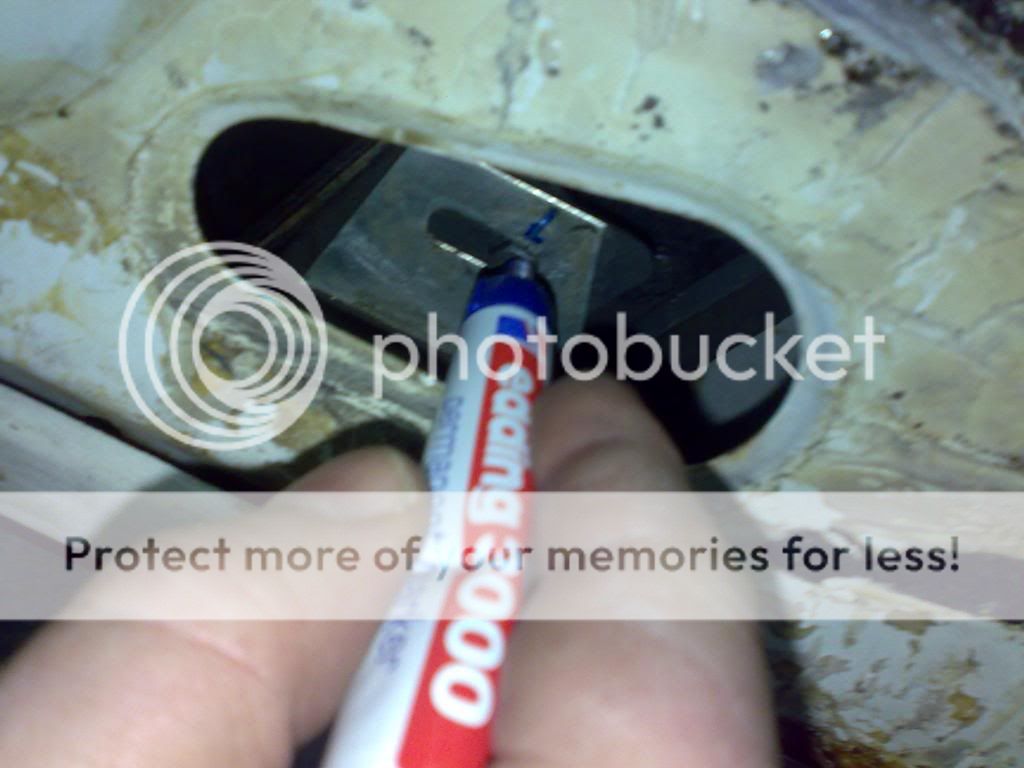
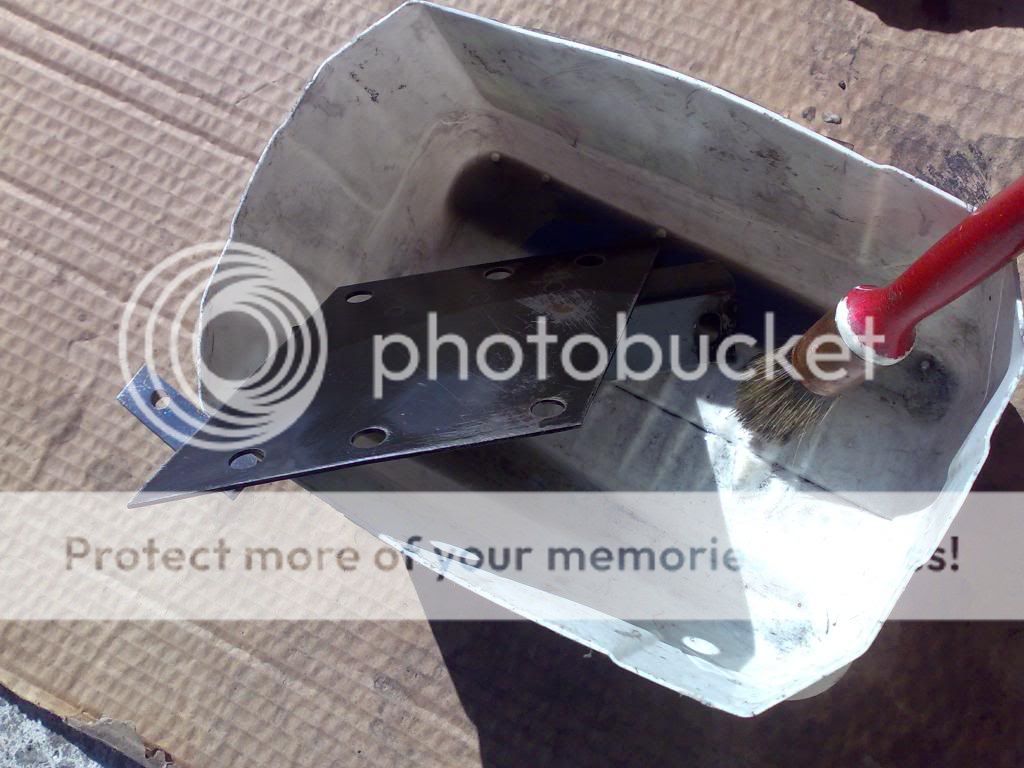
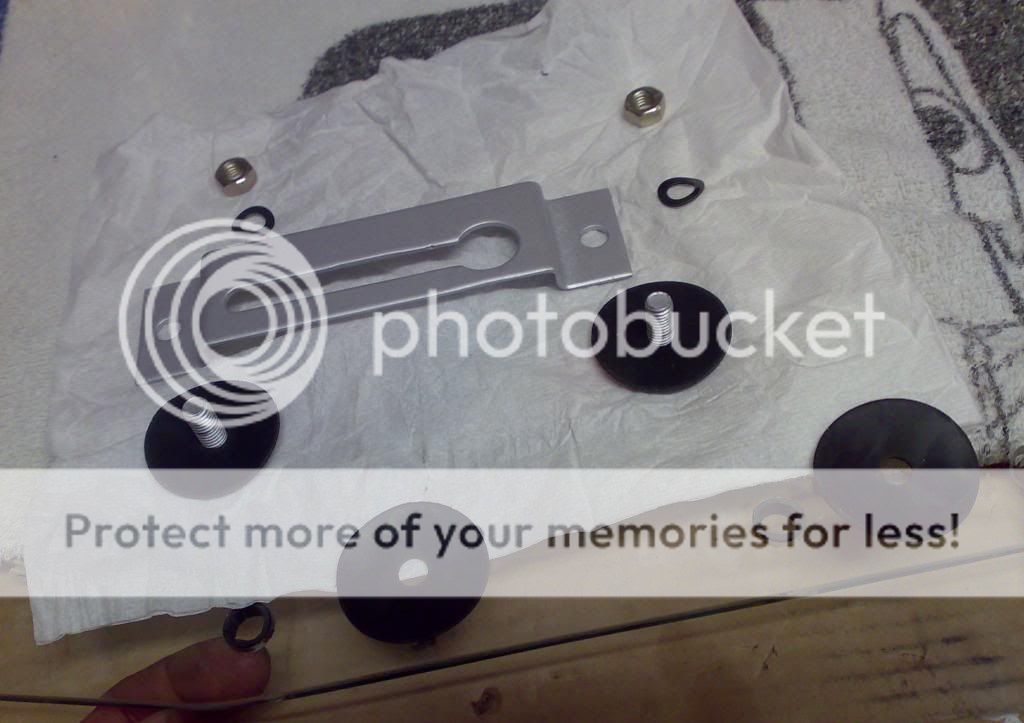
it is also critical the position of the lower supports of the guides, these two points, one in the front and the other in the rear are the responsibles for the top of the window to move inwards or outwards

this adjustment is critical for a good closing of the front and rear windows one against the other, but is critical for the closure of the triangular and front window against the door top frame too

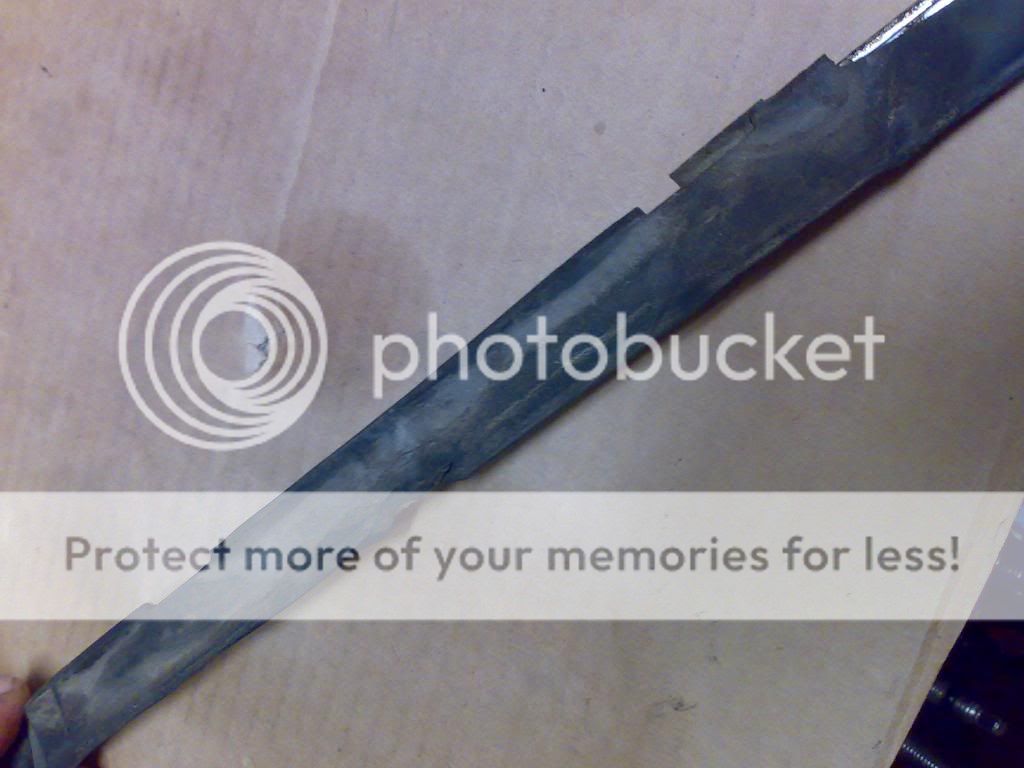
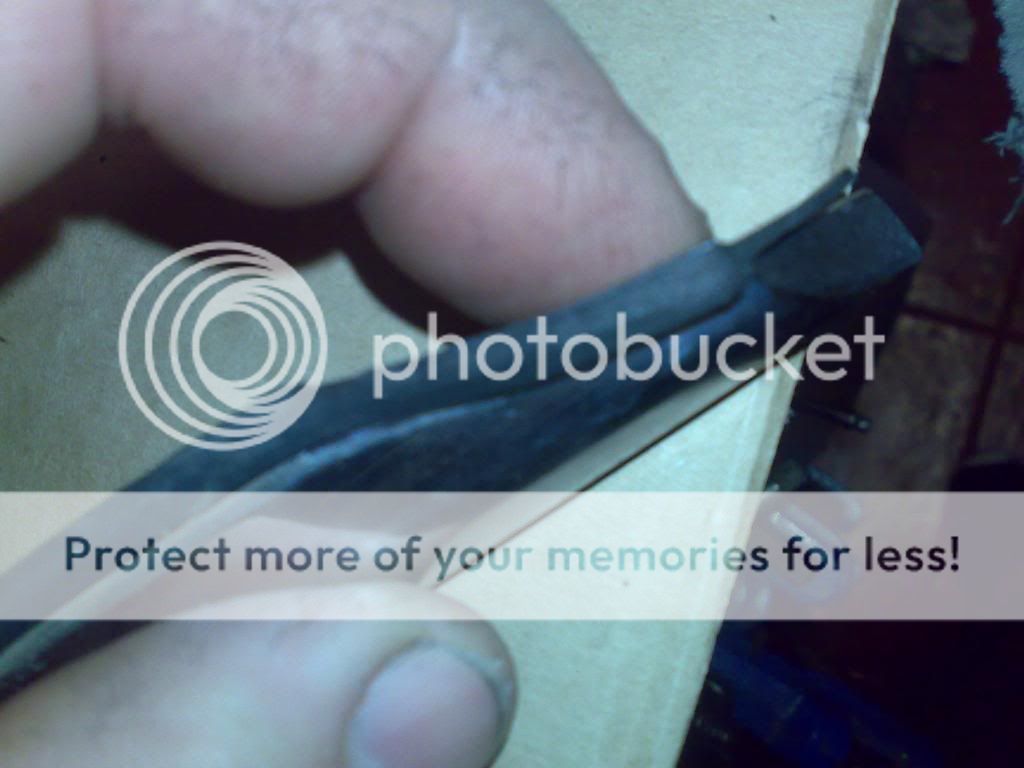
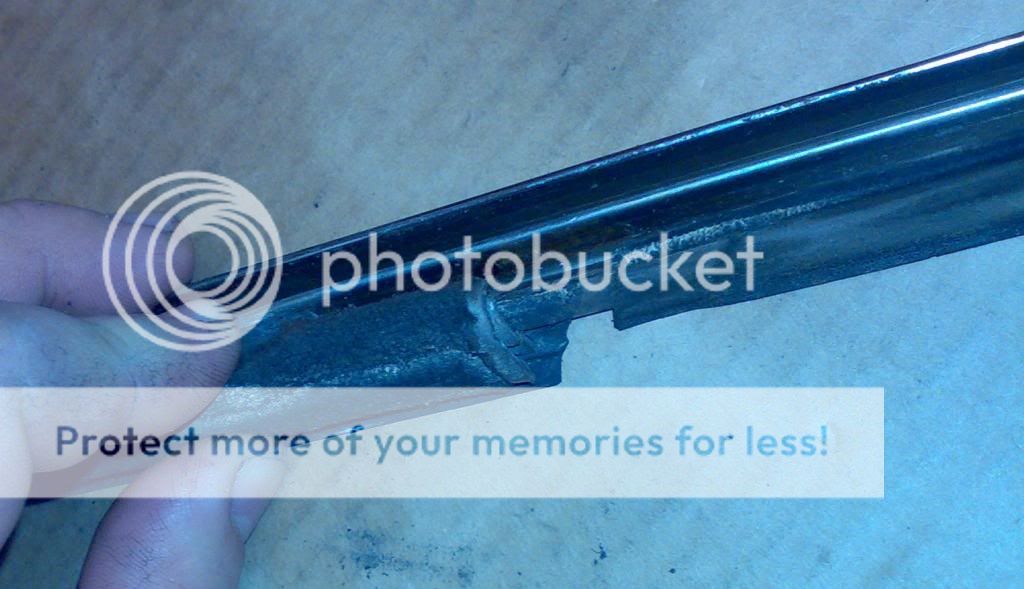
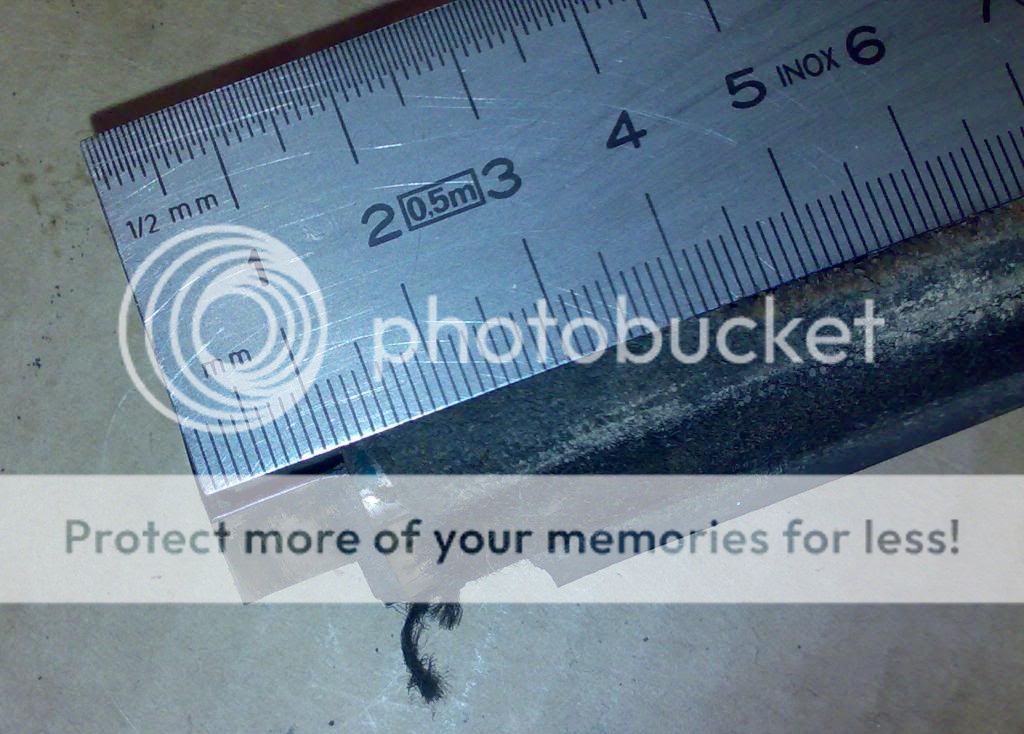
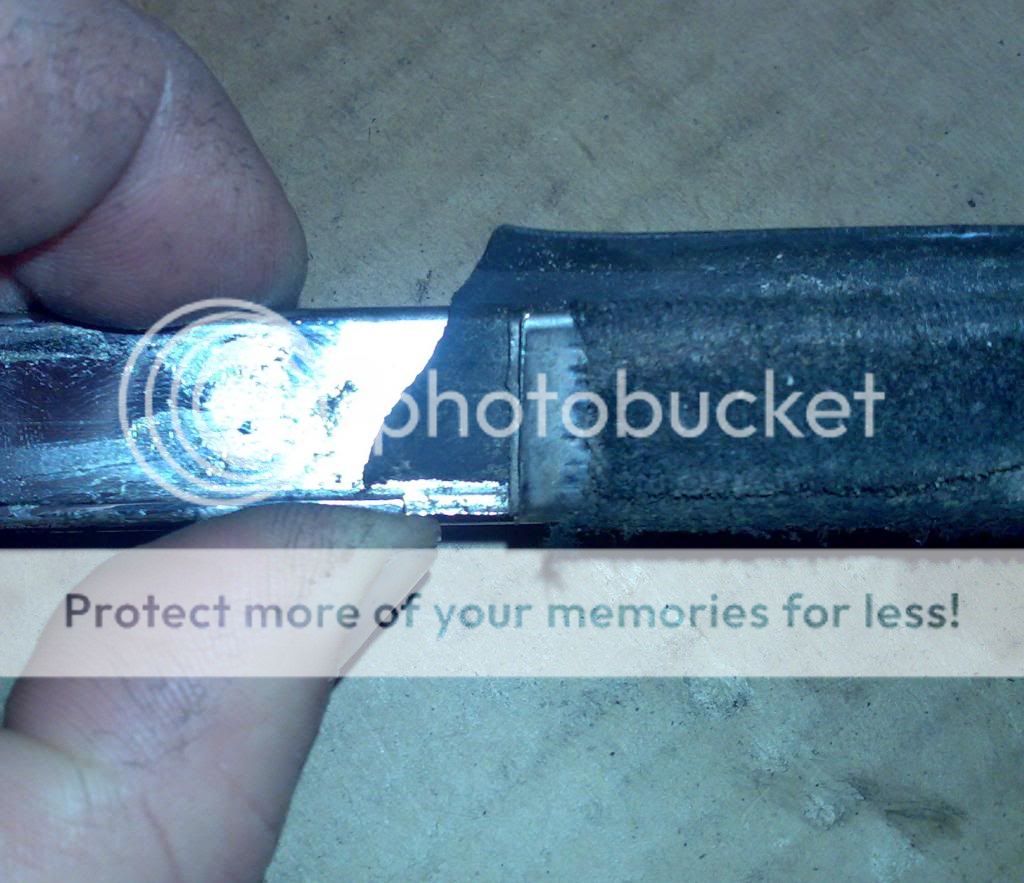
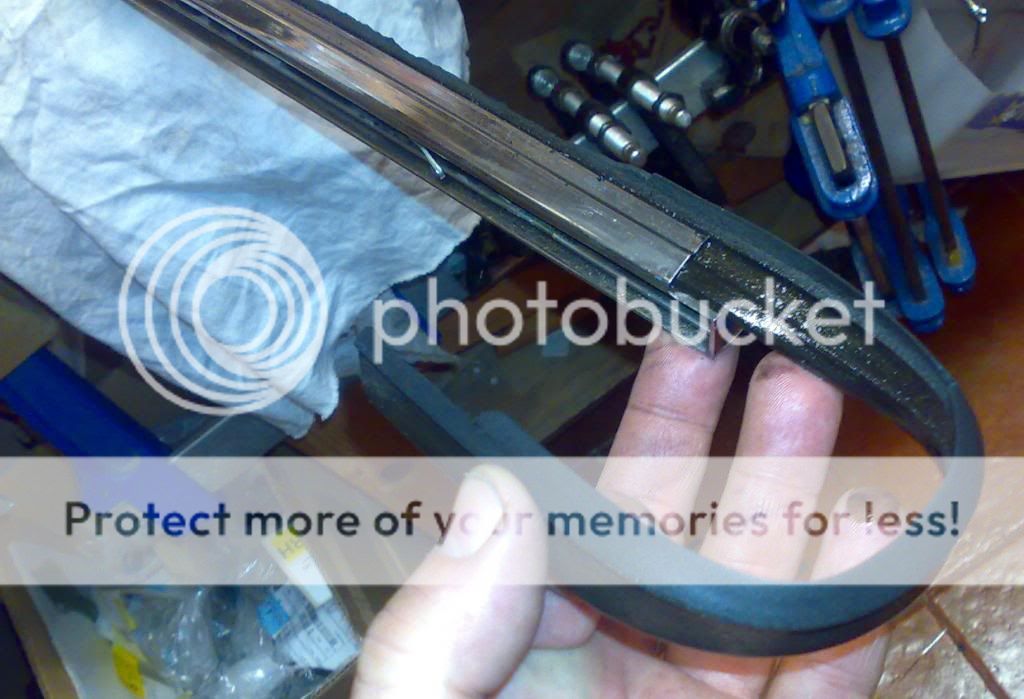
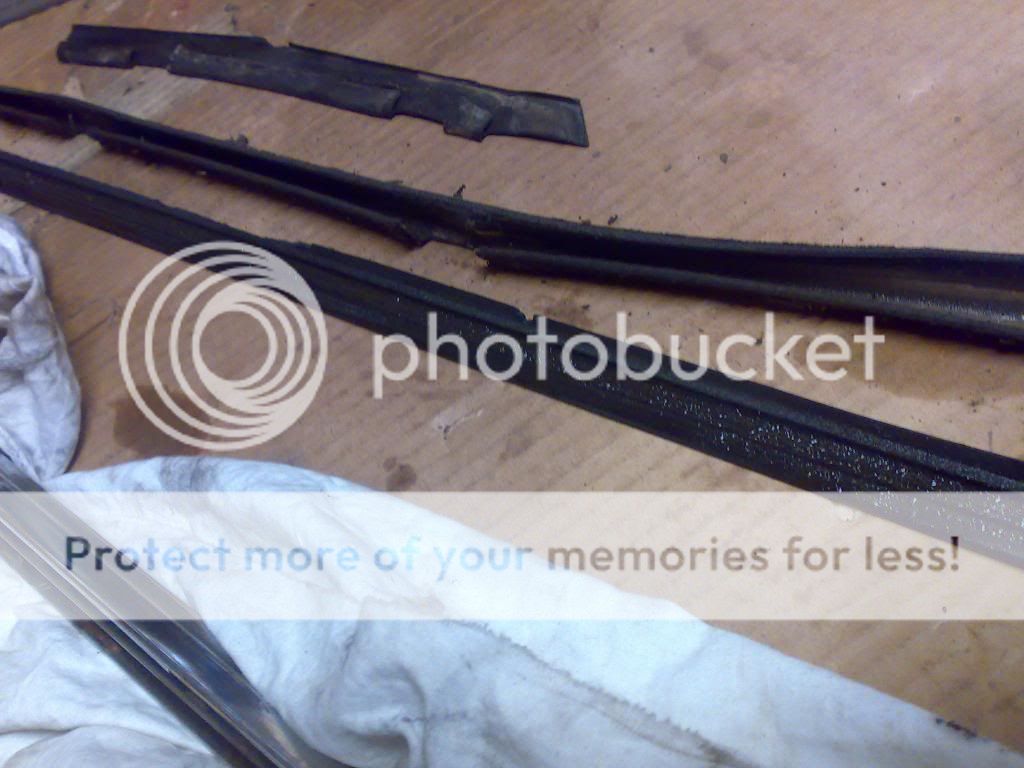
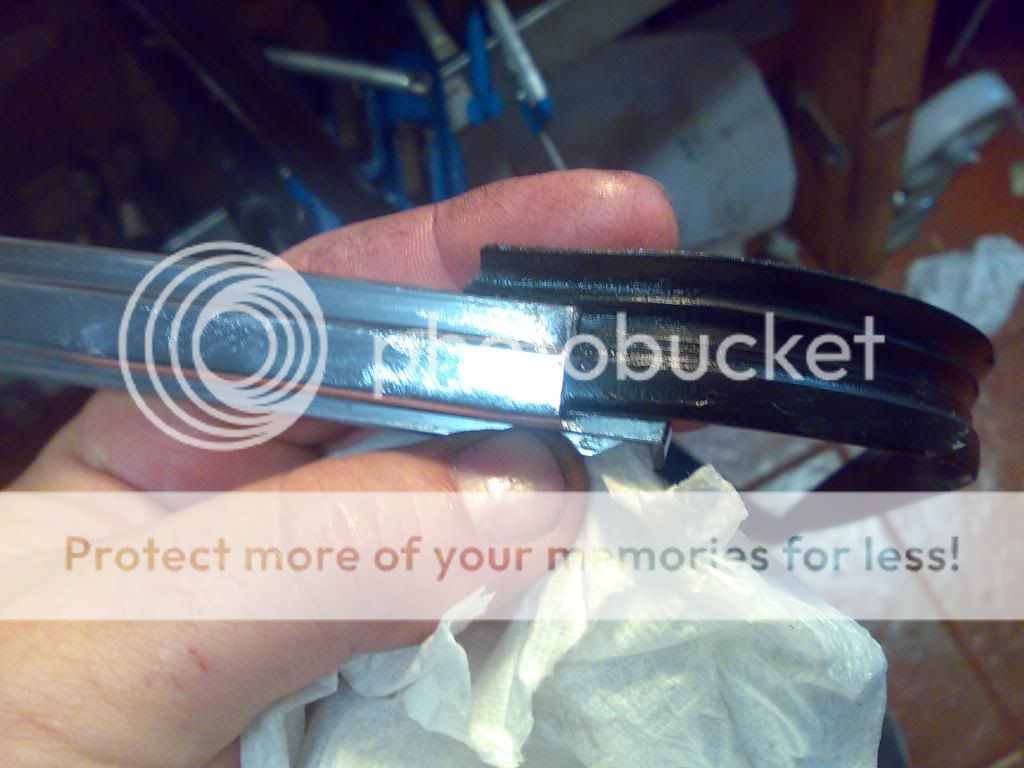
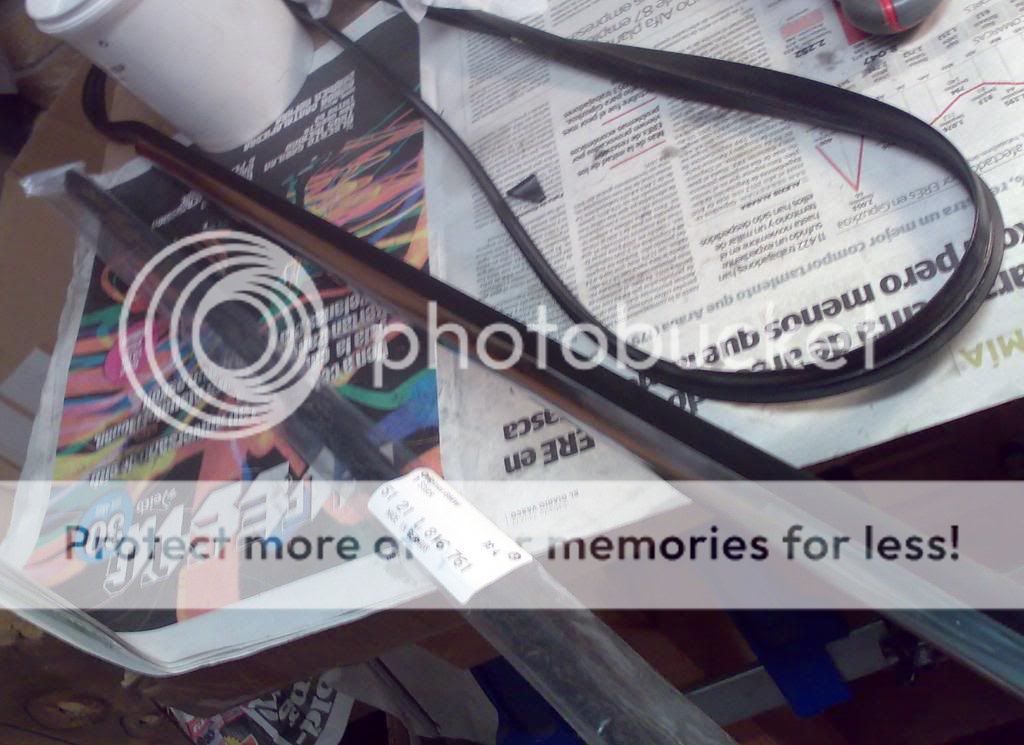
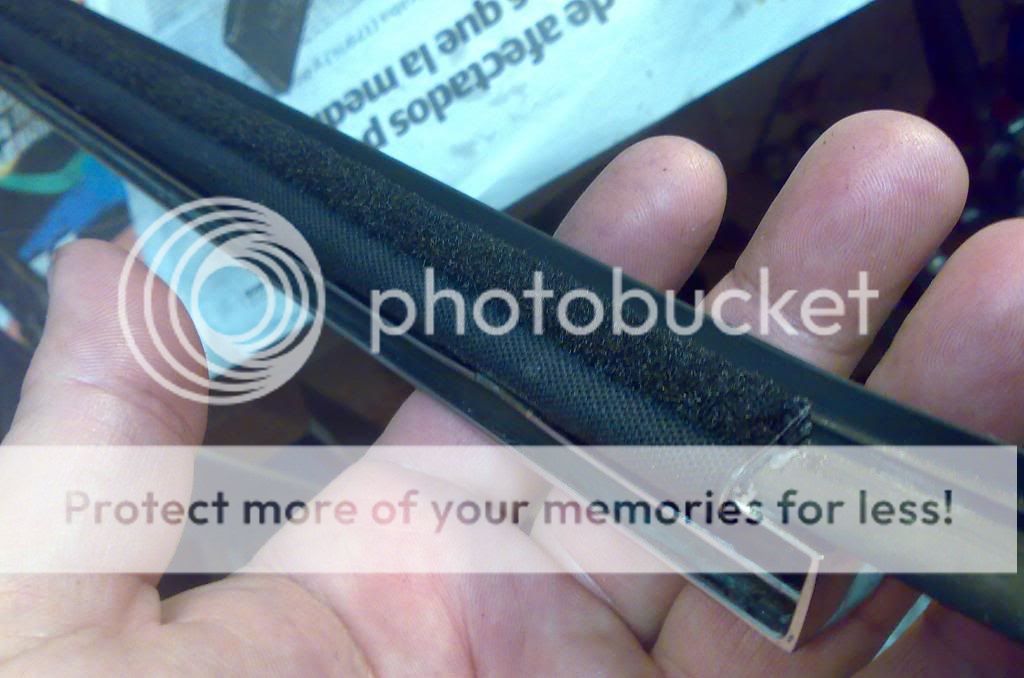
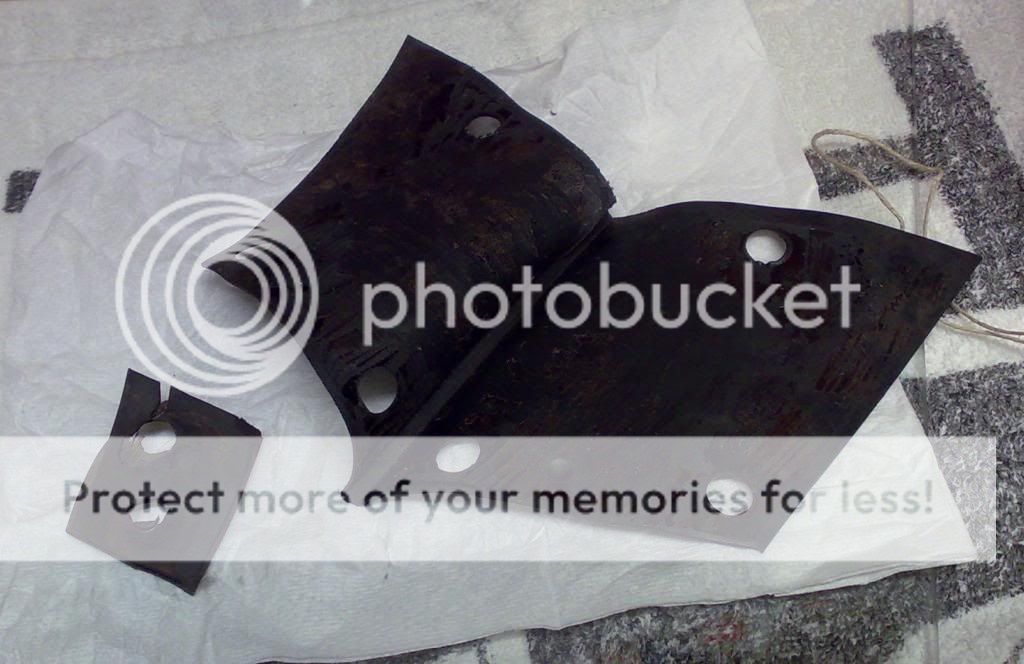
i am still preparing an alternative rubber part for the NLA one in the weatherstrip, so my experience finishes here, but i assume that now i will have to assembly the outer weatherstrip, then the inner one that carries the wood trim part too

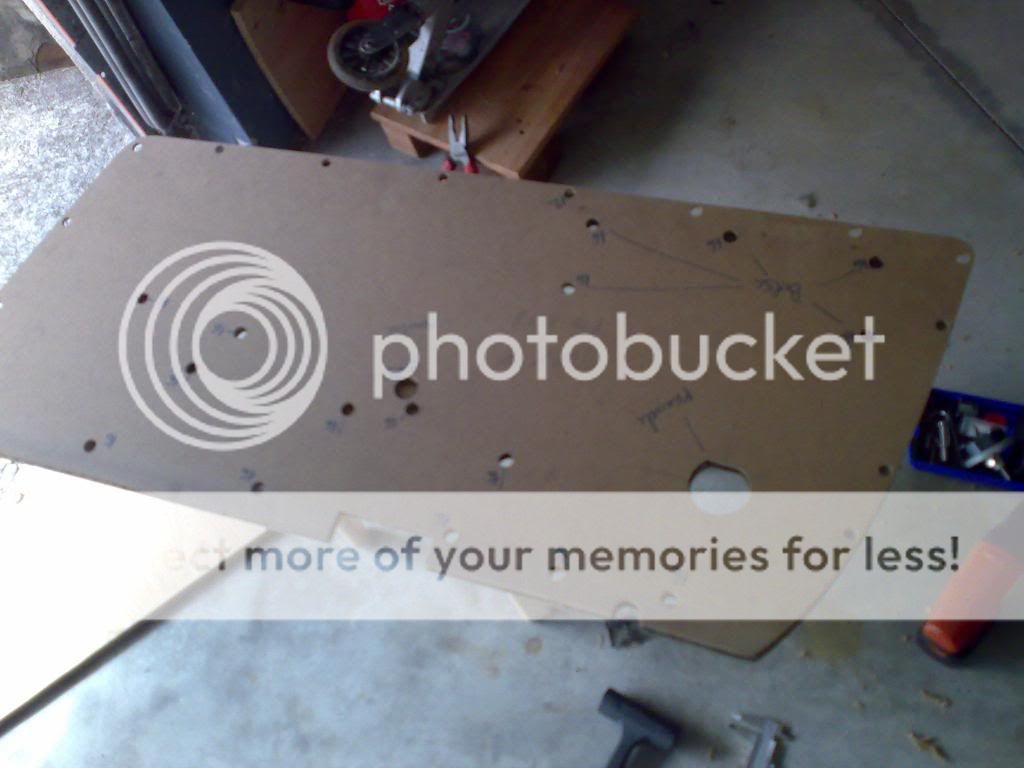
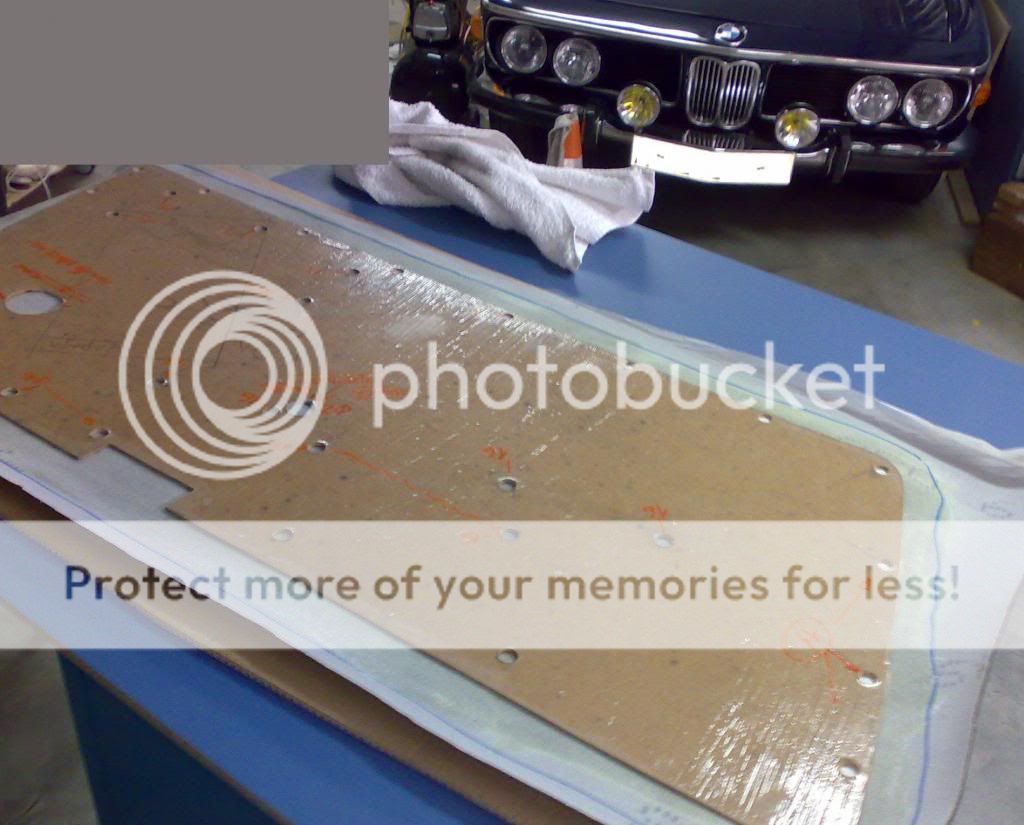
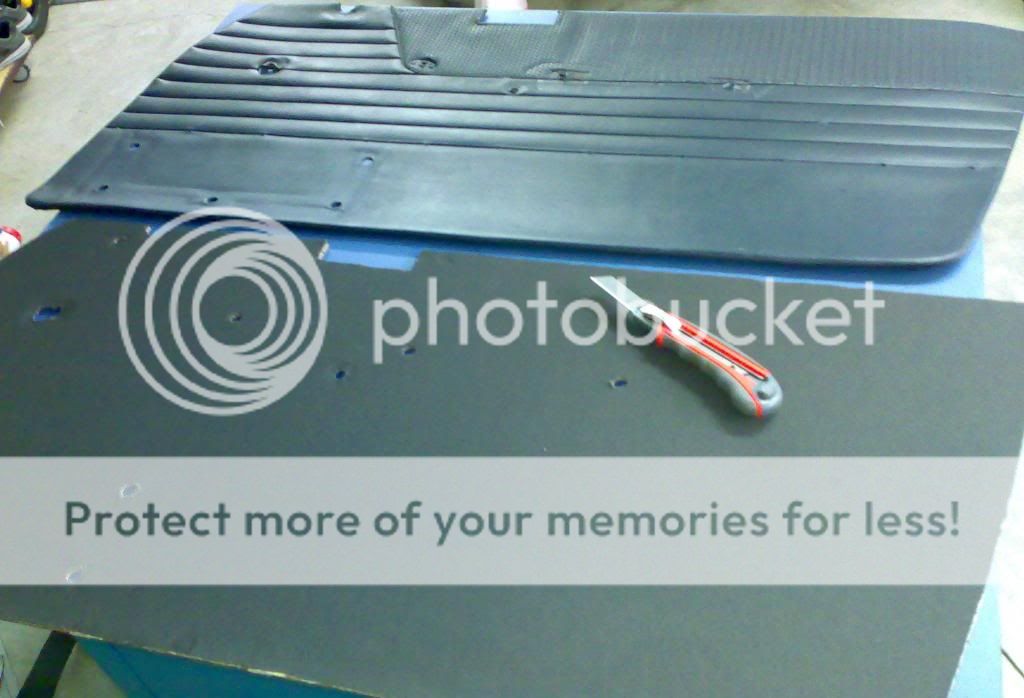
then the door foil (this will not be done for some weeks while testing that all works correctly)

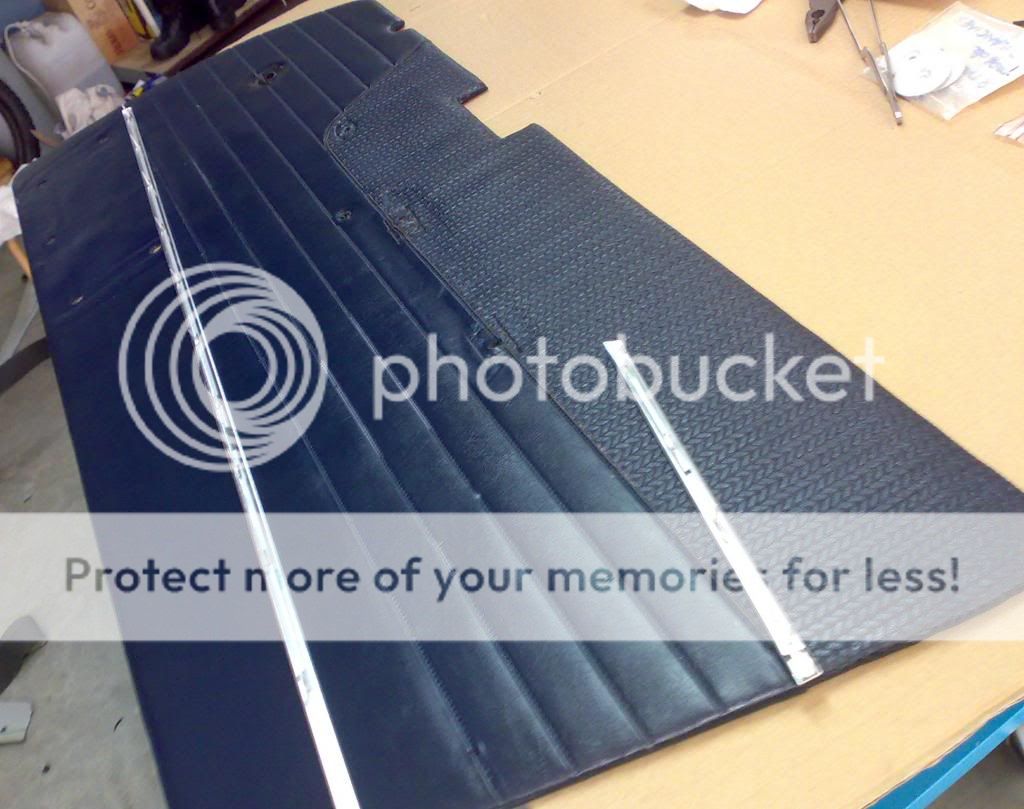
then the door panel, and then the arm support, the door handle, the window lifter handle, the ashtray

....und das ist alles !
 
Last edited:

tmason

Well-Known Member
Messages
1,023
Reaction score
72
Location
Reno,Nv
Holy crap Batman, deQuincey you are making think about leaving the windows down so I can climb in and out without wearing out my doors parts! Another good lesson on what to do,Thanks.
 
Top