That’s the bleeder that I have, and it has been great. The clear pressure line must be too old and ruptured, dumping a bunch of brake fluid…replacement is on the way.
Last edited:
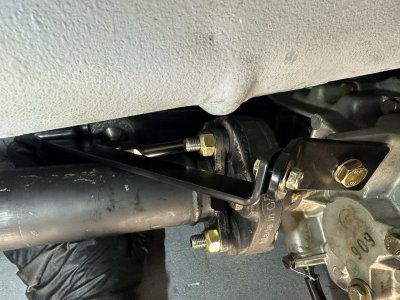
I was looking at it while the car was on the lift at the muffler shop. That will be one of the to-do's when I am back to it next week.Did you align the driveshaft with the tranny flange?
Thanks Bill, plenty of challenges along the way and a few things I would do differently next time! Let me know when you are ready for the engine stand!Wow, what a project! I'm so envious, I really, really need to do this to my '74.
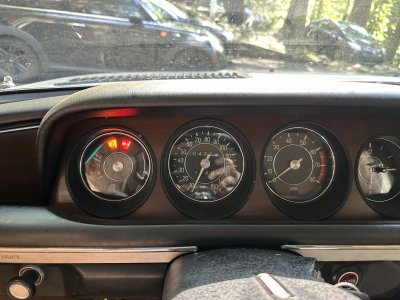
Great work (and a lot of it). I have a box of assorted instrument bulb holders - send me the diameter size and maybe a picture and will be happy to send you one.Thanks Bill, plenty of challenges along the way and a few things I would do differently next time! Let me know when you are ready for the engine stand!
@2000CS thanks for looking at your stash for a bulb holder. Here is a picture with some measurements. note that the measurement on the barrel is taken between the ribs that are there to keep the holder in place.Great work (and a lot of it). I have a box of assorted instrument bulb holders - send me the diameter size and maybe a picture and will be happy to send you one.