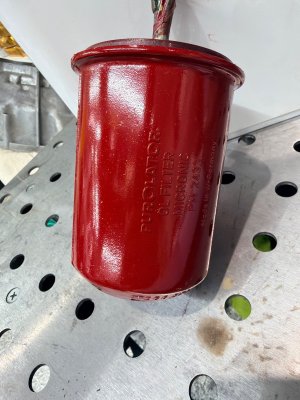
Looks great! If you happen to want a red powder coated filter housing I have an extra that I had coated. Happy to send to you for just the cost of shipping.A couple of days ago I finally decided to upgrade the oil filter housing from the original bottom bolt to the later style top bolt variant:
this will now allow me to perform oil changes on my own more easily and regularly.
View attachment 220571
You are using an out of date browser. It may not display this or other websites correctly.
You should upgrade or use an alternative browser.
You should upgrade or use an alternative browser.
What did you do to your E9 today?
- Thread starter adawil2002
- Start date
I love the yellow zinc bolts where did you get them? Assuming 2- m8x80mm and 2- m8x30mm?
Belmetric sells them in the US, very easy to order and reasonably priced. They are just a little less yellow and more brass from my prior experience.I love the yellow zinc bolts where did you get them? Assuming 2- m8x80mm and 2- m8x30mm?
I got these nice fresh ones from W&N:I love the yellow zinc bolts where did you get them? Assuming 2- m8x80mm and 2- m8x30mm?
#5, 6, & 7
M8 x 80 - 07119912558
M8 x 30 - 07119913664
and the washers - 07119932095
daniel vienna
New Member
Probably more of a "What did you do with your E9 today":
Took the car for a week of vacationing with my wife.
We took the sleeper train overnight to go about 600 km to the west.
The E9 came with us on the car carrier:
Loaded on the carrier on Tue night


ready for offload on Wed morning:


now on to a nice cruise around lake Constance, Austria, Germany, Switzerland.
Thank god for my AC, we are having a very hot week here.
Took the car for a week of vacationing with my wife.
We took the sleeper train overnight to go about 600 km to the west.
The E9 came with us on the car carrier:
Loaded on the carrier on Tue night
ready for offload on Wed morning:
now on to a nice cruise around lake Constance, Austria, Germany, Switzerland.
Thank god for my AC, we are having a very hot week here.
Last edited:
Some day in the futureProbably more of a "What did you do with your E9 today":
Took the car for a week of vacationing with my wife.
We took the sleeper train overnight to go about 600 km to the west.
The E9 came with us on the car carrier:
Loaded on the carrier on Tue night
View attachment 221227View attachment 221228
ready for offload on Wed morning:
View attachment 221229View attachment 221231
now on to a nice cruise around lake Constance, Austria, Germany, Switzerland.
Thank god my AC, we are having a very hot week here.
I would really like to take my E9 to continental Europe for a holiday.
Being in Ireland, we are a little bit remote so I would have to get a Ferry to France maybe. Then the thought of driving without a rest is a little bit daunting.
I had not thought about a train option .
That would be a great way to get further and also get some rest.
Are there many options for that in in Austria ?
Clubsport_CSi
Well-Known Member
Enjoy - I love the Bodensee area!
Unfortunately, the Rolls-Royce museum in Dornbirn was closed (cars relocated to St. Gallen), that's a pity regarding automobile sightseeing in the area...
Unfortunately, the Rolls-Royce museum in Dornbirn was closed (cars relocated to St. Gallen), that's a pity regarding automobile sightseeing in the area...
The car carrier is indeed a very comfortable option to travel - and not expensive if you book early enough. The car is 80 EUR one way, and the very nice sleeper cabin (two beds, own toilet, mini shower, breakfast) is 120 EUR for 2.Some day in the future
I would really like to take my E9 to continental Europe for a holiday.
Being in Ireland, we are a little bit remote so I would have to get a Ferry to France maybe. Then the thought of driving without a rest is a little bit daunting.
I had not thought about a train option .
That would be a great way to get further and also get some rest.
Are there many options for that in in Austria ?
There are several options in Europe, mainly in Germany and Austria. Best you consult ChatGPT or Gemini to get the full list. Austria is East to West (Vienna to Feldkirch) and to South (Vienna to Split/Croatia).
Germany has options from North to South, mainly from Hamburg, to Bavaria, Switzerland and Austria.
I have had a matched set of unique Weber DCOE's on the shelf for several years. I am finally spending some time rebuilding them
They are unique in the sense that they are Italian Webers, and are equipped with high speed bleed tubes. They were fairly rough, with one of the bleed tubes damaged and one of the jets so stuck that I had to drill it out.
Progress is being made, I have stripped two of them down and soda blasted the bodies and plated the steel parts and started the re-assembly while I wait on a few more parts.
One of the things I have found is that the standard Weber top gaskets will not work as the high speed bleed tubes require a different gasket configuration. I have a source for custom made gaskets outside the US, but still searching for someone more local.
Ulrich 3.0 CSA
Well-Known Member
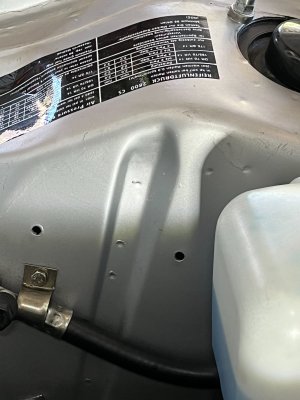
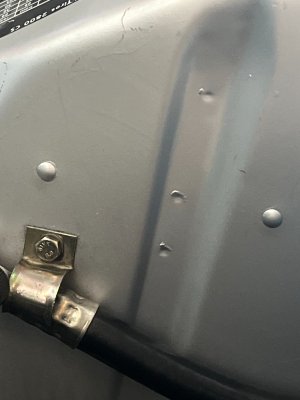
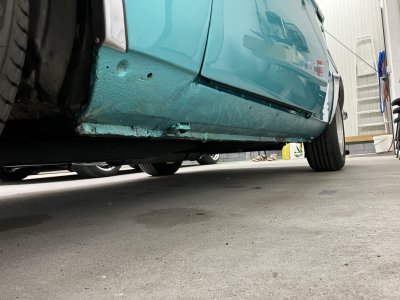
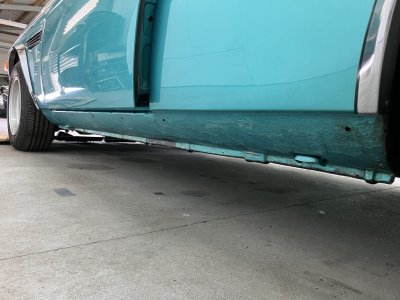
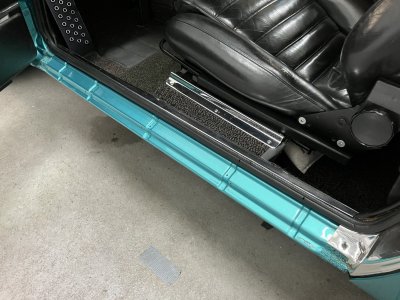
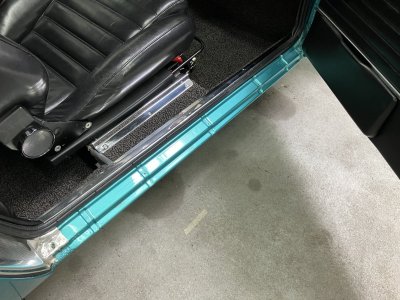
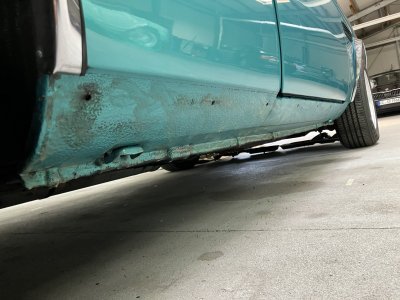
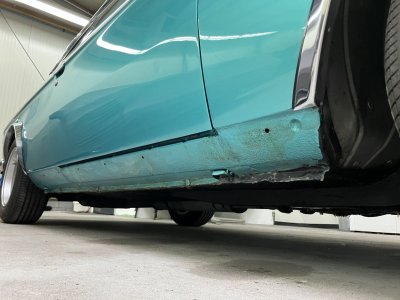
Last weekend, I inspected the rocker panels beneath the covers, 12 years after the restoration. 3.0 CSA was driven 45.000 km last 12 years. I found no rust. I cleaned everything there and resealed it with wax. What does that area look like on your E9s?
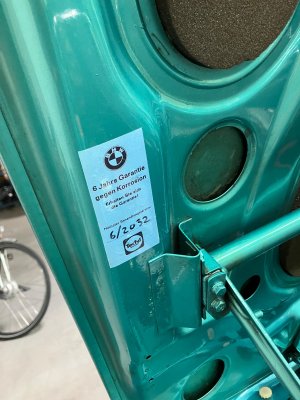
And finally placed a sticker")
And finally placed a sticker
Attachments
Last edited:
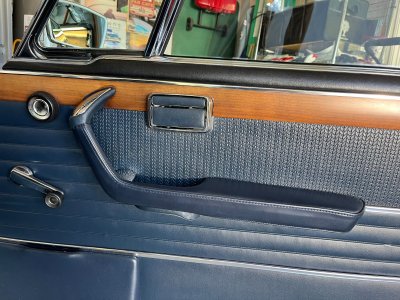
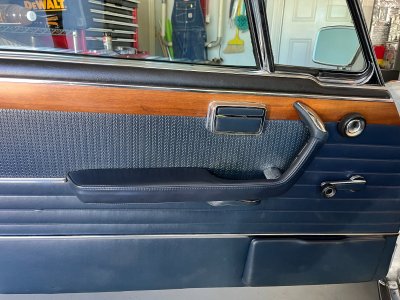
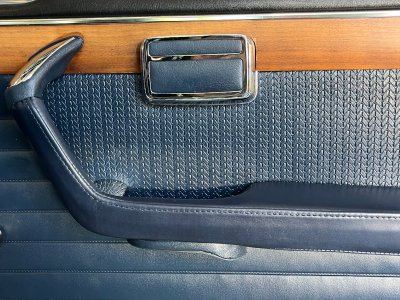
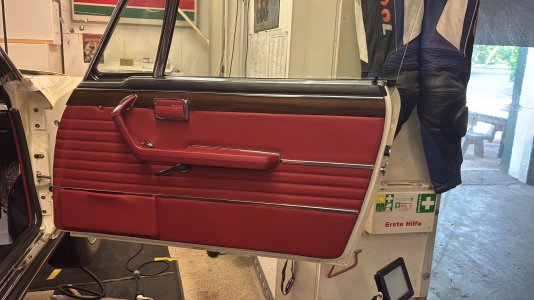
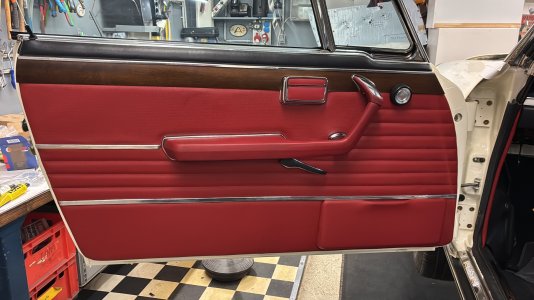
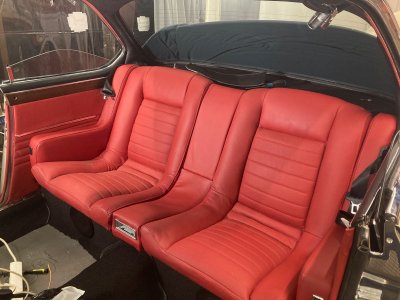
Just a little interior detailing.
