You are using an out of date browser. It may not display this or other websites correctly.
You should upgrade or use an alternative browser.
You should upgrade or use an alternative browser.
What did you do to your E9 today?
- Thread starter adawil2002
- Start date
Dan - I used a leather plus leather dye to change the color of my seats and door cards. With the leather, you need to condition the leather and remove as much of the old dye as possible. On the other hand, the door cards were very simple - you just clean them up and apply the dye over the old color. Match was excellent.Finally got my coupe down to the shop for some needed work. Brake master, parking brake cables, welded the parking brake lever sheet metal, rebuilt my sport Recaros for better support and converted my passenger door from manual to power.
With the seats out I started thinking about changing the interior color. Polaris car with the dark blue interior. I hate it. My Recaros are black and I have black e24 rear buckets but the door cards are still blue. Most people don't notice or don't think it looks bad that way but I really don't like the dark blue. I'm thinking a saddle brown or something in the brown/tan palette. I think it looks good with Polaris but only a few colors work IMO.
I also figured out why there was only one parking brake cable on the car. I swapped the rear subframe years ago with a later disc brake setup but couldn't remember why there was only one cable. The sheet metal at the brake lever was torn and I kept putting off the welding because it's a PITA, so I never bothered to investigate the cable. Well, I took the rotor off and found no shoes or anything for the parking brake on that side. I looked in all my boxes and didn't find anything so I really don't know what happened. I think the car came that way and I was just lazy. Anyway, I found the new cable that never got used sitting on my shelf and the wrecking yard next door has an e21 with the parts I need. Should be on the road this week.
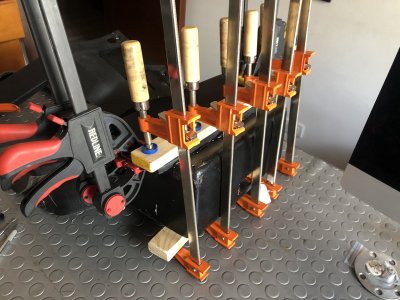
View attachment 144918
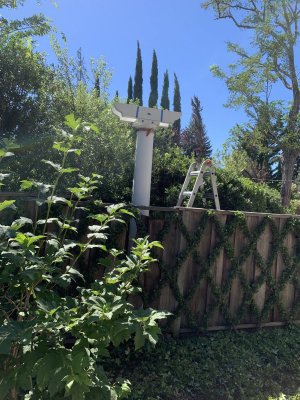
View attachment 144919
Yeah I've used dye before with really good results. Your interior looks amazing.Dan - I used a leather plus leather dye to change the color of my seats and door cards. With the leather, you need to condition the leather and remove as much of the old dye as possible. On the other hand, the door cards were very simple - you just clean them up and apply the dye over the old color. Match was excellent. View attachment 145138
Nice! Those seats look like you could drive forever, I mean, as long as you can afford the gas....Dan - I used a leather plus leather dye to change the color of my seats and door cards. With the leather, you need to condition the leather and remove as much of the old dye as possible. On the other hand, the door cards were very simple - you just clean them up and apply the dye over the old color. Match was excellent. View attachment 145138
Being able to stand up straight when you initially get out of the car comes in handy sometimes.Nice! Those seats look like you could drive forever, I mean, as long as you can afford the gas....
Cut this chunk from the differential to give clearance for the muffler.
Great fun.
More muffler clearance.
RP
Purpose of the diff carrier square piece?
Ouch, it became mis-aligned with the differential swap.Purpose of the diff carrier square piece?
I like the way it looked... Seriously, Bob, I don't know on this one, I do all kinds of wacky stuff.
Engine strut bar coming soon.
Functional, not so much: Under hood jewelry without a doubt.
RP
Last edited:
Ouch, it became mis-aligned with the differential swap.
I like the way it looked... Seriously, Bob, I don't know on this one, I do all kinds of wacky stuff.
Engine strut bar coming soon.
Functional, not so much: Under hood jewelry without a doubt.
RP
Hello, you are doing very nice work and you are good on every part that you are restoring, please help me out about the speedometer black paint mine are cheept out and I have to repaint it, what kind of paint I can use to be a same like a ring black pait
Candia, thank you for the kind comments.Hello, you are doing very nice work and you are good on every part that you are restoring, please help me out about the speedometer black paint mine are cheept out and I have to repaint it, what kind of paint I can use to be a same like a ring black pait
I like Krylon semi-flat black paint. I'll get the part number, it is no longer available at hardware or Walmart stores (I've not checked at Amazon, I'm not an Amazon fan.)
For the "wrinkled" look, the paint from VHT is fantastic. Again, I'll get you a part number .
RP
Hello, and thank you so much for your time, is this the paint you are talking about please check.Candia, thank you for the kind comments.
I like Krylon semi-flat black paint. I'll get the part number, it is no longer available at hardware or Walmart stores (I've not checked at Amazon, I'm not an Amazon fan.)
For the "wrinkled" look, the paint from VHT is fantastic. Again, I'll get you a part number .
RP
Best regards
Not the correct # for the VHT wrinkle, but that is some good stuff, too. I’ve used it on the differential.Hello, and thank you so much for your time, is this the paint you are talking about please check.
Best regards
RP
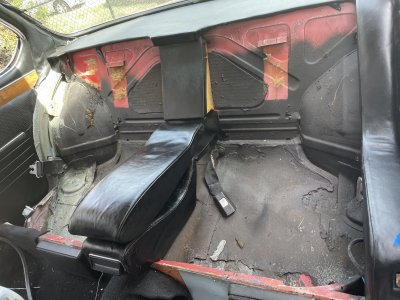
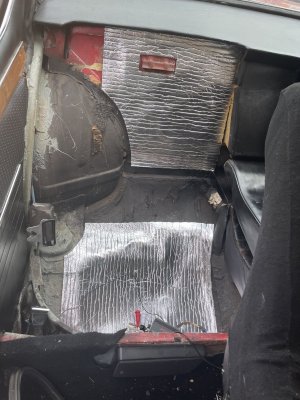
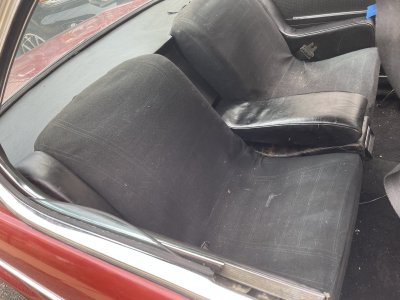
Put down some leftover soundproofing, installed the side trim panels, and put in the rear seats.
I don't know why, because NO ONE has EVER sat back there., and I don't think that's gonna change.
Since we're on the subject, does anyone have a source for some decent seat covers for the rear seats. Mine are totally cooked, and I'm can't really afford to reupholster them.
I don't know why, because NO ONE has EVER sat back there., and I don't think that's gonna change.
Since we're on the subject, does anyone have a source for some decent seat covers for the rear seats. Mine are totally cooked, and I'm can't really afford to reupholster them.
Attachments
I faced the same expensive reupholster problem. There are instructions on this forum on how to retrofit e24 seats to your coupe .Put down some leftover soundproofing, installed the side trim panels, and put in the rear seats.
I don't know why, because NO ONE has EVER sat back there., and I don't think that's gonna change.
Since we're on the subject, does anyone have a source for some decent seat covers for the rear seats. Mine are totally cooked, and I'm can't really afford to reupholster them.
Find some e24 seats (and center arm rest) re-dye the seats as needed, install and go!
I’m really happy with the results and very thankful for the help of other members and their tips/encouragement.
Last edited:
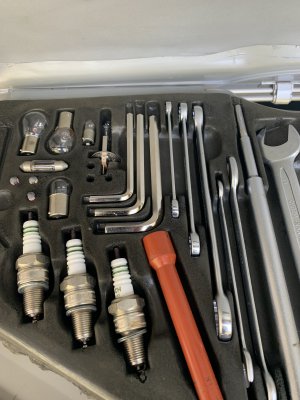
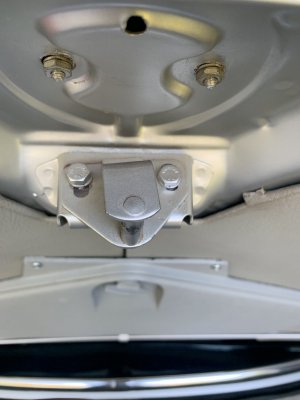
Sometimes the easiest things bring such joy....and Pain! UPS truck pulled up with my my allen wrenches from Wiha, thank you Chris M for the recommendation. Of course I dropped everything else I should have been doing and put them in the clam shell. As I stood admiring how nice they looked I noticed for the first time the trunk latch was not strait. The trunk has always closed but it takes a firm push. I figured this would be quick fix to straiten it so I pulled out my socket wrench set and took it off, cleaned it up and put it back on straight. Easy project done fast right? Nope now the trunk would not lock closed... had to spend another 10 min figuring out how to get it in misalignment it again to make it close!

