Howdy all,
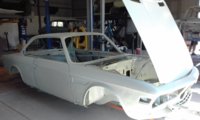
I am restoring a 72 LHD Cs which will end up having an M90/B35 engine converted to retro D-Jetronic Fi system. I thought it would be useful info for others travelling down this path.
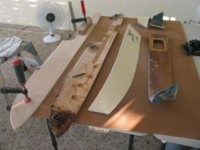
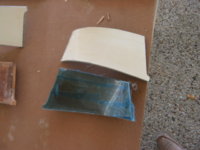
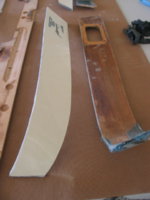
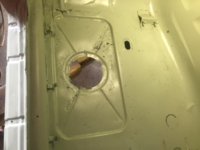
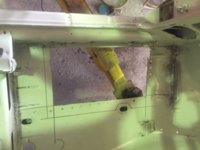
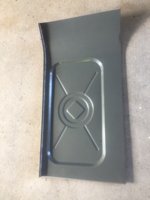
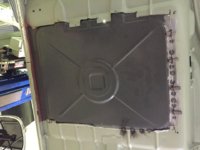
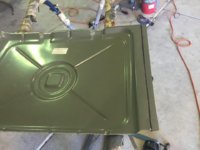
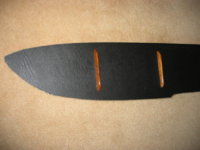
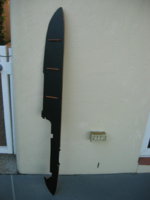
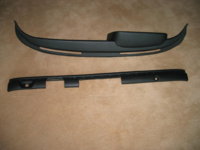
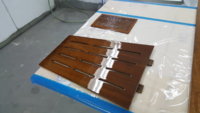
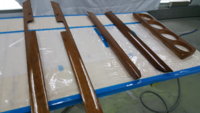
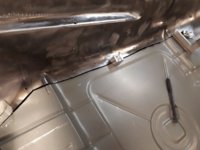
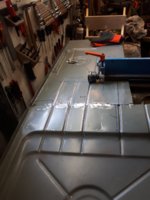
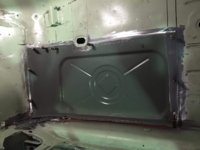
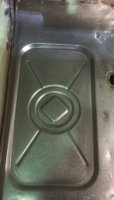
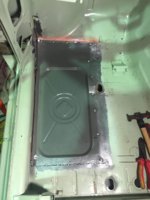
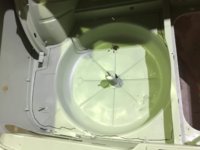
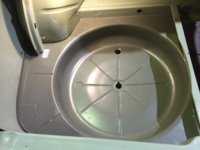
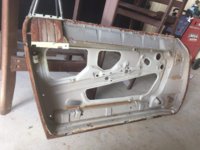
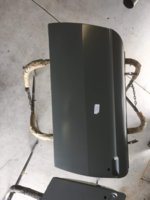
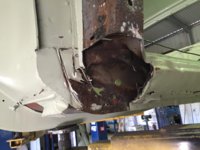
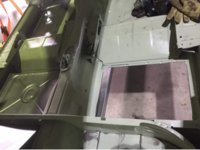
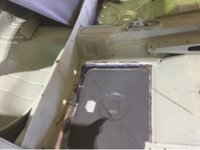
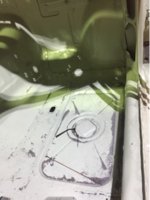
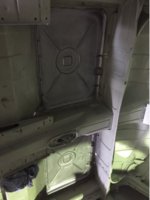
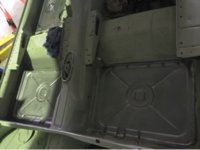
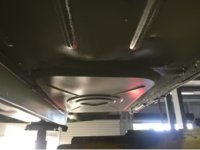
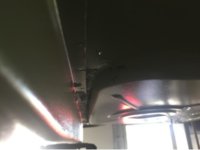
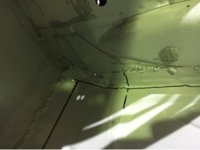
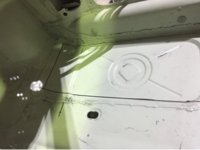
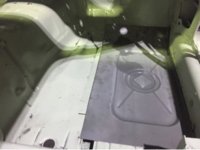
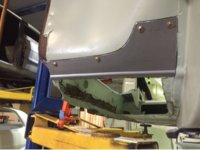
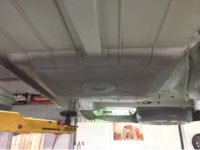
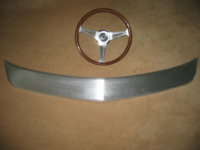
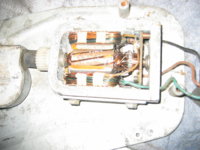
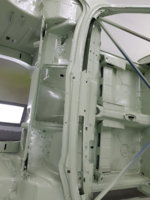
Car at present is down to a shell/sandblasted/epoxy coated and in the metal fabricators for new bones. attached pics.
cheers.......Paul
I am restoring a 72 LHD Cs which will end up having an M90/B35 engine converted to retro D-Jetronic Fi system. I thought it would be useful info for others travelling down this path.
Car at present is down to a shell/sandblasted/epoxy coated and in the metal fabricators for new bones. attached pics.
cheers.......Paul


")