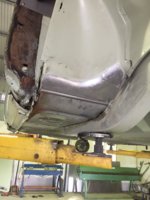
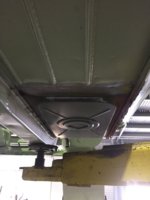
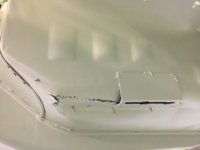
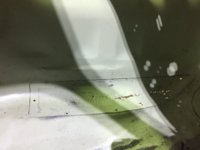
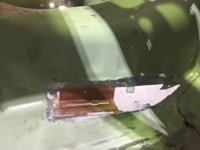
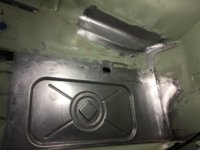
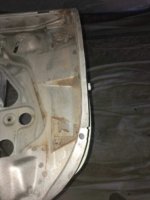
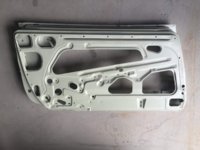
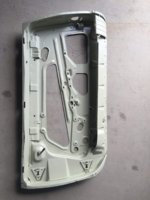
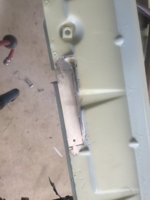
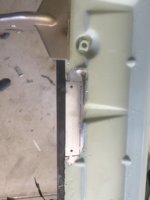
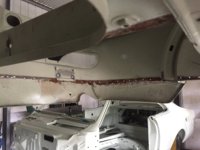
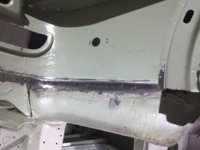
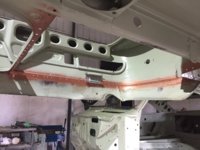
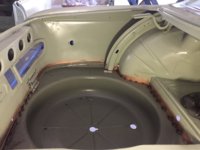
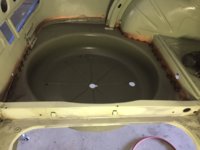
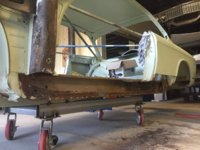
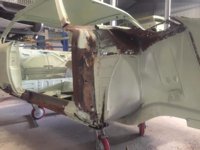
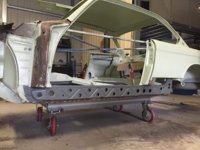
end of week 5 at fabricators (only doing 3 days/ week) door frames were blasted after skins removed. Some rust around edges of frame and now halfway thru cutting out and patching with new steel. All floors in welded ground back and protective coated. Some holes patched where tunnels meets the floor and firewall. A pillars and sills will be attacked next week.
You are using an out of date browser. It may not display this or other websites correctly.
You should upgrade or use an alternative browser.
You should upgrade or use an alternative browser.
72 CSi rotisserie restoration
- Thread starter paul
- Start date
-
- Tags
- restoration list
More Pics week 5
Attachments
Converting to power windows and received some badly corroded motors...............so have done the full monte on these including the regulators. they now run smooth as silk. Wladek if your watching I decided to keep my Sardine Can motors.....................I now have E28s as spares.
BTW...if other members are interested at the end of my rotis resto I shall have a complete breakdown of costs I can post up.........would be a good heads up for any other persons planning on restoring..............cheers.
BTW...if other members are interested at the end of my rotis resto I shall have a complete breakdown of costs I can post up.........would be a good heads up for any other persons planning on restoring..............cheers.
Attachments
Wladek
Well-Known Member
Good decision!
Still don’t understand why you are laminating teak. Are you doing a classic bent lamination (eg no cross grain), or a more stable and durable cross/cross (eg custom plywood). Given the environment, user no advantages compared to some 1-directional bending plywood a w teak veneer. Of course, you will have bragging rights doing it your way.
“outer skins being welded on to doors.”
You aren’t going to just crimp?
You aren’t going to just crimp?
bfeng
1. they are plug welded from the inside of the door skin after the edges are hammered over......not crimped as you then mark the outside of the skin.
2. Dashboard ........ 3 teak laminates approx 4mm thk good clear longitudinal grain. will have to steam to get around multi directional bend at ends.
1. they are plug welded from the inside of the door skin after the edges are hammered over......not crimped as you then mark the outside of the skin.
2. Dashboard ........ 3 teak laminates approx 4mm thk good clear longitudinal grain. will have to steam to get around multi directional bend at ends.
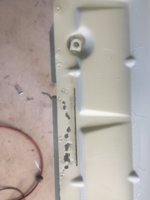
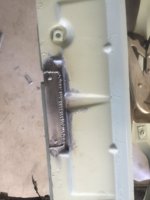
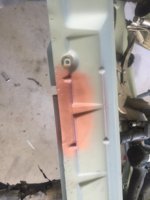
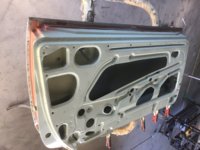
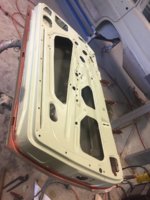
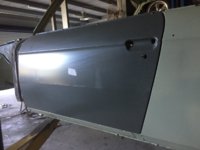
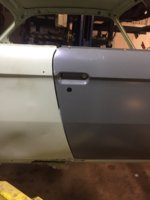
Week 6 at the fabricators (only doing 3 days a week on my car) door edges rust holes cut out and patched. outer skin attached. doors hung with nice even gaps.
ready to attack sills next week. (that will be interesting) slowly getting there.
ready to attack sills next week. (that will be interesting) slowly getting there.
Attachments
-
 IMG_6697.JPG139.8 KB · Views: 781
 -
 IMG_6700.JPG175.3 KB · Views: 743
 -
 IMG_6702.JPG178.7 KB · Views: 754
 -
 IMG_6705.JPG240.2 KB · Views: 739
 -
 IMG_6728.JPG237.9 KB · Views: 696
 -
 IMG_6707.JPG225.5 KB · Views: 733
 -
 IMG_6708.JPG214.8 KB · Views: 739
 -
 IMG_6730.JPG204.7 KB · Views: 735
 -
 IMG_6731.JPG176.1 KB · Views: 748
Keep 'em coming Paul. Anyone doing a restoration appreciates this type of information.
Like your photo Gazz...........need to get a template of your console side boards sometime.
Wladek
Well-Known Member
Yeah, good job Paul. I think your door frames where in much better shape than mine (had to cut & weld lower & upper areas):

Wladek............you must have had some bad rust. When I first started taking the interior out especially the door boards and I looked inside I thought beauty it looks clean as a whistle............then I sand blasted :eek:.......I would find it hard to believe if anyone said they had original "rust free car"
Anytime mate.Like your photo Gazz...........need to get a template of your console side boards sometime.
Guys I am in need of 2 complete front fenders.............W & N don't seem to have them on their website. Any idea where I may purchase..................we can fabricate them but would be simpler to just replace with complete part.
Wladek
Well-Known Member
Don't know if delivery to Australia is possible, but here you have announcement from Germany:
Right side: https://www.ebay-kleinanzeigen.de/s...n-ersatzteil-seitenteil-cs/757397598-223-2703
Left side: https://www.ebay-kleinanzeigen.de/s...auration-csi-cs-seitenteil/757398344-223-2703
NOS are pretty rare & high priced, as far as i know - there was no reproductions.
Right side: https://www.ebay-kleinanzeigen.de/s...n-ersatzteil-seitenteil-cs/757397598-223-2703
Left side: https://www.ebay-kleinanzeigen.de/s...auration-csi-cs-seitenteil/757398344-223-2703
NOS are pretty rare & high priced, as far as i know - there was no reproductions.
Thanks for that Wladek I shall run these past my fabricator. it looks like they have not been blasted so may still be some rust. My panels are shot at the top gutter where the engine bay meets we can fix it but thought may be cheaper to buy whole panel..................but 500 Euros is getting up there. I shall let you know how we go.
last week I forgot to post finished trunk photos. had to do some minor adjustment again on the W & N wheel well where it fitted the side panel. All good now though.
Attachments
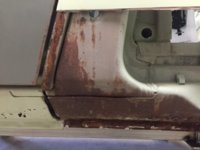
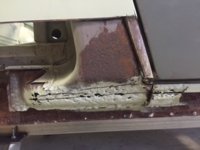
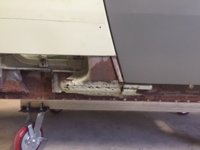
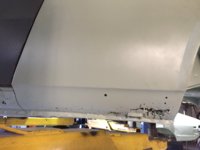
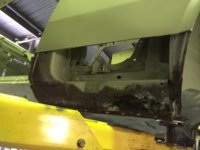
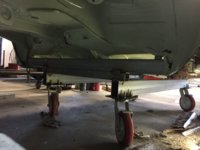
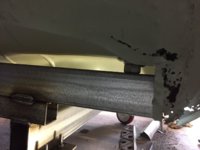
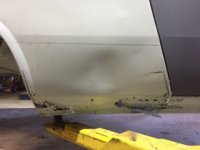
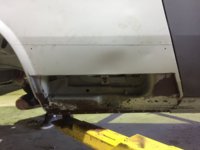
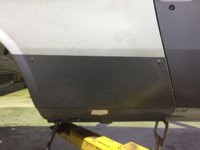
OK.week 7 at fabricators. extra bracing added to underside of car in preparation for the removal of sills.We don't want any movement of the body. RHS removed revealing some rust in bottom of B Pillar...this will be replaced. after sand blasting. All 3 sills will be replaced. Bottom 1/4 fender panels cut and screwed into place only until sills fully welded.
Attachments
-
 IMG_1486.JPG29.8 KB · Views: 739
 -
 IMG_1487.JPG31.7 KB · Views: 751
 -
 IMG_1488.JPG25.5 KB · Views: 735
 -
 IMG_6832.JPG181 KB · Views: 732
 -
 IMG_6834.JPG209 KB · Views: 760
 -
 IMG_6847.JPG233.5 KB · Views: 751
 -
 IMG_6848.JPG227.3 KB · Views: 688
 -
 IMG_6861.JPG188.8 KB · Views: 692
 -
 IMG_6814.JPG191.8 KB · Views: 724
 -
 IMG_6816.JPG189.4 KB · Views: 718
 -
 IMG_6815.JPG166.1 KB · Views: 704
Week 8 Sills removed and new ones in process of being installed. Shock tower area will also need new pieces. after final sand blasting and coating. That now exposes ALL rust.

