
nice'n'shiny ;-)Restoring my bumpers… new rear cover repro

You are using an out of date browser. It may not display this or other websites correctly.
You should upgrade or use an alternative browser.
You should upgrade or use an alternative browser.
What did you do to your E9 today?
- Thread starter adawil2002
- Start date
daniel vienna
Member
daniel vienna
Member
daniel vienna
Member
some weeks later..... made all the work by myself also the upholstering
Attachments
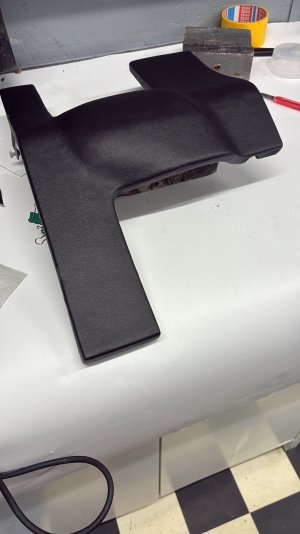
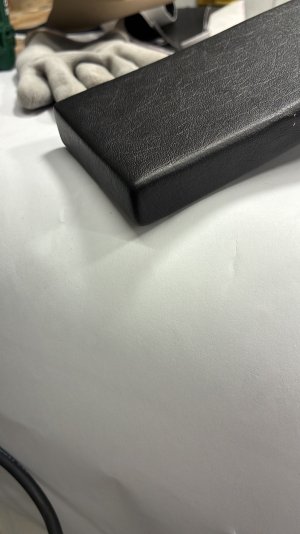
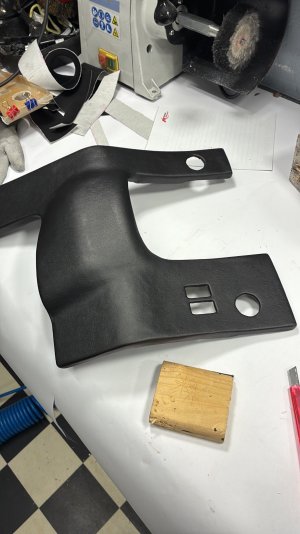
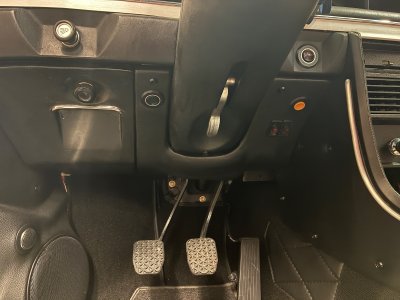

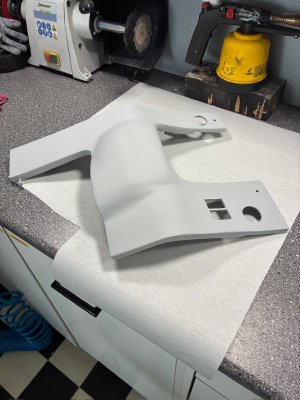
Amazing! You going to make this part available for order? I know many of us have ones with way too many holes in them..although clearly yours already has modifications with the two lower switches. And since it's out of fiberglass, did you fill in the backside with any foam to create more depth/strength or is it just the fiberglass shell there? Looks great, nicely done. This is clearly a process that people use for replicating parts in cars, since you have already done the work it may be of value to members to put up a small post with the process, parts, etc. As our cars age and parts get harder to find we are all having to find new ways to keep them running and looking good.
Last edited:

That looks amazing!some weeks later..... made all the work by myself also the upholstering
daniel vienna
Member
THX for the nice words .....Amazing! You going to make this part available for order? I know many of us have ones with way too many holes in them..although clearly yours already has modifications with the two lower switches. And since it's out of fiberglass, did you fill in the backside with any foam to create more depth/strength or is it just the fiberglass shell there? Looks great, nicely done. This is clearly a process that people use for replicating parts in cars, since you have already done the work it may be of value to members to put up a small post with the process, parts, etc. As our cars age and parts get harder to find we are all having to find new ways to keep them running and looking good.
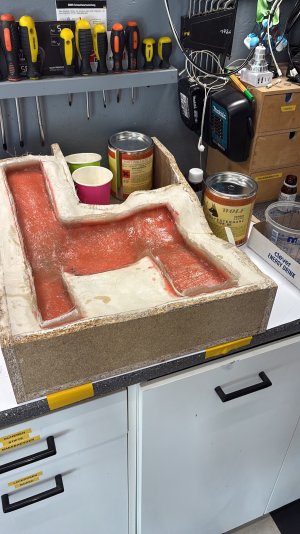
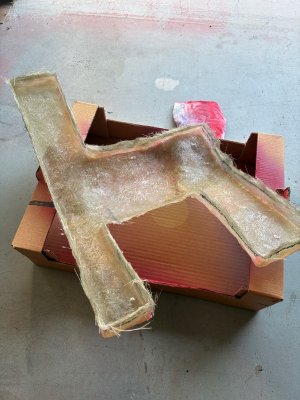
on the backside there is only fiberglass no foam or something like the originals, i thought it is to tricky to fill it up on the backside that there is no needed contact to other parts , and to be honestly, no one will see it at the backside

and for the strenght you dont need the foam, the fibreglass is very very strong....
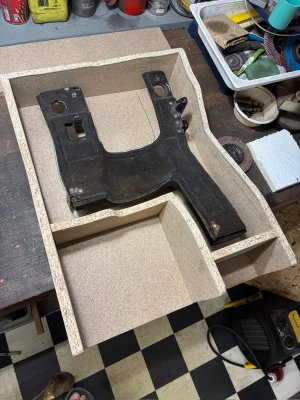
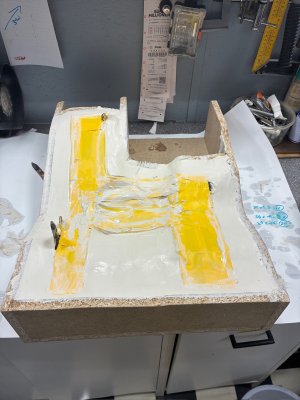
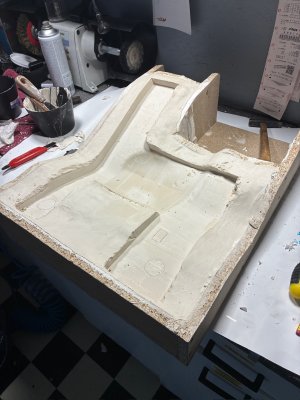
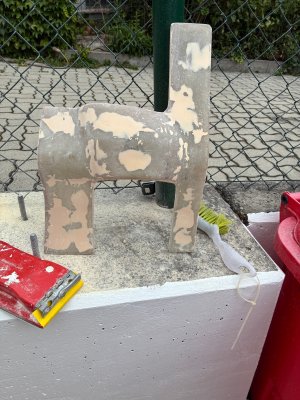
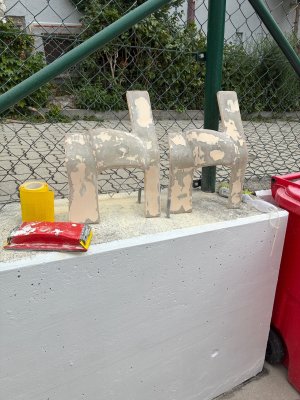
Will i sell these parts? i´m sorry i made only two peaces of them, for myself..... that is so much work that it is not possible to make this parts for money for other guys, i think you understand. and also a problem ist that the negative impression in plaster allows not more than 2-3 times for using the part.
2 years ago i asked a shop who made 3d scanning and 3d printing for this part, but they told me that would cost round about 3000 euros..... so i thought i will try it by myself, cause i´m dental technician.... and i used the same procedure like we use to produce teeth
BR Daniel
Well you've inspired me that if/when I get around to redoing my bottom panel, I may follow your lead. Any online resources you can point to that show the process or if you want to write it up a bit, all greatly appreciated. And yes, it does look like a part that would be harder to manufacture in 3D, it's large and has many curves without any flat surfaces.

//My5UV
Member
If you have a big enough 3d printer or can put together enough parts you could 3d print the mold and then glass it in.
I know that the traditional approach to mass producing fiberglass parts requires sturdy molds.
I know that the traditional approach to mass producing fiberglass parts requires sturdy molds.

I wouldn't have any trouble printing this cover in one piece.
If a few people were interested in buying one, I could scan it and print it.
And certainly not for 3,000 euros...
All that would be left to do is wrap it in vinyl and apply flock or Alcantara to the inside.
If a few people were interested in buying one, I could scan it and print it.
And certainly not for 3,000 euros...
All that would be left to do is wrap it in vinyl and apply flock or Alcantara to the inside.
Attachments
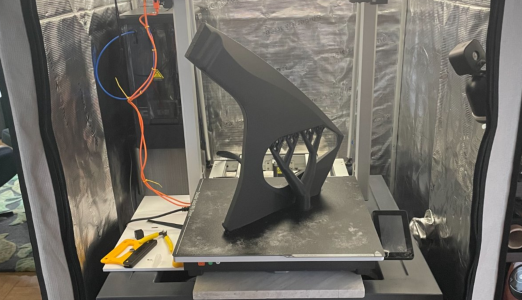

restart
Well-Known Member
Well you've inspired me that if/when I get around to redoing my bottom panel, I may follow your lead. Any online resources you can point to that show the process or if you want to write it up a bit, all greatly appreciated. And yes, it does look like a part that would be harder to manufacture in 3D, it's large and has many curves without any flat surfaces.
Some amazing skills around here!
I keep thinking of the technique you used to ship a transmission and this procedure. So many possibilities.
Carry on!

audiomagnate
Well-Known Member
I stripped a parts car.

Dude!! A little bondo and some rust treatment, and that should buff right out!!!I stripped a parts car.View attachment 228962

coupe2800cs
Well-Known Member
Ruff, extremely ruff....I stripped a parts car.View attachment 228962
//My5UV
Member
I replaced the fuel filter and scraped some residue off the points and now it’s running smoother!

Depending on the price I would be interestedI wouldn't have any trouble printing this cover in one piece.
If a few people were interested in buying one, I could scan it and print it.
And certainly not for 3,000 euros...
All that would be left to do is wrap it in vinyl and apply flock or Alcantara to the inside.
In his sales thread, Thomas is offering an original cover for an adjustable steering column at a very good price.Depending on the price I would be interested
If he has already sold it, I can help you out—but it’s worth asking Thomas first if he still has the cover.
Attachments
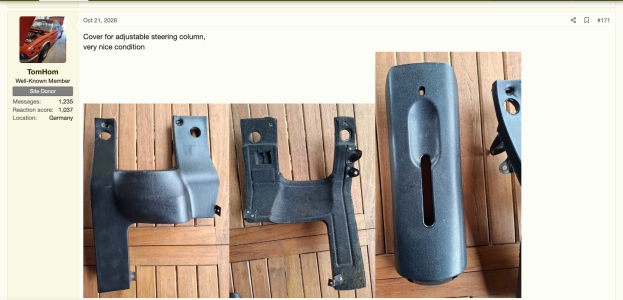
I did see that. Mine is OK. I just thought it would be cool to have a 3d printed one provided it will be strong enough
For printing, I use top-quality filaments from brands such asit will be strong enough
Siraya-Tech, Polymaker, and Fiberlogy.
There’s no room for compromise when the goal is the highest possible print quality.
I can print an ultra-durable, "armored" cover for you—using a technical-grade material with 100% infill—and then further strengthen it through an annealing process.
You wouldn’t be able to break it, even if you jumped on it...
Yes, my underside panel has seen slightly better days. As I sort out what I’m doing with the hvac I may end up pulling it off and making a scan of it to recreate with the holes I need and where I want them. Lucas, you have a larger printer than my Max 4 (loving it so far by the way, thanks for the recommendation), but I was planning to make this in two sections put together. I do think that there’s a need for this panel and the nice part is that it needs to be structurally strong enough to sustain being removed and put back over time but doesn’t have any other wear from use. The original I think has an interior metal plate but I agree that with plastic materials and infill density the metal is unnecessary. Having a 3d rendering would also allow easy modification - I’m not sure how many people use the rear defroster or fog light buttons, for example so doing a delete of those would be an option.