Fredomatic
Well-Known Member
Oooh! Are you adding air suspension? I’m really curious how that will work. It should be great. Keep the details coming.
Okay, what do you want Mark?@dang,
You are such a humble guy. You are one handy multifaceted dude and your skills are impressive!
")
Okay, what do you want Mark?
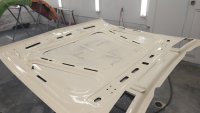
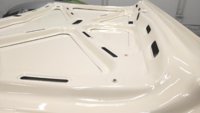
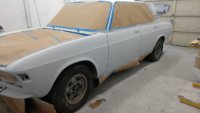
") I also only have enough paint to do the underside of the hood and decklid anyway. This photo was taken with fresh paint and it laid down pretty good after drying.
I also only have enough paint to do the underside of the hood and decklid anyway. This photo was taken with fresh paint and it laid down pretty good after drying.It's actually a little ways down my list of favorite colors but I wasn't going to change colors on this very original car.Chamonix is an awesome color.
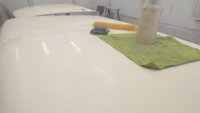
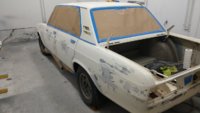
I like it too!Painted the hood and decklid over the weekend. Wet sanding the decklid and one pass with cutting compound. I'll do all the finish buffing after they're on the car. Chamonix is starting to grow on me a little bit.
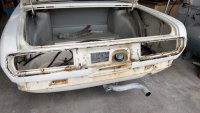
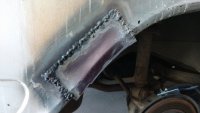
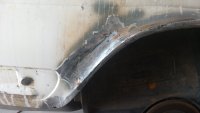
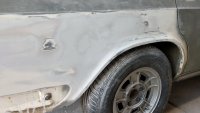
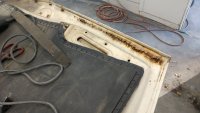
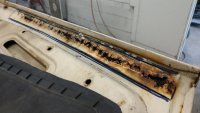
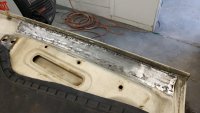
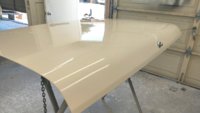
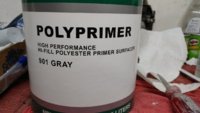
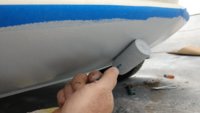
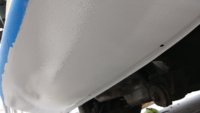
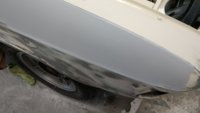
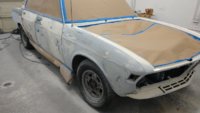
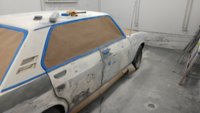
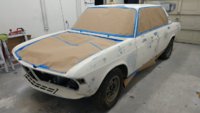
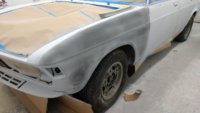
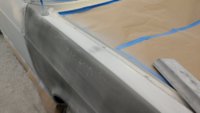
Looks like that works greatWorking on the nose of the car now. In the past I've had good luck using a roller to add texture to rockers and nose valances so I decided to try it again on this car (yeah I know they have spray texture). All I had was a foam roller, and as it turned out it added a very mild texture compared to using the polyester rollers that are thicker and "grab" the paint more to create a "thicker" look. I'm using a two-part polyester primer surfacer so it's really hard once it sets up. I may go back over it with a thicker roller, not sure yet. I had a little extra paint left over so I went over some areas that need to block sanded. I think using a foam roller to cover bare metal after welding or sander would work well and be easy. Here's a few pics..