2240310 1972 BMW 3.0cs

Thanks for your comments guys!

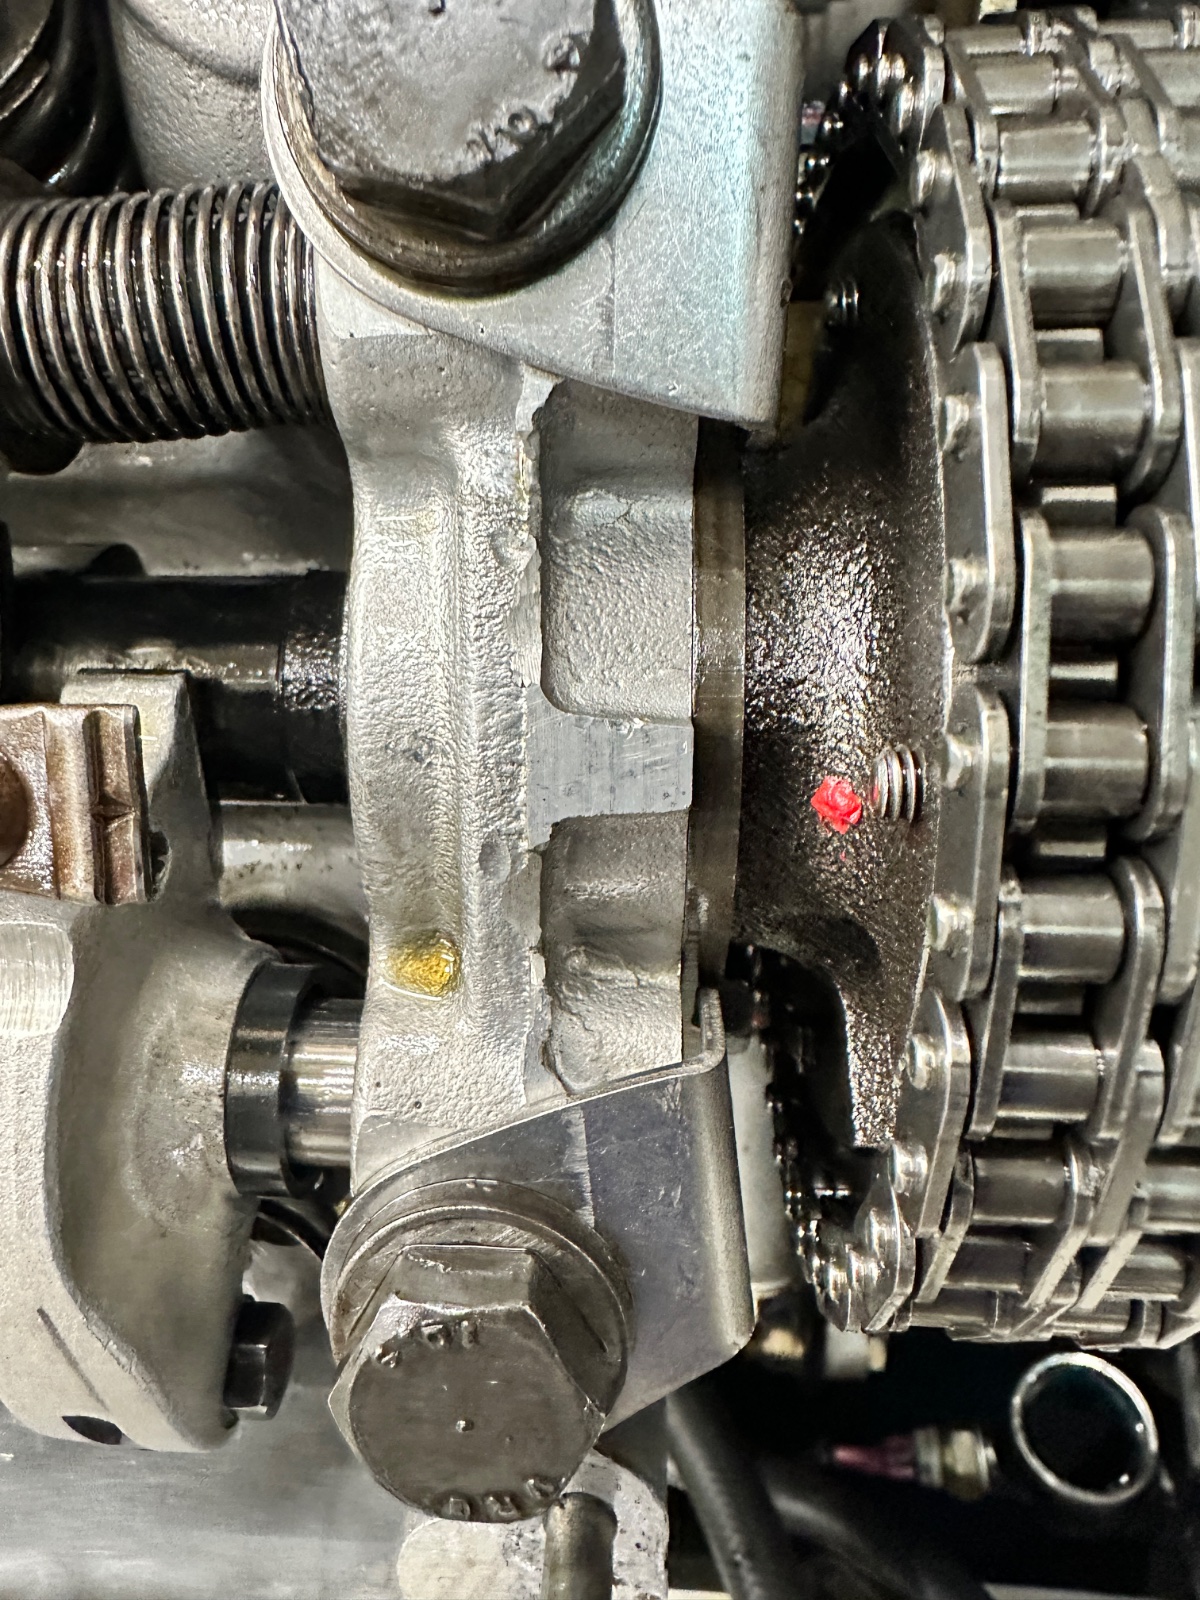
@HB Chris, that was not what I wanted to hear, but it was the right call. I broke out the borescope this morning and carefully lined up the timing mark on the flywheel and confirmed that the timing gear was a tooth out. I pulled it apart and got it lined up properly this time and it is mostly back together.

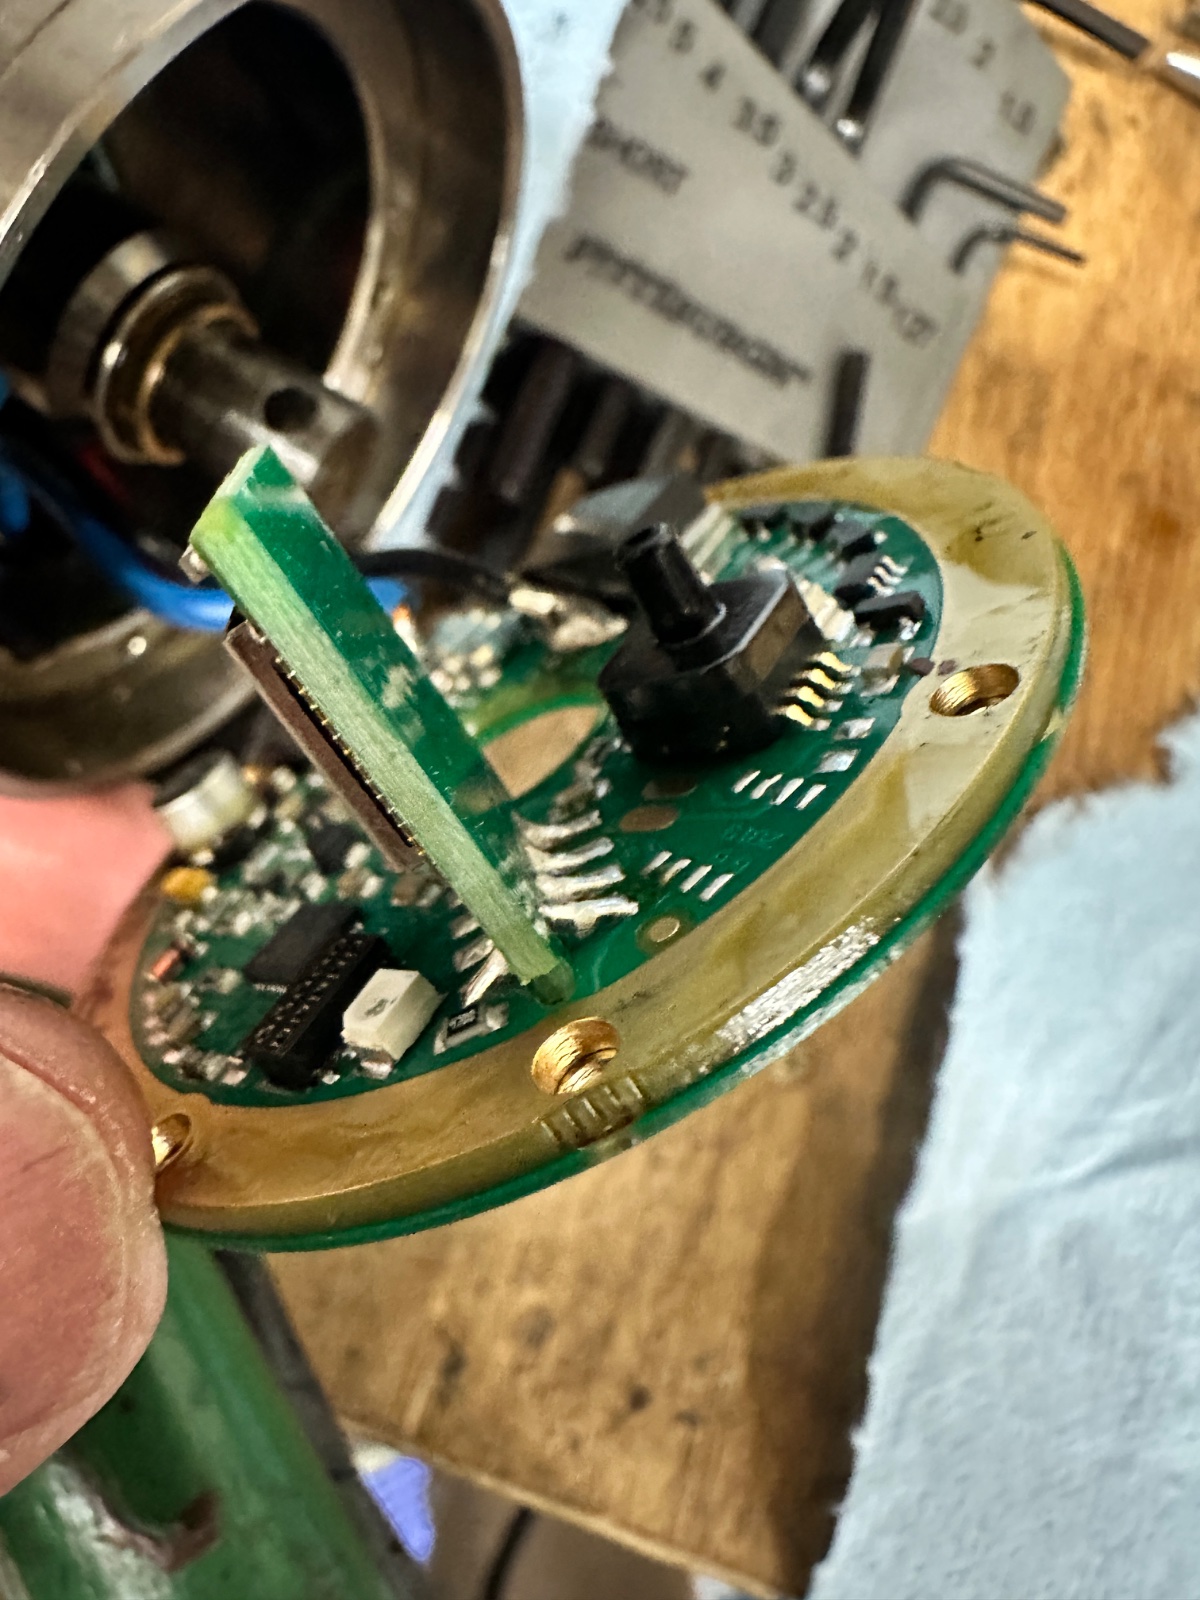
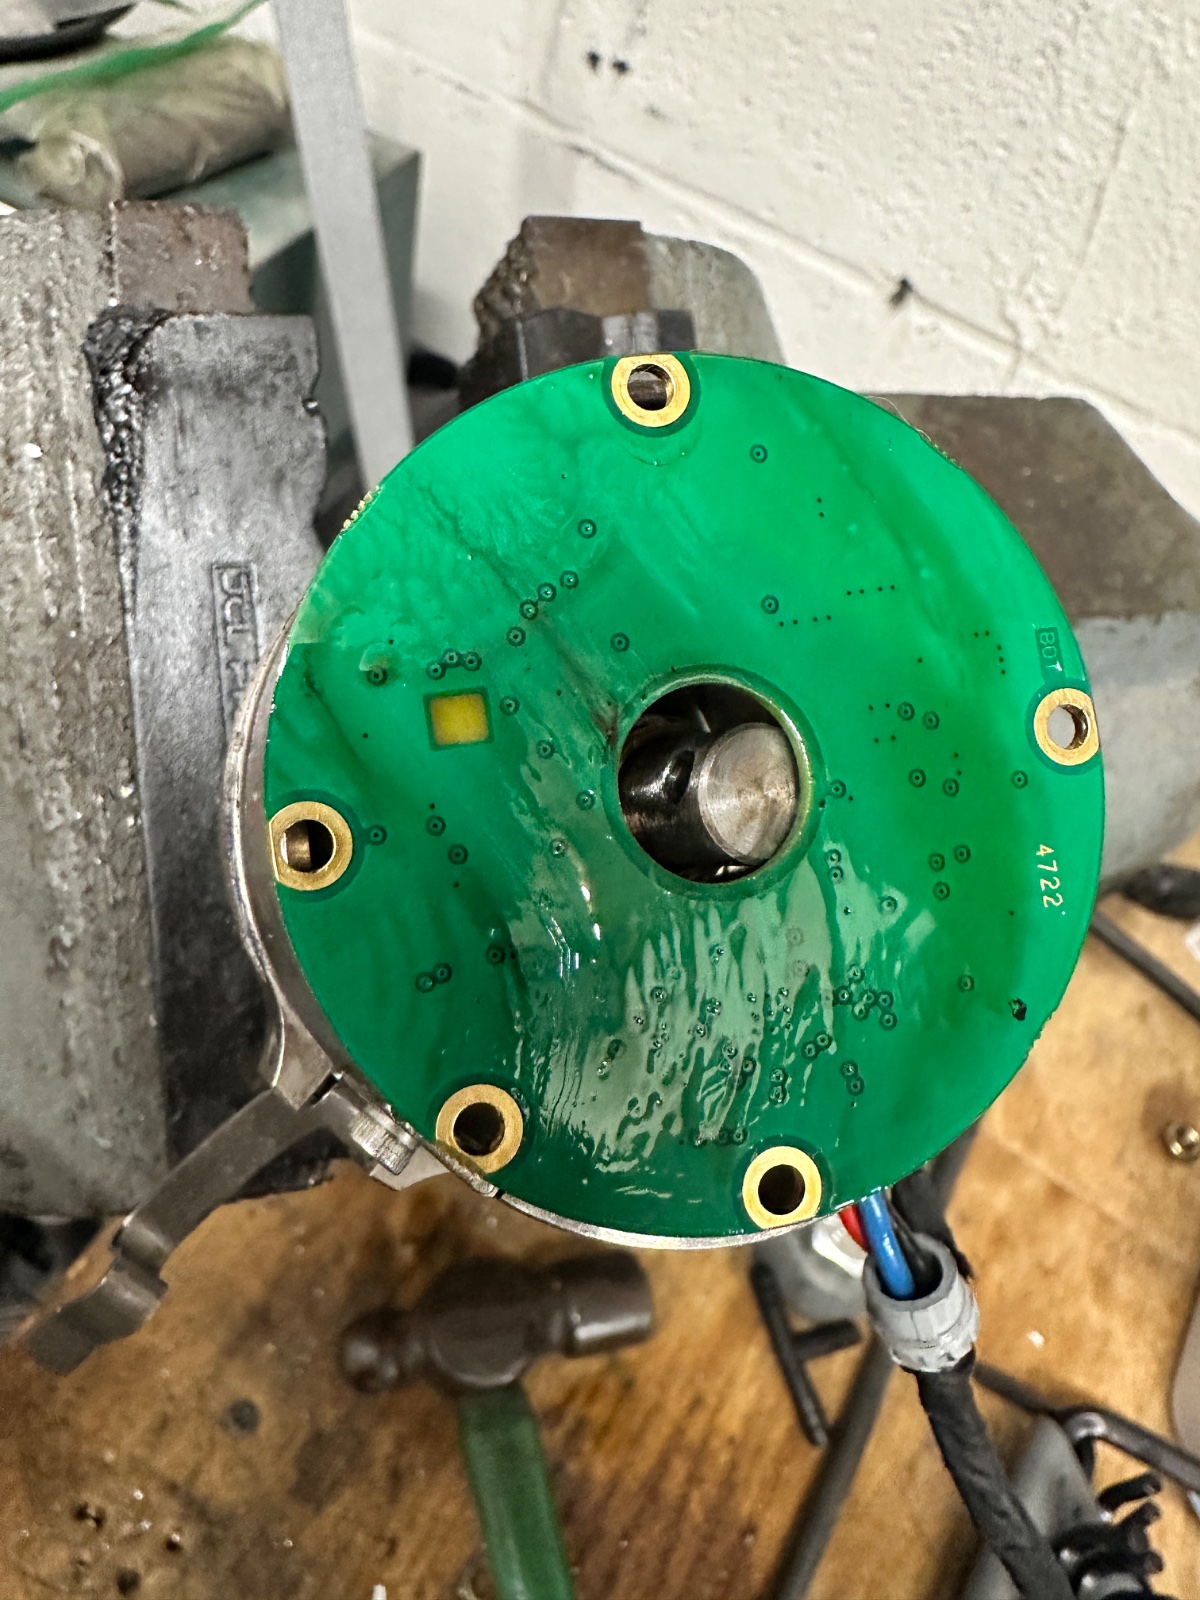
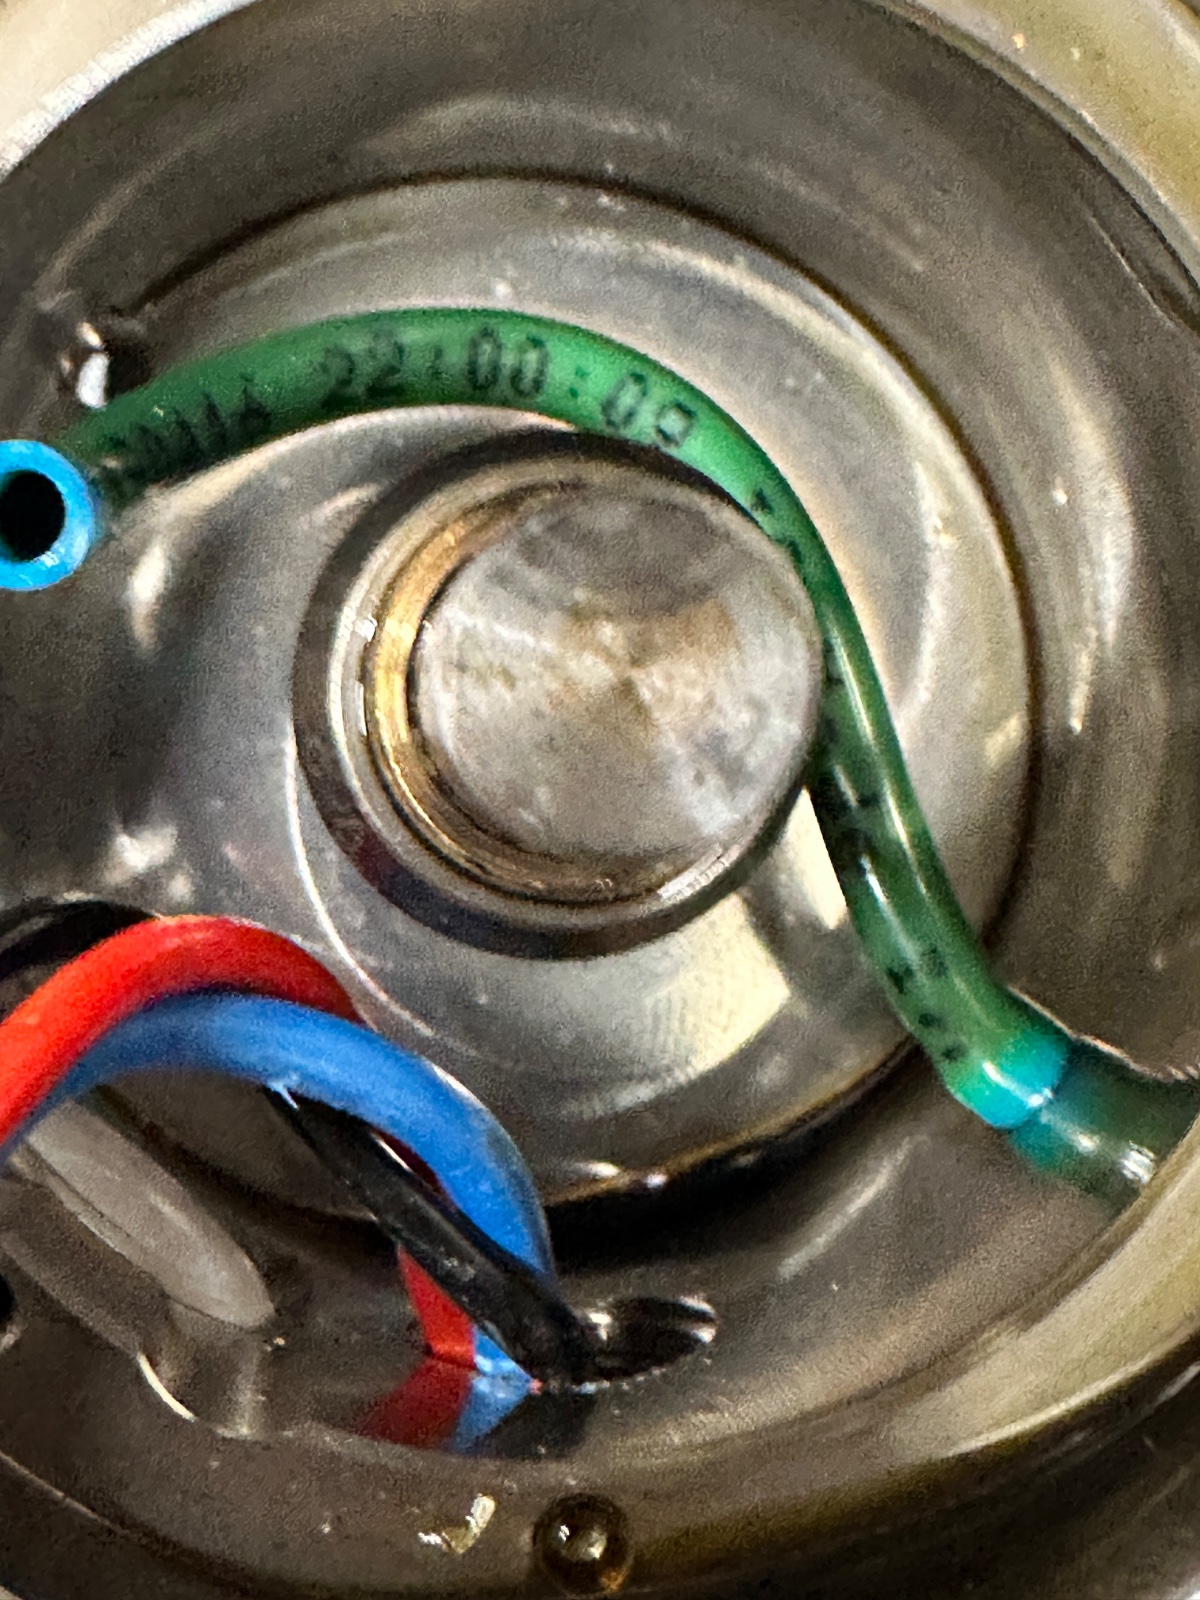
As I was inspecting the 123 Ignition distributor I realized that there was some oil residue inside the cap, so I pulled the distributor apart and found a fair amount of engine oil has migrated through the shaft into the body of the distributor.

I have now cleaned the distributor but need to do a little more research to see how to better seal the shaft. I do have the spiral cut shaft and despite that, oil has made its way into the body. I recall that @Stevehose found the same thing and replaced the o-ring seal and may have added a second. I need to see if I can find any pictures of that work.

As to the tune, I was starting the car on my “just get it running” tune which is no advance at all. I do that to get the distributor timed at TDC, then upload the tune. With my Weber 38/38’s I was running centrifugal curve of 12 degrees from 500-1400 RPM, then 33 degrees through redline with a rev limiter in place.

I would like to hear what you and others are using with the Webers. I also have headers and a cam.
IMG_3108.jpeg
IMG_3113.jpeg
IMG_3114.jpeg
IMG_3116.jpeg
 
I guess I am just lucky as I’ve never had any oil migrate up into the 123…….yet.

I know Steve did remove the spiral cut shaft and put the original shaft back in but did add a second o-ring.

Screenshot of the curve I’ve been using since 2020.
IMG_0298.png
 
I guess I am just lucky as I’ve never had any oil migrate up into the 123…….yet.

I know Steve did remove the spiral cut shaft and put the original shaft back in but did add a second o-ring.

Screenshot of the curve I’ve been using since 2020.
Thanks for sharing the screen shot. I just finished re-reading Steve’s write-up on the oil migration issue. I am going to re-assemble but I guess I will reach out to 123 to see about getting the non-spiral cut shaft and a new bushing.
 
When I broke a rocker arm on the NK and put in a new cam I was one tooth off and couldn’t get it to run smoothly. I undid the gear, turned cam with channel locks and then secured the gear.
 
Put the timing gear cover on yesterday and there were two bolts that were not tightening, the aluminum threads were no longer strong enough. So, I drilled and tapped the two holes for helicoil installation. I am waiting for the longer helicoils to arrive, then installation and re-assembly. I chased the rest of the bolt holes.

I reached out to 123 Ignition re the oil intrusion. They offered to do a quick repair if I would send the distributor to them. I asked if they would send me the parts and they agreed and are sending me a new oil seal and brass bushing. We'll see how long that lasts.
 

Attachments

  • IMG_3124.JPG
    IMG_3124.JPG
    504.6 KB · Views: 25
Front cover is installed and all the bolts tightened up nicely. The fan, radiator and shroud are all back together, now waiting for the 123 Ignition parts to arrive before I re-install the distributor as that will need to be torn down to install the new oil seal and bushing.

Meanwhile, I lit off the parts cannon again, picking up a Tii style brake booster (not sure when I will install that), a Porsche combination gauge for the clock replacement project and a differential canister assembly that will get refurbished in the coming weeks and put on the shelf for the rear axle project that I hope to start over the winter.
 
I am killing time waiting for distributor parts to arrive so I decided to pull off the hood hinge catches and refinish them.

They are supposed to be painted black, but I decided to zinc plate them and use a bright chromate finish to match the latch. They will be ready to install tomorrow unless I decide to paint on top of the fresh plating.

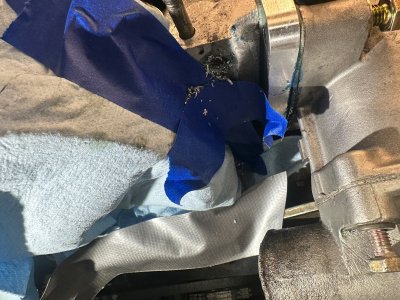
I am using the tape to outline the position of the catch to make re-installation easier.
IMG_3126.JPG
 
Yes, I have a setup in the garage for zinc plating and yellow or blue chromating.

I am able to clean the parts refresh them on my projects as I go. I know many here will send their parts out, but I would be lost trying to figure out what bolts or assemblies go where if I didn’t keep things organized, bagged or tagged.
 
I am killing time waiting for distributor parts to arrive so I decided to pull off the hood hinge catches and refinish them.

They are supposed to be painted black, but I decided to zinc plate them and use a bright chromate finish to match the latch. They will be ready to install tomorrow unless I decide to paint on top of the fresh plating.

I am using the tape to outline the position of the catch to make re-installation easier.View attachment 223877
i black powder coated mine, along with the heater air intake cover, the upper radiator mount and a few other visible things. a nice satin black. if you are zinc chromating things, also do your trunk catch and the trunk latch.
 
Scott, starting on chromating parts in the trunk is even too much scope creep for me and I have proven to be really bad at managing scope creep!

I thought about powder coating them, but I also have some things to paint with 2k primer and paint and may decide to add these.
IMG_3135.jpeg
 
Yes, I also black powder-coated the trunk latches and hinges. Fairly easy to do and durable.
 
The control is wired up and positioned on the driver's side under-dash kick panel. The supplied cable was long enough to exit the dash on the passenger side through the hole for the AC control wires, and the across the firewall to the position of the valve. Pictures once installation is finished, as I am still mocking up various plumbing options and waiting for yet more parts.
Please do report on your progress with installing the Old Air Products valve. I am curious where people source the hoses that connect the valve. My thinking is to mount the valve behind the rear carb, as Bill Patterson explains in post #94 of the thread at https://e9coupe.com/forum/threads/diy-heater-bypass-valve.10824/page-5#posts. The plumbing to the engine side seems simpler with the valve in that orientation. However, to do this, two 3/4" short 90° hoses will be required and I'm unsure where to source them.
 
best place to start is to look at BMW heater hoses and see if there is a hose that might be able to be cut down to give you the needed piece. i have been meaning to do that as i bought one of the old air products valve too.
 
I had ordered a bunch of different hoses several years ago when I first attempted (and abandoned) the install. I tried again about a year ago and got it set up with my down-draft Webers, It was another exercise to get them installed with the triple Webers. There are pictures of both in this thread or one of those linked in the first post.

I think installing on a CSi car would be a lot easier, but it can be done.
 
Back
Top