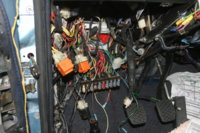
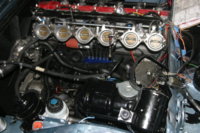
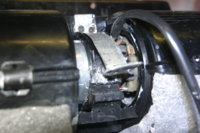
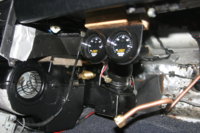
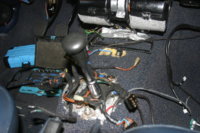
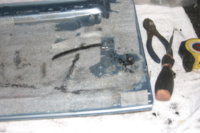
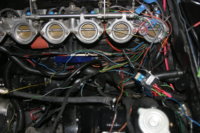
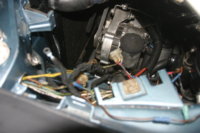
i pulled the ac evaporator to fix the clamp and clean it up
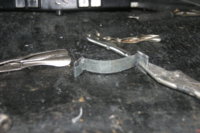
easy job to get out anyway
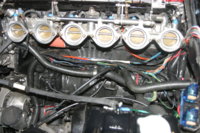
its very touchy to get the compression right so it doesnt
vibrate and rattle. it always was a bit loose
I tried to wire tie it yet it just wasn't tight enuff
so ill add a metal strap on top of the top bent bracket and screw it down like the other
version.
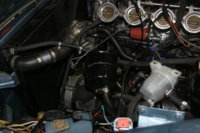
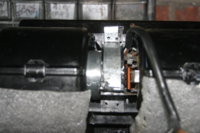
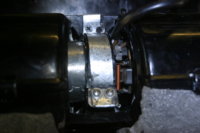
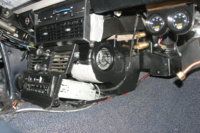
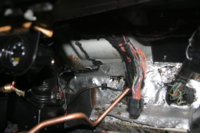
easy job to get out anyway
its very touchy to get the compression right so it doesnt
vibrate and rattle. it always was a bit loose
I tried to wire tie it yet it just wasn't tight enuff
so ill add a metal strap on top of the top bent bracket and screw it down like the other
version.
Attachments


Last edited:


")