tdgray
Well-Known Member
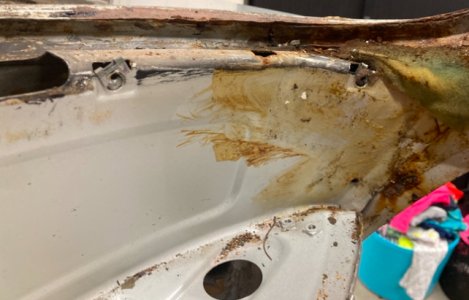
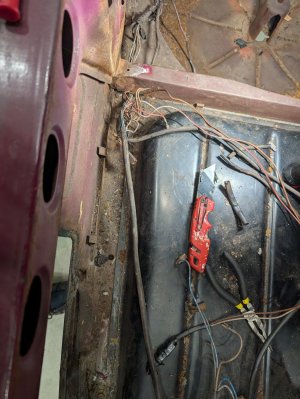
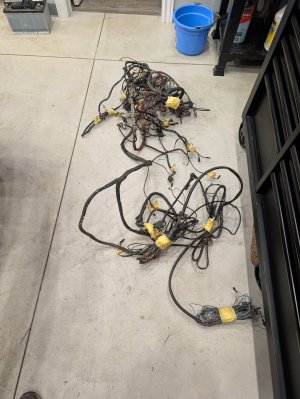
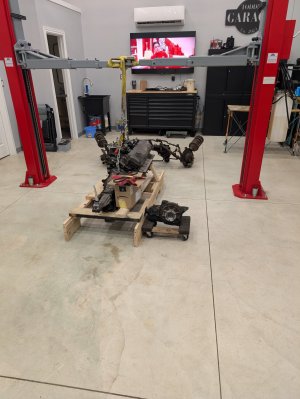
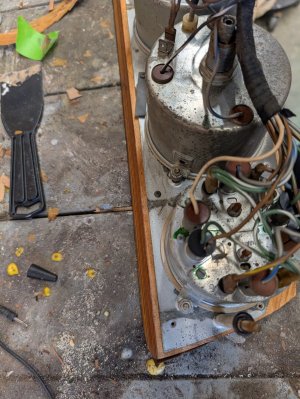
All in all... Probably about 5 plus hours to remove all of that stuff. Of course a big learning curve when you have not done this before.
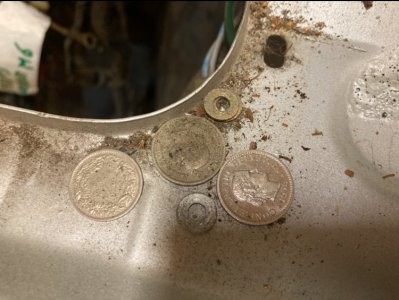
A couple of interesting things I found.
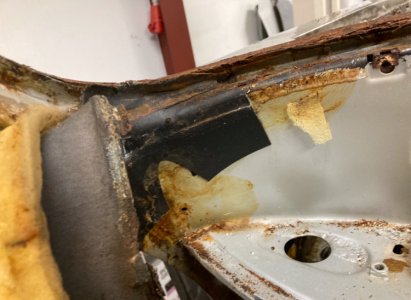
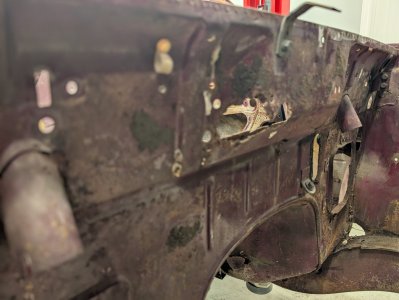
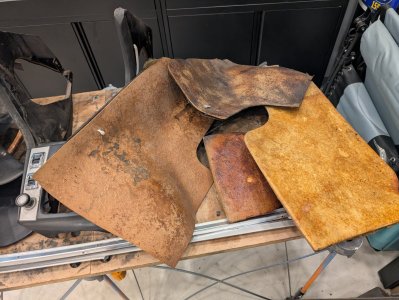
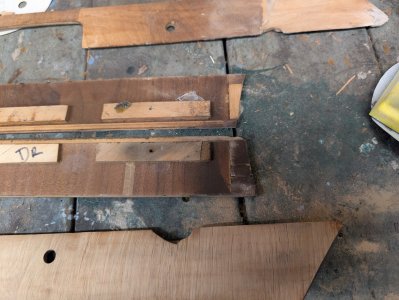
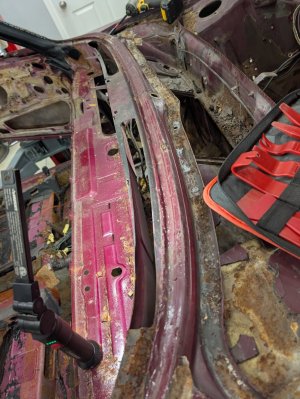
The dash frame around the defroster vents is painted black just around the area. Found this neat that they would be concerned about this. See picture.
A couple of interesting things I found.
The dash frame around the defroster vents is painted black just around the area. Found this neat that they would be concerned about this. See picture.

 ️
️")