Shane is a stream of consciousness guy in person as well!I had to read that 5 times slowly to fully comprehend all that you've accomplished. Fantastic work!! Well done.
You are using an out of date browser. It may not display this or other websites correctly.
You should upgrade or use an alternative browser.
You should upgrade or use an alternative browser.
'73 Golf Bavaria Build Thread
- Thread starter Nachtycoupe
- Start date
-
- Tags
- restoration list
Yep I get the secrecy part and hold out hope that someone throws me a bone sometime in the future, but I will say that it looks like you've installed the drier backwards which would render it inoperable.
What Chris said........I was sworn to secrecy. Not original no. Not NOS either. Sorry not more help but have to keep my word. I'll post some pics in a minute.
Steve, thank you for that drier backasswards observation....I didn't install it myself.....I haven't used the A/C much since it's been installed (Winter). So is it the intake and output lines that your are talking about that need to be switched?Yep I get the secrecy part and hold out hope that someone throws me a bone sometime in the future, but I will say that it looks like you've installed the drier backwards which would render it inoperable.
In regards to the red lines, I will see if I can get you in the loop on that. Thanks for the observation, I'll look into that....
yes they are assbackwards, typically if you open up the system by removing hoses you’ll need a new drier.
Steve, thank you for that drier backasswards observation....I didn't install it myself.....I haven't used the A/C much since it's been installed (Winter). So is it the intake and output lines that your are talking about that need to be switched?
In regards to the red lines, I will see if I can get you in the loop on that. Thanks for the observation, I'll look into that....
Ok, thank you for the observation, I appreciate it, I will change that around and get a new drier. Can someone send a pic of what is should look like? Out of curiosity. For some reason I remember seeing (2) two driers on cars with A/C as well, am I just hallucinating with an old LSD relapse from the 80's or is there always only one drier?
Last edited:
Shane, That other can was a muffler and not needed in your setup.
So if looking at my latest pics, the 3rd to last and 2nd to last, the black "drier" next to the washer fluid. The upper red hose going in needs to be swapped to the lower hose and I will need a new drier in order for it to function properly and I assume re-pressurize the lines. Is that what Steve is saying. Anyone feel free to chime in.Shane, That other can was a muffler and not needed in your setup.
Yep
Sorry I don't have better ones (I am out of town) but you can see here, it also looks like they may have switched up your hoses - the one from the condenser lloks like it should be the one going from the drier to the fire wall:


Hose from evaporator/firewall goes to upper fitting next to sight glass as Steve has noted. Maybe it doesn't make a difference? Ask a pro first.
yes definitely ask a pro but from what I’ve read they are one way flow
Hose from evaporator/firewall goes to upper fitting next to sight glass as Steve has noted. Maybe it doesn't make a difference? Ask a pro first.
You “experts” don’t sound too sure of yourselves. LOL. Just kidding. I appreciate it guys. “Expert” is looming at it Wed.yes definitely ask a pro but from what I’ve read they are one way flow
CSBM5
Well-Known Member
I b
EDIT: found this image online

I'm definitely not a pro, but I agree. The inlet port is the hose from the compressor, and it allows the liquid refrigerant to first flow through a filter and then the desiccant towards the center of the device where it then flows upward out the top port which is connected to the expansion valve on the evaporator. It can't work properly in reverse.yes definitely ask a pro but from what I’ve read they are one way flow
EDIT: found this image online

Awesome thank you everyone, this will help with my "expert" looking at it on St. Paddy's day, better take it in early before the green beer and Jamison starts flowing. Love the wine shot Steve thank you. At first those pics didn't appear on my computer, now I see them just fine. I'm obviously not a computer expert either, didn't touch a thing and now pictures pop up today. Maybe needed a refresh. I see you have your drier more forward, does that help with the bend in the lines? I'll have to check it out today and see if the Bav has same forward holes, I think it does as mine originally came with A/C, everything was removed during the restoration and didn't go back in until after engine bay refresh. the Ceylon middle shot is the same as yours too, position wise. I wonder if I turn my car around, if they will work then...........sarc!
Don’t bother moving it, it is currently mounted where the old muffler was located which looks like a drier without a sight glass and is no longer needed. It was a vestige of the single piston York compressor.
you can see the old muffler bracket between the wine glass and washer reservoir, mounted on the fender side.
Awesome thank you everyone, this will help with my "expert" looking at it on St. Paddy's day, better take it in early before the green beer and Jamison starts flowing. Love the wine shot Steve thank you. At first those pics didn't appear on my computer, now I see them just fine. I'm obviously not a computer expert either, didn't touch a thing and now pictures pop up today. Maybe needed a refresh. I see you have your drier more forward, does that help with the bend in the lines? I'll have to check it out today and see if the Bav has same forward holes, I think it does as mine originally came with A/C, everything was removed during the restoration and didn't go back in until after engine bay refresh. the Ceylon middle shot is the same as yours too, position wise. I wonder if I turn my car around, if they will work then...........sarc!
CSBM5
Well-Known Member
That picture with the wine glass makes me miss my triple 45DCOEs from back in the day.  Man did they sound unbelievable, and the throttle response was sooo nice.
yes they are assbackwards, typically if you open up the system by removing hoses you’ll need a new drier.
Steve, I wanted to thank you for pointing out the A/C being assbackwards. I was able to get that resolved before I moved to ID. Wow, I couldn't believe how cold the A/C is blowing. The ironic thing is that I moved to Idaho and won't need it as much as CA. I also installed the sunroof wind deflector that Stan made. It's pretty cool and I'll upload pics once the car arrives. Hopefully this week. That was the last piece of the puzzle for me on the restoration. After (6) years I'm done, now it is just maintaining it and trying not to crunch my air dam anymore than I already have. Hard to believe it's been (6) years.
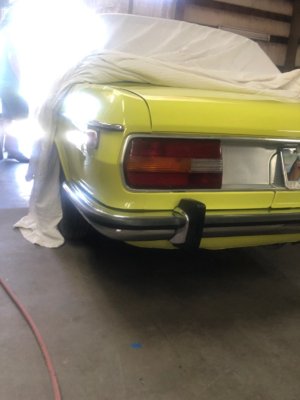
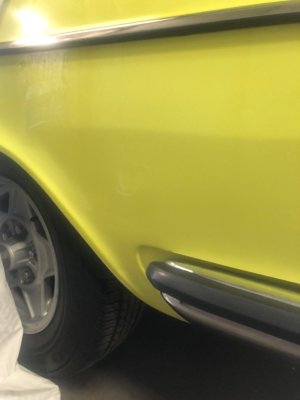
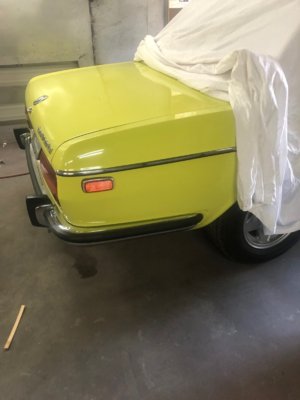
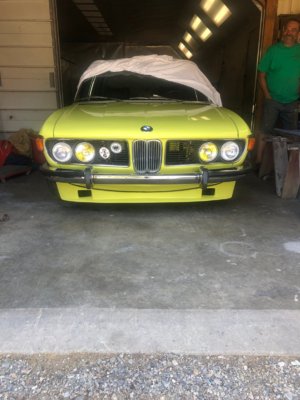
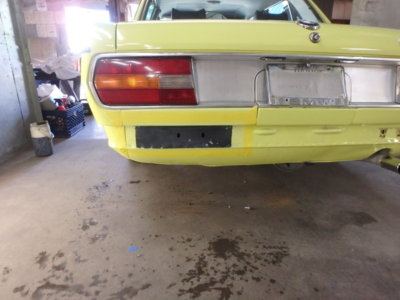
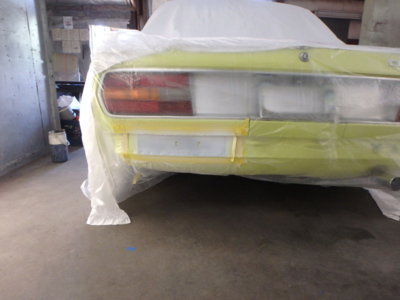
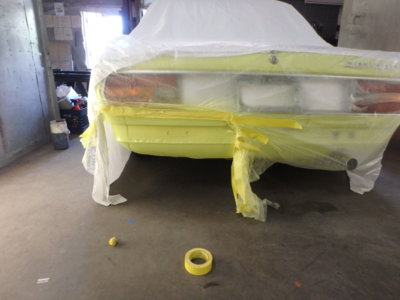
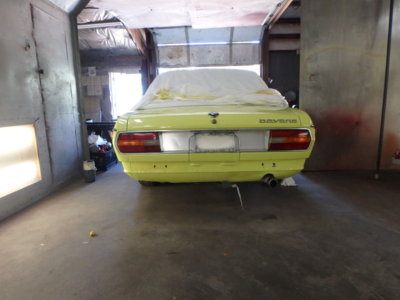
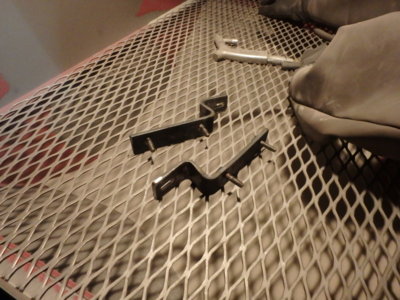
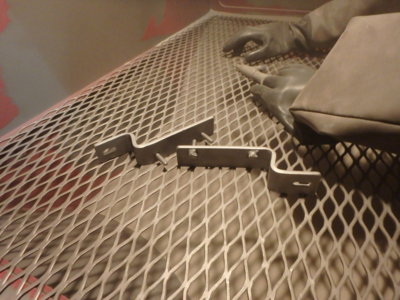
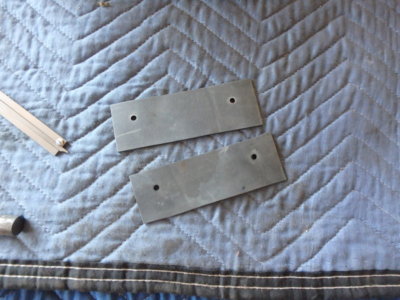
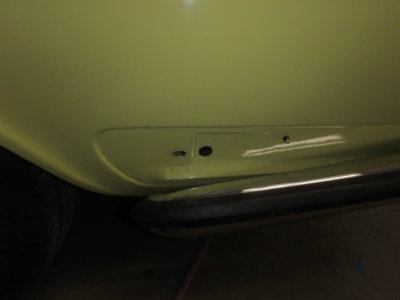
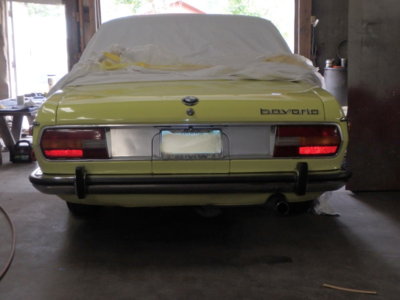
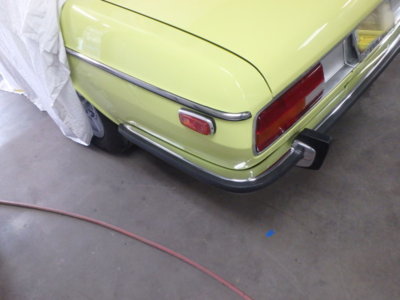
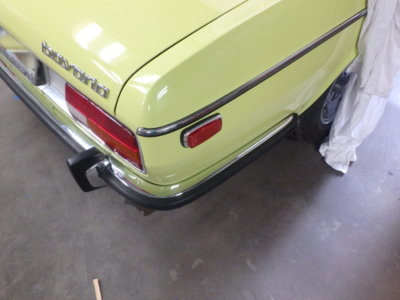
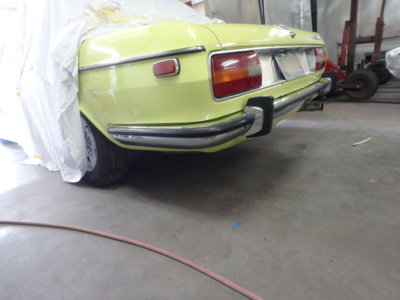
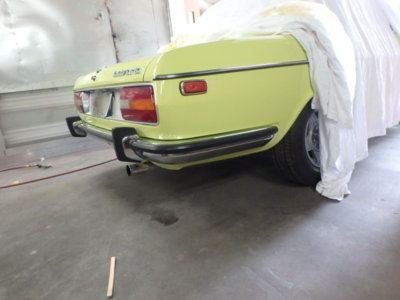
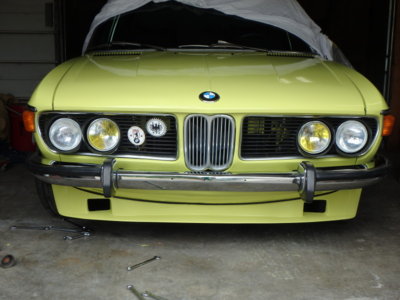
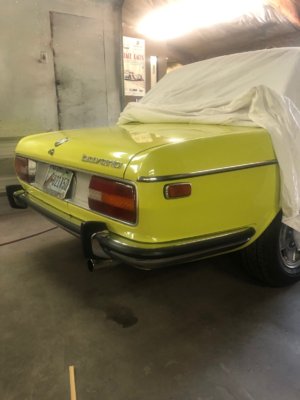
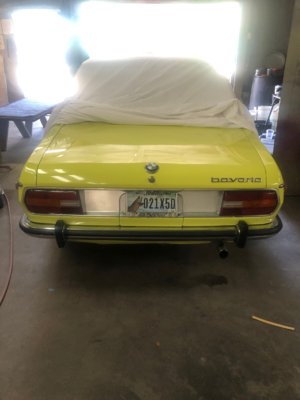
Here are some sneak peeks of my TUCKED REAR BUMPER!!!! AND THEY SAID IT COULDN'T BE DONE! OH YEAH!!!! Custom brackets, no more 10mph (correction 2-1/2MPH, what's the point even of that? It does have the rubber for slight bumps...Thanks Chris....) '73 only metal hoops pushing rear bumper out . WOW those are heavier than you think so shed some weight as well. Straightened front bumper back out, needed a tweak. As soon as water pump is fixed I will take some nice shots of finished product out in the sun. I'm super stoked, what a difference in the look.
Attachments
-
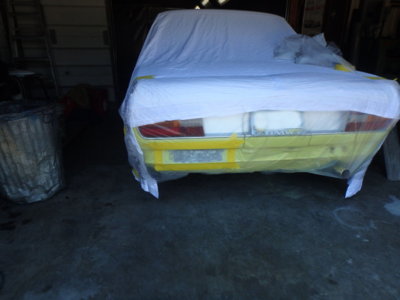 20210629_001.jpeg110.5 KB · Views: 293
 -
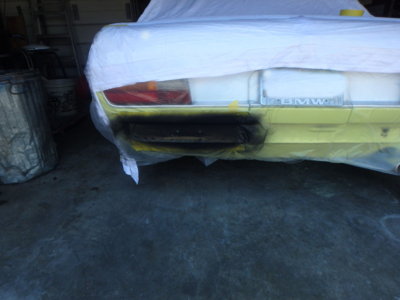 20210629_002.jpeg113.4 KB · Views: 296
 -
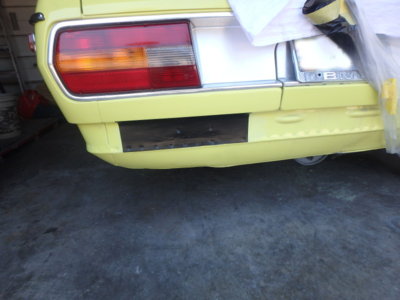 20210629_003.jpeg129 KB · Views: 309
 -
 20210706_004.jpeg132.9 KB · Views: 304
 -
 20210706_005.jpeg111.5 KB · Views: 319
 -
 20210706_006.jpeg118.8 KB · Views: 323
 -
 20210706_007.jpeg120.3 KB · Views: 312
 -
 20210706_008.jpeg201.5 KB · Views: 297
 -
 20210706_009.jpeg177.4 KB · Views: 313
 -
 20210706_010.jpeg193.3 KB · Views: 310
 -
 20210706_011.jpeg156.2 KB · Views: 291
 -
 20210707_012.jpeg68.4 KB · Views: 317
 -
 20210707_013.jpeg109.9 KB · Views: 296
 -
 20210707_014.jpeg116.7 KB · Views: 316
 -
 20210707_015.jpeg121.9 KB · Views: 321
 -
 20210707_016.jpeg116.6 KB · Views: 313
 -
 20210707_017.jpeg113.1 KB · Views: 316
 -
 20210707_018.jpeg140 KB · Views: 300
 -
 IMG_1551.jpeg176.8 KB · Views: 316
 -
 IMG_1552.jpeg176 KB · Views: 274
Last edited:

