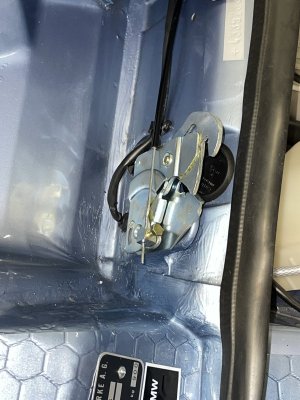
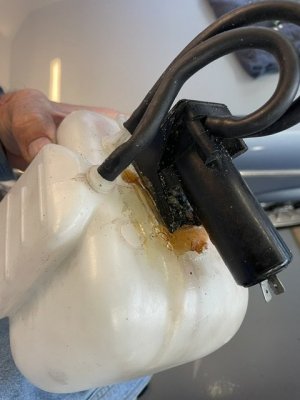
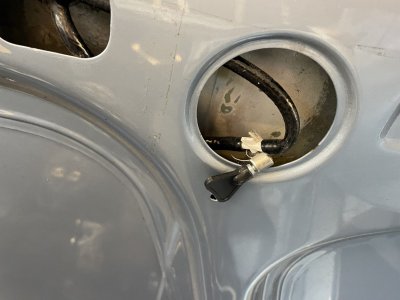
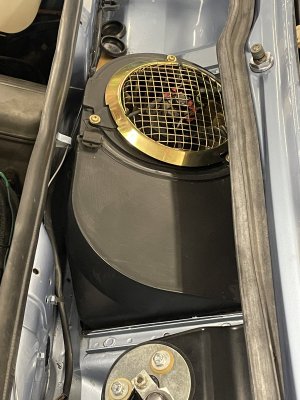
Project 51: Replace entire windscreen washer assembly. The only item missing in image 9575 is the mounting bracket. Epoxy was used instead. Verrrrry carefully, I separated the pump assembly and saved the bottle. There is not much to work with here. Currently looking to replace the pump assembly, all hose and the one way valve that is missing at the top of the inner hood. I am happy to report the switch mechanism is working just fine. See youtube clip.
You are using an out of date browser. It may not display this or other websites correctly.
You should upgrade or use an alternative browser.
You should upgrade or use an alternative browser.
Finishing School for a Fjord 3.0 CS / 100 projects to improve a Coupe / Countdown
- Thread starter paul cain
- Start date
Back to Project 46: Fix the windshield wiper motor assembly. If you purchase new washers for your wiper arm mounts, what BMW will send you is black as chrome is no longer. Pulled these from the private reserve. Then carefully phased the wiper arm on the motor to park in the 'end of stroke' position so that the next time you actuate the wipers, it cycles from the correct starting position. It's important confirm this before fitting the wipers. Otherwise it can be a disaster. Blue tape is how I confirm.
Attachments
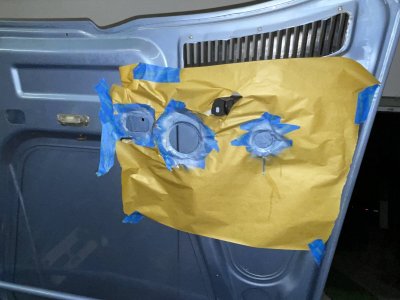
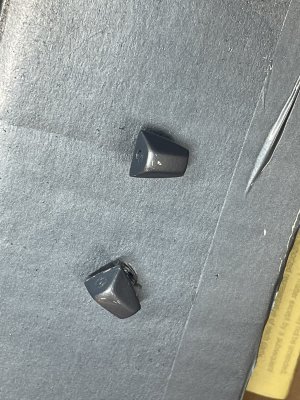
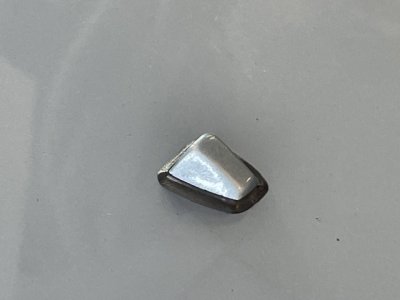
Project 54: Paint windscreen washer nozzles body color. I know, I know, it is not original. But the black nozzles look like they are off strippo Ford Fiesta. The PO's body shop forgot to paint the inner panels on the hood. Easy fix before reinstalling the nozzles.
Attachments
I enjoy watching your transformation!
Thanks. The project is starting to 'turn the corner' to closure. Only 44 more projects!I enjoy watching your transformation!
")
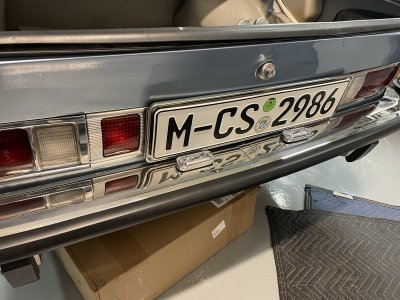
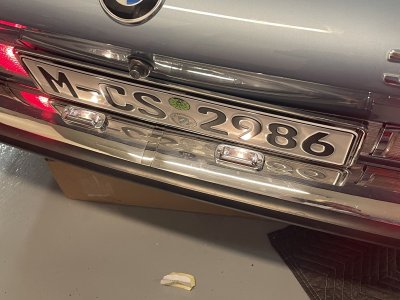
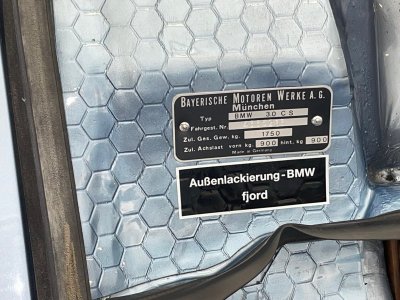
Today was a milestone. Took it for a 3 mile test drive to function test every electrical function while the interior is still out. Major success as all of the instrument cluster functions are working as designed: all warning lamps, tach, speedo, odo, emergency flashers, dimmer lamps, etc. To acknowledge the event I reattached some jewelry to the car - the VIN plate and, in case you were not paying attention to the color, the Fjord paint sticker.
Attachments
Last edited:
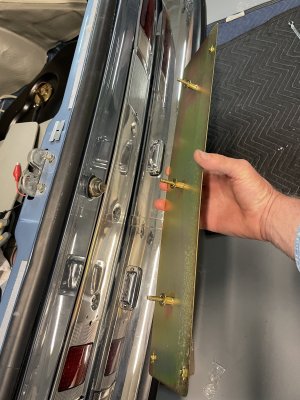
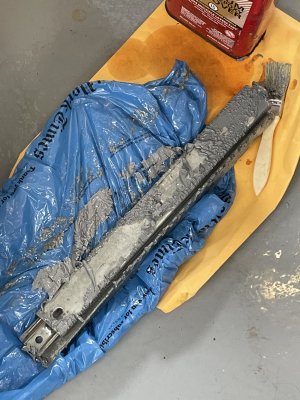
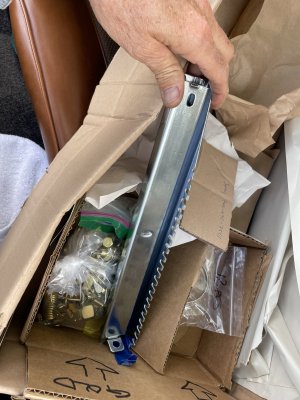
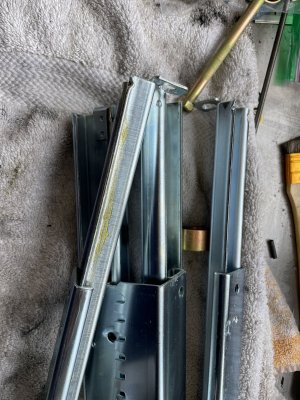
Project 57: Restore the original seat track mechanisms. The PO had someone paint the seat tracks with grey paint. (not a great idea as this gets gummed up in the drum wheel on the inside track). This started a long journey of cleaning the tracks prior to sending them out for plating. It is a lot of hours to get these prepped for plating. The reward is ultra smooth seat sliding action once replated and re-lubed.
CW// Smooth seat track sliding action. The follow short video might not be suitable for all audiences. This video production contains material of a highly sensitive nature including lubricated steel slider mechanisms, smoothly rolling drum wheels and an accompanying live audio track. If your seat tracks are gummed up (or painted), or exhibit a crunchy sound it might be best to not view the following content.
CW// Smooth seat track sliding action. The follow short video might not be suitable for all audiences. This video production contains material of a highly sensitive nature including lubricated steel slider mechanisms, smoothly rolling drum wheels and an accompanying live audio track. If your seat tracks are gummed up (or painted), or exhibit a crunchy sound it might be best to not view the following content.
Attachments
Good stuff. I doubt you tested the low fuel lamp indicator functionToday was a milestone. Took it for a 3 mile test drive to function test every electrical function while the interior is still out. Major success as all of the instrument cluster functions are working as designed: all warning lamps, tach, speedo, odo, emergency flashers, dimmer lamps, etc. To acknowledge the event I reattached some jewelry to the car - the VIN plate and, in case you were not paying attention to the color, the Fjord paint sticker.
") .
.Paul, what type of coating did you put on the sliders. they look great!
I had tested that white indicator three weeks ago as the combo gauge was wired back in the car. I have a severe case of F.O.G.B.I. (Fear of Going Back In)Good stuff. I doubt you tested the low fuel lamp indicator function
This is clear zinc from my plater. Just like with chrome its all about the prep. The parts have to be squeeky clean.Paul, what type of coating did you put on the sliders. they look great!
Did you zinc them in their assembled state? I always worry that the inside may not be well covered.
The sliders above went to plater fully assembled. Years ago I disassembled one before plating. Plating was beautiful, but it never worked the same again. Getting the drum wheels in the proper place is the issue.Did you zinc them in their assembled state? I always worry that the inside may not be well covered.
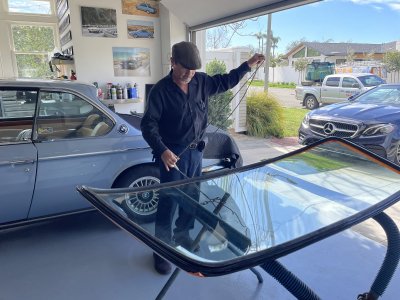
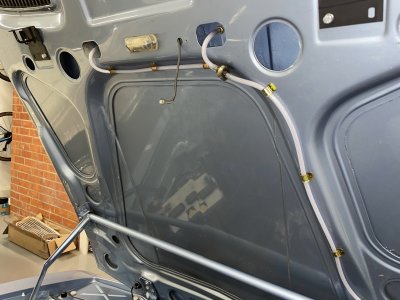
Project 58: Reinstall windscreen and rear glass
After the large struggle with Patricia Mayer's windscreen See: https://e9coupe.com/forum/threads/p...est-drive-viii-final-punch-list.39039/page-18 I was very worried about this project, specifically because this is a 'Just Dashes' refinishing work is always larger than the original dash. This means not enough air gap at the lower edge of the glass.
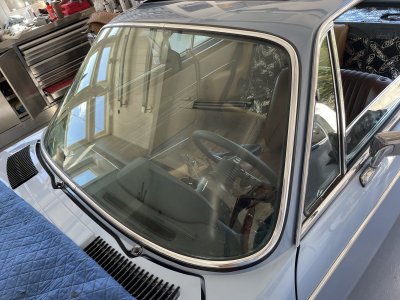
So yesterday was the Big Day. My friend Henry of Henry Auto Glass installed the front and rear glass. This guy is a pro. He's been doing this for 20 years.
https://youtube.com/shorts/Ai3Fg8eOv-I
I took three countermeasures this time: 1) used the lag bolts to pull the dash down as far a possible (see earlier post in this thread) 2) kept the wood stir sticks in place to force the gap over the past two months and 3) Kept the same stir sticks in place to pry the dash edge down even further during the critical rope pulling at installation. See video.
It is great when a plan comes together. This one was very gratifying. 45 minutes to do both installations.
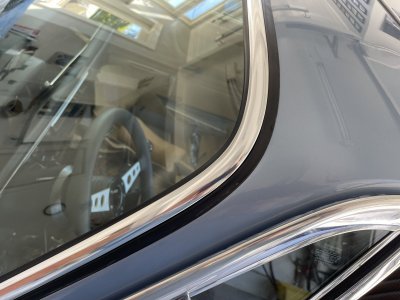
BTW this is BMW OEM glass with BMW OEM weatherstripping. The rear glass had to come out as the PO simply polished the aluminum trim and it was dull. I had it professionally repolished and then I Cerikoted it.
After the large struggle with Patricia Mayer's windscreen See: https://e9coupe.com/forum/threads/p...est-drive-viii-final-punch-list.39039/page-18 I was very worried about this project, specifically because this is a 'Just Dashes' refinishing work is always larger than the original dash. This means not enough air gap at the lower edge of the glass.
So yesterday was the Big Day. My friend Henry of Henry Auto Glass installed the front and rear glass. This guy is a pro. He's been doing this for 20 years.
https://youtube.com/shorts/Ai3Fg8eOv-I
I took three countermeasures this time: 1) used the lag bolts to pull the dash down as far a possible (see earlier post in this thread) 2) kept the wood stir sticks in place to force the gap over the past two months and 3) Kept the same stir sticks in place to pry the dash edge down even further during the critical rope pulling at installation. See video.
It is great when a plan comes together. This one was very gratifying. 45 minutes to do both installations.
BTW this is BMW OEM glass with BMW OEM weatherstripping. The rear glass had to come out as the PO simply polished the aluminum trim and it was dull. I had it professionally repolished and then I Cerikoted it.