I appreciate this more than anyone.I'm just bloody slow the past ten years. And too precise to make any serious speed.
")
I appreciate this more than anyone.I'm just bloody slow the past ten years. And too precise to make any serious speed.
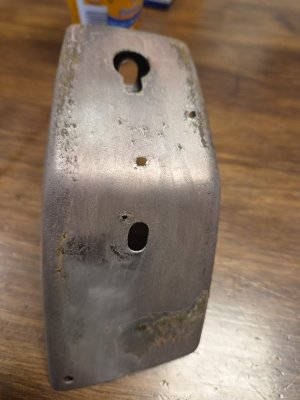
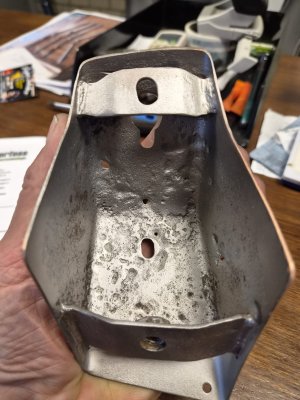
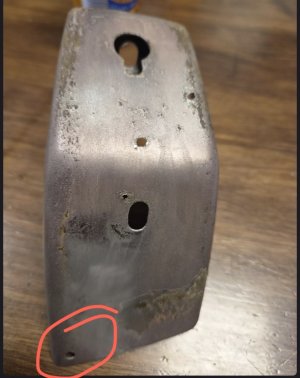
Advice: instead of the 4 mm draining hole drill a 10 mm hole. Not original, but that diameter will drain. Dust and water is easy to enter on the top.The rear bumper underriders were showing rust holes. They will be welded up and tripple copper plated with chrome.
500 euro.
Ouch...
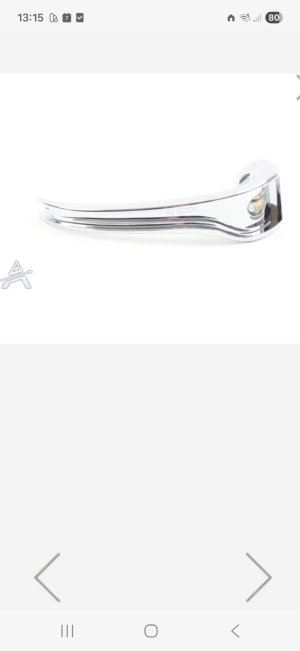
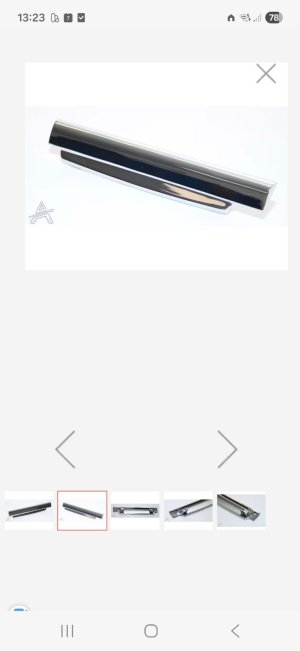
I am happy with the inner handles from W&N.I dropped some parts off at the chroming company. First time doing so, knowing it isn't a cheap proces.
Still i got hurt by their answer.
So, I'm considering to buy from Walloth where possible, but i am afraid they have repro's with possibly poor chrome quality and/or dimensional differences.
I am considering the inner and outer doorhandels from Wally; who has experience with these pieces and can share opinion on their quality?