My Coupe Project

OCCoupe

Well-Known Member
Site Donor
Messages
1,943
Reaction score
1,298
Location
Monterey, California
Hi Mike, I noticed the extra reinforcing panels in the trunk behind the Spare Wheel and behind the Fuel Tank, do you know the origin of these? I have a parts car that was originally sold into Japan with the same panels! I was told when I bought the car that it was an Alpina Built car and thought the reinforcing panels may be from Alpina.
Warren

Warren this might be specific to US cars. I'm sure someone will chime in.
 

restart

Well-Known Member
Messages
1,194
Reaction score
173
Location
KANADA, Roberts Creek, BC
That is outstanding work! Very very nice.
 

Attachments

  • image.jpg
    image.jpg
    19.8 KB · Views: 244

OCCoupe

Well-Known Member
Site Donor
Messages
1,943
Reaction score
1,298
Location
Monterey, California
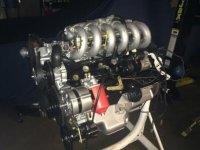
Yesterday was a good day. I ran in to a bit of a hiccup that I should have figured out before the engine went in the car. Fortunately with the help of Paul (he did all the figuring) and Chris who helped with the install we overcame the issue. Since the engine is a 3.8 litre it needs to breath a bit more than a 3.0 so I went on the hunt for a nice header solution. I wanted something that BMW made so I purchased a new set of M88 headers, the challenge is that the M88 headers are for a 4 valve engine so the flange is completely different. I figured we could modify the headers by grafting in a new 2 valve flange. I ended up finding a set of Alpina E34/B10 headers that are nearly identical to the M88 headers; but are for an M30 engine.

Alpina%20B10-2.JPG

Alpina%20B10-1.JPG

Alpina%20B10-4.JPG


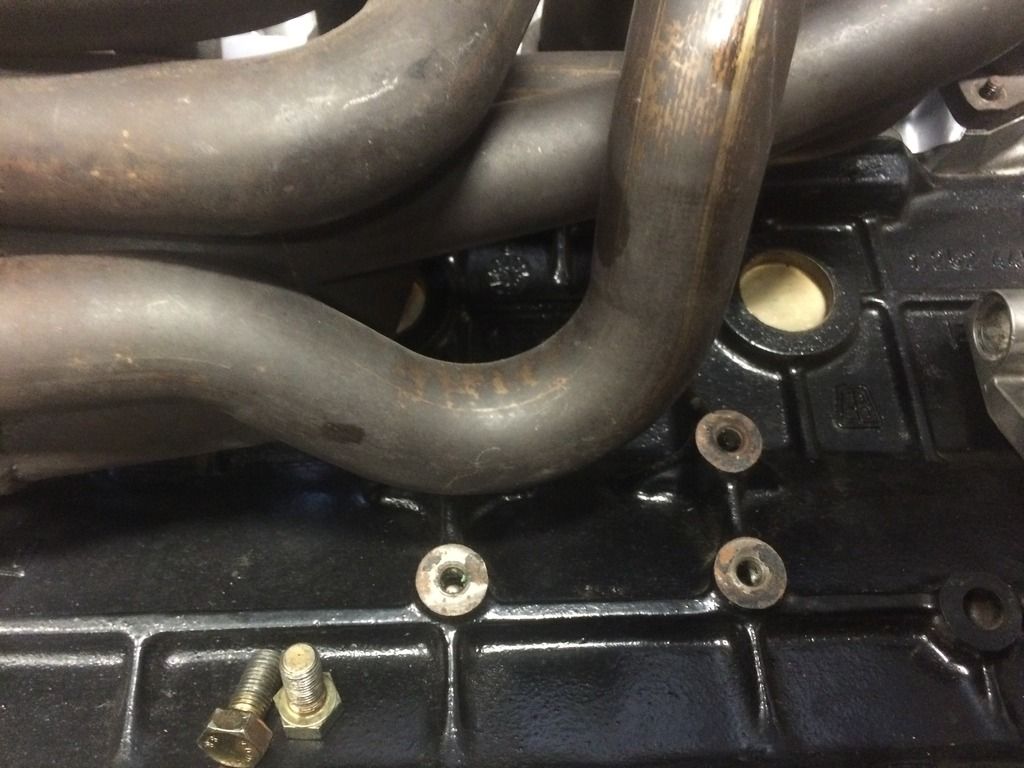
This however created another problem. The headers are a straight forward bolt on; but the #2 pipe interferes with the passenger side motor mount; so we had to modify the factory motor mount by moving it forward with an adapter.

The forward header interferes with the mounting holes for the bracket.


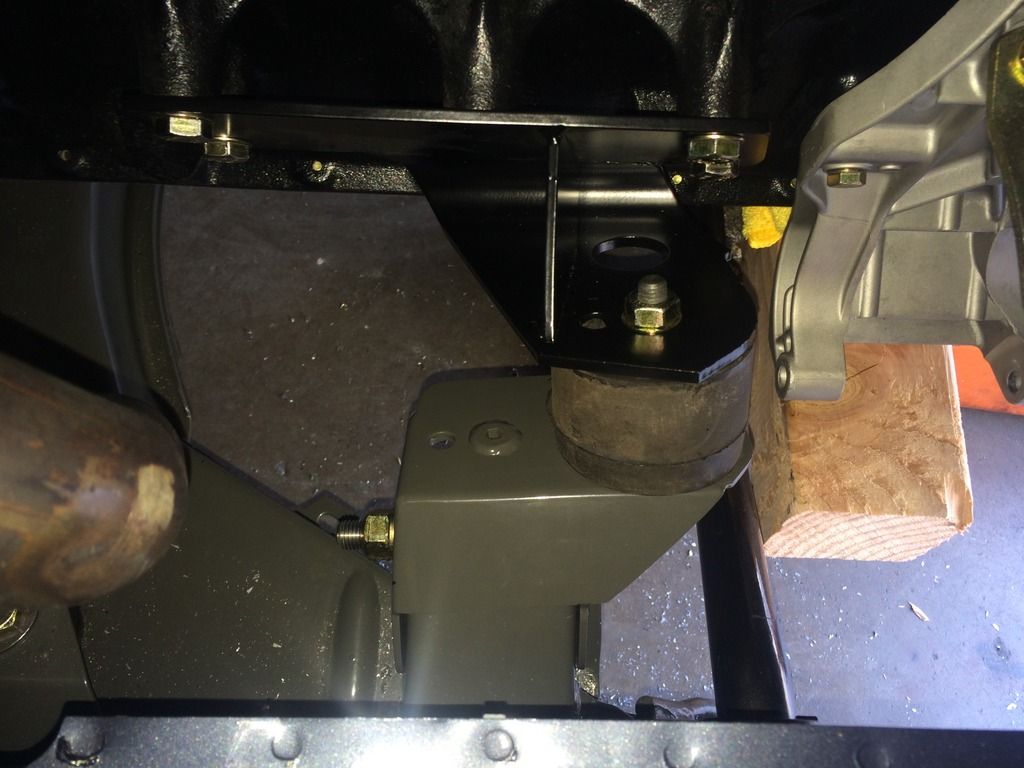
This is an adapter that fits over the mount on the subframe.


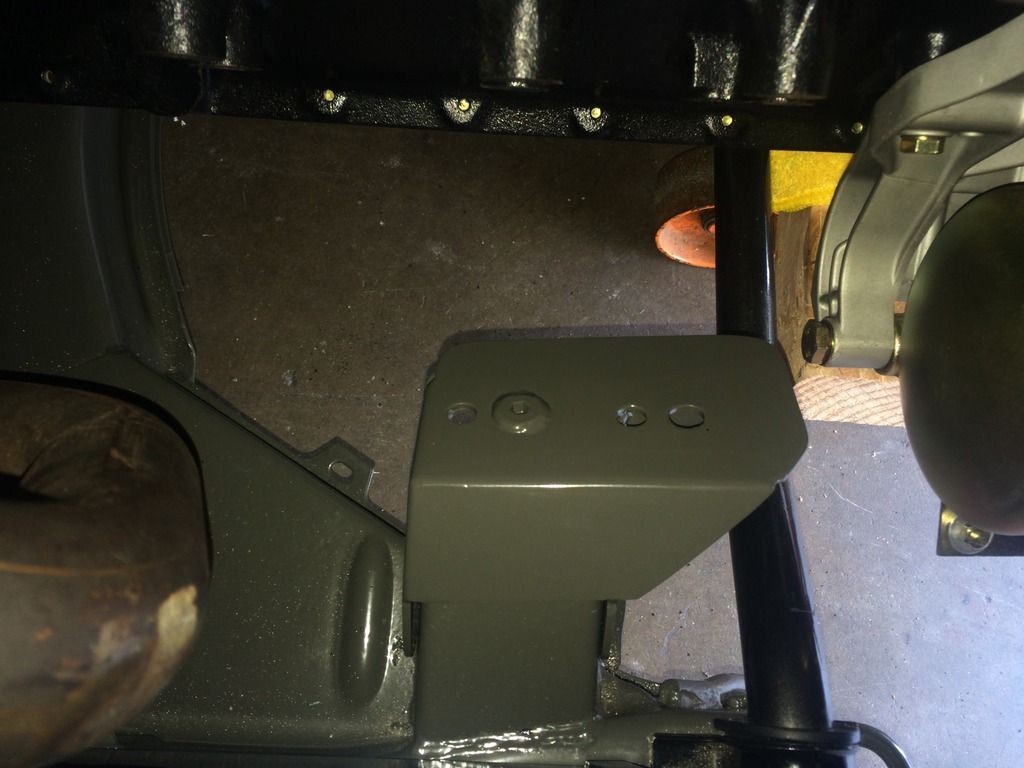
This combined with a modified bracket moves the mount forward allowing enough space for the headers. Fortunately the M90 block has two additional M10 bosses which we utilized for the bracket.


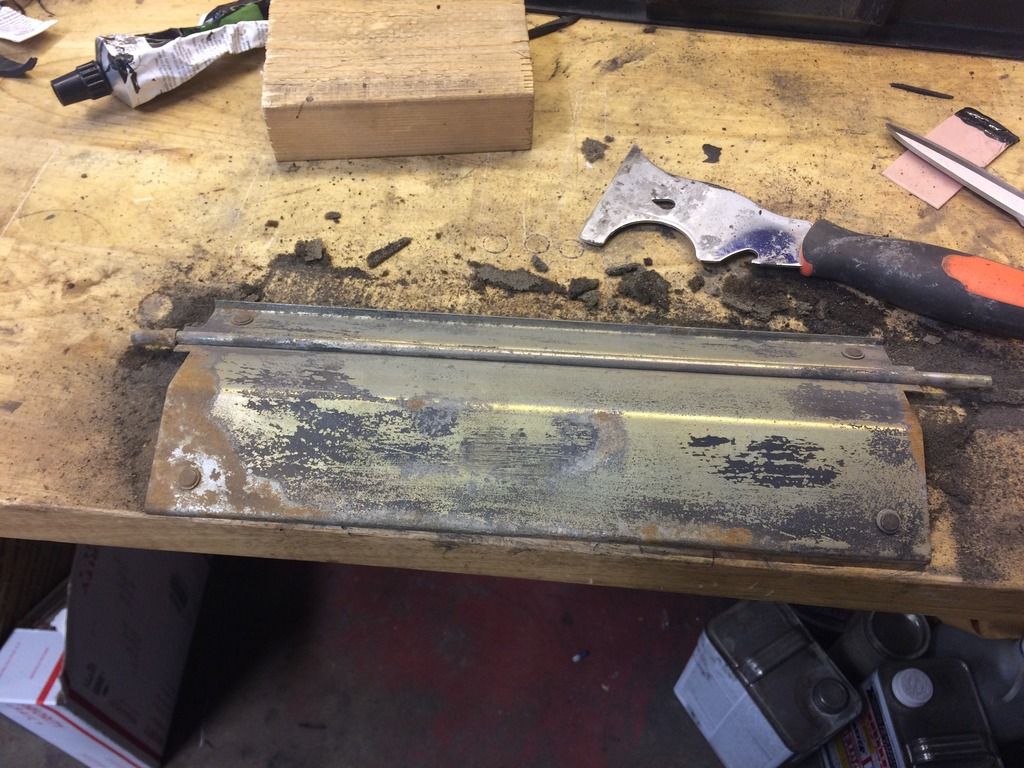
I also redid the heater box. Someone had sprayed some sort of undercoating on the box which was hard and brittle. I had to scrape then sand the heck out of the box. I also took the whole box apart so that I could clean the inside and replace on the foam on the flaps.


I cleaned the old foam off the flaps and replaced them with new foam. It's a bit of a bear doing this with just two hands. The foam goes around the top of the flaps and attaches on the other side. Two of the flaps utilize rivets as well as glue.


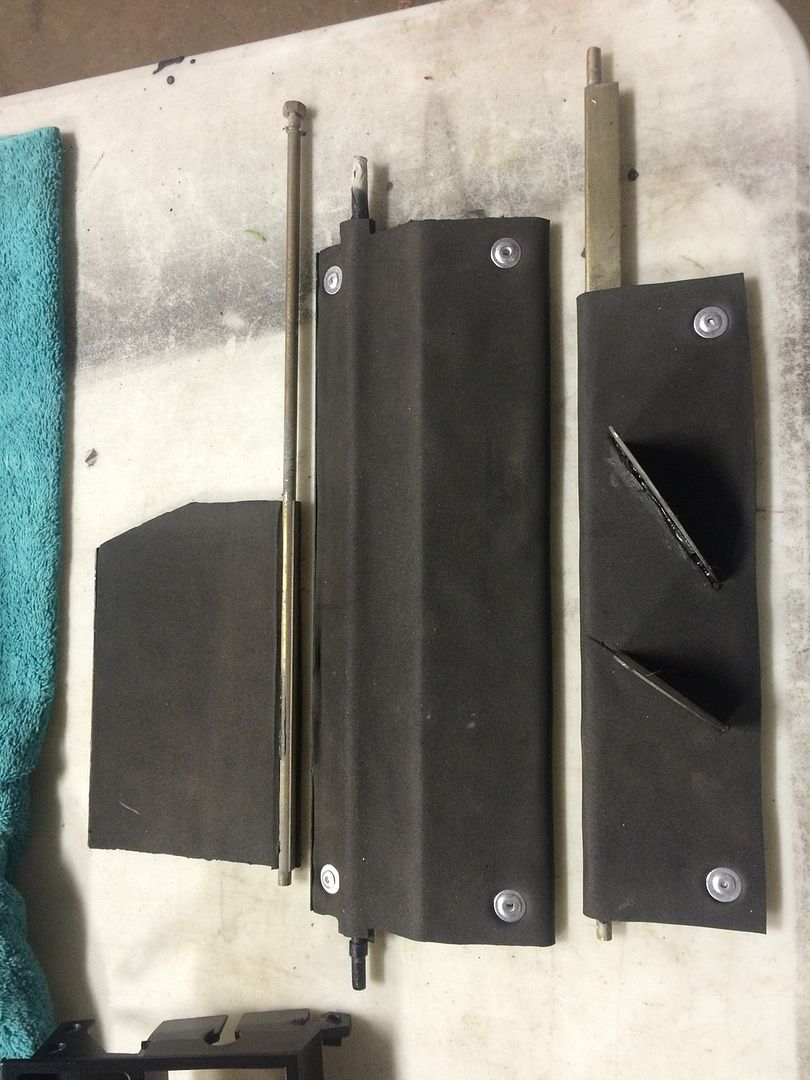
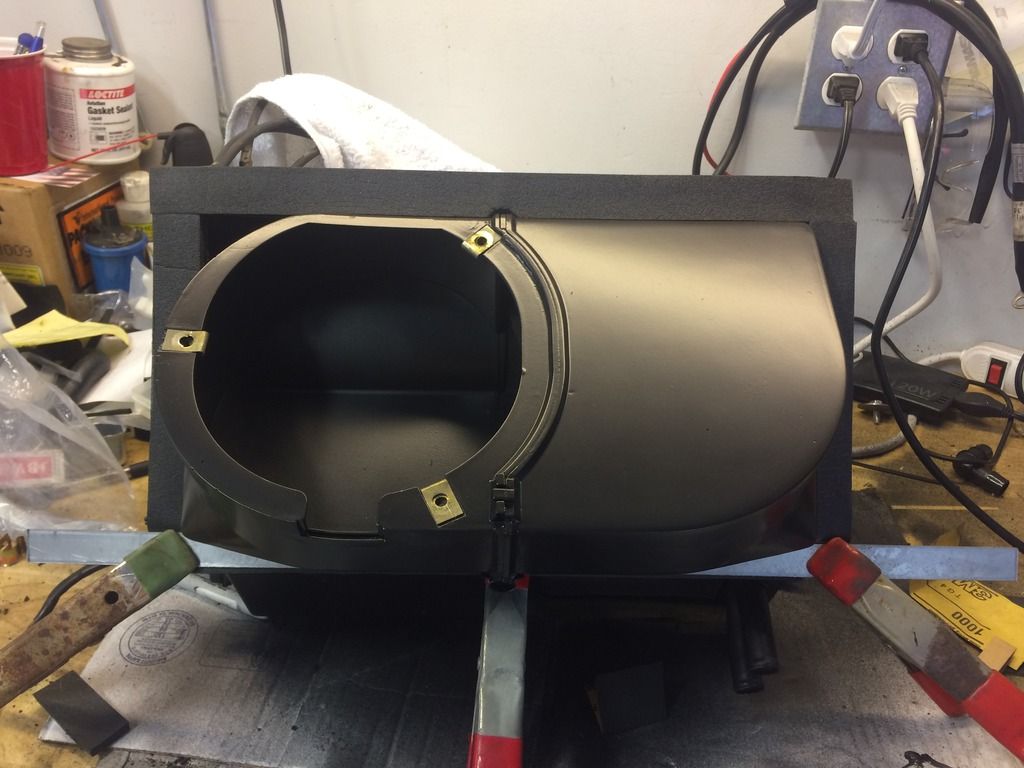
I lubricated and adjusted all the cables so the flaps open and close properly and shut tightly.

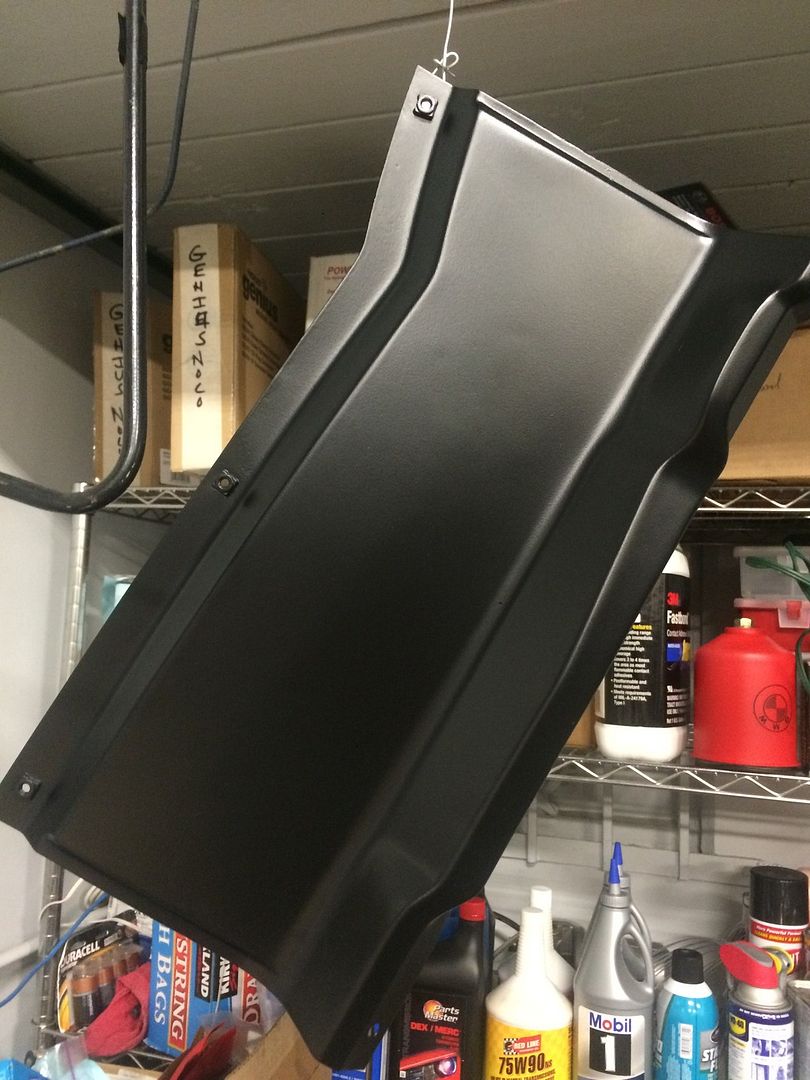
Heater box cover after dent removal.


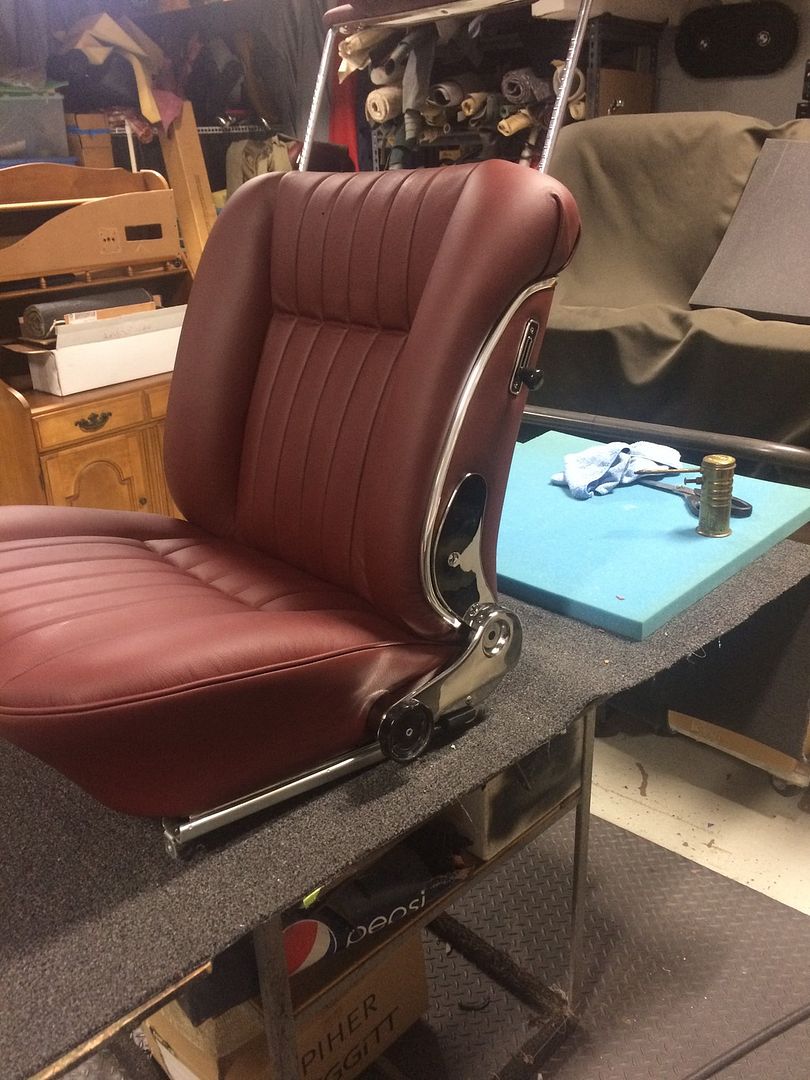
The seats are finished and now Juan is getting ready to start work on the door panels.

Here is one of the front seats.


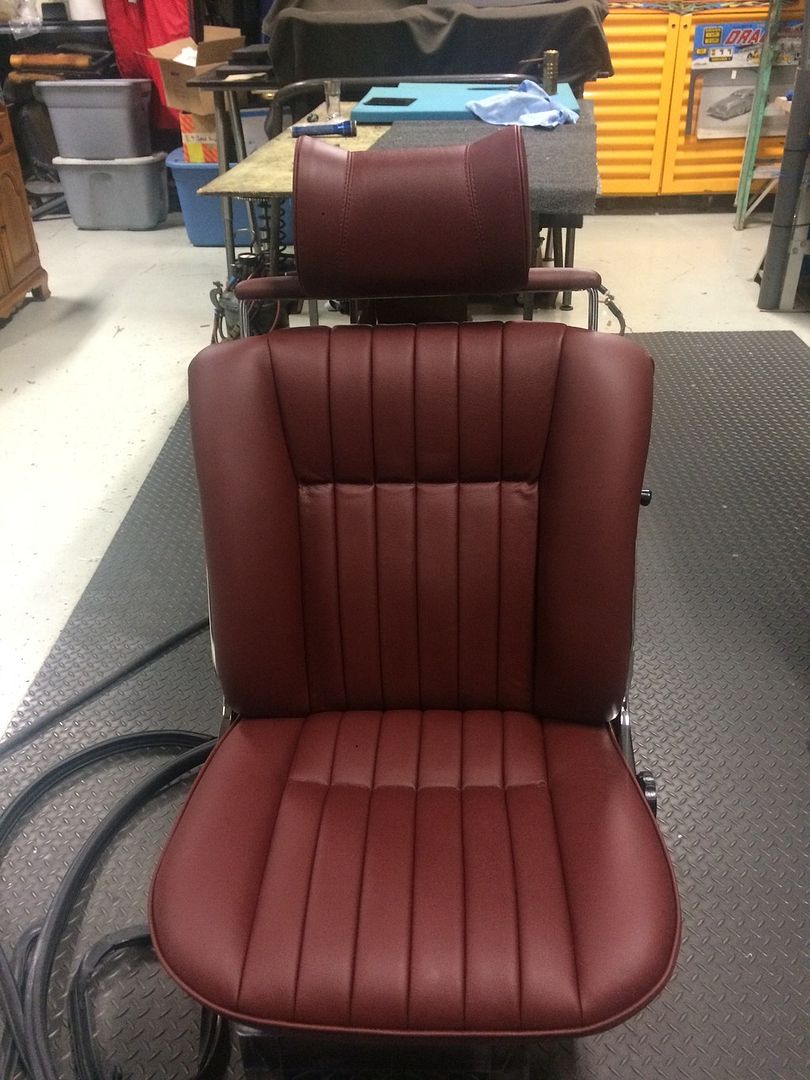
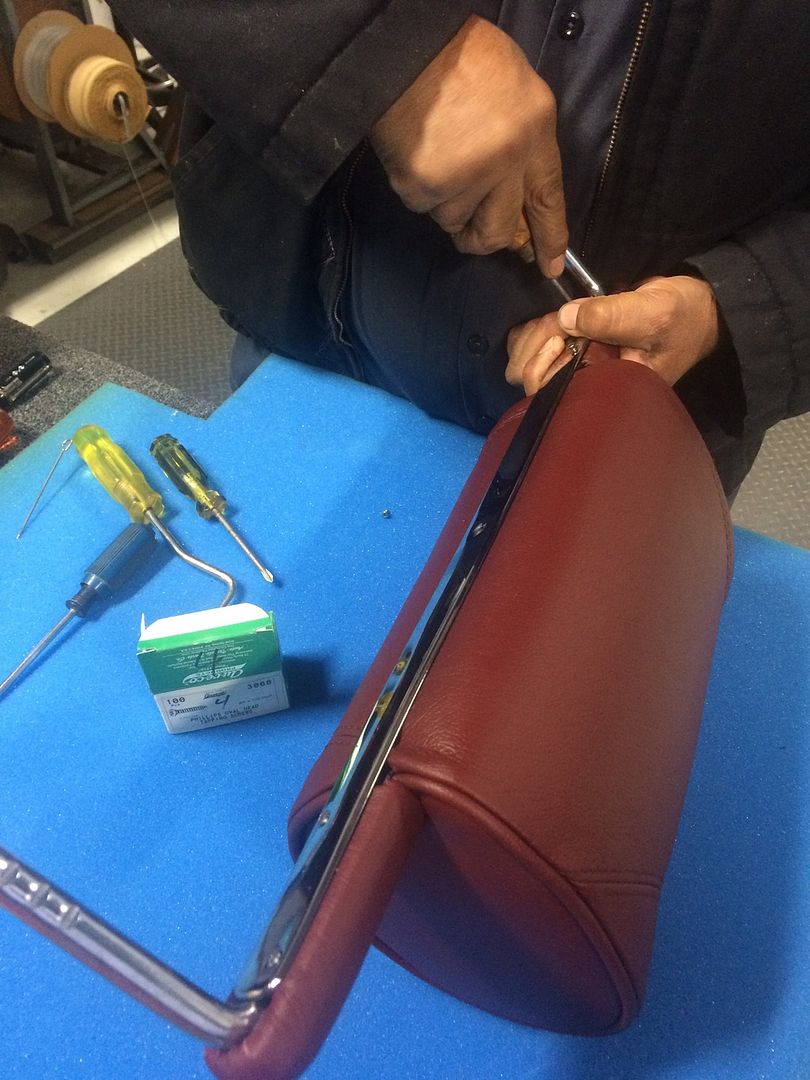
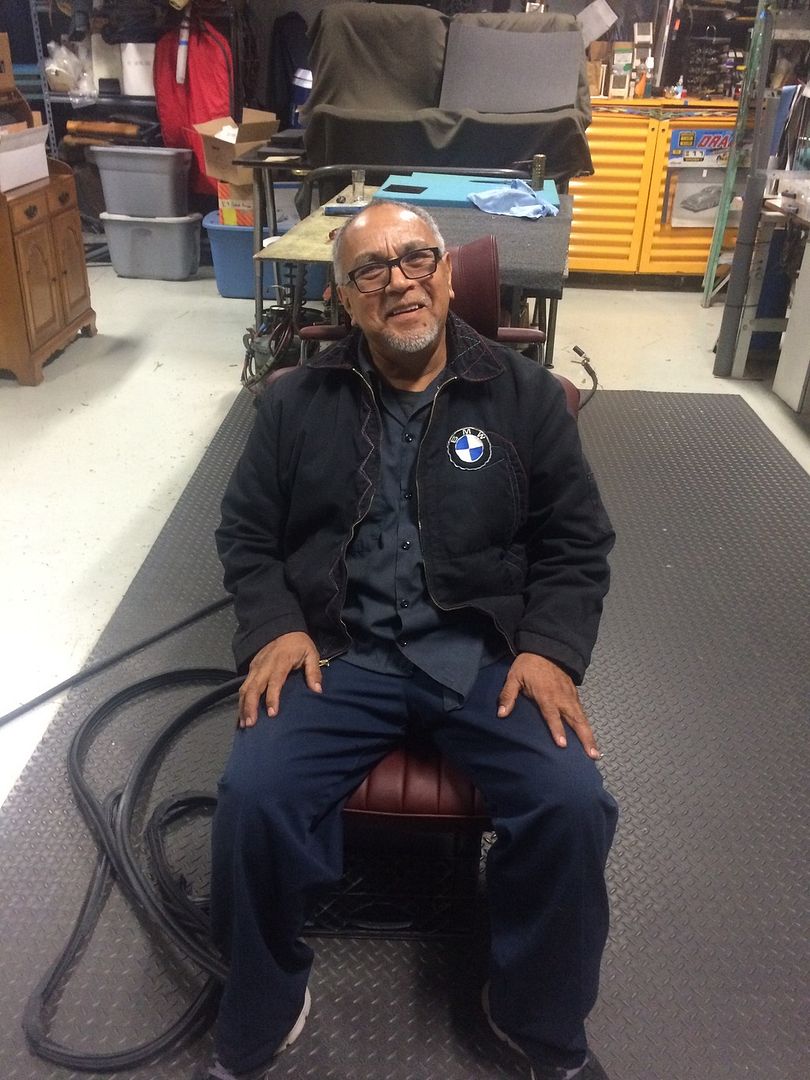
Juan inspecting his work.
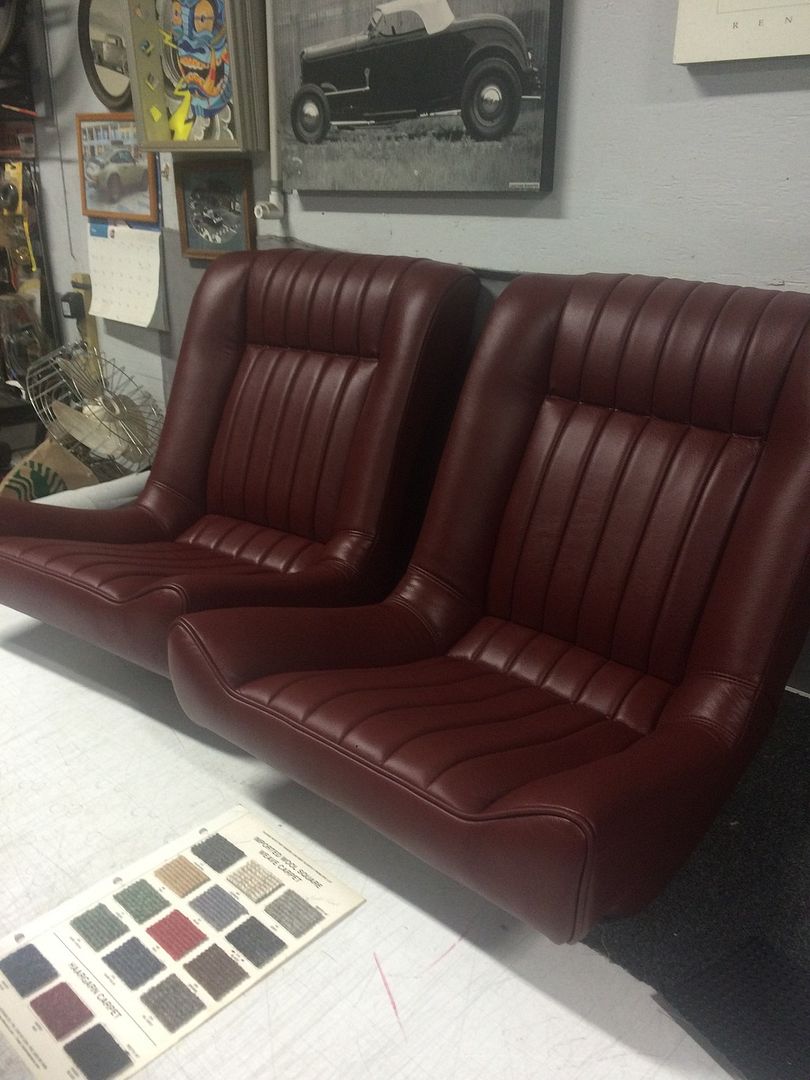

And the rear seats.

The rear armrests are finished, I just can't find the picture.

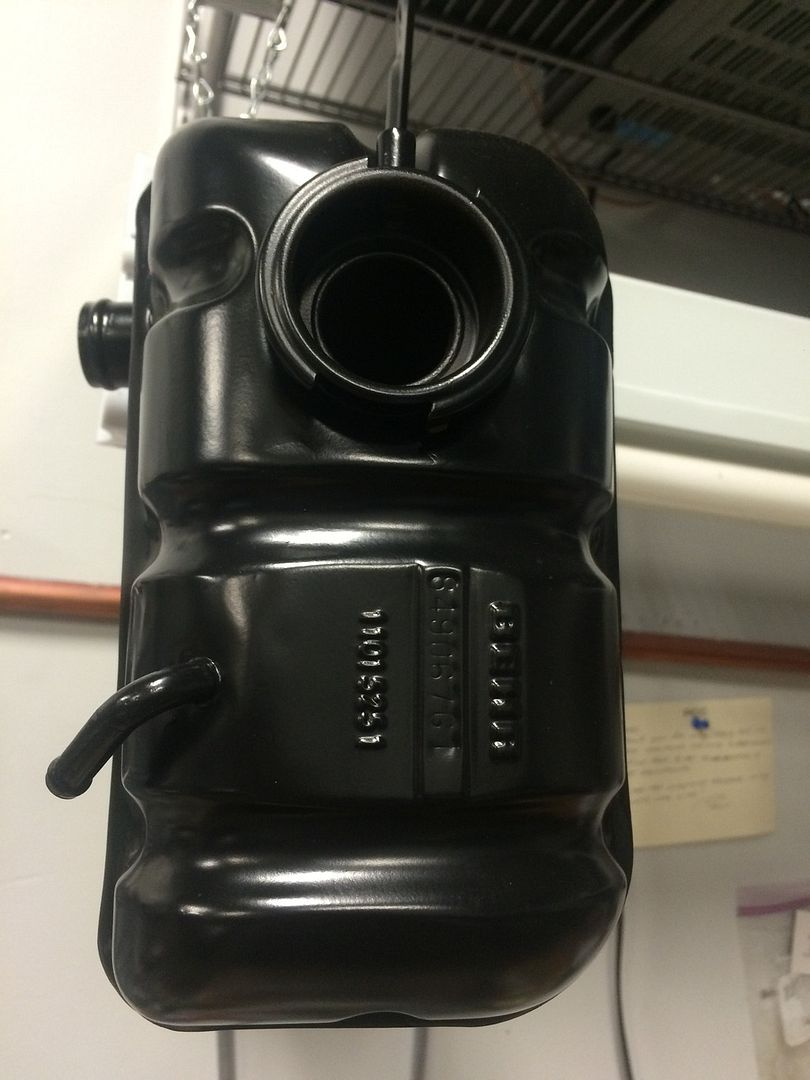
I haven't installed the overflow tank yet; but I got most of the dents out and then filled the rest. I had the tank pressure tested prior to doing the cosmetics.


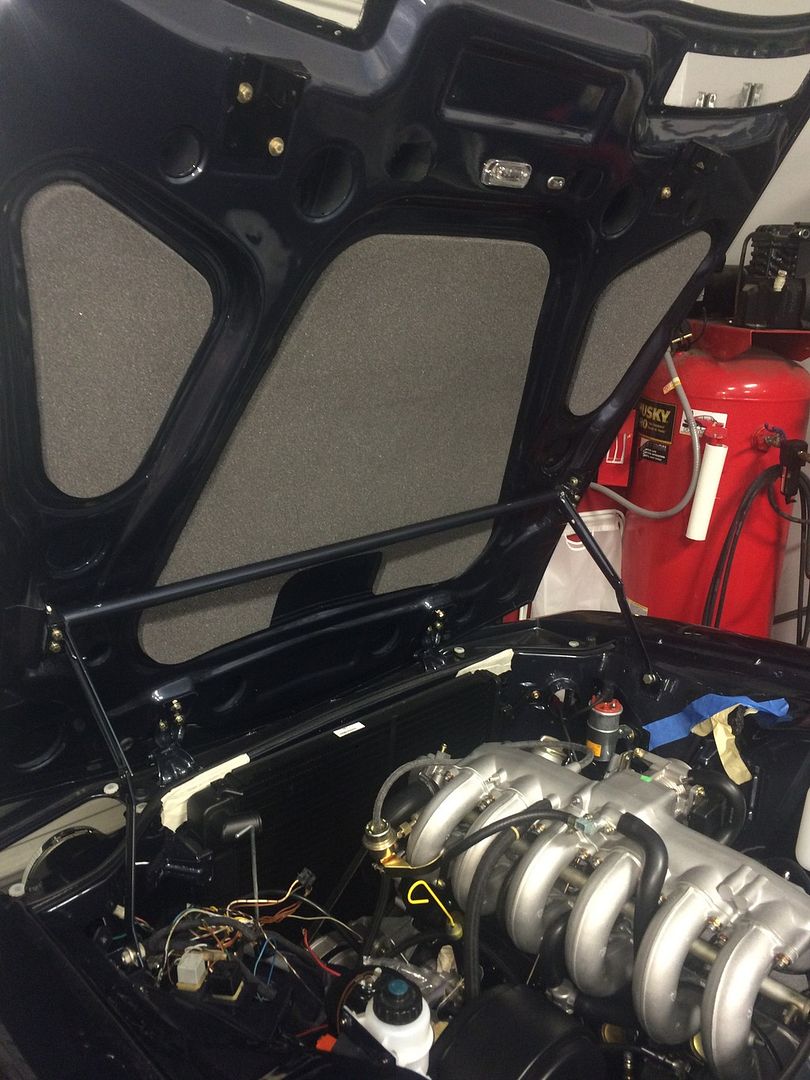
And the hood insulation is in.
 
Last edited:

rsporsche

Moderator
Site Donor $$
Messages
10,680
Reaction score
3,707
Location
Atlanta, GA
looking great Mike. so who did the seats, they look great. i would be interested in pix of the armrests. i will probably redo my side armrests with black leather ... but i want to find somebody that can do a great job.
 

OCCoupe

Well-Known Member
Site Donor
Messages
1,943
Reaction score
1,298
Location
Monterey, California
Scott I will get some pictures to you. Juan Ortiz did the seats. His shop is in the same complex as mine. He does great work.
 
Last edited:

dhanna

Well-Known Member
Messages
93
Reaction score
1
Location
San Diego
Dolly design

Really impressed with the dolly you've rigged up do you have measurements for that? would like to build a slightly taller one for the sand blasting and undercoating
 

OCCoupe

Well-Known Member
Site Donor
Messages
1,943
Reaction score
1,298
Location
Monterey, California
A little car porn.

These alpina headers came back from being jet coated on the outside with a copper ceramic coating on the inside.


FGS

Well-Known Member
Site Donor
Messages
156
Reaction score
28
Location
Milano - Italy
Congratulations for the stunning job! Those seats in particular are an eye candy.

I've a question: weren't the suspensions chassis painted in black?


If not, what is the color code of that stone grey?

Thanks!
 

Gransin

Well-Known Member
Site Donor
Messages
1,529
Reaction score
1,272
Location
Vasa, Finland
Just to state the obvious, car looks amazing and everything else also.
Nice leather-color on the seats, perfect match for the color on the car IMO.

Cheers,
 

HB Chris

Well-Known Member
Site Donor $$
Messages
19,418
Reaction score
8,759
Location
Huntington Beach, CA
Subframes came in both satin black and Mike's grey/green color, the 2002 models also used both colors. Can't figure out when they changed but I have seen both early and late cars with either color.
 
Top