Antennas were dealer installed, I have seen them on both front fenders and on the A pillar like in a 2002.
You are using an out of date browser. It may not display this or other websites correctly.
You should upgrade or use an alternative browser.
You should upgrade or use an alternative browser.
my NOS hirschmann antenna
- Thread starter deQuincey
- Start date
Antennas were dealer installed, I have seen them on both front fenders and on the A pillar like in a 2002.
Locally dealer (Swe) at that time always (as far as I know it) installed antennas at left front wing.
That's where it shows in the instructions also
Locally dealer (Swe) at that time always (as far as I know it) installed antennas at left front wing.
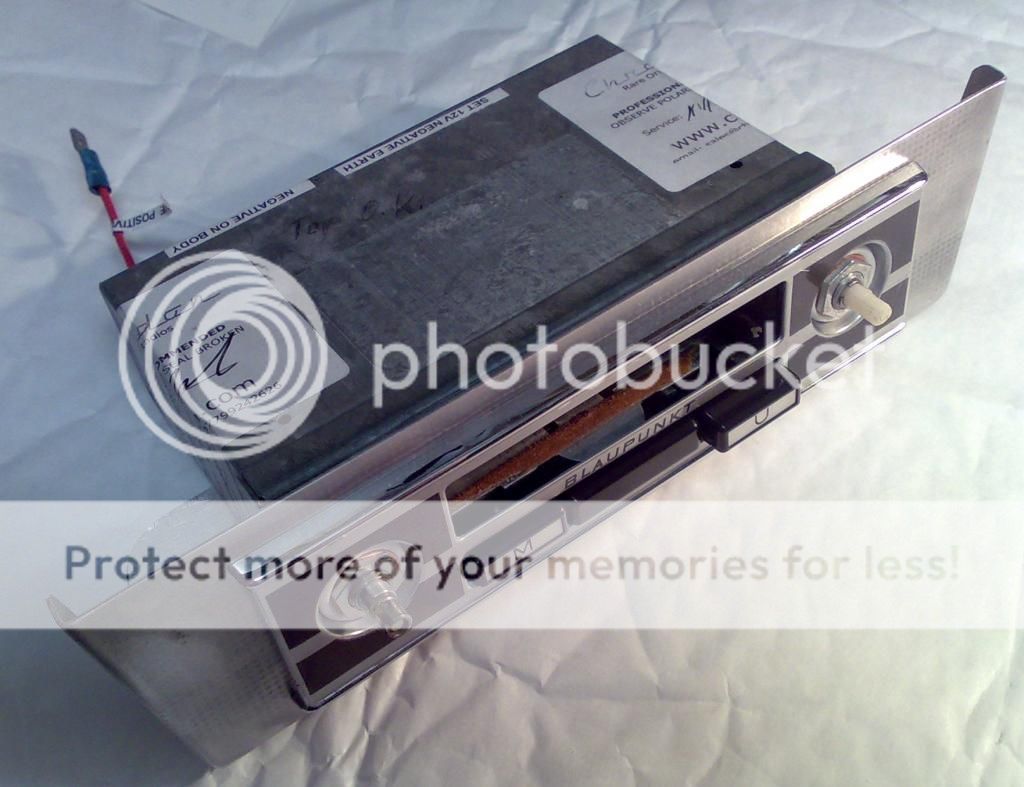
can you help me choosing the radio ?
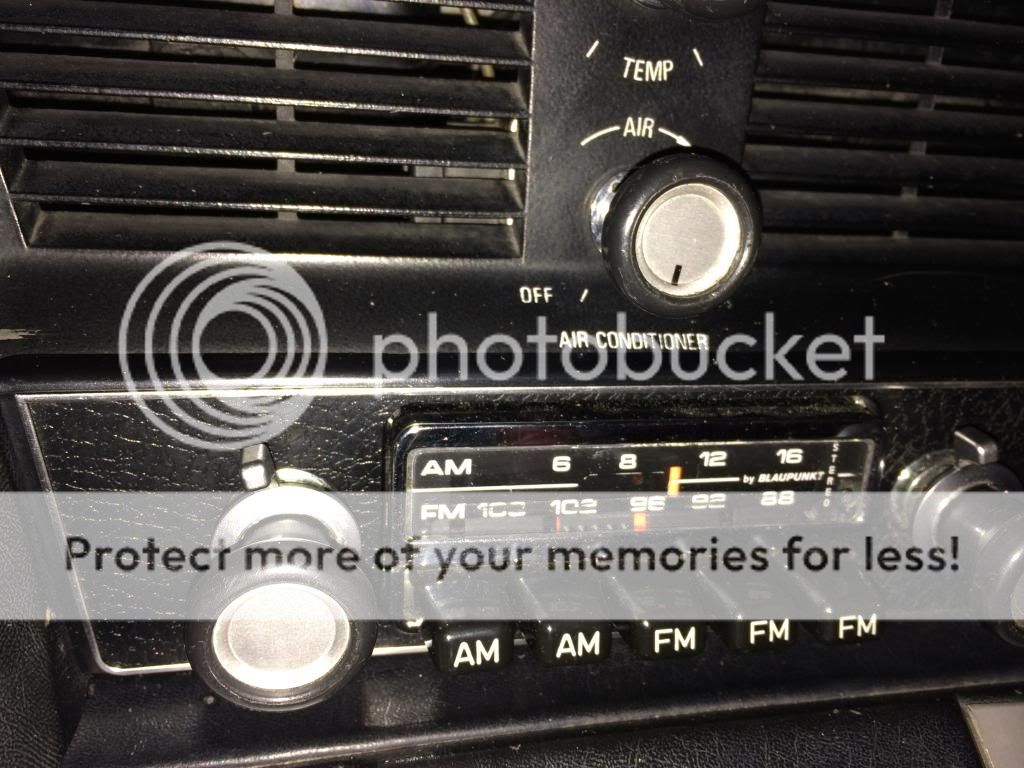
after seeing too many Becker mexico, europa, and so on without a flutter of my heart, i found these Little blaupunkts
love them, but i can not put both, see the pics, only two models are pictured
opinions, please ? (choose between "orange dial" and "no dial" respectively to identlfy them)
thanks


after seeing too many Becker mexico, europa, and so on without a flutter of my heart, i found these Little blaupunkts
love them, but i can not put both, see the pics, only two models are pictured
opinions, please ? (choose between "orange dial" and "no dial" respectively to identlfy them)
thanks


I like the no dial one with the short wave band
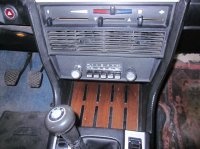
i will show the place for the radio
just under the gauges:

just under the gauges:

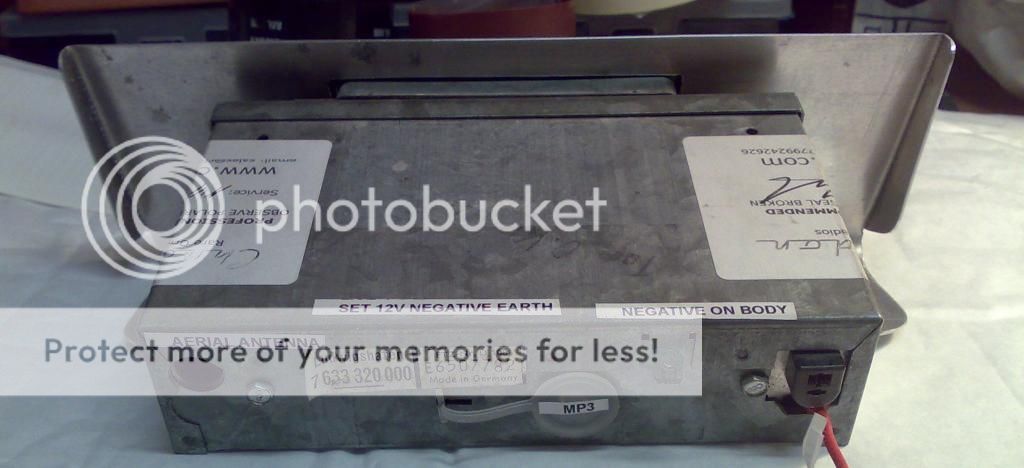
The one on right appears to be a Ludwigshafen, 73 vintage never sold over here, not stereo. The number starts with 7633, the fourth number or 3 means 1973. The one on left is a Coburg vintage 1971, should be 7631730. Don't know much else about them.7TThhe model number stasrts33 320 Ludwigshafen
Last edited:
for comparison purposes...

for comparison purposes...L]
excellent stan, that is the "right" one, but together with the becker mexico, europa, and others i must say not my cup of cofee, i do not like that setup in my coupe
:cry:
Do you like this one?
http://www.ebay.com/itm/Blaupunkt-V...Parts_Accessories&hash=item2eda953325&vxp=mtr
http://www.ebay.com/itm/Blaupunkt-V...Parts_Accessories&hash=item2eda953325&vxp=mtr
i am sorry, not that one either
I like the Blaupunkt on top more than the one with the orange dial. I find the Orange dial script more suitable to an American car.
good choice, it is a superior radio, but more complicated, as it has an autosearch
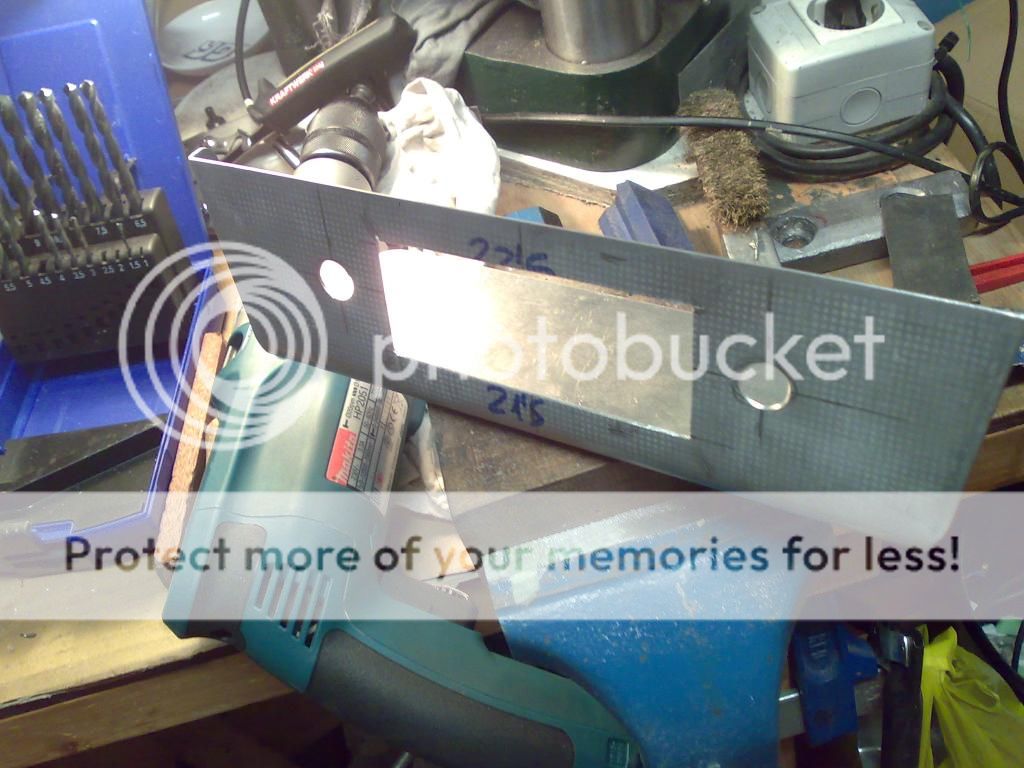
a mockup and how to place it
definition, setup: I can not get rid of gauges, and I can not place gauges under the radio (not enough width available, gauges must stay there, so radio goes under gauges.
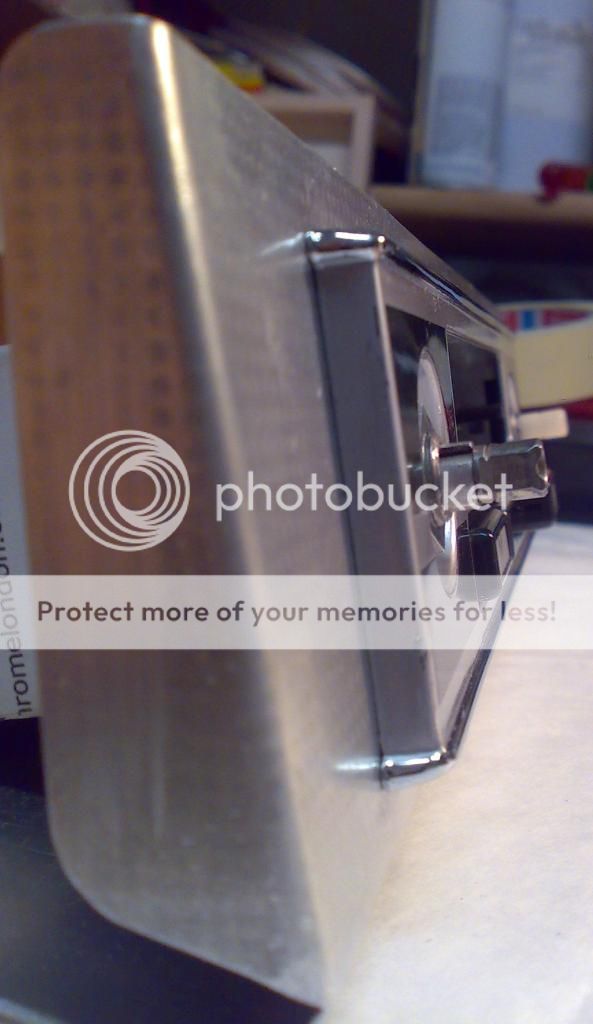
comparing both radios: Orange needle dial marked as "orange"
see how body size affects the angle between the radio fascia and the gauges baseplate


and the winner is:

my only choice is the orange needle one, this model has the same faceplate, but is slightly smaller tan the usual radio, this means that i can accomodate it in the available hole, fascia is facing drivers eyes, and i can keep a portion of Wood below
radio faceplate flows elegant from gauges faceplate with the curve of the lateral panels towards the gearbox console
nice, IMHO, so, lets get that one,...;-)
definition, setup: I can not get rid of gauges, and I can not place gauges under the radio (not enough width available, gauges must stay there, so radio goes under gauges.
comparing both radios: Orange needle dial marked as "orange"
see how body size affects the angle between the radio fascia and the gauges baseplate


and the winner is:

my only choice is the orange needle one, this model has the same faceplate, but is slightly smaller tan the usual radio, this means that i can accomodate it in the available hole, fascia is facing drivers eyes, and i can keep a portion of Wood below
radio faceplate flows elegant from gauges faceplate with the curve of the lateral panels towards the gearbox console
nice, IMHO, so, lets get that one,...;-)
Last edited:
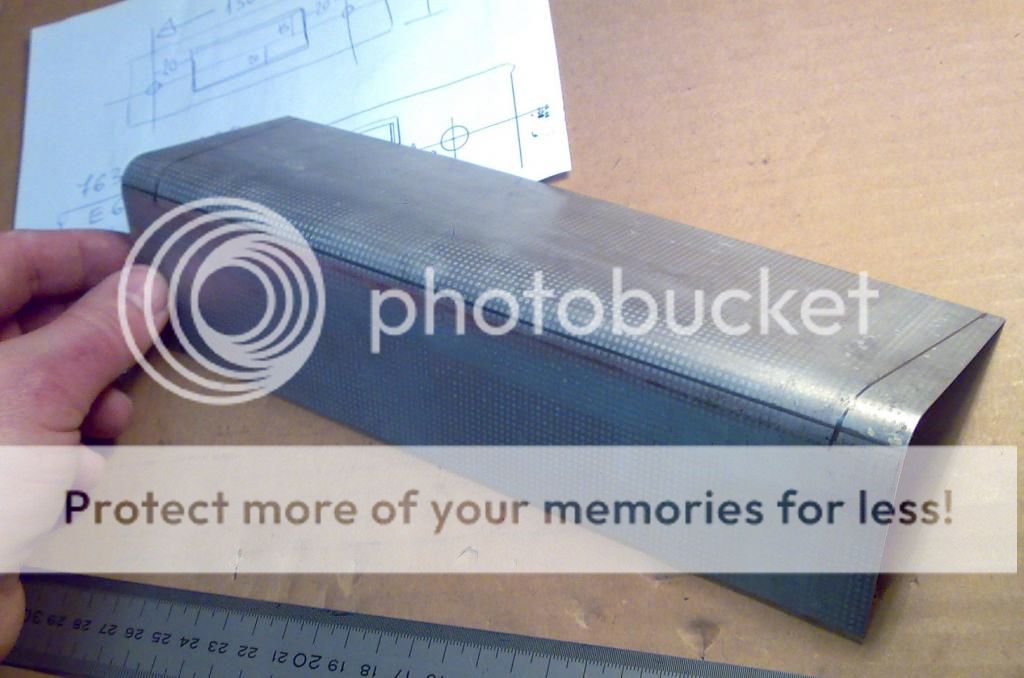
lets prepare the support

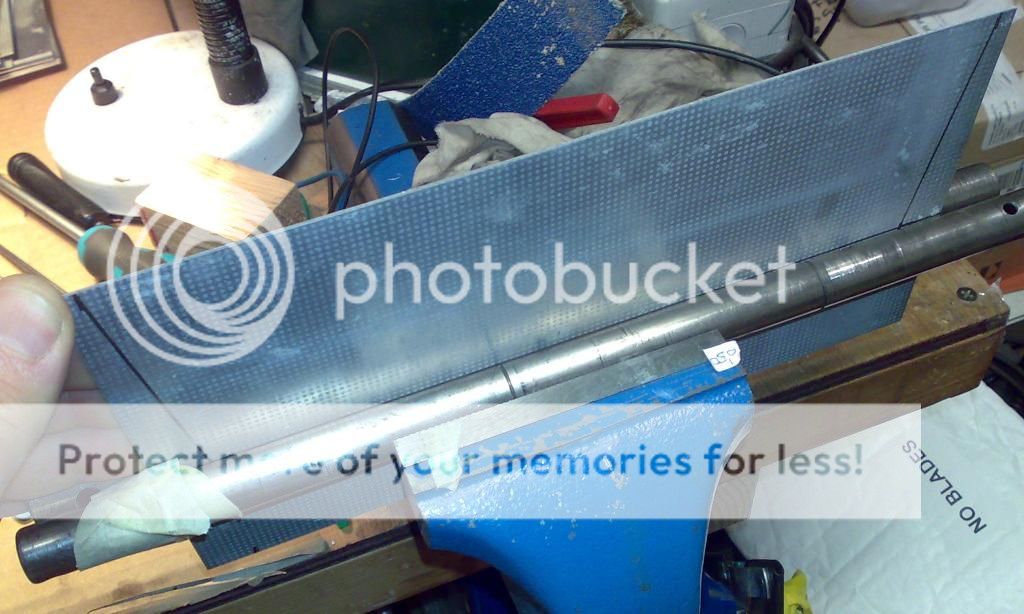


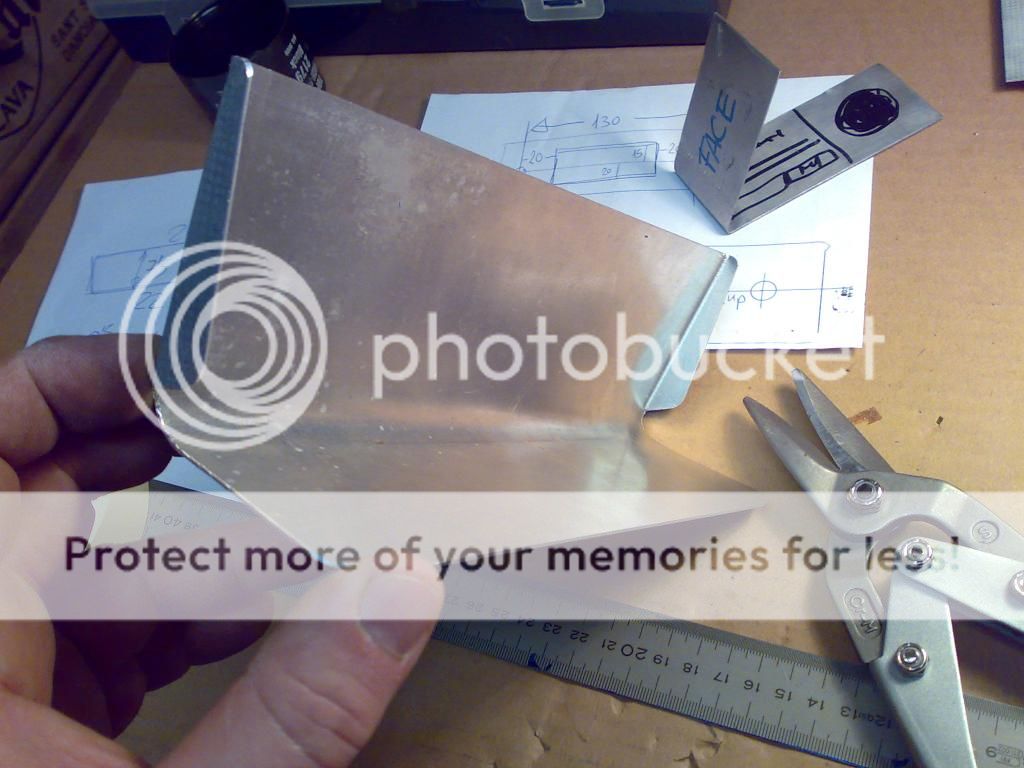

before any cutting i must check in the car console


before any cutting i must check in the car console
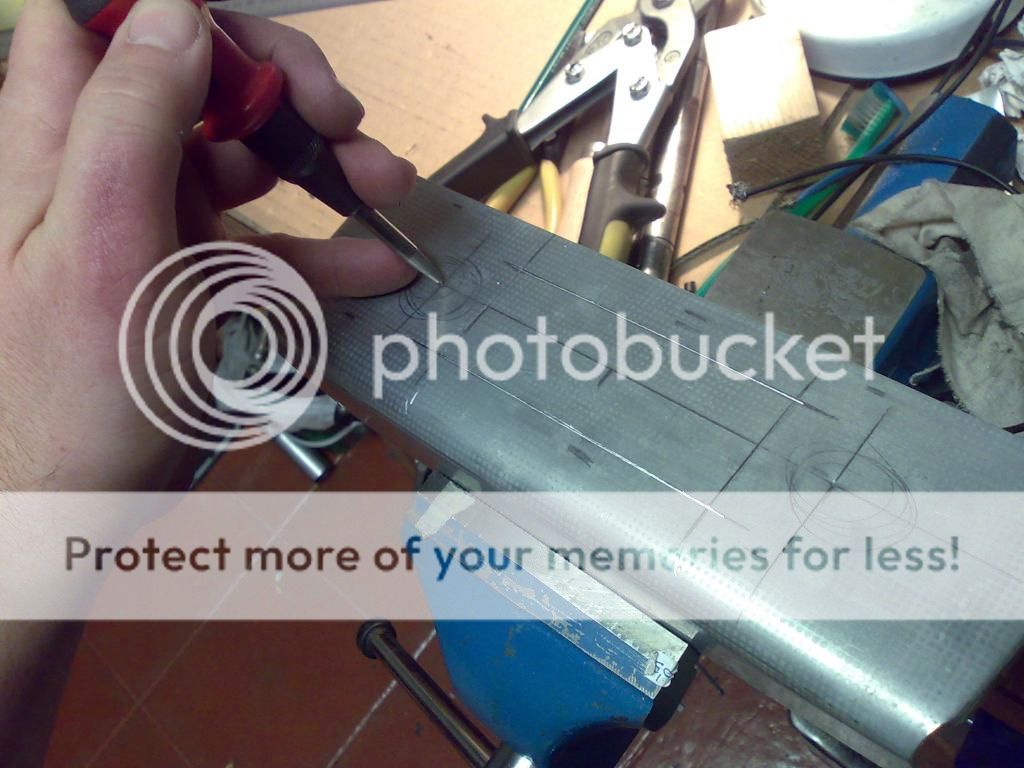
checked, not bad, but i have to made some changes, a better matching to left lateral, and change angle

just added the gearshift pattern sticker ;-)

just added the gearshift pattern sticker ;-)
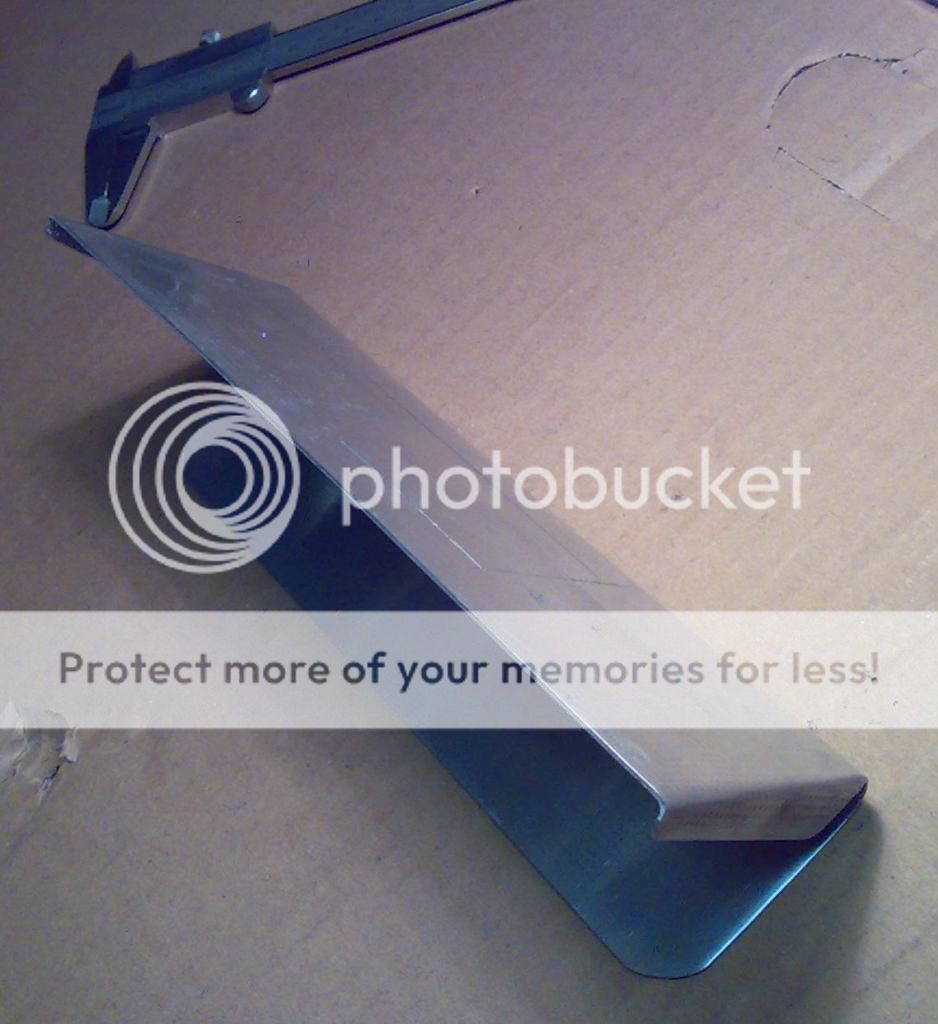
just have to start again
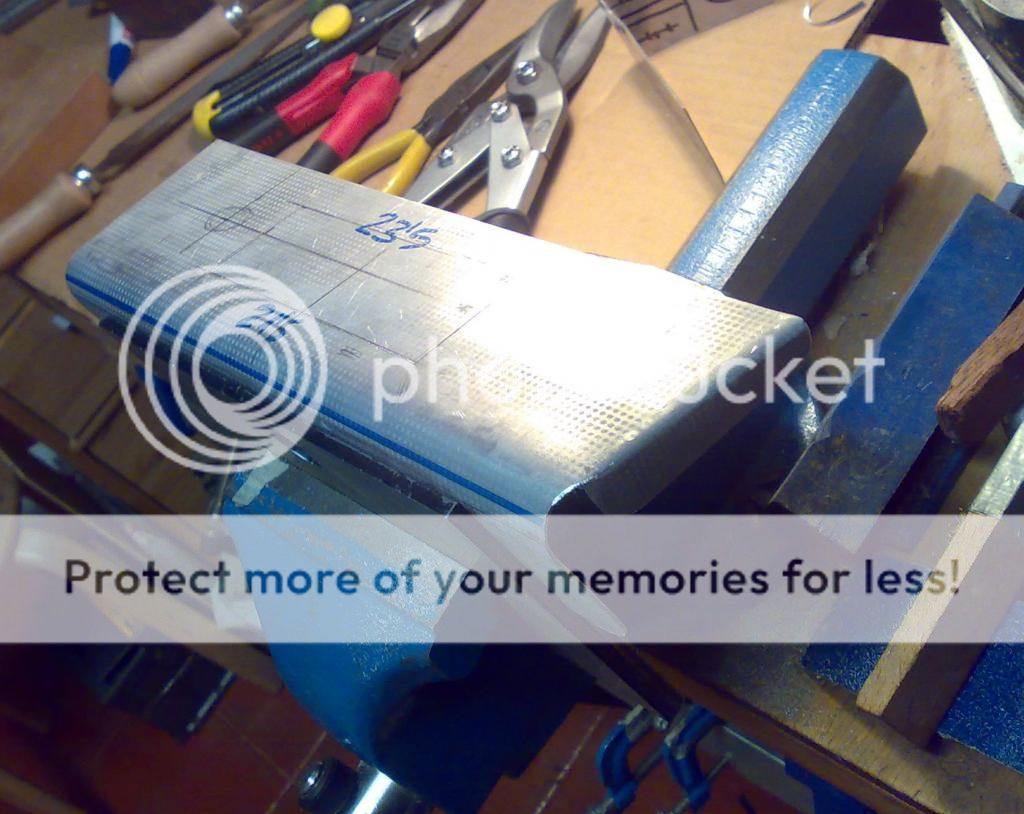


ready for paint


ready for paint
Comment and hijack
Nice deQ, amazing what can be done with the simplest if tools. I have a favor to ask- if you ever get time, (your picture reminded me) I am having a devil of a time getting my gauges to work; I hooked them up per the directions and they go wonky so I unplugged them for the mean time. I hooked the lights up to the headlamp light switch which resulted in intermittently blowing fuse #1 & 2. I have said it before I am "electrically challenged" or some might say electrically "special", anyhow, if you could draw a picture some time it would be appreciated. My blue coupe developed a small leak in the radiator core in a place that is really hard to determine but got a nice aluminum one from a forum member") and the new steering wheel has got to be put on and the trim pieces on the interior of the roof now that I had the headliner done so I have lots of stuff to do (there are benefits of ADD ) or as my son would say I have ADDDDDDD.
and the new steering wheel has got to be put on and the trim pieces on the interior of the roof now that I had the headliner done so I have lots of stuff to do (there are benefits of ADD ) or as my son would say I have ADDDDDDD.
Again, great looking radio piece. You probably have all the tricks but I was able to get really close on the original texture by using "trunk spatter paint" then sanding it to the desired texture and painting black- but I'm sure you have that covered.
Thanks
Nice deQ, amazing what can be done with the simplest if tools. I have a favor to ask- if you ever get time, (your picture reminded me) I am having a devil of a time getting my gauges to work; I hooked them up per the directions and they go wonky so I unplugged them for the mean time. I hooked the lights up to the headlamp light switch which resulted in intermittently blowing fuse #1 & 2. I have said it before I am "electrically challenged" or some might say electrically "special", anyhow, if you could draw a picture some time it would be appreciated. My blue coupe developed a small leak in the radiator core in a place that is really hard to determine but got a nice aluminum one from a forum member
and the new steering wheel has got to be put on and the trim pieces on the interior of the roof now that I had the headliner done so I have lots of stuff to do (there are benefits of ADD ) or as my son would say I have ADDDDDDD.Again, great looking radio piece. You probably have all the tricks but I was able to get really close on the original texture by using "trunk spatter paint" then sanding it to the desired texture and painting black- but I'm sure you have that covered.
Thanks
Nice deQ, amazing what can be done with the simplest if tools. I have a favor to ask- if you ever get time, (your picture reminded me) I am having a devil of a time getting my gauges to work; I hooked them up per the directions and they go wonky so I unplugged them for the mean time. I hooked the lights up to the headlamp light switch which resulted in intermittently blowing fuse #1 & 2. I have said it before I am "electrically challenged" or some might say electrically "special", anyhow, if you could draw a picture some time it would be appreciated. My blue coupe developed a small leak in the radiator core in a place that is really hard to determine but got a nice aluminum one from a forum member
Again, great looking radio piece. You probably have all the tricks but I was able to get really close on the original texture by using "trunk spatter paint" then sanding it to the desired texture and painting black- but I'm sure you have that covered.
Thanks
hi peter, i dont know if this would help you,
http://www.e9coupe.com/forum/showthread.php?t=9513