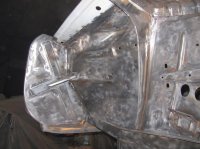
Holes
Arnie,
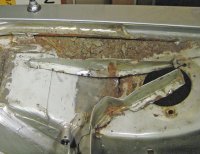
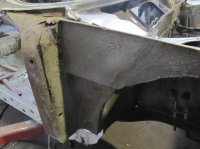
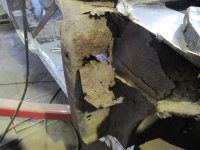
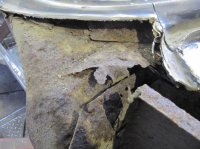
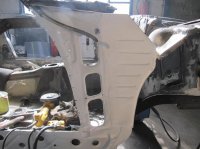
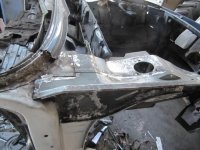
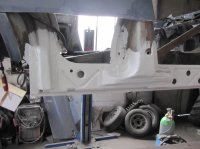
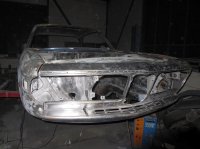
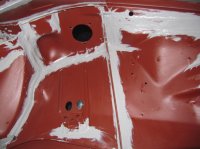
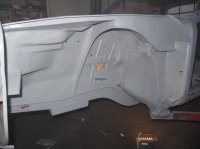
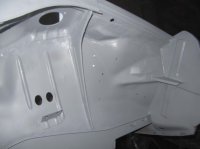
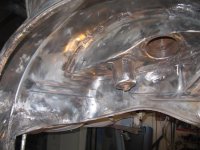
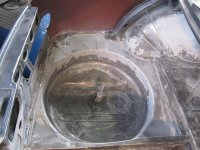
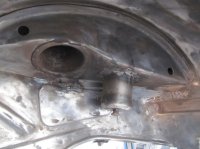
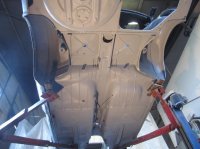
I think those holes are for drainage. With the outer fender in place you can reach up underneath and almost put your finger tips into the gutter formed by the inner and outer fender overlap. You remember all the dirt/rust that came out when you took it apart? I left the holes (although I don't remember them being that large) and installed a foam strip that I compressed to fill the opening between the inner fender lip and the underside of the outer fender to keep most water and dirt from getting into the gutter space.
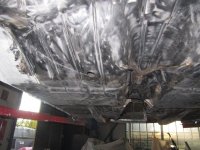
From your photos and the speed of your progress, you make the work look easy. Well done.
Arnie,
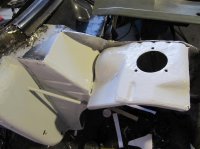
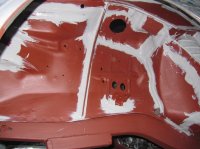
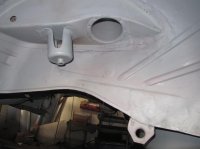
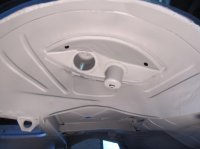
I think those holes are for drainage. With the outer fender in place you can reach up underneath and almost put your finger tips into the gutter formed by the inner and outer fender overlap. You remember all the dirt/rust that came out when you took it apart? I left the holes (although I don't remember them being that large) and installed a foam strip that I compressed to fill the opening between the inner fender lip and the underside of the outer fender to keep most water and dirt from getting into the gutter space.
From your photos and the speed of your progress, you make the work look easy. Well done.