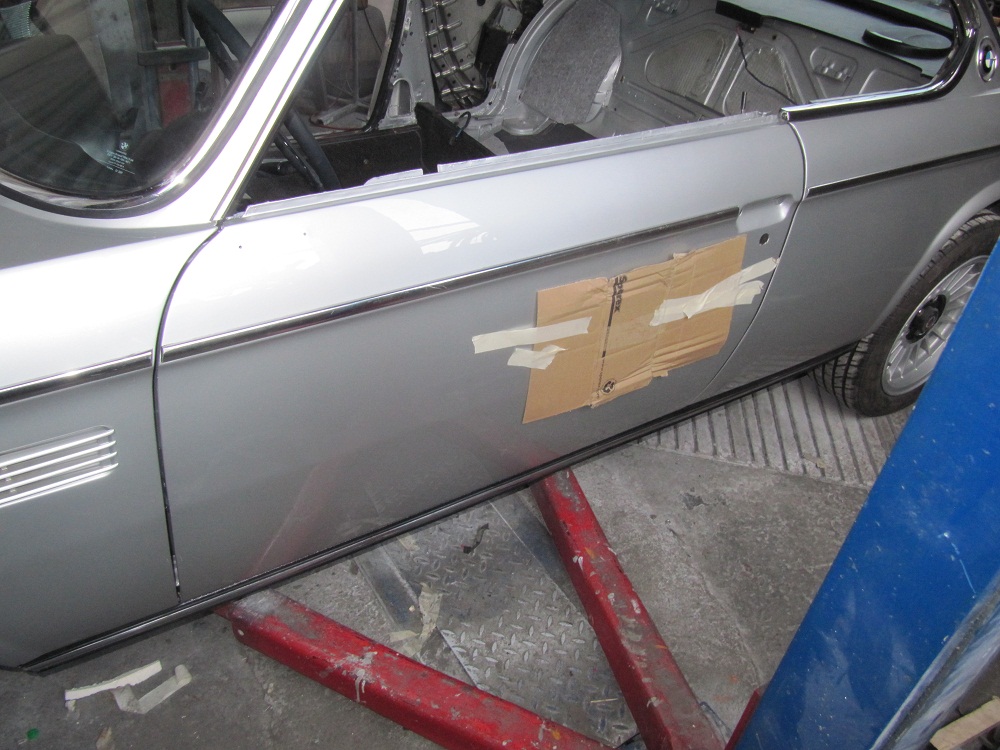
skin exchanges started

I would agree and I also considered to keep at least the doors inside the body, but they told me, that it also depends on the paint system, which you are using, if this is a 100 % must or not. So they have the experiences and I need to trust :p

I took the "old style" paint system, not the water based one, coming in one single 5 litre can and the paint was prepared with the thinner in one batch. The single parts were painted in the orientation of their mounting positions inside the body an the guy didn't change. So the risk shouldn't be too high, that there will be recognisable differences.

I'll see it in about 2 hours, when it get's back to my garage. :roll:
 
Very nice Ingo. I bet you can't wait to bolt some shiny bits on. Are you planning to wet sand the clear?
 
Again, u r right Bob :razz:

and thx for the compliment.

I have the car back and can't wait to start to complete it now. I won't wet sand and polish the clear. The finish is already more than perfect for me. I really love the result.

Ingo
 
I took the "old style" paint system, not the water based one, coming in one single 5 litre can and the paint was prepared with the thinner in one batch. The single parts were painted in the orientation of their mounting positions inside the body an the guy didn't change. So the risk shouldn't be too high, that there will be recognisable differences.

It sounds like your paint guy knows what he is doing so it should be fine.

I am a little surprised that the green party lets you paint with chemicals.
 
pls don't tell me anything about the green party ;-)

The German rules in regards to the paint systems are rather ridiculous imho.

So in Germany for industrial paintings it's still allowed to take solvents containing paint.
This is also valid for the paint of classic cars when you do the complete thing and not a simple repair of single parts (like just a door, a single fender or whatever).
Don't ask me about the sense behind this strange rule.

I've had a nice opportunity to get Sikkens base coat for a really good price and decided not to take the waterbased stuff.

It worked out pretty nice apparently. Got the car back yesterday and can't see any mismatch between the body and the parts

cheers

Ingo
 
You can always say that the electricity for the air compressor that was used to paint your car came from a green energy source, so that counteracts any bad effects on the environment from using a chemical based paint. ;-)
 
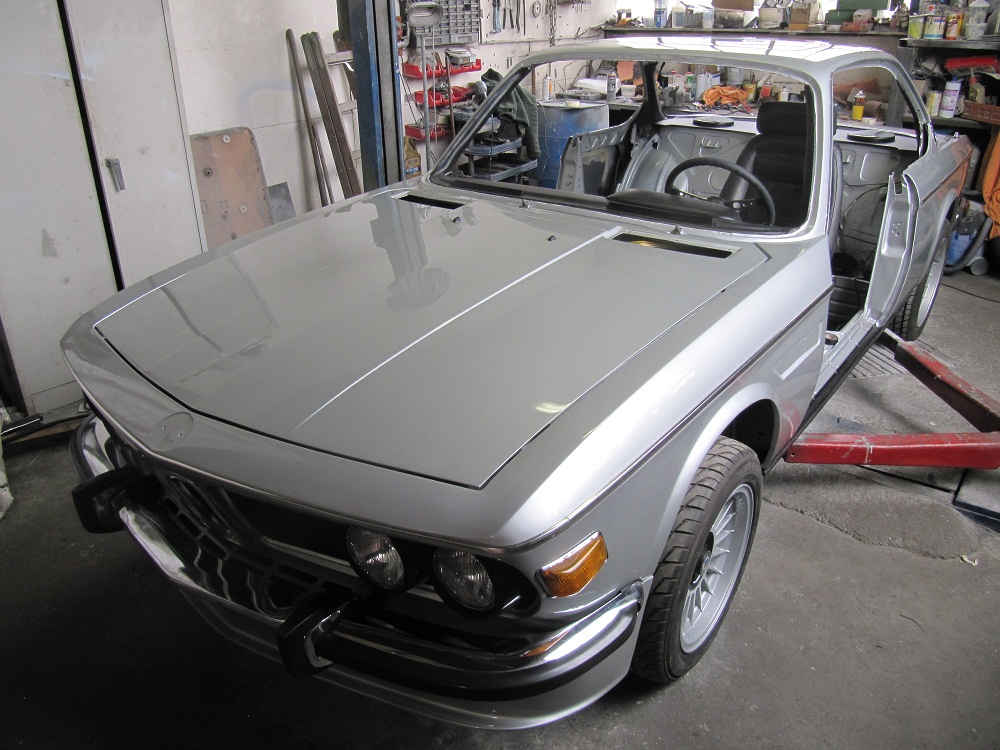
short update from the assembly.

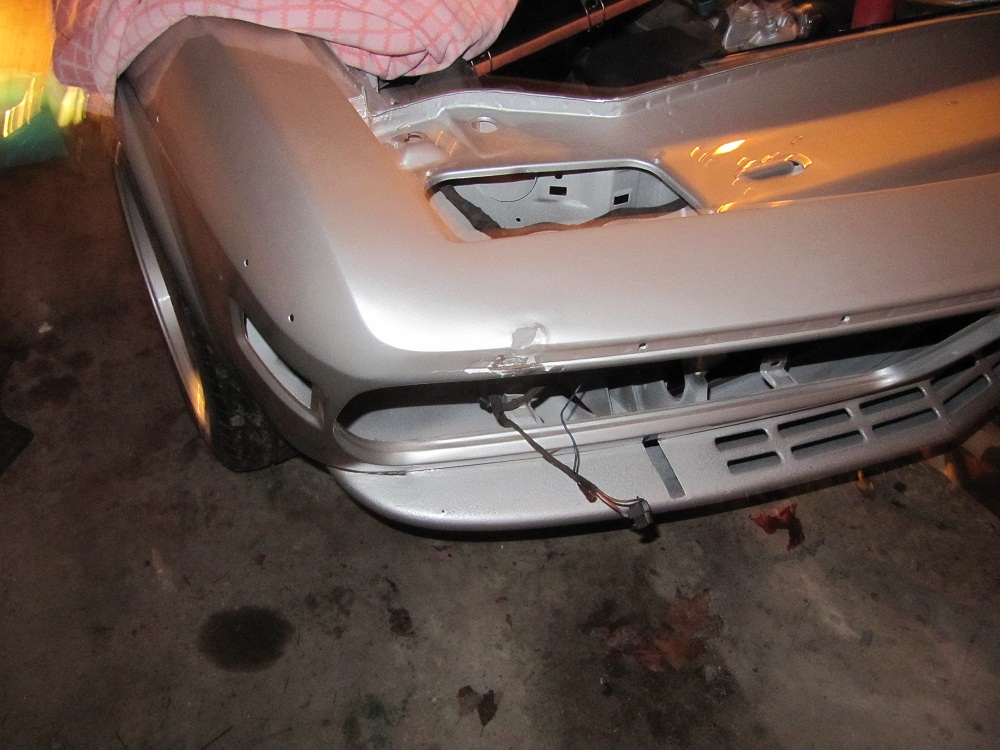
after a really ugly incident right at the beginning (2 days after it went out of the spray cabin, the nose hit the vertex of a sideboard in my garage / already repaired (the nose, not the sideboard :-o) the process further on went pretty well.

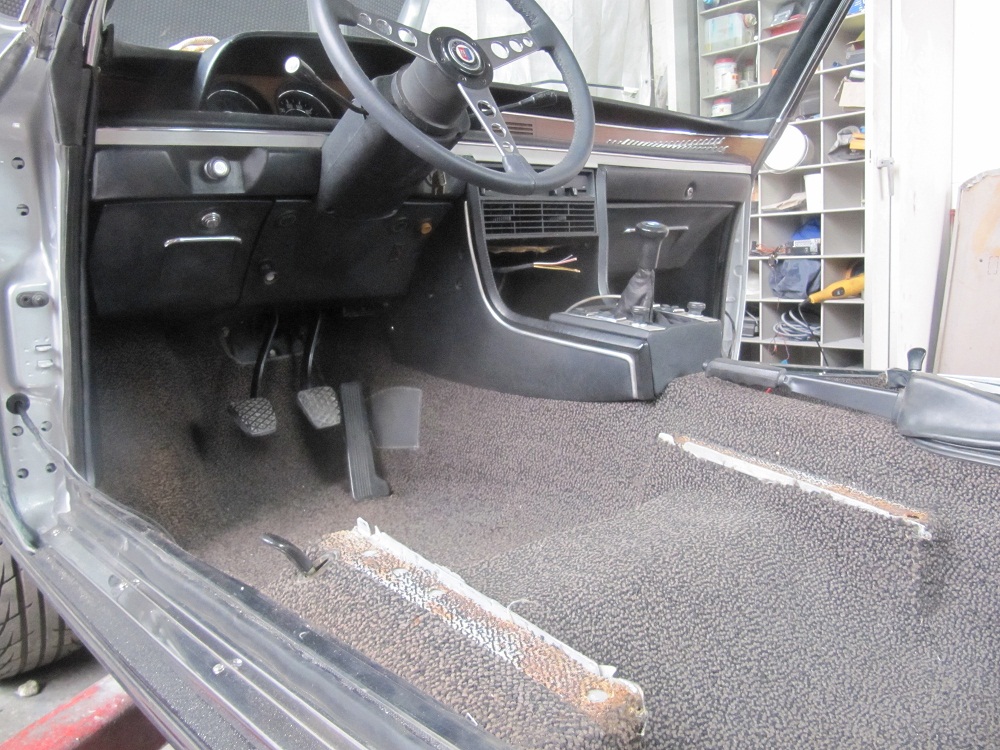
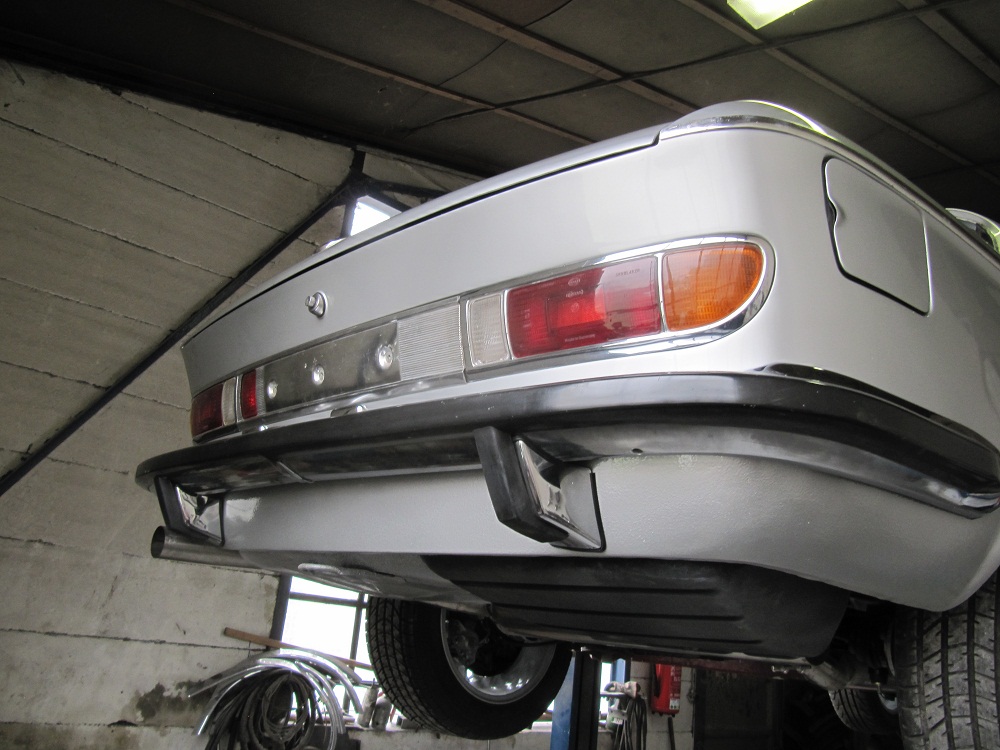
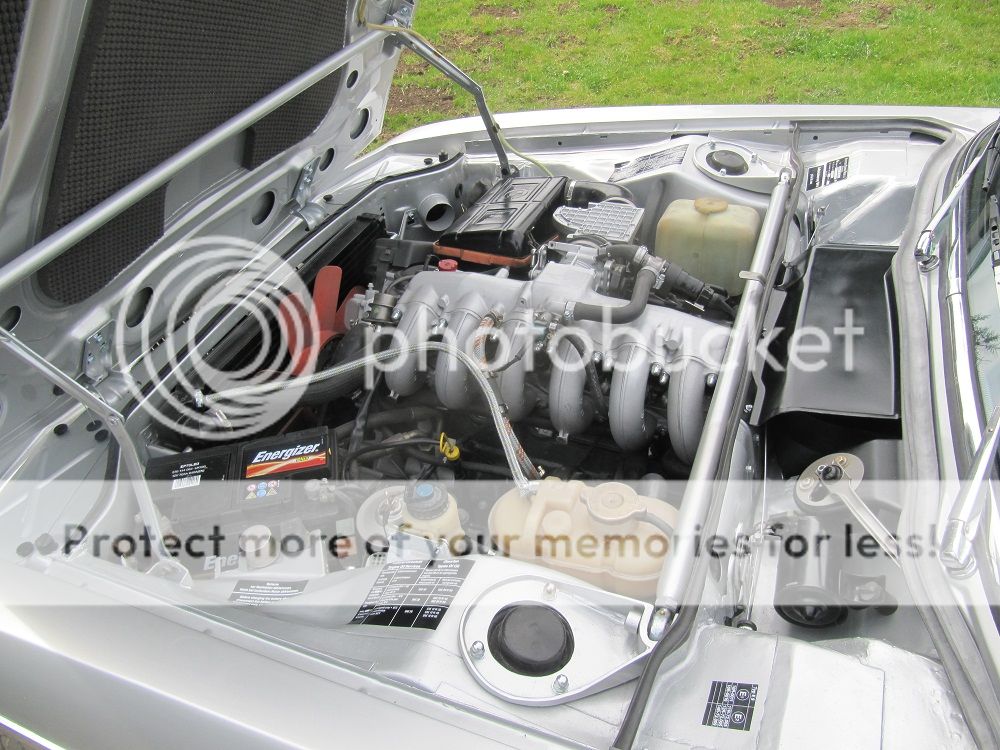
Front and back end are 90% completed. The sunroof is already installed and fits and runs very nice imho. Dashboard and heater box are also back in place. Sound deadending mats are installed. Wiring harness nearly completed. Mike Sanders corosion protection applied to all critical cavities.

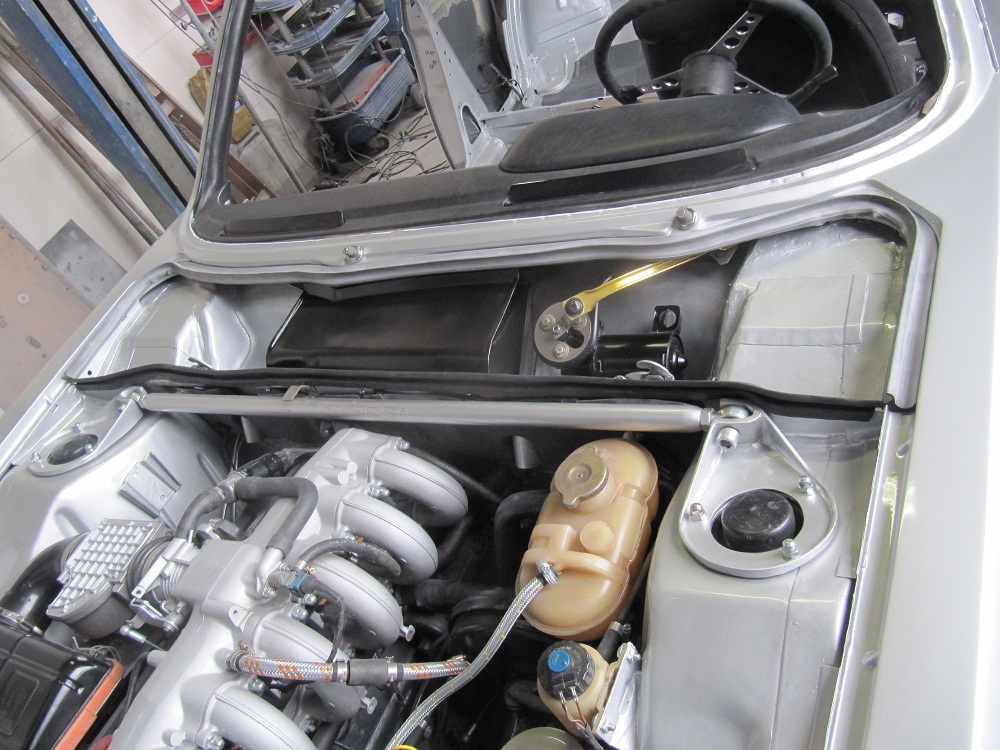
In the meantime I also did a strut brace in a welded version (idea stolen from Andi's perfect piece of art, discussed here in another thread) and the petri wheel got new leather.

More or less just the interieur to do :p

Greetings from frosty Germany

Ingo

pictures like always:

30732412ux.jpg


30739266sd.jpg


30739265fp.jpg


30732430al.jpg


30732427qk.jpg


30732417fh.jpg
 
Last edited:
Ingo,

This looks very nice. You are making very fast progress. I have a few questions:

1. What is the manufacturers name and source of the material you used on the underside of the hood? It looks much better than the stock insulation we get from the BMW here in the US.

2. Do you have a part number for the "L" shaped air hose on top of the intake manifold (between the idle valve and cold start injector port)? It appears to be a narrower diameter than what I have found.

3. Is that the stainless steel exhaust from Walloth & Nesch?

Thank you,
 
thx for your feedback guys !

Stan, to be honest I'm still not sure about the colour of the side and hood grills, especially for the side ones I really don't like the black one on the black background. Here, silver would be still my favourite. For the hood it's a little different story. There I would prefer the black ones. A mixture won't happen, so I'm also quite curious how my decision will be :smile:


Sven,

1. the complete sound deadening material comes from

http://www.automobile-daemmstoffe.de/

You can have the under hood material as a piece of 1,60 x 1,00 (if I remember it correctly) in two different thicknesses of 10 or 20 millimeter.

I gave the guy a call to figure out, if he could cut out the correct pieces for the E9 hood for me. So I sent him the patterns and got the 3 pieces in 20 mm thickness back for around 55,- €. (so it was about 20 € for the cutting)

He kept the patterns to be able to provide the set to other interested E9 owners. Probably it's not very economic to send just one set of it across the ocean. So maybe there are some others to get a better rate for the shippment.

I could assist if there's any interest.

2. The hoses on top of the intake manifold don't have part numbers.
I got a box of differnt water hoses from a friend of mine and found 2 really good fitting ones. So sry, I can't help at this issue.

Don once gave me some numbers for the hoses he uses, but I did it this different way.

3. The exhaust system is selfmade (see my post nr 67). The W&N doesn't have a sufficient gas flow, if the rumors around this "tiny tube system" are correct. Mine now has the same cross section than the original exhaust system, coming from the Alpina B10 from an E28.
The downpipes are still from this donor car. These are from ordinary steel. Behind them everything is stainless and the sound is quite appropriate imho, not too loud but also not to shy.

Hope our TÜV will like it also .... ;-)


cheers

Ingo
 
Hi Folks,

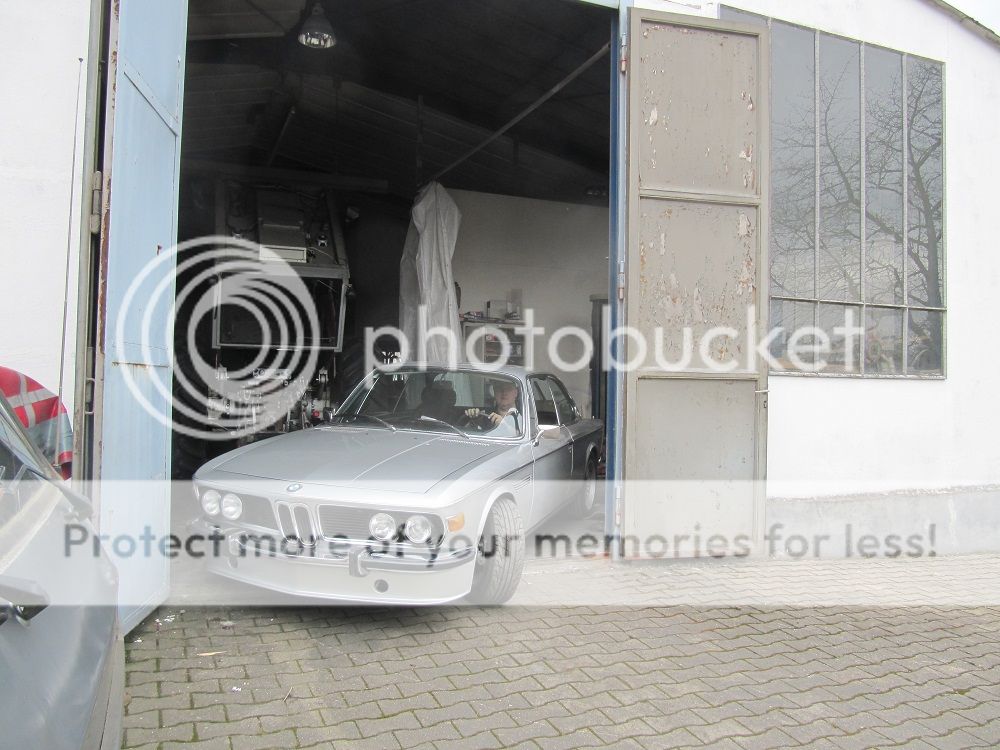
again some pictures from the further steps.

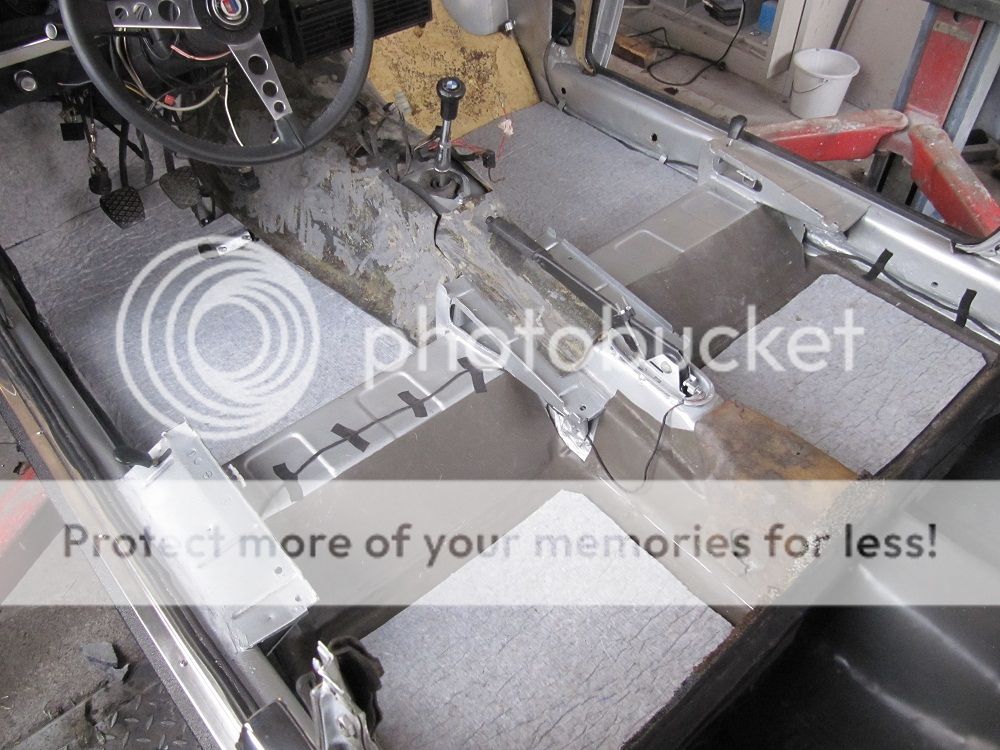
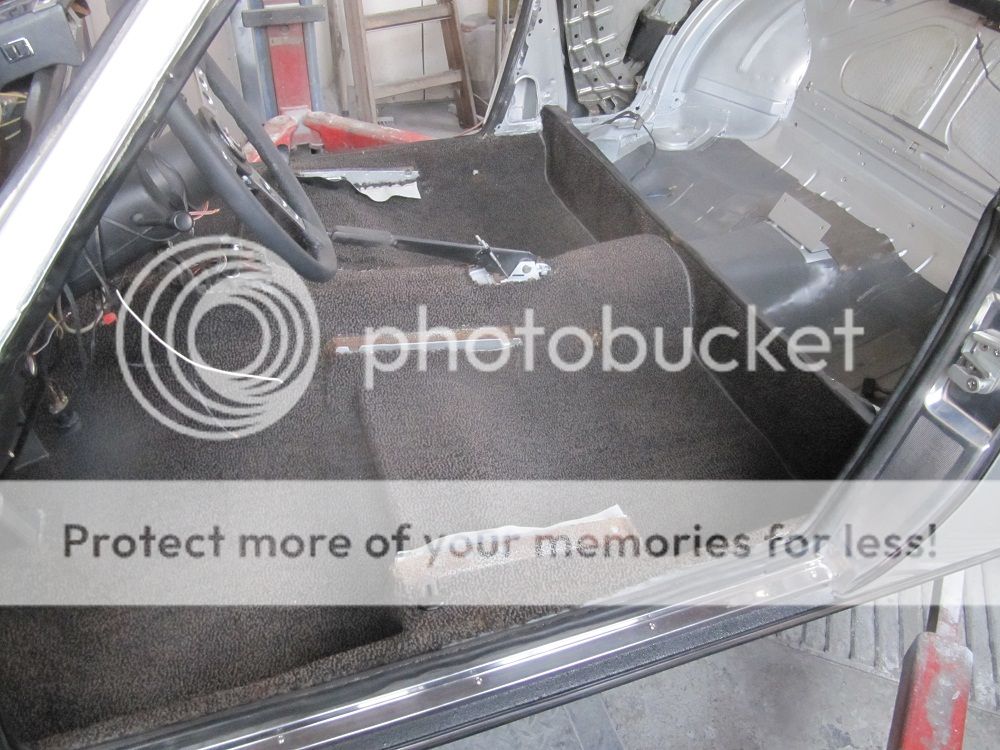
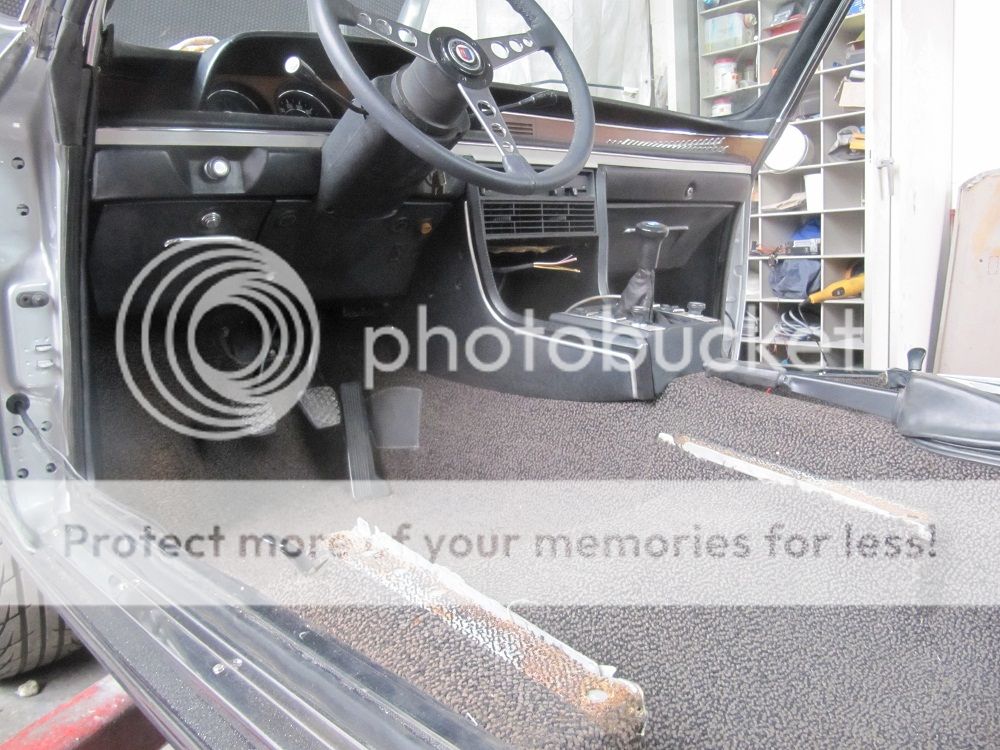
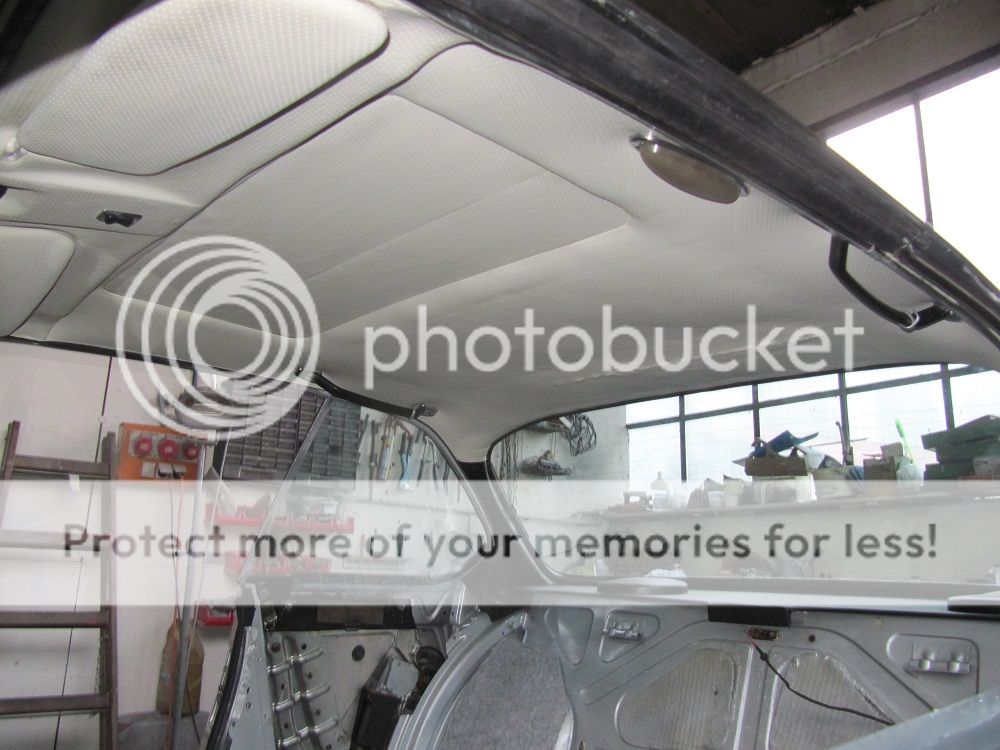
New headliner, existing front and rear windows installed, some more deadening stuff for the floors and a one piece formed carpet in black/grey.
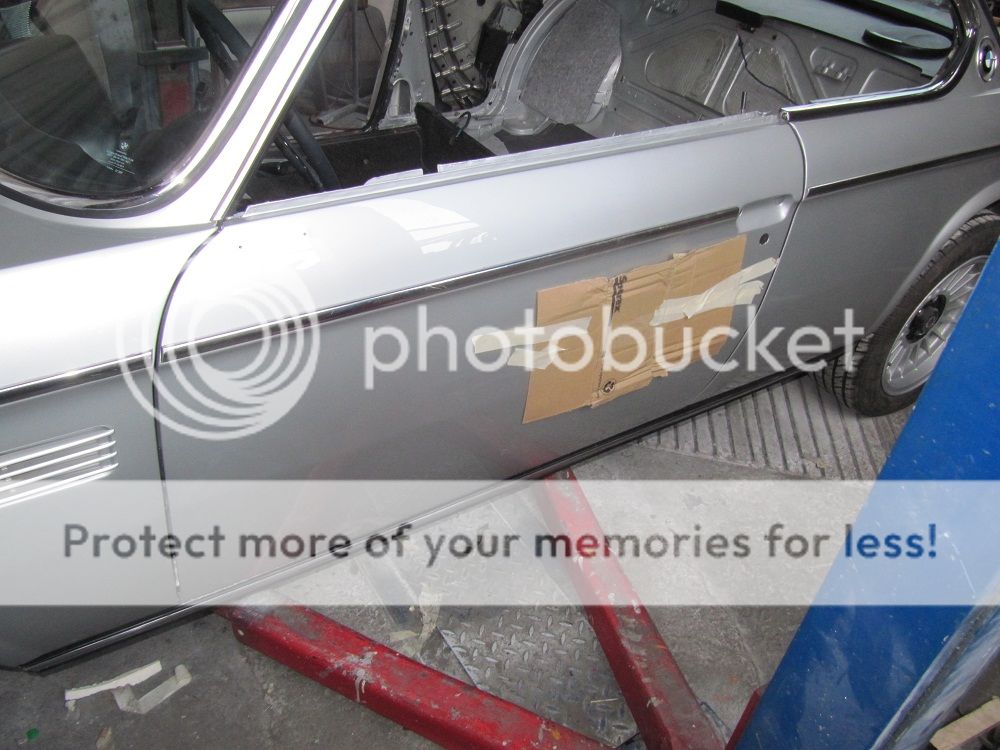
Also completed all the covers under the dashboard. Also the doors are coming in place (hard work to adjust them properly :roll:)

btw: the front screen took me about 4 hours to install it. Are there any recommendations for a smart and fast procedure for it ? The rear one was just about 15 minutes work. I'm just wondering, because I consider to exchange the front one for some reason later on ....

cheers

Ingo

IMG_3806_zpsc28a55c0.jpg


IMG_3809_zpsc0a255be.jpg


IMG_3854_zps20cef6ad.jpg


IMG_3859_zpsbee69fbd.jpg


IMG_3855_zps0506b0d4.jpg
 
Hi,
nice progress on your car. You might consider to put the hoses for the windscreen washers into the hood instead of under it. Looks ever more tidy that way!

I'd choose the black or chrome grilles for front and sides according to the model year. That will bring the value up.

Keep up the good work. I'm doing more or less the same to my polaris 3,0Si right now.

Best wishes from Cologne
A
 
nice work

Hi Arnie, the interior shots are really helpful since I'm a week or so behind you. Really beautiful job- thanks for posting!
 
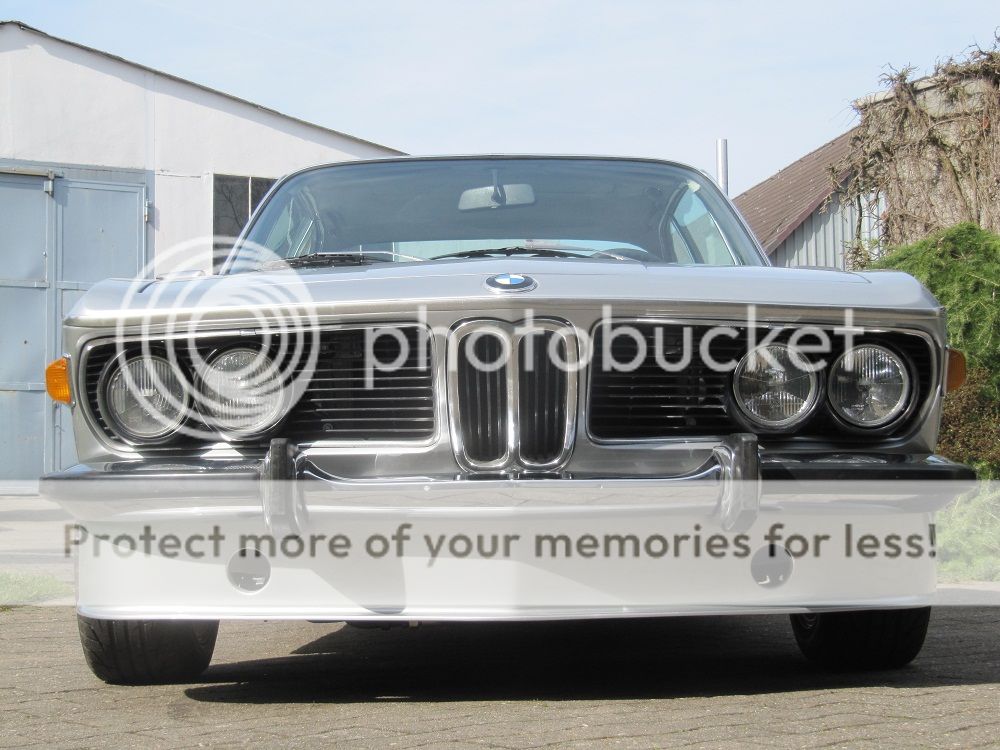
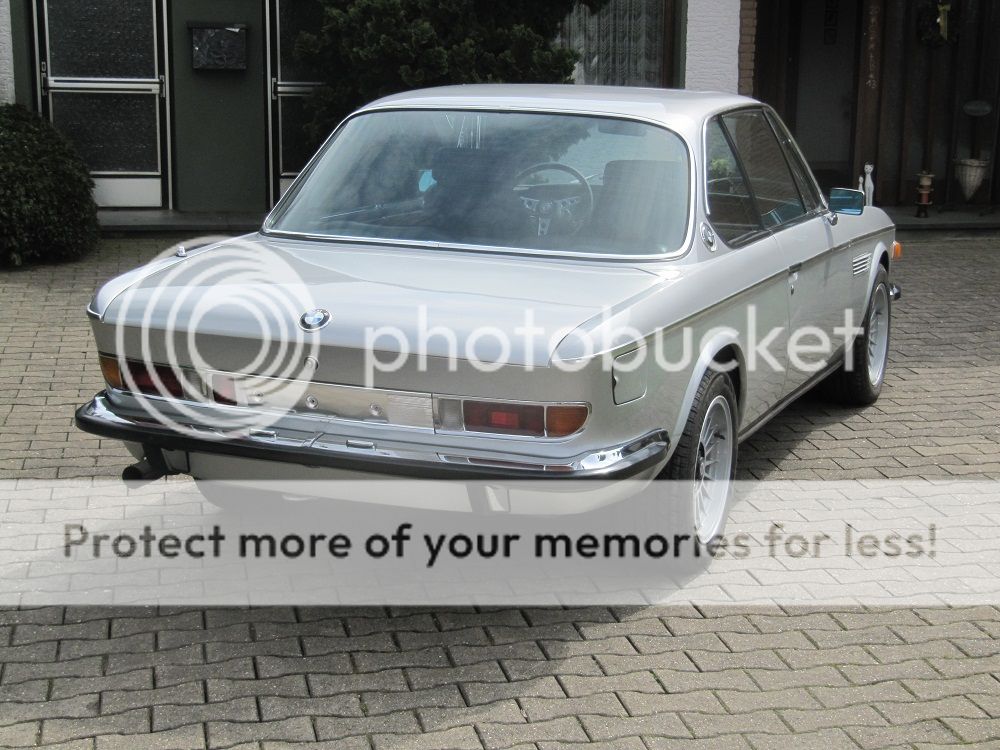
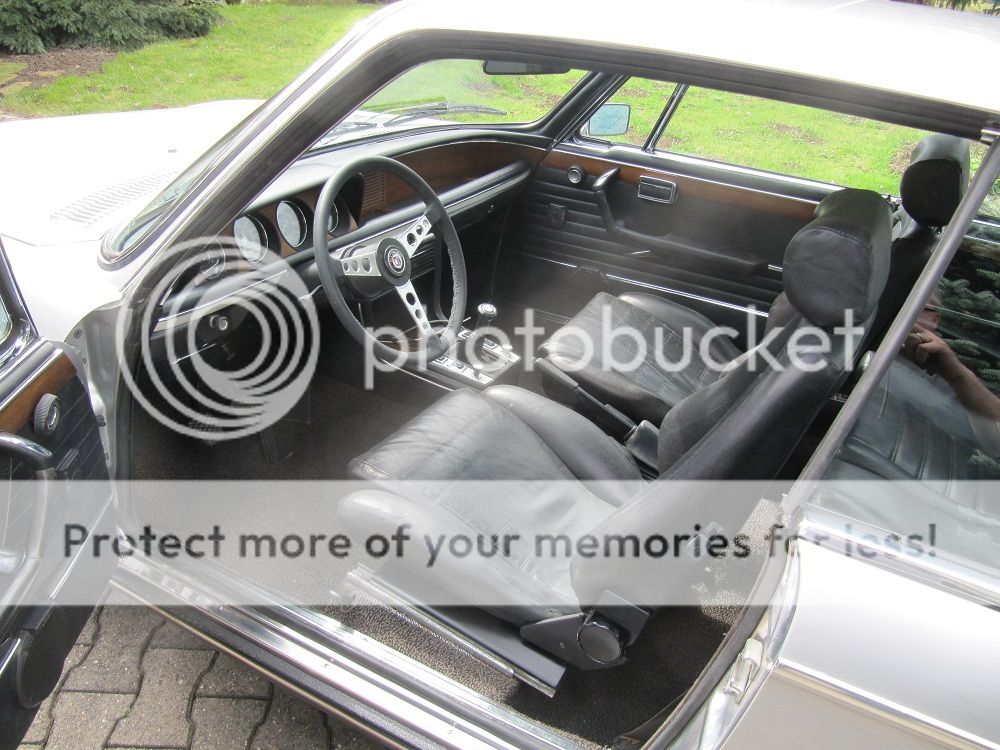
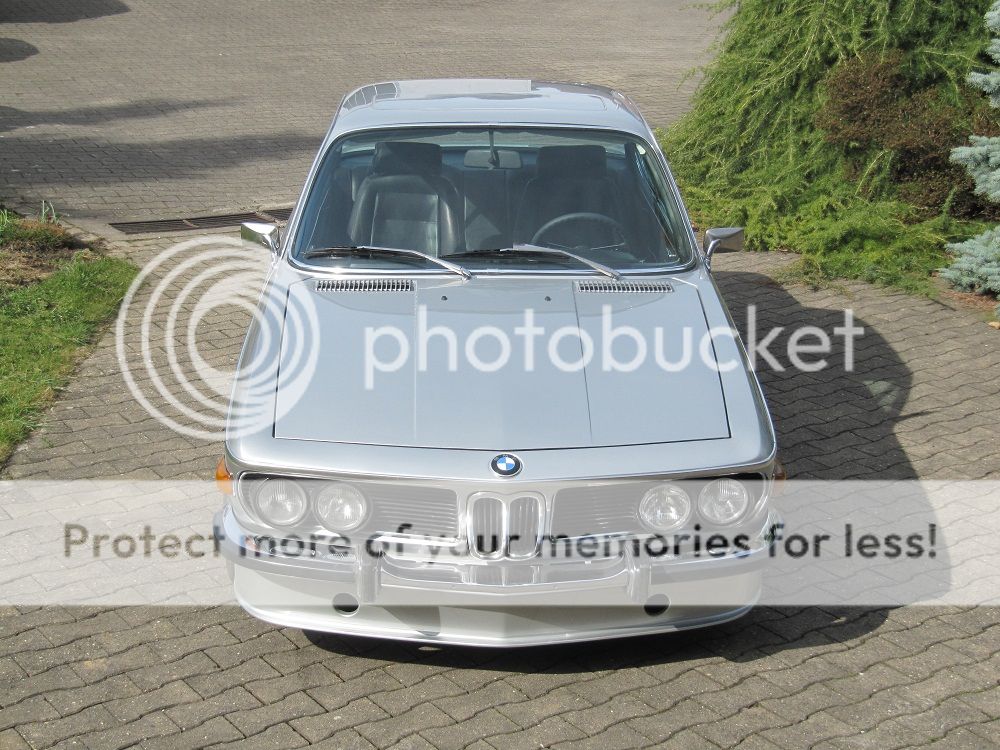
right now as she left the "emergency room" I'm able to change her status in the CS registry.

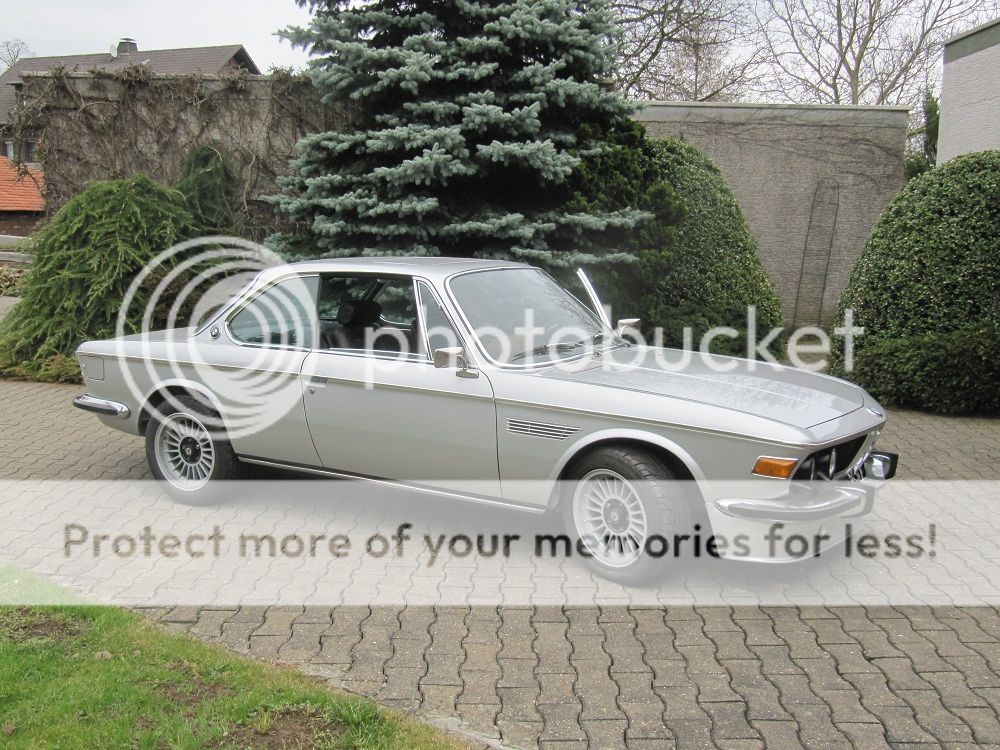
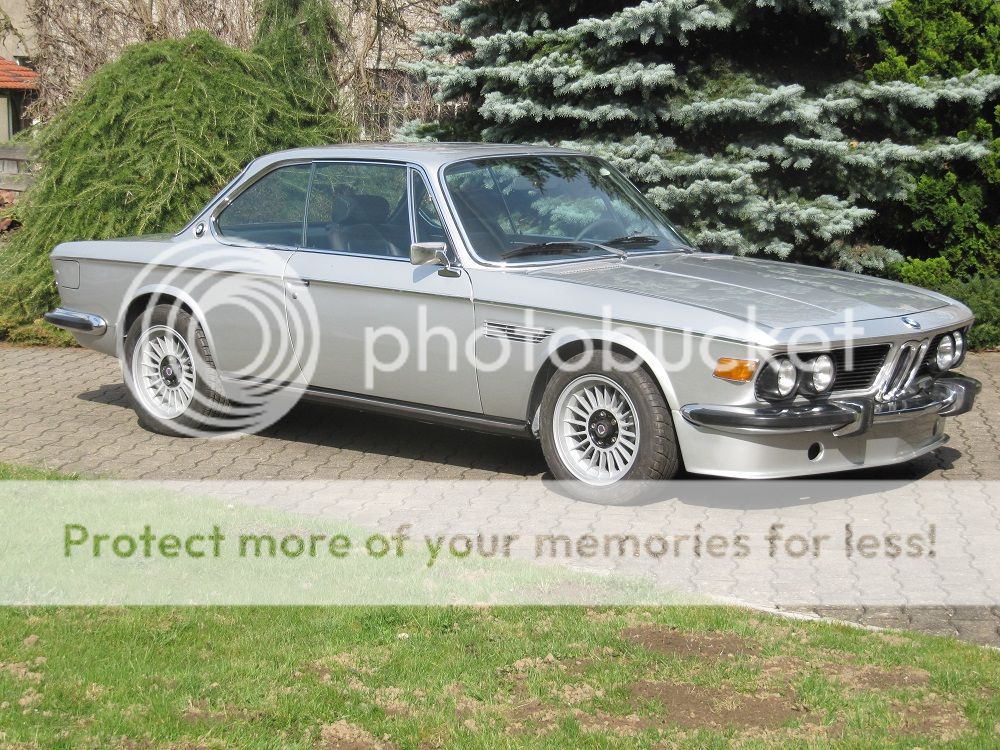
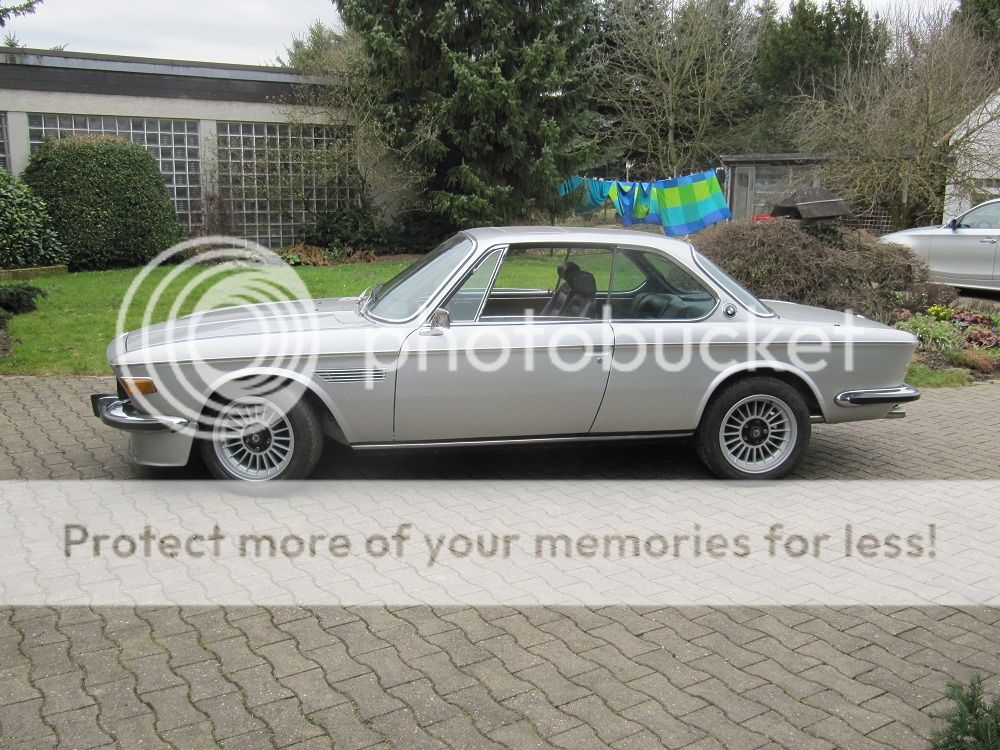
Still some minor things left, but here's the (end) result of my work so far:

IMG_3871_zpsddb4181a.jpg


IMG_3876_zpsfe373e0f.jpg


IMG_3898_zpsf4f21ea8.jpg


IMG_3877_zps6859da94.jpg


IMG_3890_zps089de0b7.jpg


IMG_3897_zps458a9494.jpg


IMG_3885_zps73d9d1b2.jpg


IMG_3886_zpsb1e8a260.jpg


IMG_3900_zpsee61b75e.jpg


cheers

Ingo
 
stunning

Arnie, she is beautiful! I'm sure you are very proud-and rightly so! She looks perfect, I love the air dam up front.
 
Congratulations Ingo!! Amazing new car. Your thread and the timeline is inspirational.
 
Last edited:
hi ingo
congratulations
nice job !

BTW did you assemble the lateral chromed trim part that runs above the windows from the mirror corner till the roundel in pillar C ?

if that is the case can you explain how you did this

was it easy ?

did you add any glueing or adhesive ?

grüssen
 
Morning guys !

and Thx for the congrats and yes, although I'm not used to admit, that I'm proud: I am proud (at least a bit :mrgreen:)

I don't need to tell anybody here, that it was a tough journey, but also fun to do, because I really love this (bloody) old lady.

BTW did you assemble the lateral chromed trim part that runs above the windows from the mirror corner till the roundel in pillar C ?

dQ: I'm not that sure if I know what you mean, because there are so many chrome trim parts on in. Do you mean the trim part, which is the cover for the gutter ?

I guess so, because it's been always a nightmare to mount it. This time it was quite easy, because I took my time to think about it. The most important thing on this procedure is to verify, that the 2 chrome parts right underneath it are sitting tight fit to the sheetmetal part. These needs to be covered from that chrome trim for the gutter as well. If so the trim matches very nice over the sheetmetal and chrome pieces and produces enough tension at the final position, that normally no glue is necessary - at least I didn't use some.

I carefully mounted these trims with a rubber mallet from the C - piilar to it's end at the front fenders edge.

If there's any other trim you're mentioning, please post a pic of it.

saludos

Ingo
 
Back
Top