Sierrabeige 1977 3.0Si Restoration in the UK

E3-3.0Si

Well-Known Member
Messages
245
Reaction score
158
Location
London, United Kingdom
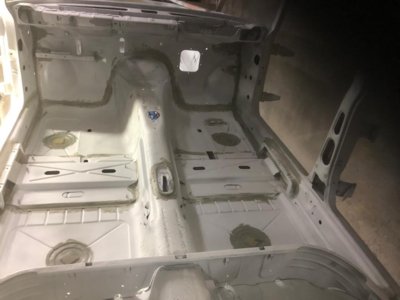
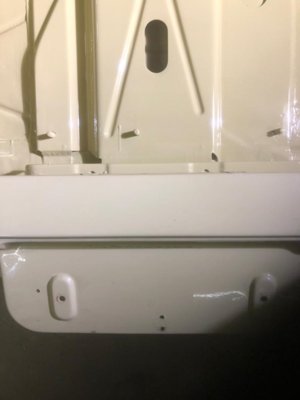
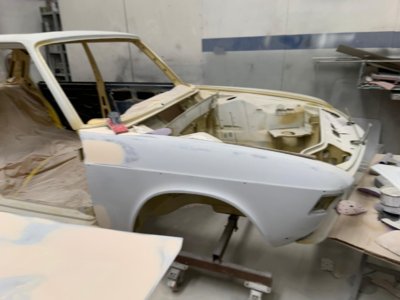
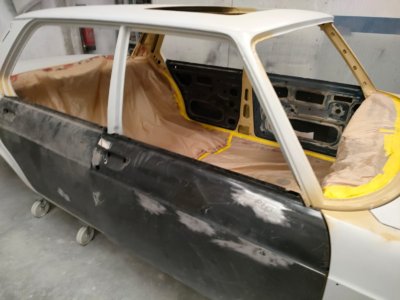
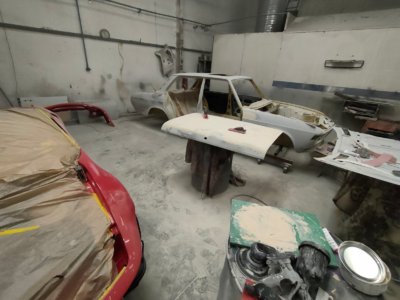
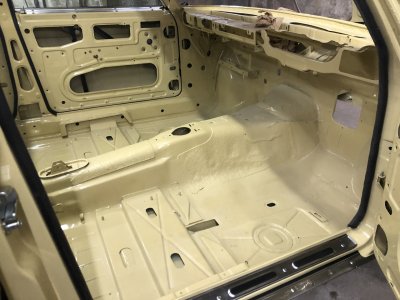
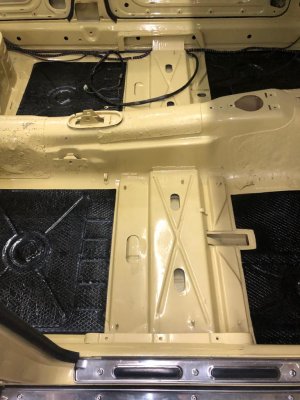
It seems like the bodywork has been concluded really quickly; nothing could be further from the truth! A huge amount of work has gone in to getting us to this point. This is what the shell looked like before we started to even think about paint:

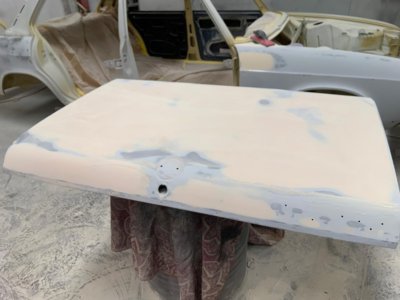
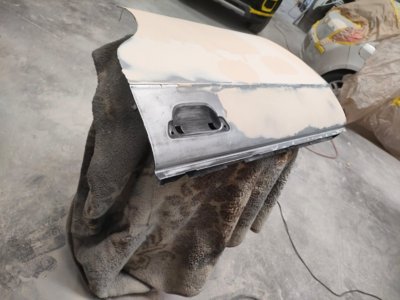
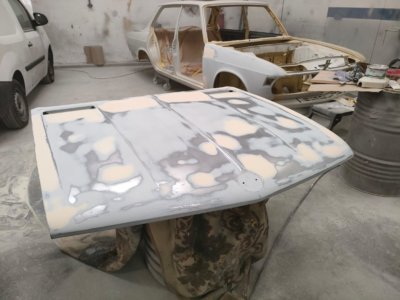
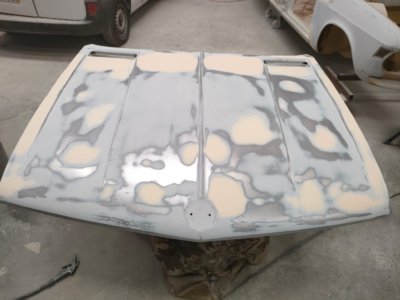
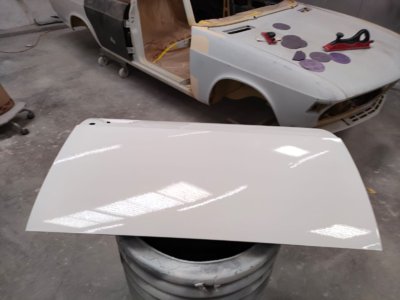
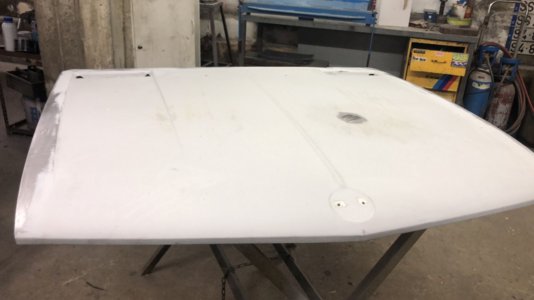
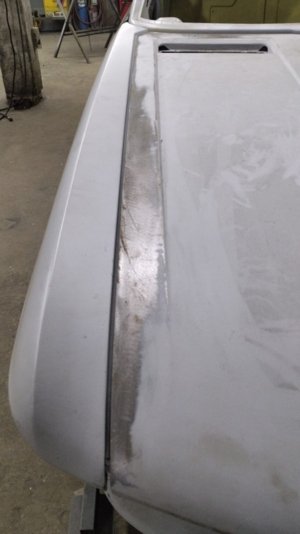
Whilst the replacement bonnet was much, much better than the original which was full of rust and filler, it did need quite a bit of work in order to ensure a factory quality fitment:
62.jpg

54.jpg

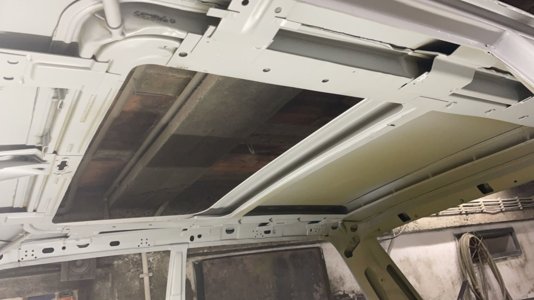
I was also delighted that the roof skin and sunroof aperture were in excellent condition; again, this is a common E3 rust spot and repairs can be really difficult here:
64.jpg

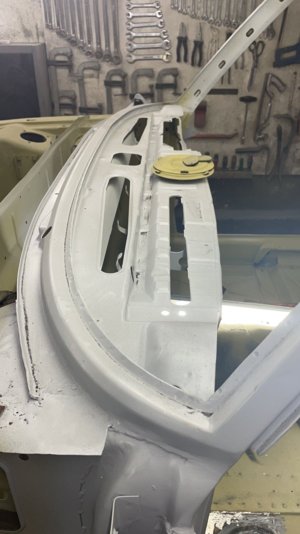
The windscreen mount was also really good too:
65.jpg

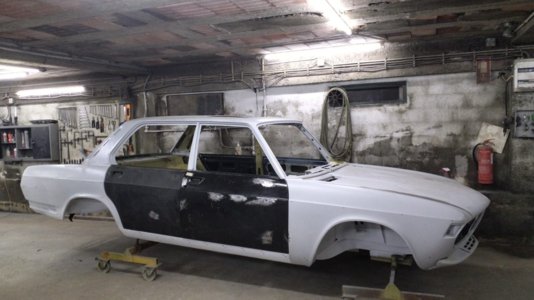
And now it's beginning to look a bit like a car again:
53.jpg

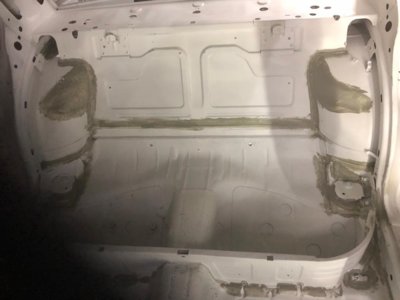
And then it was time to ensure that all the seams were properly sealed:
57.jpg

58.jpg

61.jpg

We're starting to get there.....
 
Last edited:

E3-3.0Si

Well-Known Member
Messages
245
Reaction score
158
Location
London, United Kingdom
We are now at the most exciting point in any restoration; preparation for painting. I always think that it can seem like all the really hard work isn't really having much visible effect, which is difficult to accept when you know how much effort is being applied. And then suddenly, you're at the really pivotal point where the car undergoes an amazing transformation from bare metal to gleaming body shell.

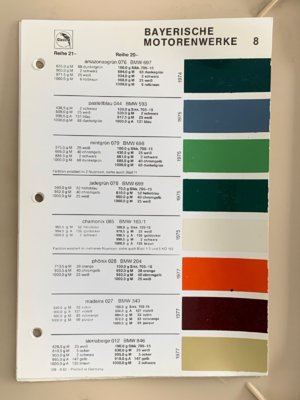
Given the attention to detail and focus on originality that I am applying to this restoration, I wanted to be really clear about the specification of the paint being applied to the car. Sierrabeige 012 is a very unusual colour for an E3 (it was far more common on E12 and E21s) as it was introduced in late 1976, and my car was one of the last E3s built in January 1977. I managed to find an original Glasurit paint formula data sheet (thanks to the great members of the German E3 Club) which provides the exact properties:

65A.jpg

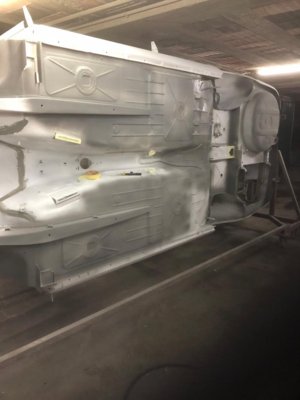
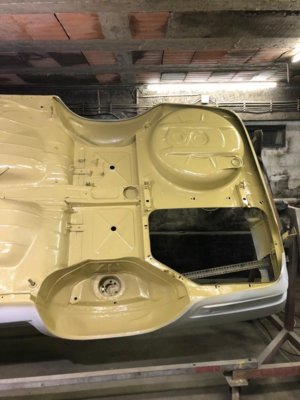
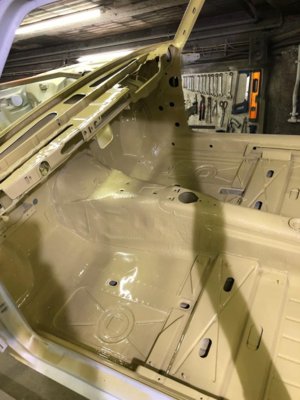
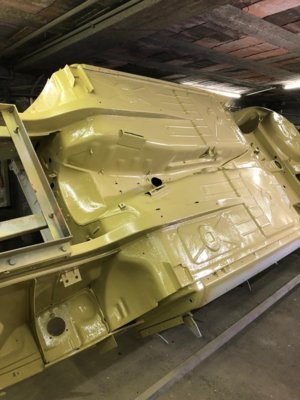
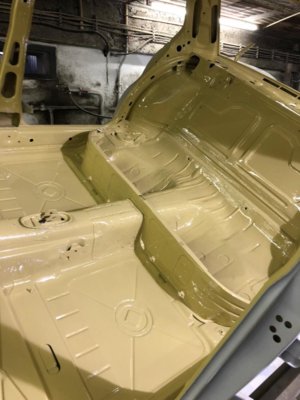
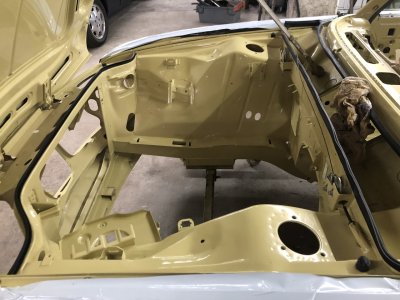
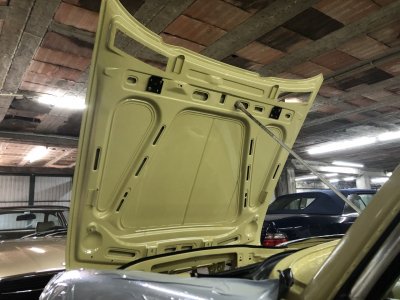
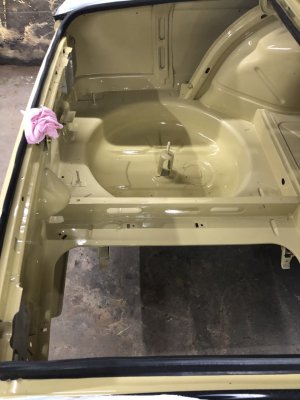
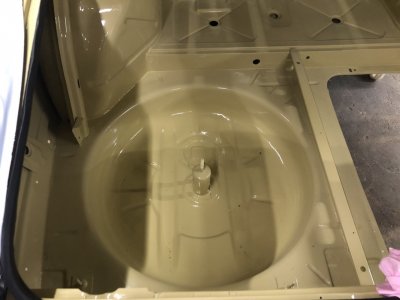
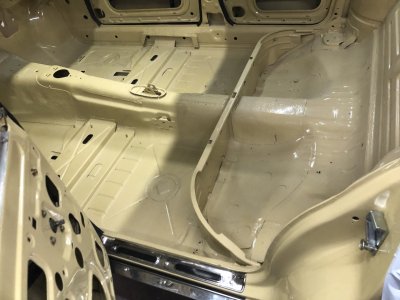
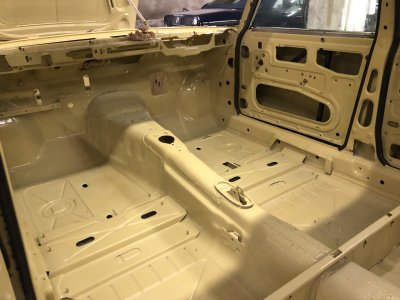
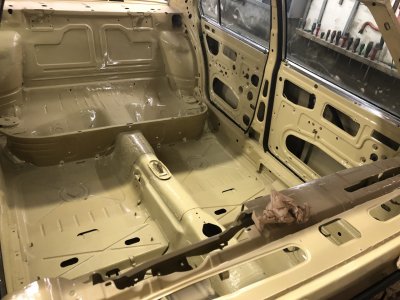
So now we could go about painting the underside of the car and the interior, before the shell went to the paint shop. I wanted the best possible rust proofing and treatment of the shell in order to protect it for the future, so a lot of care and attention went in to this phase:

66.jpg

67.jpg

68.jpg

69.jpg

70.jpg

71.jpg

Once this was completed, it was time to turn attention to the exterior surfaces of the car:

72.jpg

73.jpg

74.jpg

More to follow....
 

E3-3.0Si

Well-Known Member
Messages
245
Reaction score
158
Location
London, United Kingdom
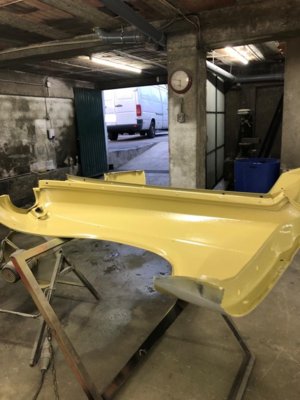
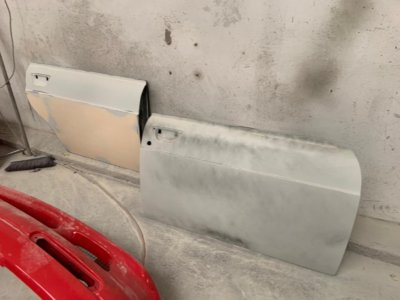
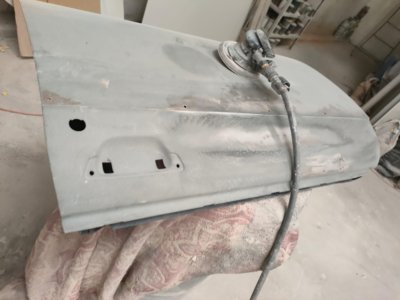
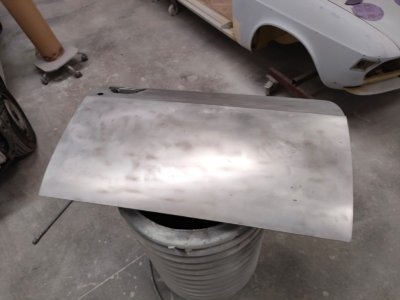
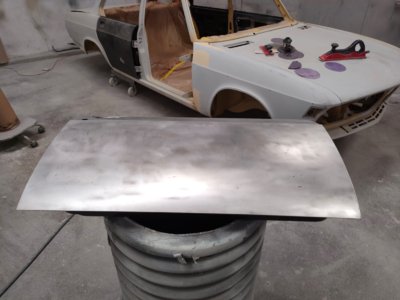
As ever, time spent in paint preparation pays dividends later on, so a huge amount of effort is going in to getting things right just now. Even though a lot of the panels are NOS and in perfect condition, they still need a lot of attention detail:

75.jpg

77.jpg

78a.jpg

78b.jpg

80.jpg

81.jpg

83.jpg

82.jpg

And this is exciting; the very first application of paint:

79.jpg
 

E3-3.0Si

Well-Known Member
Messages
245
Reaction score
158
Location
London, United Kingdom
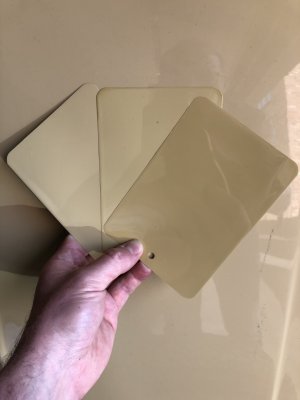
It's been a while since I last updated things, and a lot of work has been going on over the last few weeks. As you know, I wanted to be really accurate with the colour match, so had a few samples made up. It's amazing how these three colours vary in shade:

1.jpg

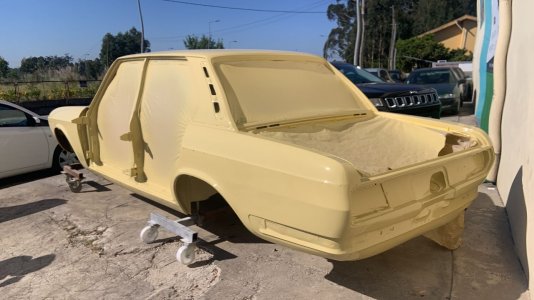
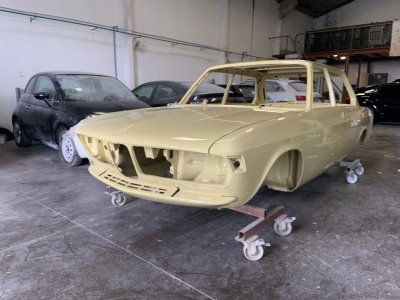
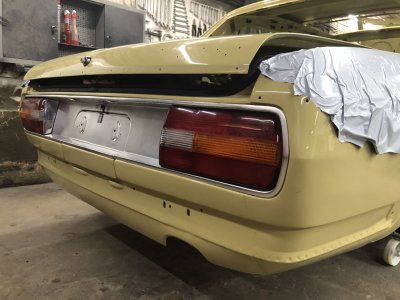
Fortunately I was able to check against the old panels that had been removed from the car, and I checked against a number of different areas, including those that had never been repainted or exposed to sunlight. We had a winner! So, once the choice had been made, it was time for the shell to go in to paint...

5.jpg

7.jpg

9.1.JPG

13.1.jpg

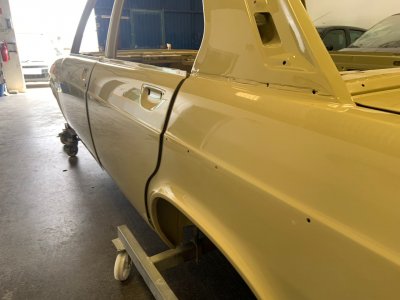
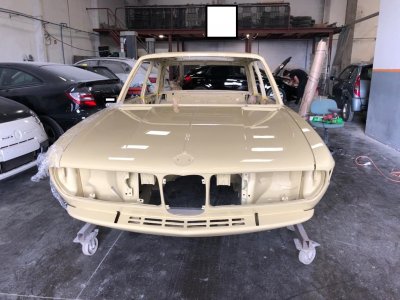
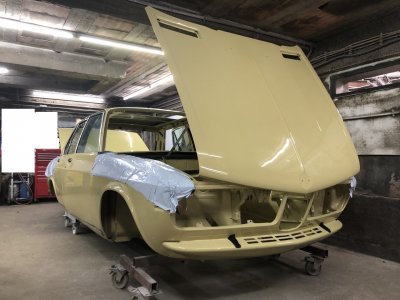
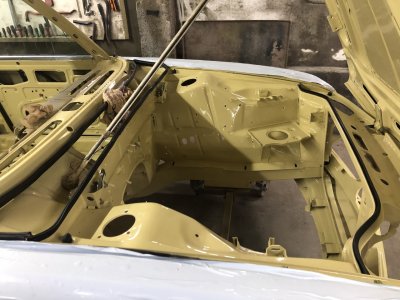
To say that I'm pleased is a huge understatement. The quality of the paint finish is excellent and I'm delighted that we've got such a great base to start building back up from.
 

Fritzie

Active Member
Messages
72
Reaction score
61
Location
The Netherlands
So it was time for the car to come back from the paint shop to the work shop, and for all the fitting up to start to take place:

View attachment 141890

View attachment 141891

View attachment 141892

View attachment 141893

View attachment 141894

View attachment 141895

View attachment 141896

View attachment 141897

View attachment 141898

And it's all about detail now. I love seeing all the little parts that have been refurbished or replated being refitted....

View attachment 141899

View attachment 141900

View attachment 141901

More to follow!
Building / assembling the car is the best part. Enjoy it
 

Christoph

Well-Known Member
Messages
221
Reaction score
333
Location
Germany
I managed to find an original Glasurit paint formula data sheet (thanks to the great members of the German E3 Club) which provides the exact properties:
Which are of no use as you now know. None of the base paint is available anymore. The Glasurit cards are nice to look at, anyway. The BMW E3 Club used an unfaded set as samples for our colour page <https://www.bmw-e3-club.de/lackfarben>.
 

E3-3.0Si

Well-Known Member
Messages
245
Reaction score
158
Location
London, United Kingdom
Which are of no use as you now know. None of the base paint is available anymore. The Glasurit cards are nice to look at, anyway. The BMW E3 Club used an unfaded set as samples for our colour page <https://www.bmw-e3-club.de/lackfarben>.
Funnily enough, of the three paint samples I received, the Glasurit one was the closest colour match to the original paint!
 
Top