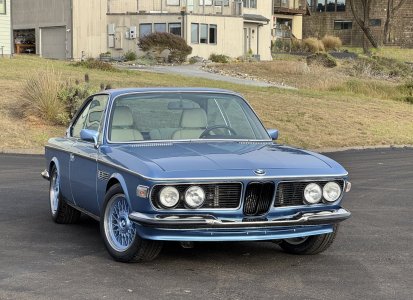
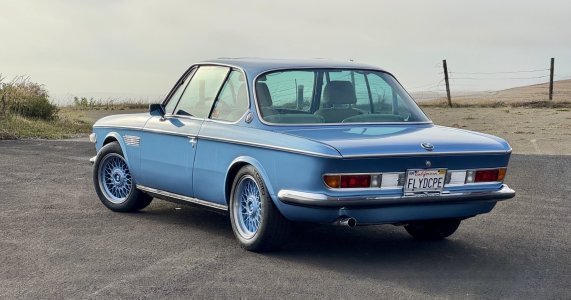
Bringing a '74 back up to her intended glory.

Thank you for the credit. I used 10mm diameter but ensure it is closed cell meaning that water cannot penetrate. I trimmed the ends and glued them with contact adhesive, otherwise they fly off at higher speeds.
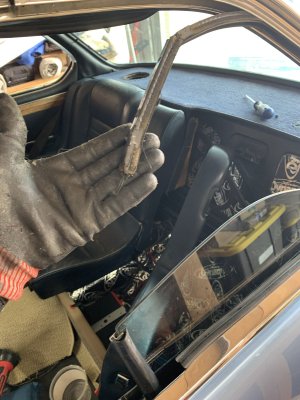
Great to hear from you @Rek With the one I used (yes it is closed cell of course) I did not have to glue the ends. And I definitely did test them at high speed
 
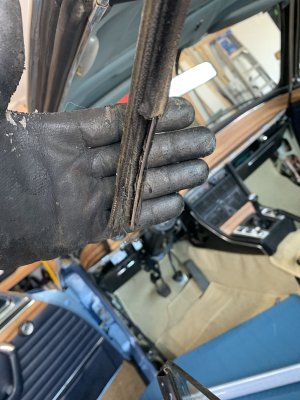
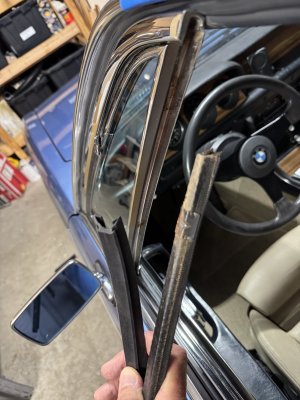
In the "better late than never" category, I finally replaced the old window gutter channels. Since they are NLA, I used the replacements from steele rubber that were suggested by another forum member (whose name I sadly forgot):

https://www.steelerubber.com/unbeaded-rubber-channel-70-3572-58

1652289902382.png


They fit perfectly and, so far, work just as well. Now, unlike the uber strong original ones, these are unreinforced rubber. So they will definitely not last another 50 years. But, for the time being, they do a fine job.

IMG_0283.jpeg IMG_0284.jpeg IMG_7577.jpeg
 
Last edited:
  • Like
Reactions: Ezz
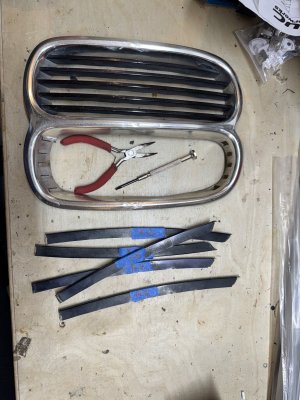
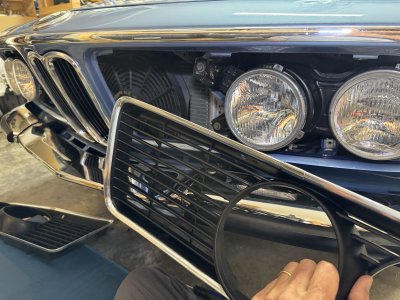
I also decided to clean the center grille. Removing the vertical slats is relatively easy but somewhat delicate.

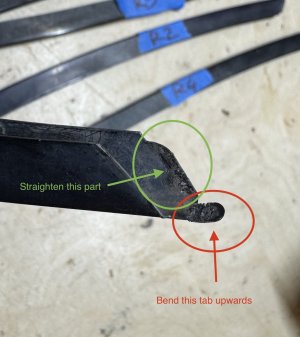
Each slat is held in place by 2 things at the top: A little tab that is bent down. And the tiny section of the slat that protrude through the frame is twisted to keep it from falling out.

1. Clean the points where the slats penetrate the outer frame at the top and the bottom. They will need to be able to slide in and out easily
2. VERY carefully bend the little retaining tab upward so it aligns with the rest of the slat. These are most likely brittle with age and were never designed to bend more than once so they are easy to break
3. With a pair of pliers, you "untwist", or "flatten" the part of the slat that came through the frame
4. Slide the whole slat downward until you can take it out.
5. Number each slat so they can go back in the same spot they came out of

IMG_7456.jpeg IMG_7457.jpeg
 
Last edited:
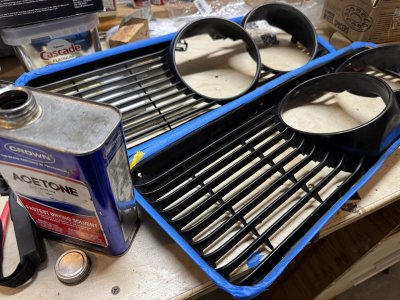
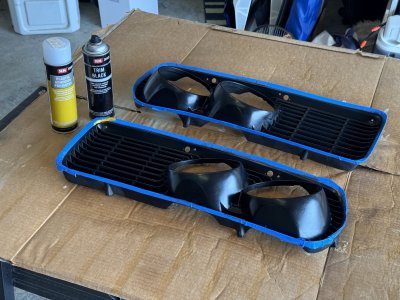
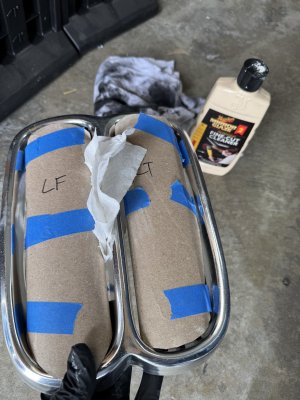
In an ideal world, you would have these re-anodized. Option 2 (admittedly less perfect) is to paint them and clear coat for protection.

I taped some angled aluminium bars on some cardboard that would keep the slats in a good position for painting

IMG_7556.jpeg IMG_7574.jpeg
 
The countdown to Monterey 2025 has started. As such it is time to attend to a large number of seemingly small items on the list.

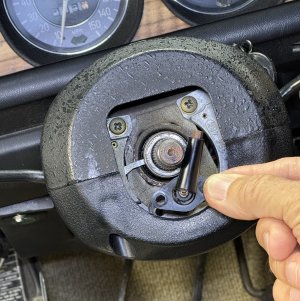
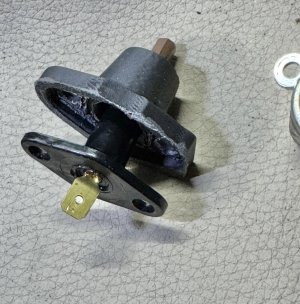
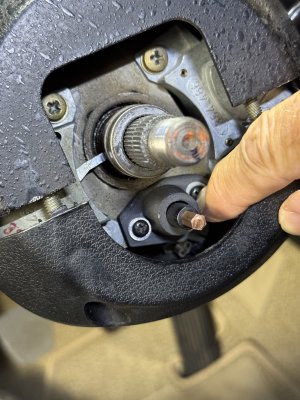
First I was faced with the dreaded broken horn pin syndrome. Those things were never that strong to begin with but being a tall skinny thing held by two screws at the bottom makes it a good candidate for beheading. Especiallyif you have to remove and reinstall the steering wheel frequently as you do when doing lots of work on and around the dash.

IMG_8101.jpeg

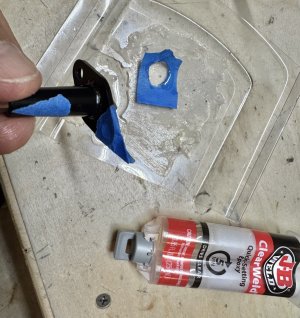
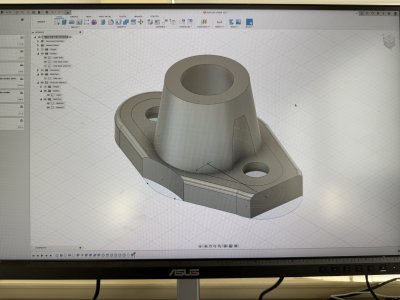
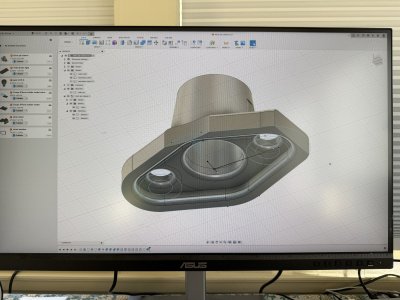
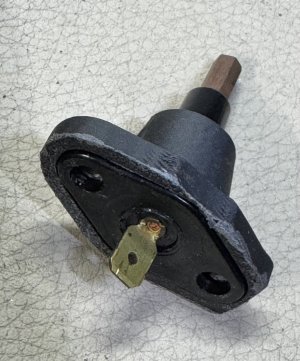
Instead of buying yet another new one, I decided to epoxy this one back together and then design and 3D print a little “exoskeleton” to beef it up

IMG_8104.jpeg IMG_8114.jpeg IMG_8115.jpeg

This then slips over the existing pin and acts as a strong reinforcement

IMG_8111.jpeg IMG_8113.jpeg IMG_8110.jpeg


'
 
Last edited:
The countdown to Monterey 2025 has started. As such it is time to attend to a large number of seemingly small items on the list.

First I was faced with the dreaded broken horn pin syndrome. Those things were never that strong to begin with but being a tall skinny thing held by two screws at the bottom makes it a good candidate for beheading. Especiallyif you have to remove and reinstall the steering wheel frequently as you do when doing lots of work on and around the dash.

View attachment 206222

Instead of buying yet another new one, I decided to epoxy this one back together and then design and 3D print a little “exoskeleton” to beef it up

View attachment 206229View attachment 206229 View attachment 206224 View attachment 206225

This then slips over the existing pin and acts as a strong reinforcement

View attachment 206226 View attachment 206227 View attachment 206228


'
This is great.
 
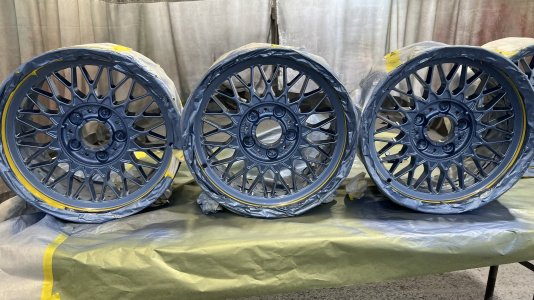
Next were the wheels. I was satisfied with my body colored 16" steelies (see post #) as a design experiment but I got tired of it pretty quickly.

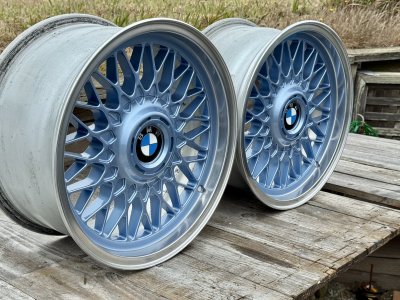
I've had a set of 1 piece Style5 wheels for a while and decided to do something with them.

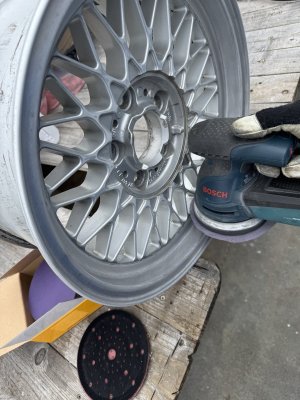
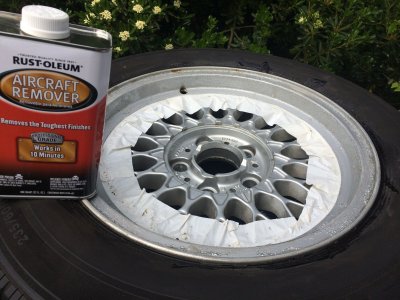
First I removed the factory paint/ powder coat off the outer rim. A messy time consuming job.

IMG_9320.JPG IMG_9398.JPG

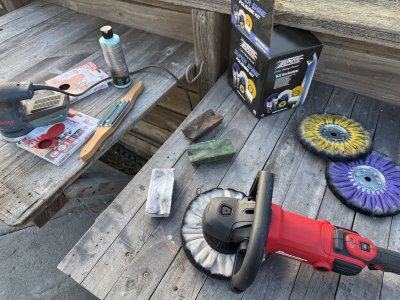
Then I polished this outer rim which was an even more painful, time consuming job. It didn't help that those wheel sat outside for a while exposed to the elements which caused them to start oxidizing

IMG_7439.jpeg IMG_8149.jpeg

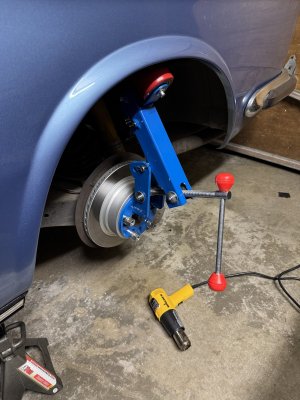
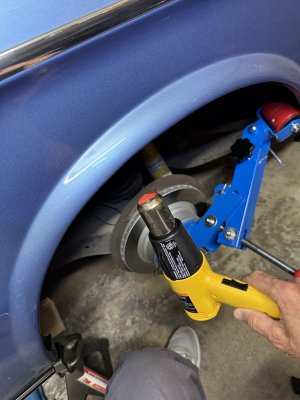
While I had them out I took advantage of that to fold the rear fender lips. The fronts thad been done a long time ago but since my car has been lowered a fair bit, I thought it might not be a bad idea to do the rears as well. It turns out that the rears are FAR more difficult to do because there is double layer of sheet metal there. You can only really do the very inner edge of the lip but it may be just enough to get that sharp edge bent out of the way if the tire ever gets in that neighborhood.

IMG_8080.jpeg IMG_8085.jpeg

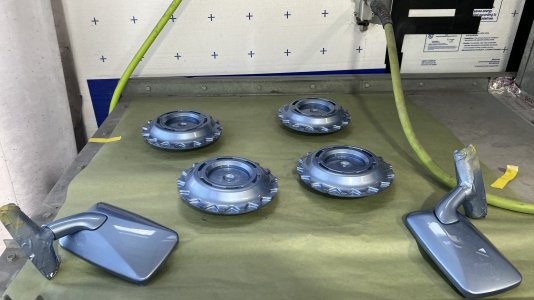
Finally I brought the wheels to my painter who did a body color match on them. I also had him do the main part of the mirrors

IMG_9368.jpeg IMG_9365.jpeg

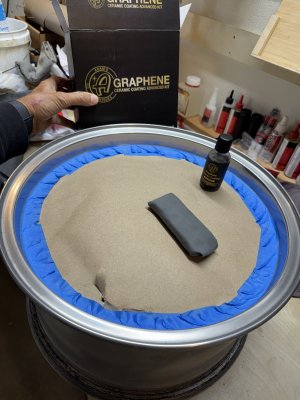
Then I applied Graphene ceramic coating to protect the polished outer rims before a final cleanup

IMG_8058.jpeg IMG_8036.jpeg

I mounted some Michelin Pilot 4 All seasons 225/50/16" all around with a 5mm spacer in front. I did a first rally to test them out last Saturday and I have to say this is the best handling setup I've ever had on this car

(Ignore the black grille. Waiting for a part to get the original back on)

IMG_8127.jpeg IMG_8124.jpeg
 
Last edited:
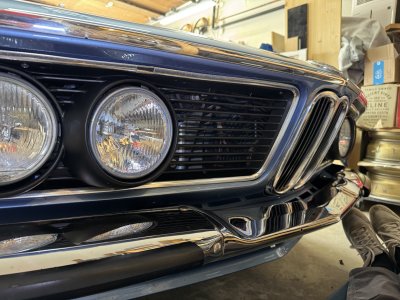
Time to refresh the grilles. The center one had been bashed in at some point so I did my best "panel beater" impersonation followed by lots of polishing elbow grease to bring it back to life.

Side grilles were cleaned up and re painted for that fresh look that judge Burger will be looking for on the Pacific Grove lawn next week. Although I have a nasty feeling some additional (liquid) persuasion might be still be needed

IMG_8160.jpeg IMG_8164.jpeg

IMG_8173.jpeg IMG_8174.jpeg IMG_8175.jpeg
 
Last edited:
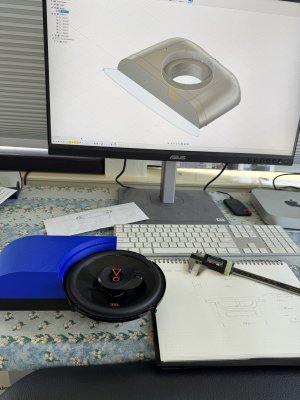
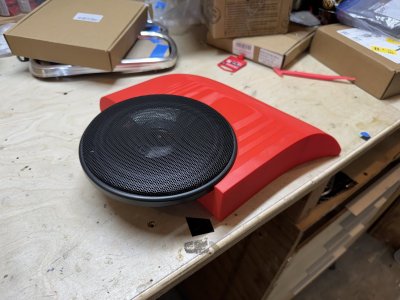
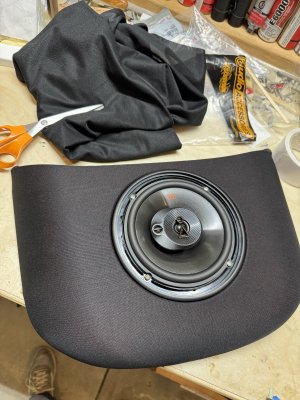
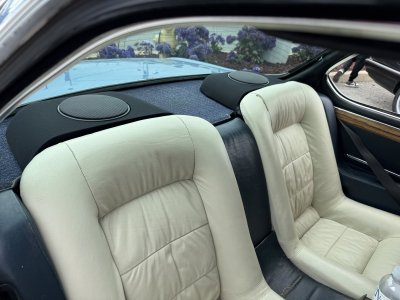
I have the E24 rear seats in my car. Although they fit very well for the most part, they are taller than the E9 ones. That means they stick up a bit over the rear parcel/hat shelf. At the same time, if you want to install sound speakers in the rear, most of the time that means cutting holes in that shelf. Not a good thing. So I decided to take advantage of this situation by creating a speaker enclosure which matches the height of those rear seats much like it does on the E 24. This allows me to have decent sound from the rear without cutting holes in the parcel shelf.

It is still very much a work in progress but I think this might be an interesting solution to the rear speaker dilemma

I must give huge thanks to my buddy Chris @tygaboy who came to the rescue when my 3-D printer crapped out days before Legends as I was frantically trying to get it all finished before heading down to Monterey

IMG_8159.jpeg IMG_8169.jpeg IMG_8189.jpeg IMG_8203.jpeg
 
Last edited:
Back
Top