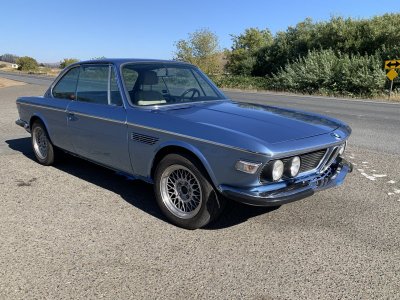
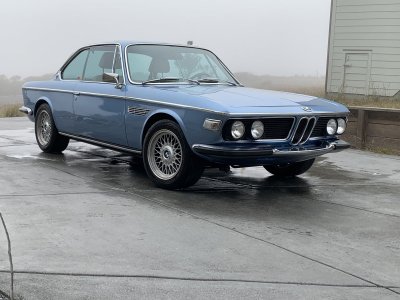
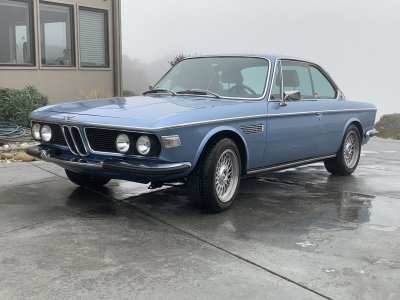
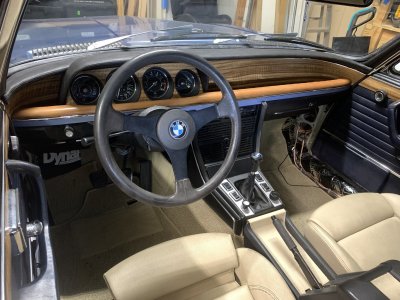
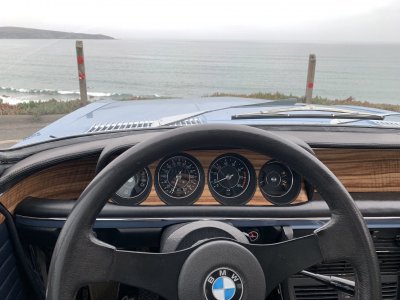
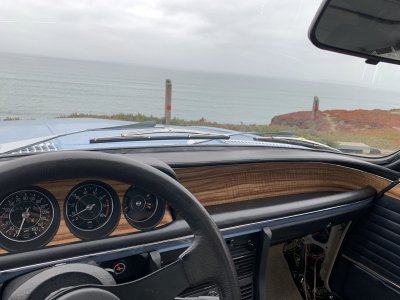
Bringing a '74 back up to her intended glory.

Going backwards just a bit, I mentioned above that I started re-installing the rear windows. Before doing that, I had taken things apart and totally cleaned everything and re assembled with Mobil 1 synthetic grease in the channels. I also replaced the tired original motors with fresh(er) ones from an e28.

= IMG_0205.jpg
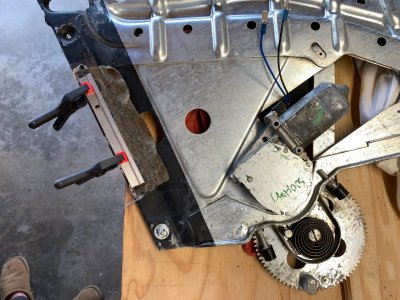
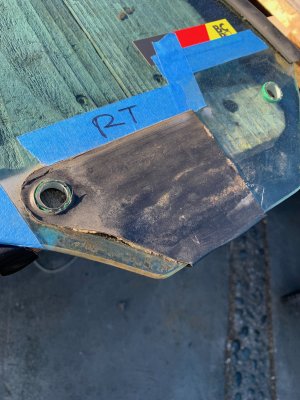
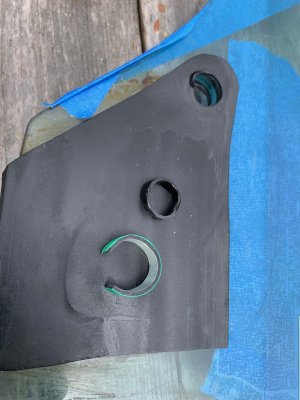
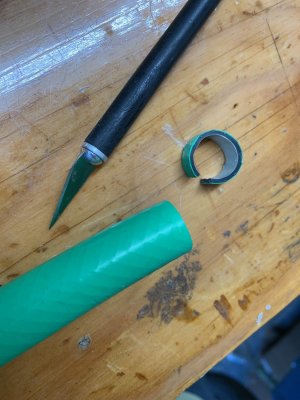
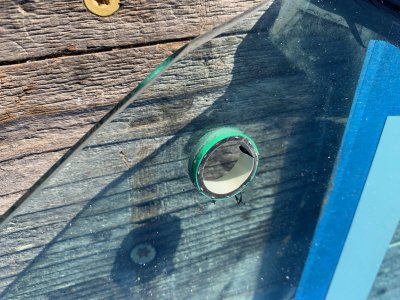
One problem I ran into is that the glass is secured to the mechanism with two M6 bolts going through a rubber pad. And there is a plastic "grommet' which by now has completely perished. @deQuincey had suggested a few options but I did not have any suitable material. Until I found a piece fo garden hose which was strong enough to cushion the glass from the contact with the bolt but it was a little too big. So I cut it down to size and it fits perfectly.
IMG_9713.jpg IMG_9715.jpg IMG_9716.jpg IMG_9719.jpg
 
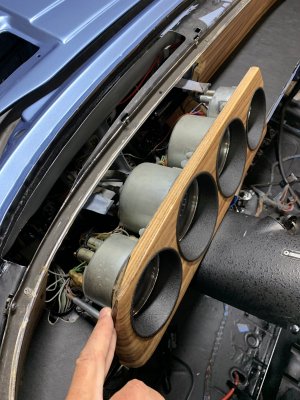
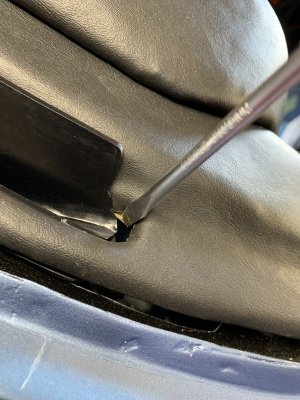
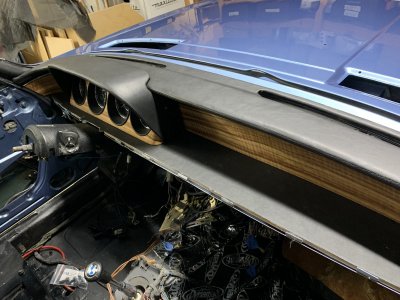
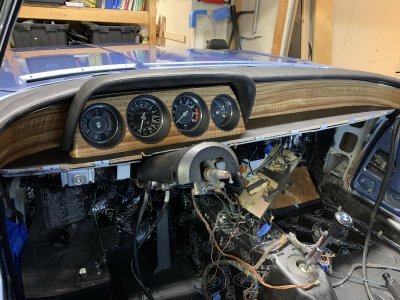
In the frantic rush to try and get this car at least partially ready for Legends on the 18th, I am doubling down on trying to get most of it done. Lots to catch up to, but one nice part is that, after MUCH trials and tribulations, I finally got the dashboard all in. I’m going to try and do a separate thread on that because I could not find much illustrated info on it elsewhere. But here are a few pictures:

26C27209-8476-4612-B2BA-CFBFCA4A65B3.jpeg 80D3C0F8-53E4-481B-96AB-5BD9B10F19A7.jpeg 7AA12B74-3DEE-4F19-B33C-7E29526082B4.jpeg 8123F72F-C9F5-4D15-97EE-571D6FE1B922.jpeg C04D799F-1C24-4F51-AB2A-D0E9206CDA1B.jpeg 6F95E4AF-B539-4B64-937C-A63FC7229C4B.jpeg
5F7DA5E0-129D-4653-9F70-EF71AC1F7DC1.jpeg
 
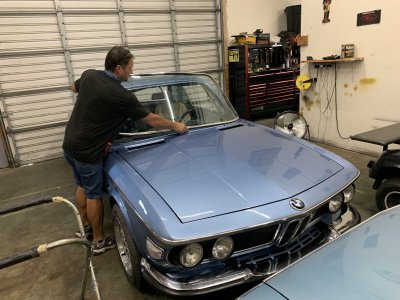
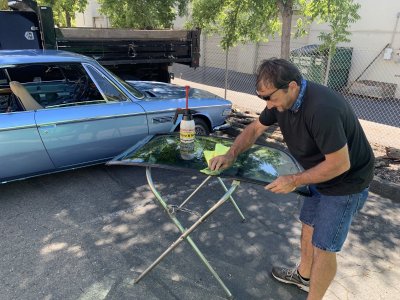
We have glass! Very big day today.

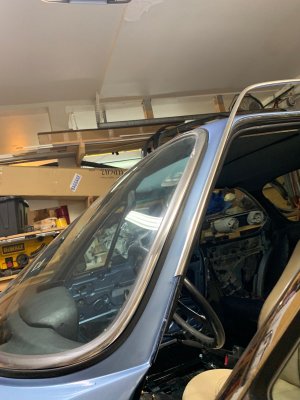
After all the horror stories I had heard about gaskets not fitting or glass not fitting or trim popping out, I don’t mind telling you I was pretty nervous about this bit. Even the glass guy had been telling me for the last few days that he had been working on another coupe out here (I don’t know the owner) and he said he had to come down to his house four times and finally told him he just could not do it. His chrome trim was bent, the gasket didn’t fit and some of the sheet metal seams that the gasket was supposed to bite onto the car were too thick. So I really thought the odds of both pieces of glass going in today was pretty low. I was making all kinds of Plan B and plan C, which would put my Legends plans in serious jeoparty.

But, for once on this car, everything went *almost* perfectly well. The rear gasket is a little bit too small and does not cover the sheet metal by a quarter of an inch as is standard practice but, I don’t think anybody (except @HB Chris of course) will notice.

For reference, after reading lots of info about this on the forum, I used BMW original gaskets and Walloth Nesch windshield and rear window.

7C5E4C91-D1B1-42E0-A571-1D7BC93B9CED.jpeg E230BF11-C2FA-4F9C-B8B1-27A832254686.jpeg
FFEE7948-C3F4-4D6B-8026-5F58411E4588.jpeg C935B92F-4528-4C01-A866-77F56207CB96.jpeg
 
I am long overdue on giving credit to my long time automotive partner in crime, Gary Ibusuki, aka @Bimmer 3.0 CS on the forum. Throughout this process he has been a tireless source of support and encouragement without which this sometimes overwhelming project would have never gone this far.

Thank you Gary!
 
It's the (extremely) mad dash to the finish! Well, not really the finish because there is no way I will be all finished by next Thursday, which is the Legends event at Monterey. But I really want to a) be able to bring the car there and b) get the car in a 80 or 90% "presentable" state. I've been working on it for five years and, although many have far more time into it than that, it does feel like a very long time. Of course, in my frantic attempt to get it all done, I injured both my back and my knee (too many long hours working either folded in half or sitting on my knees). As a result, both are hurting like hell and this is slowing my progress dramatically. To make things even more challenging, we just had friends visiting from Switzerland which pulled me out of the garage and into “tour guide” mode for several days.

Nonetheless, I am forging ahead as fast as I can. The exterior of the car will be mostly there but the interior will only be half finished, if that. Right now I am focusing on what is absolutely necessary for the 3.5 hour trip to Monterey, which is to make the car roadworthy and as weatherproof as possible. Fog and early morning wetness are always part of the game there, at least in the morning. So, with that in mind:

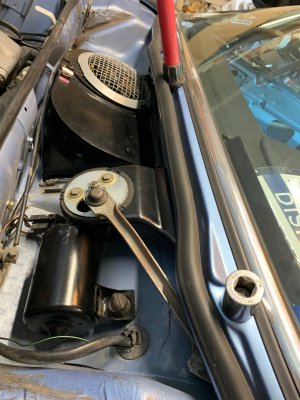
Re-installing the windshield wiper mechanism:

IMG_9942.jpg

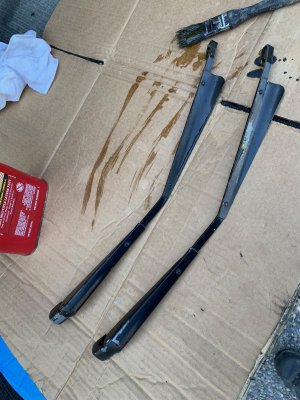
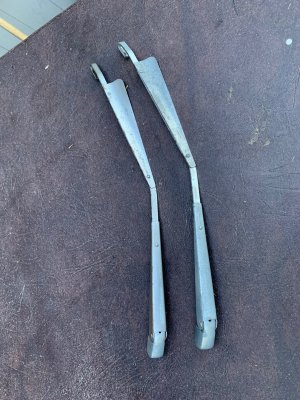
Removing the chipped black paint from the wipers:

IMG_9944.jpg IMG_9947.jpg

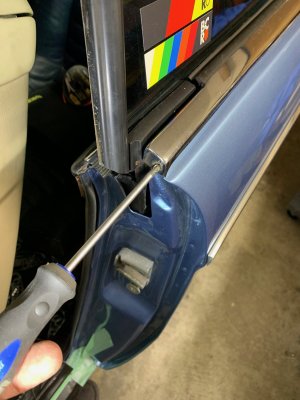
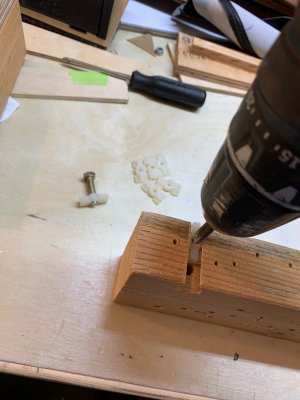
Installing @HB Chris new black blocks (onto which this screw is going) so I could re-install the rear window outer chrome strip:

IMG_9949.jpg

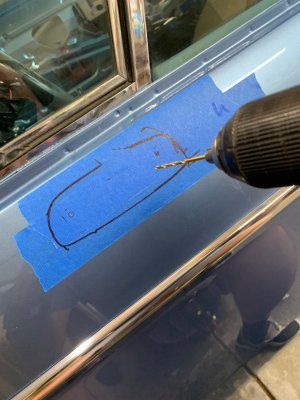
Using Riv nuts to move the driver side mirror as far forward as possible without being blocked by the quarter window frame:

IMG_9882.jpg

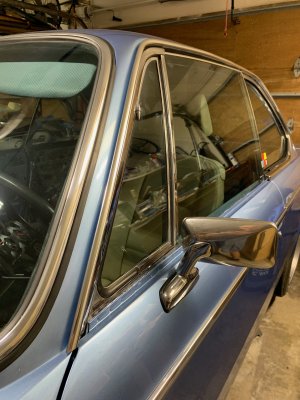
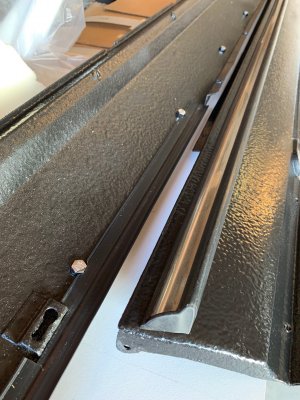
Re-installing the window drip rail trim:

IMG_9930.jpg IMG_9950.jpg

Since I already had new nylon clips from W&N I used @eriknetherlands solution to tap 6mm threads into them to secure the sill cover panels trim pieces

IMG_9718.jpg IMG_9951.jpg

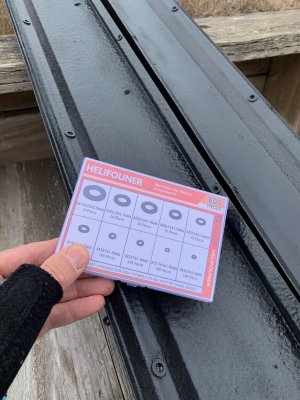
Using a page out of @paul cain 's (yet-unwritten-but-no-doubt-coming-soon) book, I added some nylon washers inside the sill cover panels to prevent water from pooling against the bodywork

IMG_9857.jpg

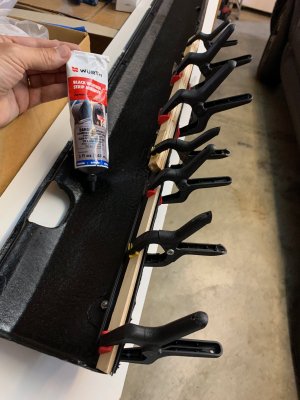
And then glued a new rubber strip on them:

IMG_9935.jpg

That's it for today. It is really ironic - and highly frustrating - that every time you think you start seeing the end of the tunnel, three more tasks just pop out of nowhere and go "Hey, what about me?"

Ok, three more days to go... where is the pain killer?
 
Last edited:
great to see you progress. and keep in mind, to be able to drive it, even without things like a sill cover is still a treat!
I know about the pains: been there too. Folding myself into the backseat while welding the rear lower quarter panels from the inside really didn't do my knees any good.
 
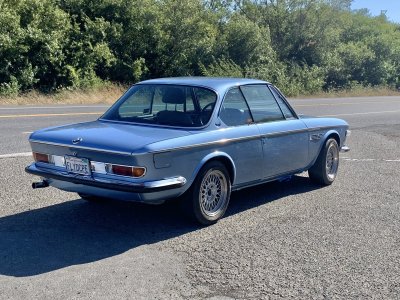
Two more insane days where everything seemed to fight me to no end, but this is it! After nearly 5 years of restoration work, the car’s exterior is done. I wish I could say the same about the Interior but everything took so much longer than I had anticipated that it is going to have to wait a little bit longer.

So, ready or not, Monterey Legends 2022, here I come!

I did a quick run up and down the street to make sure everything seemed OK and then set my alarm for 3am wake up. Hopefully I will get to Pacific Grove by 7:30, without hitting one of those f’n deer in the fog and missing most of the Bay area traffic. Fingers crossed!

CEED3249-13B2-445D-92CF-115E3625CA83.jpeg

4C2B532A-ADDA-4E18-8B89-C253DCEA0CAD.jpeg
 
Last edited:
Made it!

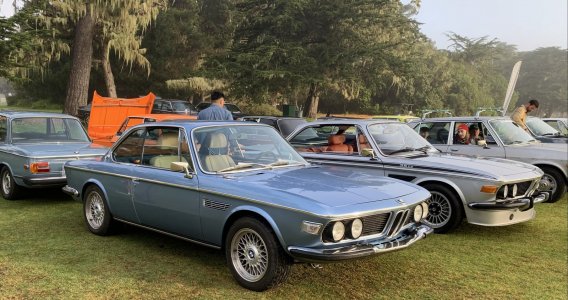
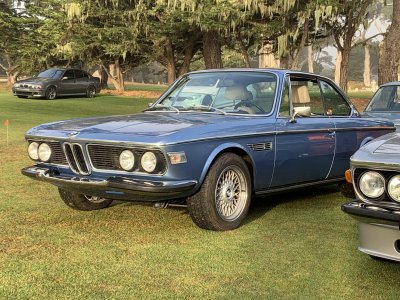
I am thanking my lucky stars for telling the local deer population to take the night off which gave me safe passage out of the fog of the coast and get me down to Monterey with only a minimum of traffic. Legends was at a new location which was really great especially compared to last year. Many thanks to the BMWCCA as well as Chris Macha and Paul Cain and Mike Burger for helping organize a fantastic event. I believe there were six coupes being judged in the concours and about 10 who were there for display only. It was awesome seeing old friends again as well as making some new ones.

IMG_9991.jpg 743A3D9D-E7F6-4967-98B8-759575B7178B.jpeg
 
Last edited:
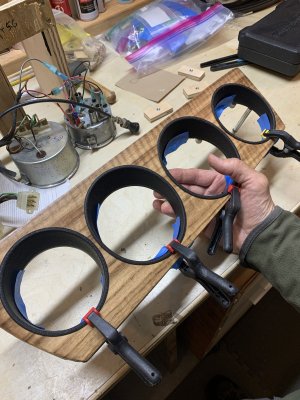
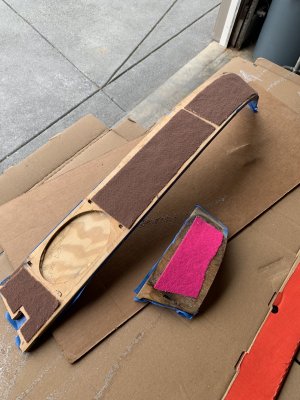
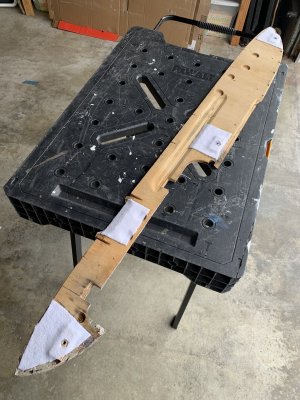
I had long lusted after the wood grab bar that the RHD cars still came with after that was banned from the US and euro versions. I thought about many different ways to retrofit something like that and I finally decided to take the plunge. For my test I got a (very) well worn 2000 cs bar which I painstakingly restored. Then I had a spare dash fascia which I had to heavily modify and cut in 3 sections in order to accommodate the new upper section. If that wasn't difficult enough, the real trick was to try and match the color of the grab bar wood to the dashboard which I had just re-veneered.

After about a month of work I came to the conclusion that:
1) you simply cannot have a different wood on the grab bar vs the dash veneer. It makes it very difficult to match the colors
2) you definitely cannot have a heavily figured dash wood veneer bc it will never match the solid wood grab bar
3) For the grab bar, you need to to have fresh, uniformly colored wood as well as a few spare sections to test your dyes on to make this work. Mine had been sun bleached in some areas, water damaged in others and the colored varied along its length as well as circumference making it very difficult to dye properly.

If you can satisfy those 3 requirements, it is possible to do it successfully, but it is a SIGNIFICANT amount of work. @ccr2002 had Madera and JS customs do it really nicely by avoid all 3 of these pitfalls. Since my dash was already heavily figured wood, there was no way to make this work. So after all this work, I gave up and chucked it all to a learning experience:

IMG_0426.jpg

So I went back to the black vinyl fascia as the final step in my dash restoration. But not without adding one subtle detail...

IMG_0525.jpg IMG_0526.jpg
 
The wood bar wasn’t banned, it was created for the first LHD to RHD conversions in the UK and was then adopted by BMW when dedicated RHD coupes were made. They had wood on the 2000CS and it overlapped the e9 in 1970. At least I think that is the reason.
 
just realized/learned that the trim is continuous on the 74 with the collapsible steering column vs the previous years.
E75A42E5-D639-4355-A900-F87AD1A3428C.jpeg
 
Back
Top