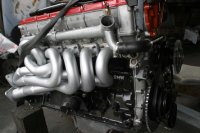
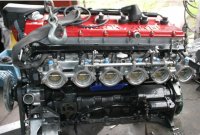
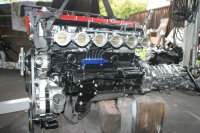
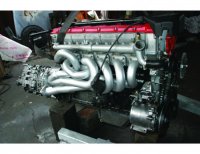
That thing looks like a monster
You are using an out of date browser. It may not display this or other websites correctly.
You should upgrade or use an alternative browser.
You should upgrade or use an alternative browser.
4310316 begins
- Thread starter aearch
- Start date
-
- Tags
- restoration list
itis that
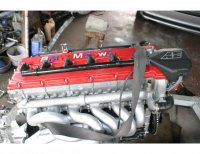
its a full race engine with 11/1 pistons and the b36 oversize valves the works
if it could be done this engine has it
interesting to hear it runng as im running magasquirt 2
sending out the harness to get it all tweaked and then tow it down to the tuner
to set it all up on the computer
redid my original rediator to the 3 core and reverse the in and out
so it will be super simple to plumb
Gonna need avgas?
Love the look of the headers.
looking good Alan ... keep it going
Nice work Alan! I must admit that I was worried about the headers interfering with the motor mount!
Alan, with an engine like that you can paint it any color you like. I personally go for simple, solid colors- I won't be painting flames on my car  ... But some people do :shock:
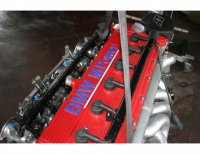
what do you think of the colors
The multi colors on the valve cover type are a little out of place in my humble opinion.
The multi colors on the valve cover type are a little out of place in my humble opinion.
+1 Why not paint all the letters blue?
I subscribe to "less is more"
yea good
i think the blue would be nice ill do that
i think the blue would be nice ill do that
Continue
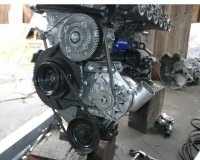
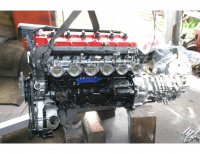
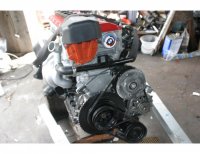
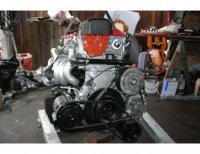
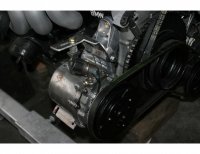
So have the engine setup and detailed
of course had to make a special ac bracket even though it was to stock unit
reversed it so it swung down instead of up
made it from the 6 series alt bracket cut it up
and trimed it out
ready to set it in the body
So have the engine setup and detailed
of course had to make a special ac bracket even though it was to stock unit
reversed it so it swung down instead of up
made it from the 6 series alt bracket cut it up
and trimed it out
ready to set it in the body
Attachments
Last edited:
Engine looks great, love those headers. BMW Power looks better in blue.
nobrakese28
Well-Known Member
- Messages
- 217
- Reaction score
- 12
Any updates?
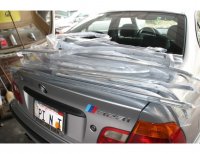
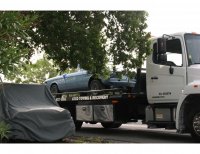
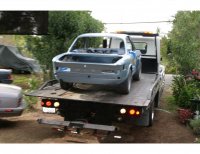
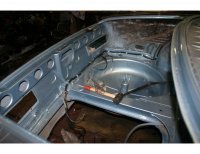
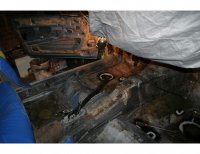
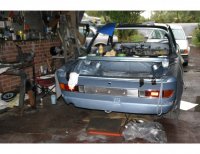
Here you go the car is home
Yaaa hoooo
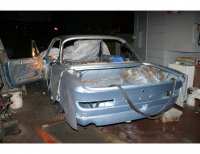
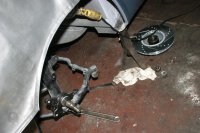
so the fun begins again
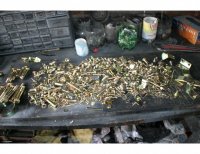
pullling everything else to clean and restore
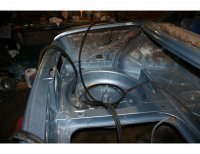
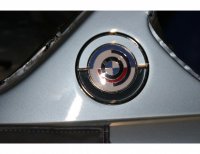
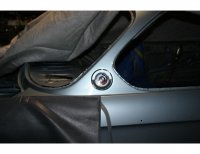
got the c pillers in first thing
Yaaa hoooo
so the fun begins again
pullling everything else to clean and restore
got the c pillers in first thing
Attachments
onward
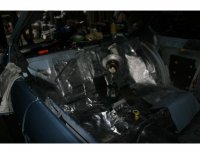
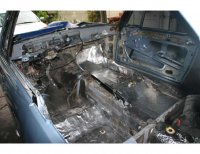
so its not real preety but the insul is going in ok
a million ways to assemble
im starting from the back
and inside and working my way to the front
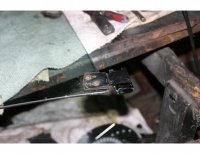
also the front window slider has small slots
that fill with grease and dont contract
never knew that one
all kinds of neat surprises.
okguys ill keep posting

