4310316 begins

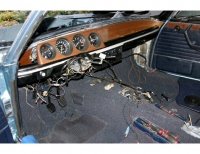
inside

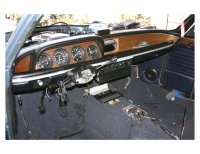
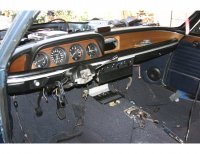
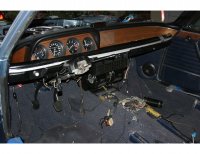
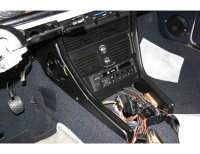
had to remove the dash to get the heater in safely
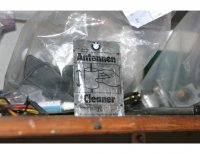
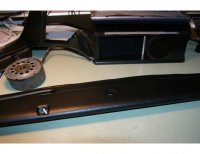
and my must have for the tool kit
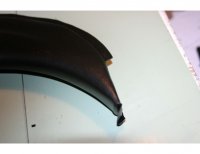
i like the door trim all new plating
 
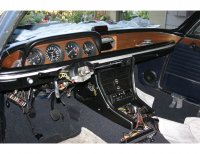
JUST DASHES ARE AMAZING
they did my dash in just two days
moving along
addition to tool box -antenna cleaner
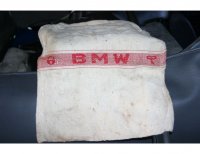
and oem tool rag
setting the dash today and wiring
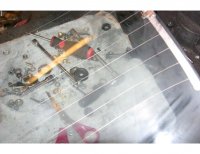
also im sure youe rear window wires are black
well to bring back to showroom
take a mat knive blade and lightly scrape them
you will see they come back to bright silver
if you have an old coil bust it apart w/ a hammer and you can use the copper wire inside to hang parts for painting and hold up things during assembly
 

Attachments

  • IMG_9403.JPG
    IMG_9403.JPG
    76.4 KB · Views: 361
  • IMG_9405.JPG
    IMG_9405.JPG
    80.8 KB · Views: 361
  • IMG_9408.JPG
    IMG_9408.JPG
    65.1 KB · Views: 342
  • IMG_9410.JPG
    IMG_9410.JPG
    68.2 KB · Views: 343
  • IMG_9401.JPG
    IMG_9401.JPG
    71.2 KB · Views: 375
  • IMG_9411.JPG
    IMG_9411.JPG
    83.5 KB · Views: 353
  • IMG_9412.JPG
    IMG_9412.JPG
    52.5 KB · Views: 333
  • IMG_9413.JPG
    IMG_9413.JPG
    33.6 KB · Views: 363
Last edited:
lately the pictures are not there , just alist
am i doing something wrong?
 

Attachments

  • 2.jpg
    2.jpg
    912.5 KB · Views: 346
  • FastStone Image Viewer - 1 Image(s).jpg
    FastStone Image Viewer - 1 Image(s).jpg
    685.5 KB · Views: 352
  • a5.jpg
    a5.jpg
    651.9 KB · Views: 326
Last edited:
Car is coming along nicely dash looks amazing.

Pictures seem to list now instead of having thumbnails for some reason.
 
I had noticed the same,

Your dash really looks nice! Did they reveneer the wood also, or did they manage to save the original veneer?
Pics indeed also list instead ofshowing as thumbnails in my previous posts as well. I thought it was something with my view settings, but appearently you're all experiencing the same...

Expert needed here ?
Erik
 
i redid all the venneer ists really very simple
you begin by stripping the original w/ a #11 xacto
striping it
then use a small chisel flat side down and it all comes off very easily
since its so old
most of comes off in strips.
then you paint both surfaces w/ wood glue
and let it dry overnite
then soak it in a sink for aminute or so and use a steam iron with a
soft clean cloth and iron it on
it will conform the all the bends smoothly
let set overnite and trim with the xacto
really a lot of fun trimming the veneer edges
the hard part was having to redoing one piece as the glue was a little more difficult to get off this time but still it only took an hour to strip
THEN i only applied "old masters" 100% TUNG OIL
then its just like furniture you can repolish and refinish
also you can set your own grain pattern
the sheets of veneer are available in almost any wood
but i used the oem french walnut
 
627

i figured out the 74 wiring for the e28 motors and thew 5 prong switch
ill post a schematic for all to see
 

Attachments

  • IMG_9436.JPG
    IMG_9436.JPG
    613.1 KB · Views: 305
  • IMG_9437.JPG
    IMG_9437.JPG
    647.6 KB · Views: 312
  • IMG_9438.JPG
    IMG_9438.JPG
    874.6 KB · Views: 288
  • IMG_9439.JPG
    IMG_9439.JPG
    851.5 KB · Views: 296
Your wood looks great. Very nice job Alan.

i redid all the venneer ists really very simple
you begin by stripping the original w/ a #11 xacto
striping it
then use a small chisel flat side down and it all comes off very easily
since its so old
most of comes off in strips.
then you paint both surfaces w/ wood glue
and let it dry overnite
then soak it in a sink for aminute or so and use a steam iron with a
soft clean cloth and iron it on
it will conform the all the bends smoothly
let set overnite and trim with the xacto
really a lot of fun trimming the veneer edges
the hard part was having to redoing one piece as the glue was a little more difficult to get off this time but still it only took an hour to strip
THEN i only applied "old masters" 100% TUNG OIL
then its just like furniture you can repolish and refinish
also you can set your own grain pattern
the sheets of veneer are available in almost any wood
but i used the oem french walnut
 
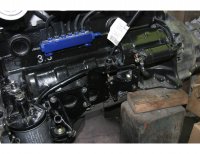
i figured out the 74 wiring for the e28 motors and thew 5 prong switch
ill post a schematic for all to see


In the first of those pics (9436.jpg) what is the black cylinder held on to the inner fender by one shiny bolt that is at 5pm of the brake MC? Right above the frame rail and under what used to be the battery tray.

I have a similar (but not exactly the same) thing in my car and it looked some kind of '74 pollution thing. It seemed like there might have been a vacuum hose attached at some point but it was cut off so I removed it.
 
stock seaRS CRUISE CONTROL
the handle matches the graphics and style exactlyt go figure got it about twenty yrs ago
thats where the charcoal canister used to go for smog
 
test all electrical for shorts

so installing the radio hard line
and good thing
ended up finding a rusted relay and a short in the rear light
glad i did that now instead of going crazy once i applied power
and had all the trim in
 
4310316

Hi Allen;
Looks great! Keep up the great work and your efforts will be your reward for years to come.
Koopman
 
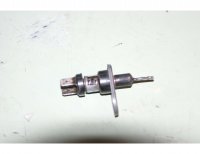
Door light switch

My driver door sw snapped so i drilled it with
a small bit and jb welded it in
worked good
ill grind of the tip
 

Attachments

  • IMG_9458.jpg
    IMG_9458.jpg
    378.5 KB · Views: 294
ultimate radio look

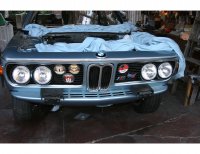
more stinkin badges
 

Attachments

  • IMG_9460.jpg
    IMG_9460.jpg
    751.5 KB · Views: 315
  • IMG_9461.jpg
    IMG_9461.jpg
    843.3 KB · Views: 309
  • IMG_9462.jpg
    IMG_9462.jpg
    871.7 KB · Views: 331
Any more badges and you'll need to run a water mister system to keep that M5 engine cool.
 
Coming along nicely! The Fosgate speakers should sound pretty good, I put those in the Polaris coupe on the rear deck lid since the dealer had installed the originals there (I would have preferred no deck speakers). It's amazing how new auto sound technology has come along; I have a very nice system in the Porsche (996 Turbo) and even in my Toyota Tacoma (something like 12 speakers) though when I get into the 07 Shelby the radio sounds like Little Rascals sound track. I have a fairly inexpensive Retro-Sound radio connected to the Fosgates and it sounds "good". We'll probably not get the engineered sound of a modern car into our coupes without spending way too much money especially considering all the other noises coming from our beloved e9's.
 
pulling type throttle linkage

so looking at all the options for a pull system
i had an extra motor mount so i cut and welded it together
to provide a simple 90 deg bracket and used the oem m5
cable
so true peter i have absolutely no idea of what to expect from that engine as ive been listening to the chevy truck and 86
prelude all along.
also i may need something cause i had one more beauty being refinished to add to the grille.
 

Attachments

  • IMG_9463.jpg
    IMG_9463.jpg
    749.1 KB · Views: 321
Last edited:
Back
Top