72 Restomod clubracer build

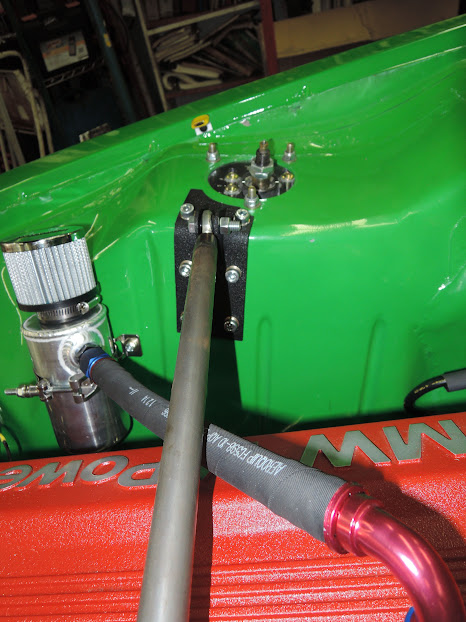
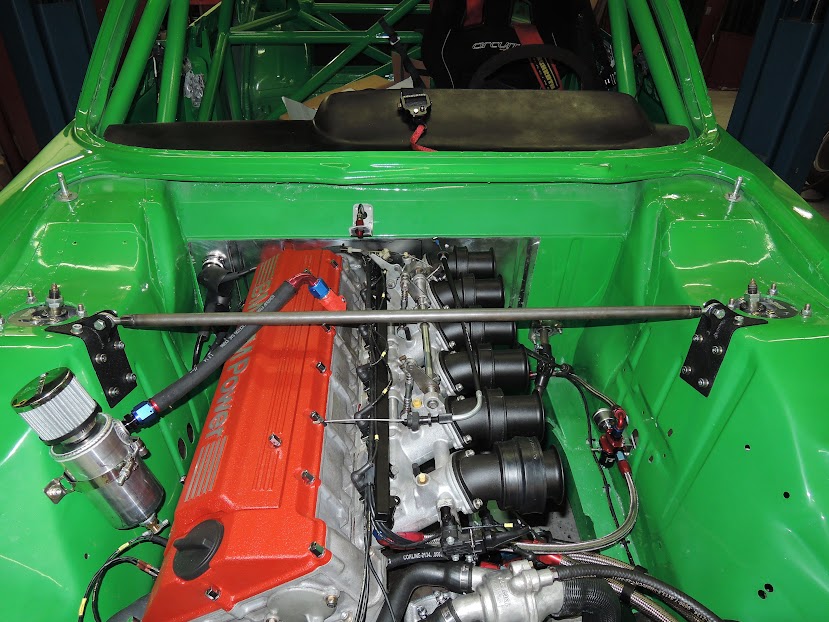
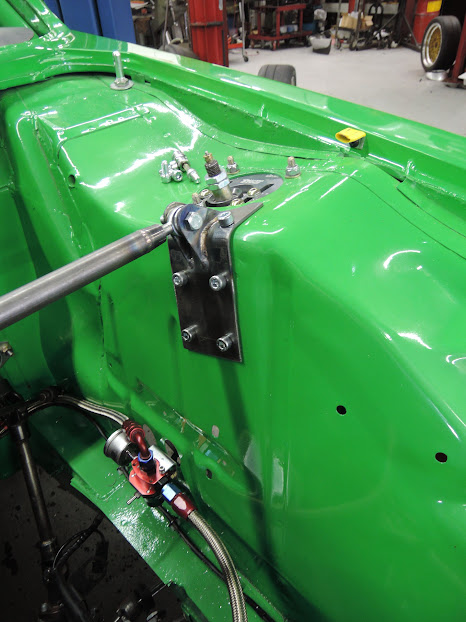
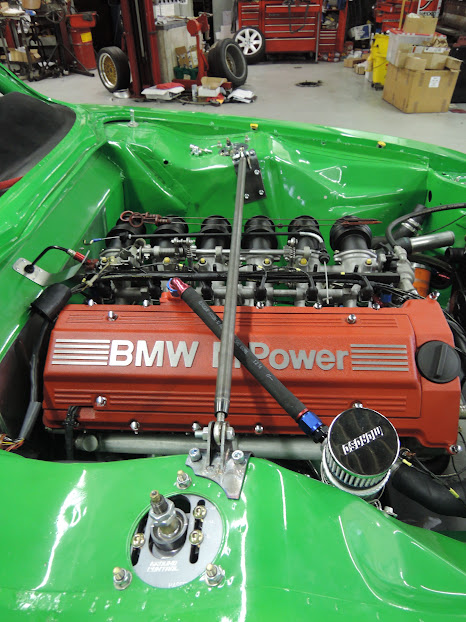
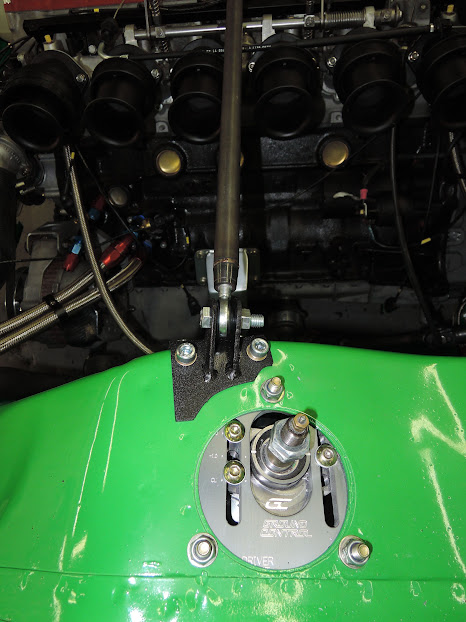
another small project almost completed . Got the strut bar built and installed .
007.JPG


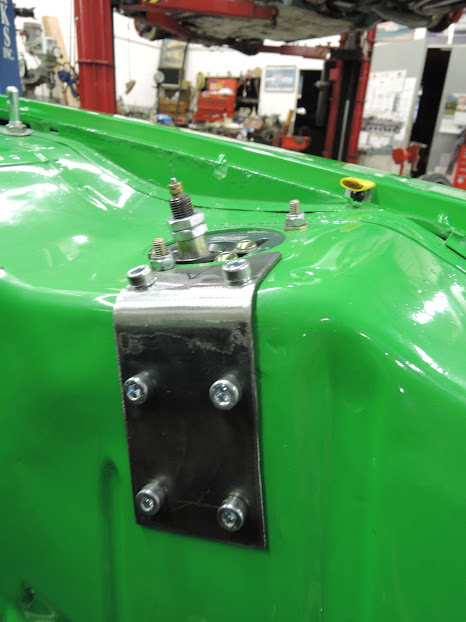
plates are cut out and bent to shape , holes drilled to mount it to the body , next step is to locate the tabs for the cross bar
002.JPG


003.JPG


004.JPG


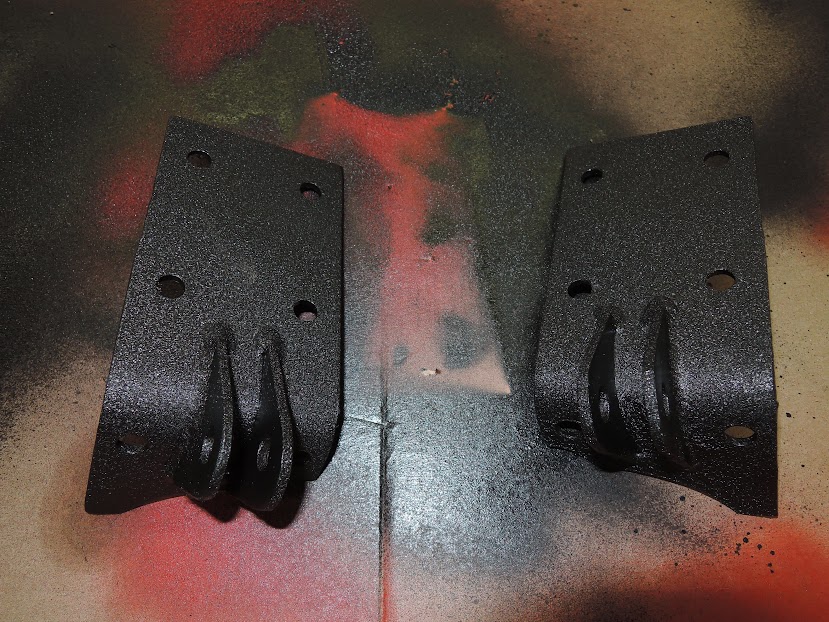
tabs located , welded on and wrinkle coated
007.JPG


008.JPG


005.JPG
 
It was bar week for the CSL project ,yesterday front stress bar today the rear sway Bar. Since I couldn't find a bar to fit my need premade I used a Nascar style bar commonly called a speedway bar .

001.JPG


all the pieces layed out , the bar itself, two lock collars , two arms , pillow blocks and mounting taps to affix the whole thing in the car

001.JPG


what it looks like assembled

003.JPG


prepping the area where it will get installed

002.JPG


tabs ready to be welded in

005.JPG


Steven aka "Turtle" welding the tabs in place

006.JPG


007.JPG


and one rear speedway bar installed

009.JPG


got some tiedown hooks welded in

014.JPG


now just need to modify the arms and mount the drop links and the rear suspension will be totally done
 
Got started on the brake lines today. We got the hard lines cut out, shaped and laid in place . need some more flexible line , and to hang the res. bottles and the brake system will be ready for action

004.JPG


the brake and clutch masters will have flex lines that go to these blue fittings , which have lines going to the front brakes , rear brakes and clutch slave

002.JPG


bulkhead fitting going though the firewall , hooking up hard lines to the front brakes and the clutch slave

001.JPG


hard line to front driver side brake

003.JPG


hard line to the pass. side

005.JPG


line to the rear brakes

006.JPG
 
Another Sat in the shop , but worth it. One step closer to having functioning brakes . Made a bracket and hung the brake reservoir's . All that's left to finish the brakes is 3 soft lines and Im ready to add fluid and Bleed .

001.JPG


bracket mounted to the firewall

003.JPG


004.JPG


the fluid container's mounted , holes drilled though the firewall for the feed hose's and grommet's installed . Front brake, rear brake, and clutch

005.JPG


006.JPG


Flexible pressure lines from the masters going to hard lines
 
Very very nice. Are you powder coating all those wrinkle finish brackets or just painting them. A quick hint for a better paint job ( if you are using paint ) heat the part up for about 15 minutes at 400 degrees F and then paint while still hot, the paint sticks way better and you get a very good uniform coat on each piece

great job

Thanks, Rick
 
Just about got the pedal's dialed in . installed the throttle cable, and made some adj to the throttle assembly. built a throttle and clutch stop and we got the rest of the brake system plumbed. just need to put in fluid and bleed

001.JPG


bolted on the piano hinge for the throttle

003.JPG


004.JPG


making brakes line from scratch

005.JPG


rear brake line built and installed

006.JPG


front line also installed

007.JPG


009.JPG


001.JPG


adj. made to the throttle and now for the throttle and clutch stops

002.JPG


brackets made to hold the clutch and throttle stoops

003.JPG


drilled some holes and put some "nut serts" to bolt the clutch stop to

004.JPG


throttle stop bolted in place

006.JPG


clutch stop bolted in

007.JPG
 
Looks amazing! Have you ever experienced issues with a single shear shock mount in a racing application?
 
Looks amazing! Have you ever experienced issues with a single shear shock mount in a racing application?

No I have not , and I have raced my old E12 that way for 10 years or so, many BMW's are raced that way with out issue !

it doesn't seam Like Ive gotten much done lately , but I have been busy working on it, its been slow tedious work , and its the finishing touches that are taking lots of time . Now that Im nearing completion its time to install things for the final time , one thing that was just "mocked up" was the front suspension, and cheep off the shelf hardware was used , being that those pieces will be under heavy heavy load , I ordered up some uber expensive AN milspec blah blah hardware

001.JPG


and reinstalled the front suspension with the upgraded hardware

004.JPG


005.JPG


006.JPG


007.JPG


Now just need to install the front sway bar
 
008.JPG


009.JPG


finished off the cooling system, filled it with coolant and bled the system

011.JPG


probably will do this another way at some point but capped off the idle circuits

001.JPG


002.JPG


had to pull out the entire harness to fix something ,

012.JPG


and reinstalled the repaired harness

hopefully we will have some video this weekend!
 
I saw it on FB today.
Sounds great.
Nothing like an S38 for the sound.
Can't wait to hear some revs.
What's the redline going to be?
Mine is 7000 in the M5.

All the other work looks amazing Brenden.
Brakes, pedals and love the rear sway bar.
Want to see how that hooks up.

Later,
Gary
 
I'm going to miss this build when you are done. Great sounding motor but I'm really looking forward to your comments on all the suspension modifications you have done.

Thanks for sharing the process.
Doug
 
Comment, comment

Awesome, awesome! Cheers!!! It's over-the-top, what else can I say, just looking forward to the 1st place trophy at the vintage races!!
 
so Brendan,

do we have a first track trial estimate? this is looking so hot, we all (atlanta regional guys) need to be there.
 
Brendan, can you post when you will be racing, maybe as far in advance as possible so us out of towners can make travel plans? I would appreciate a couple pit passes as well :) I'll take my punk son out of school and make a time of it!
 
Love the look AND the sound. Great job in every aspect. When you decide to bring it north to either VIR or Watkins Glen, I'll hope to be there - pit passes would be great as well. Love the Glen - drove several thousand miles on that track before 'retiring'.
 
Back
Top