You are using an out of date browser. It may not display this or other websites correctly.
You should upgrade or use an alternative browser.
You should upgrade or use an alternative browser.
72 Restomod clubracer build
- Thread starter bdigel
- Start date
-
- Tags
- restoration list
some more bars added to the cage,
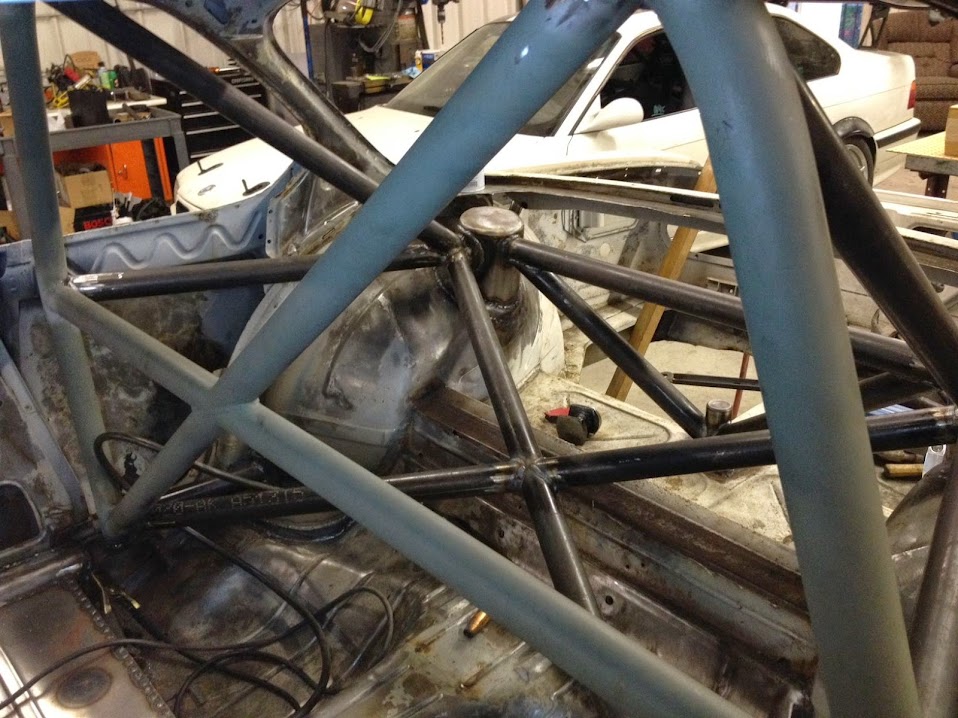
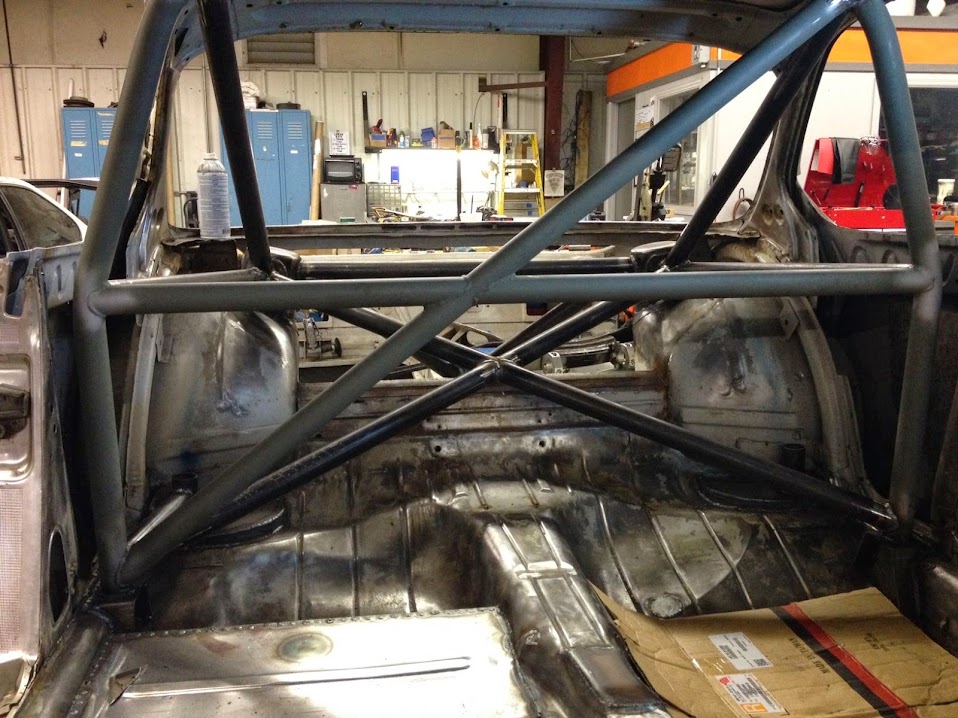
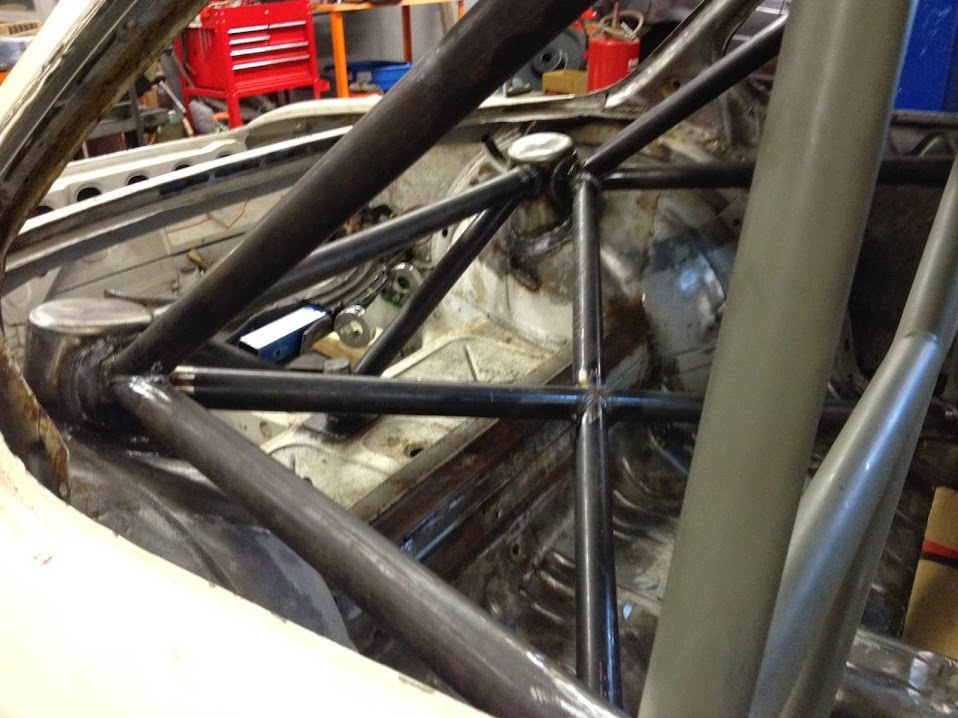
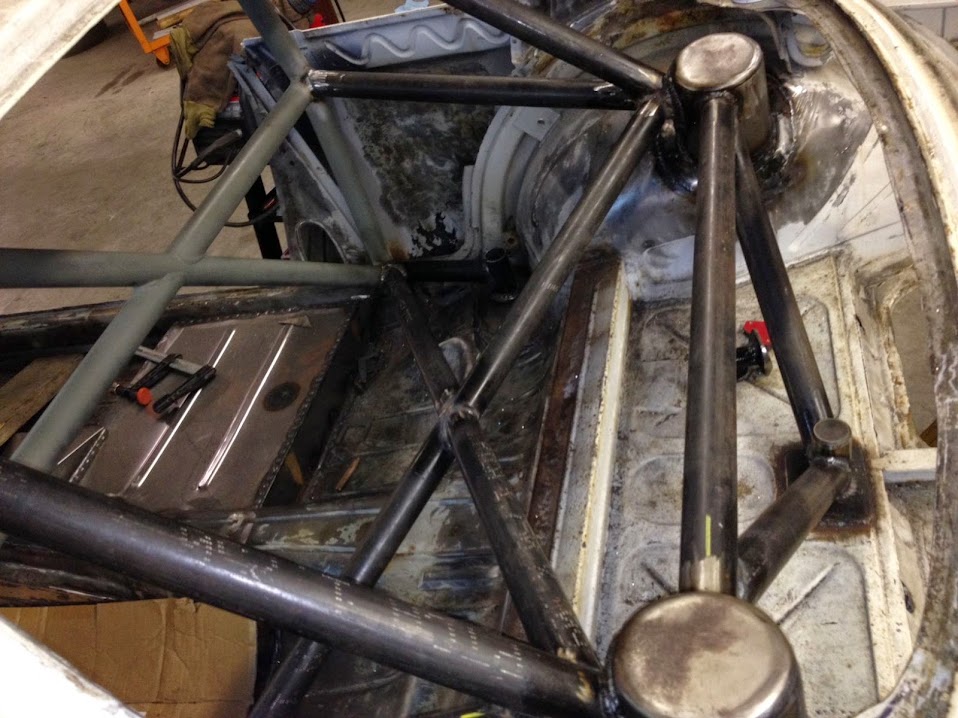
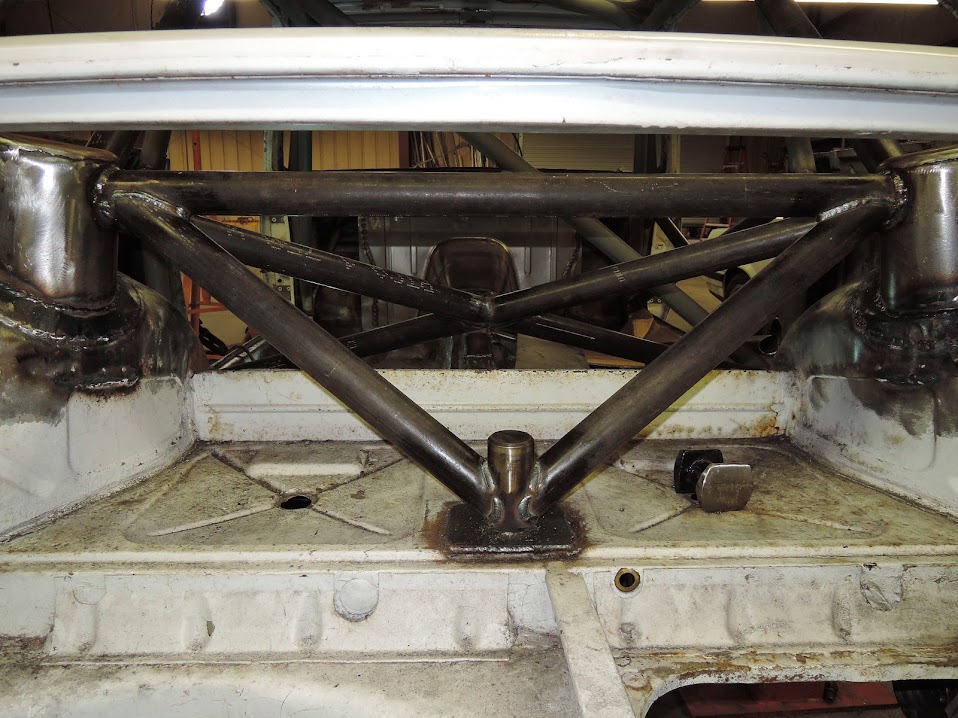
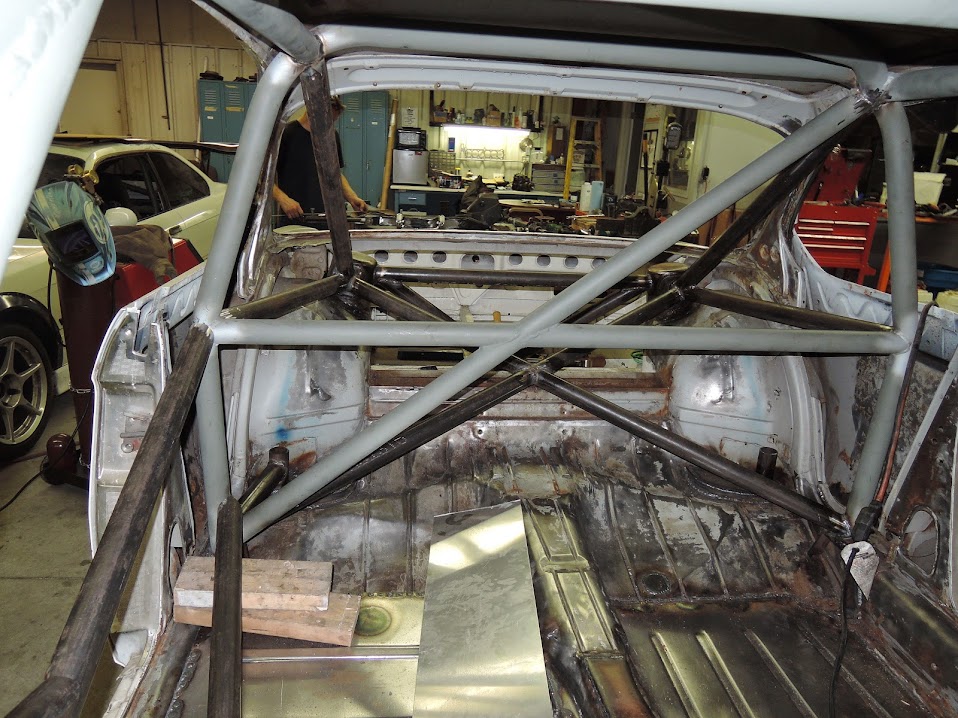
not much left to do on the rear of the cage !
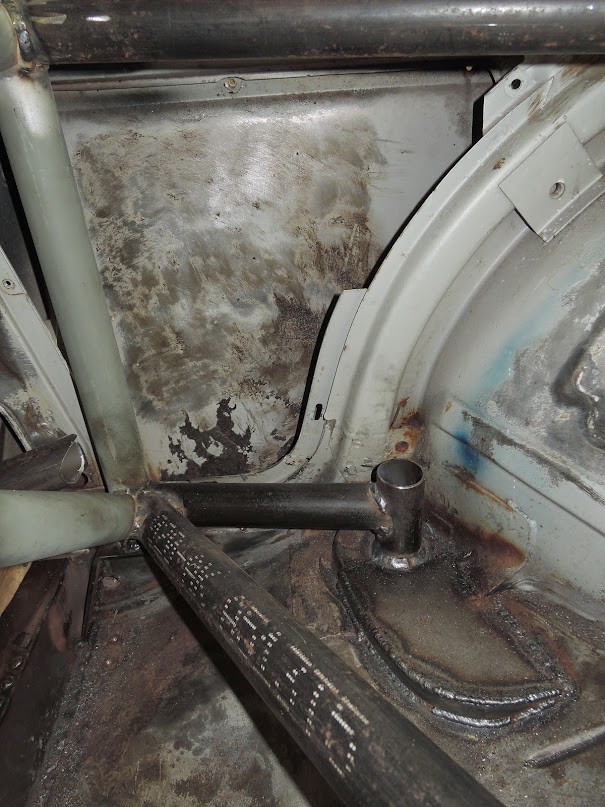
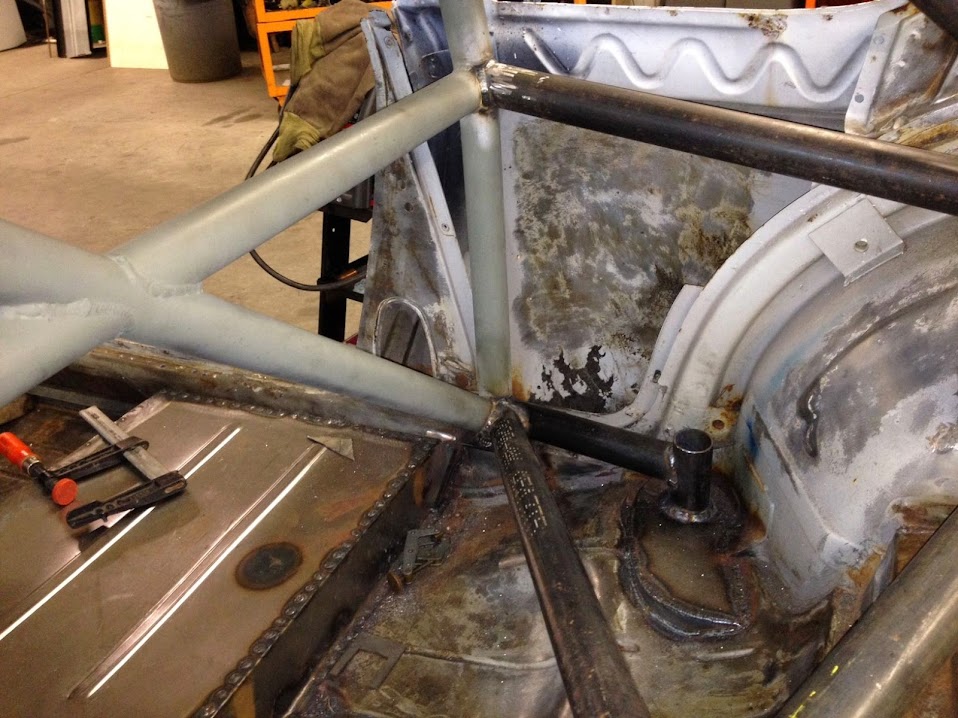
below you can see how we tried to stiffen up where the subframe attaches . Before that bar was attached you could really see that part of the floor move around while we were wrestling with the subframe
Frank also got started on the door bars on the passenger side
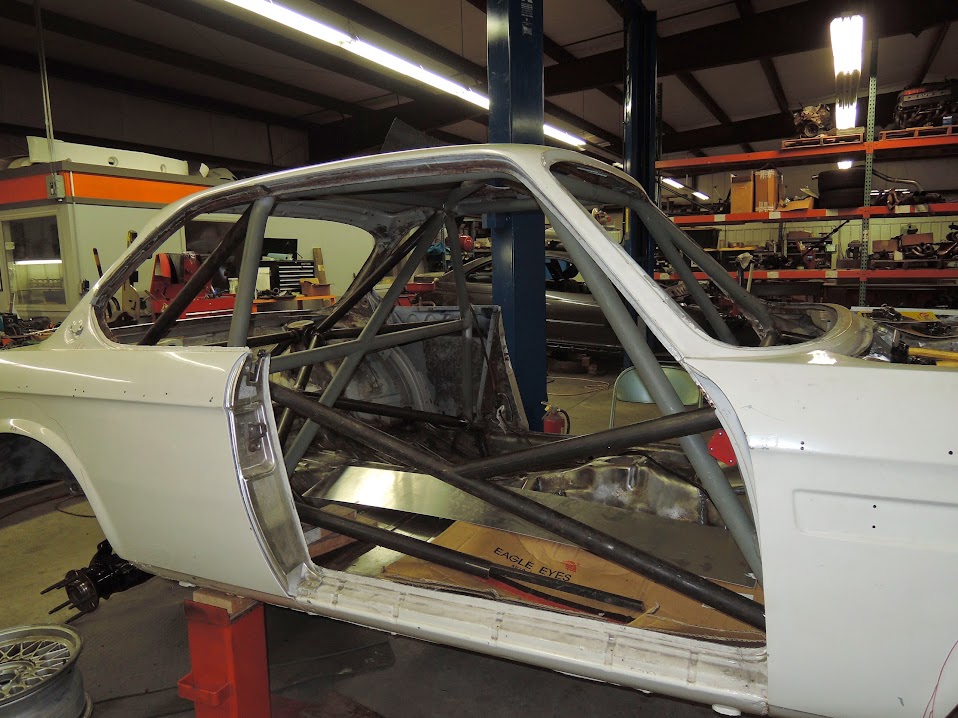
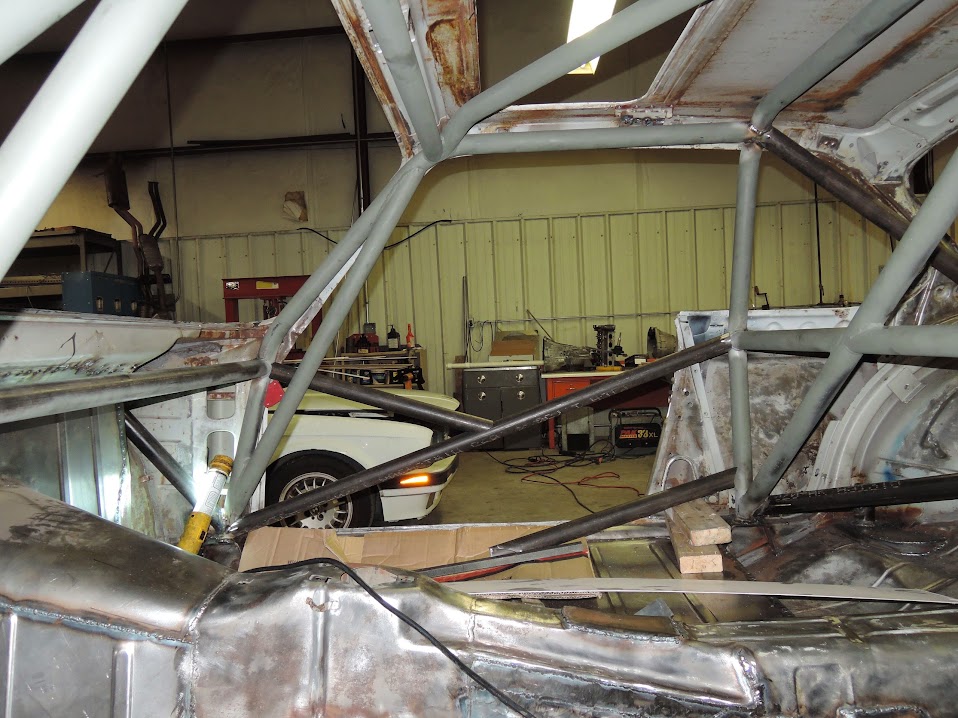
and the footwell protection bars are finished up
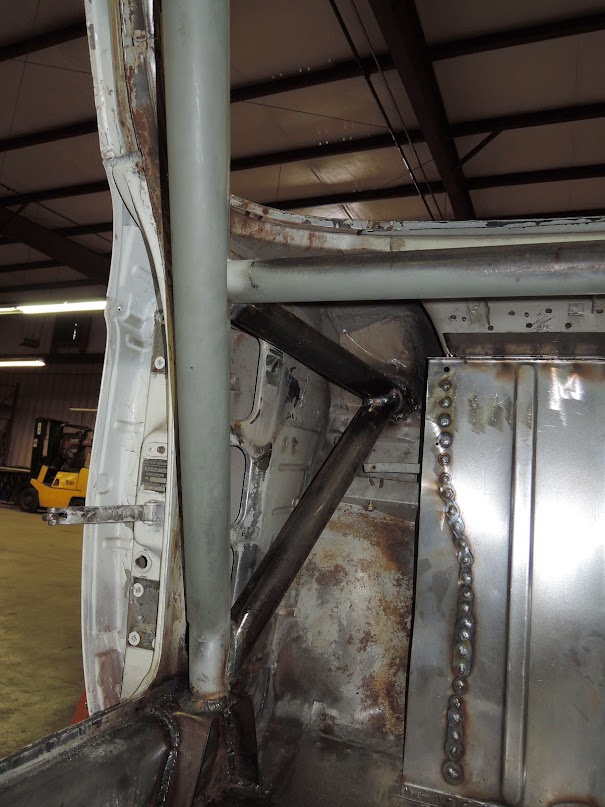
not much left to do on the rear of the cage !
below you can see how we tried to stiffen up where the subframe attaches . Before that bar was attached you could really see that part of the floor move around while we were wrestling with the subframe
Frank also got started on the door bars on the passenger side
and the footwell protection bars are finished up
finishing off the last bars
the driver side door bars
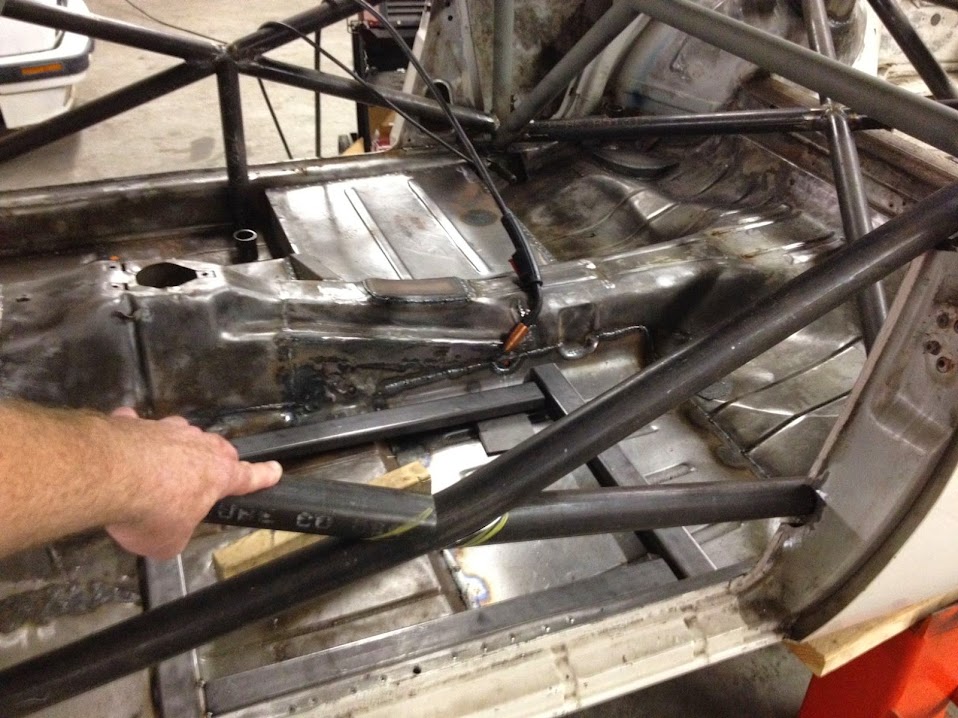
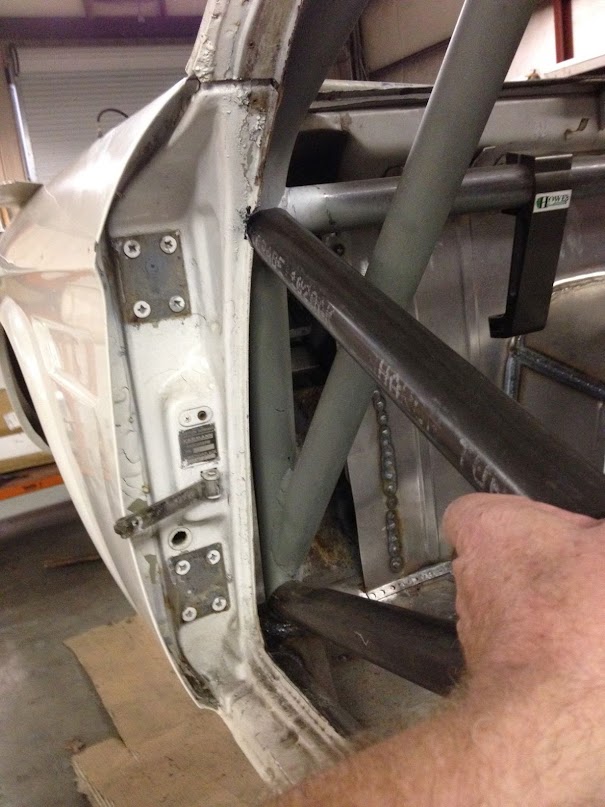
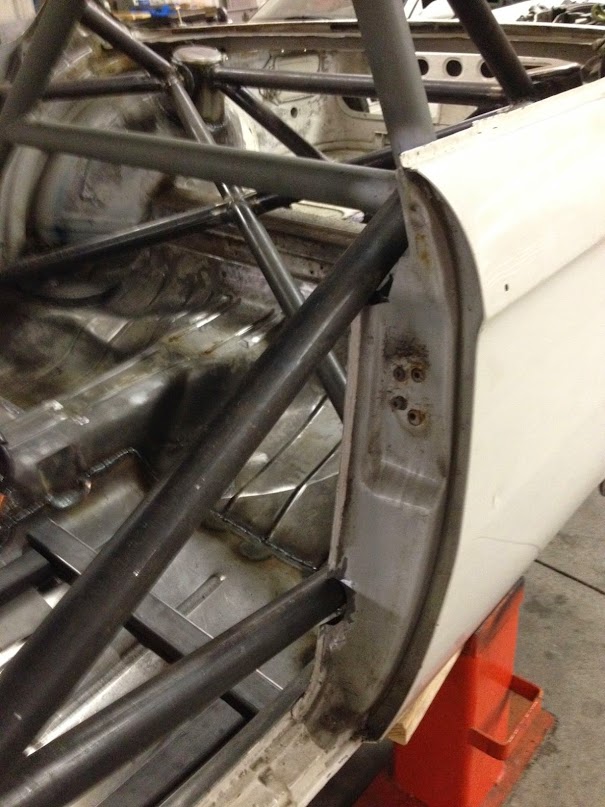
its hard to tell from the picture but we had the door bars on the driver side pertude out into the door to give the driver room
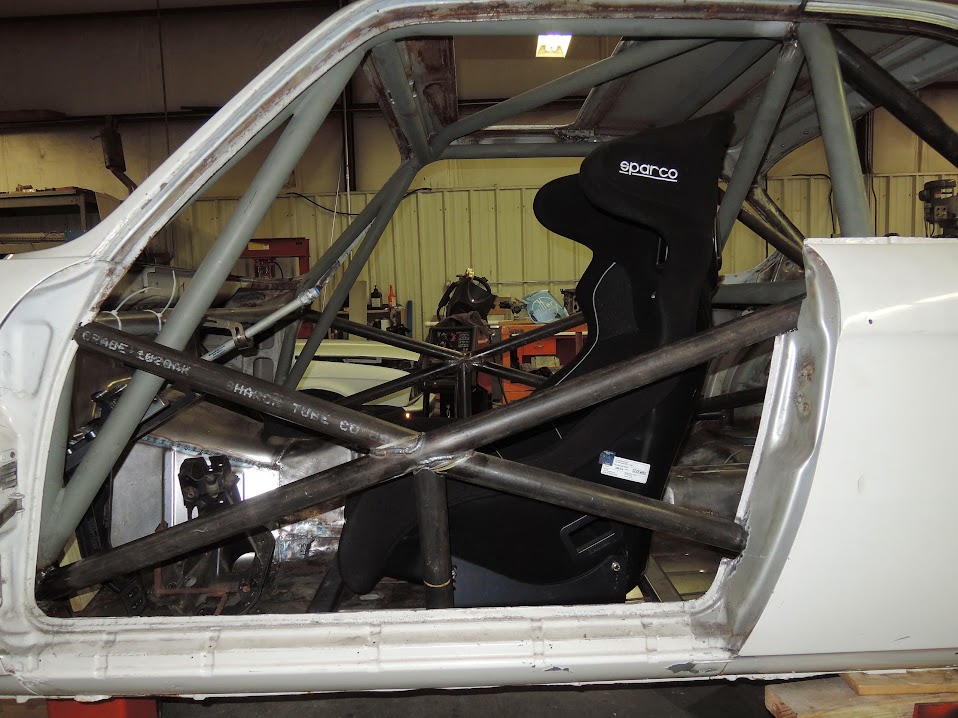
the vertical bar in the middle will become part of a jack pad
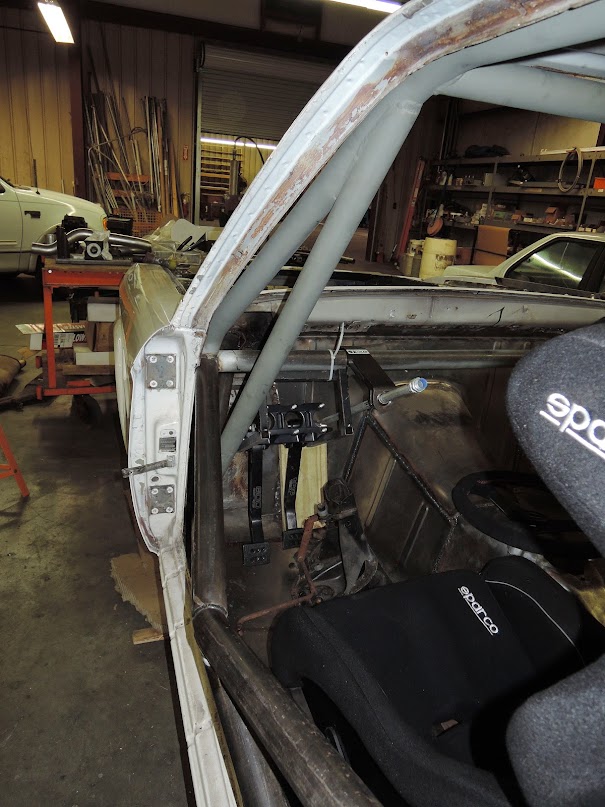
view of the pass side
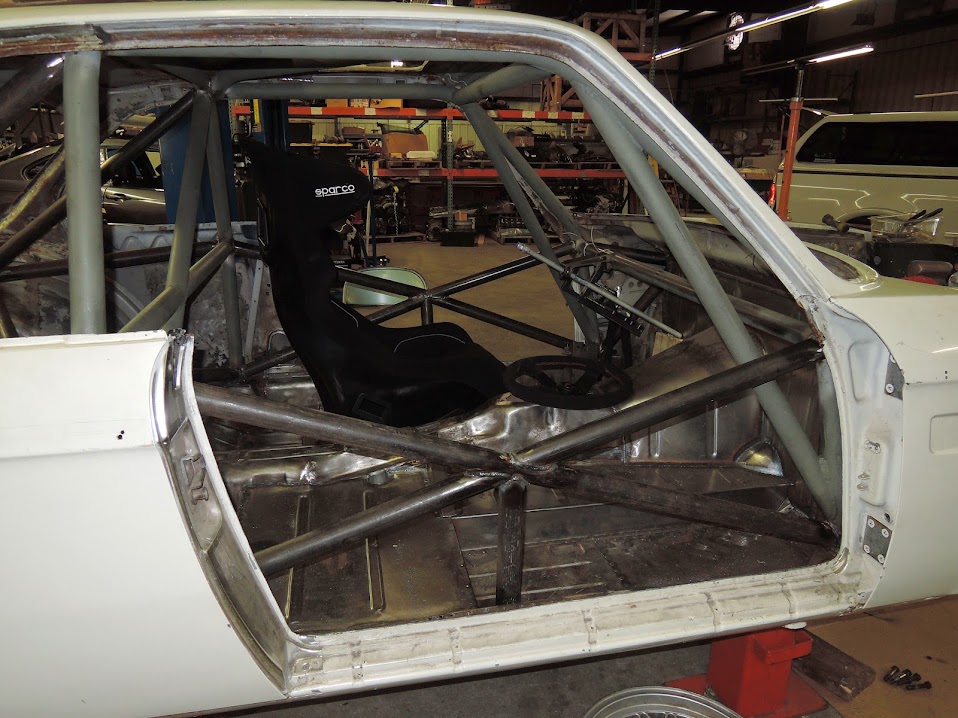
starting on mounting the seat
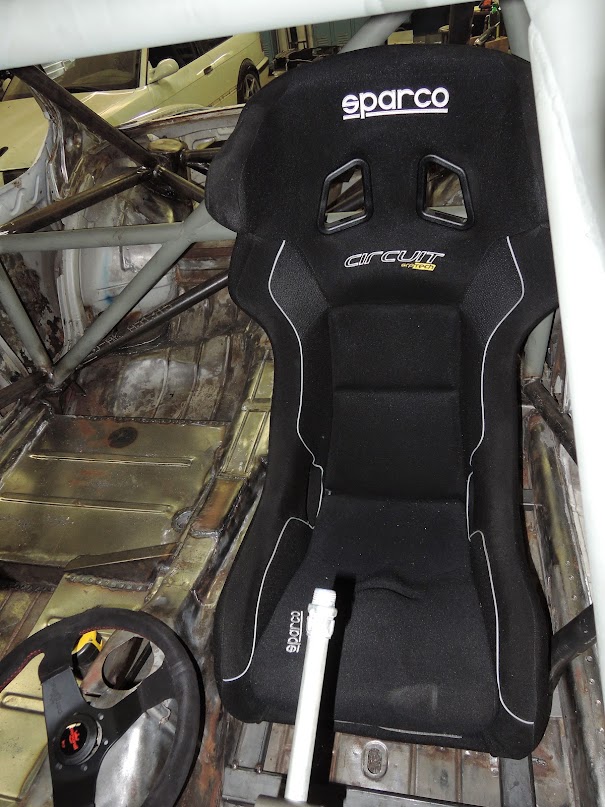
the driver side door bars
its hard to tell from the picture but we had the door bars on the driver side pertude out into the door to give the driver room
the vertical bar in the middle will become part of a jack pad
view of the pass side
starting on mounting the seat
Tierfreund
Well-Known Member
That´s a lot of scaffolding! Do you actually still needd the e9 body or could you just leave it of and have an Atom with front mounted M30?
Just kidding. Looks great. If that thing doesn´t turn out to be great fun on track I don´t know what would. Needs some serious hp. What´s the engine going to be? At that build level I don´t think you´ll be happy with just a naturally aspirated engine. Not even with open induction and 4v heads.
Turbo monster baby!
Last edited:
That´s a lot of scaffolding! Do you actually still needd the e9 body or could you just leave it of and have an Atom with front mounted M30?
Just kidding. Looks great. If that thing doesn´t turn out to be great fun on track I don´t know what would. Needs some serious hp. What´s the engine going to be? At that build level I don´t think you´ll be happy with just a naturally aspirated engine. Not even with open induction and 4v heads.
Turbo monster baby!
thanks Tierfreund . Sorry No Turbo's , building an e34 s38 , more on that later. for now Ill update you on the front suspension progress .
pictured below is the front subframe just starting to be modified
and with the rack conversion
and the updates , front lower control arm , tubular with sperical bearings
mocking up front end
double clevis mount for the other arm
cutting up the front subframe to make new mounts
mocking up
and completed arm fitting in to to almost done frame with new mounts
close up of mount
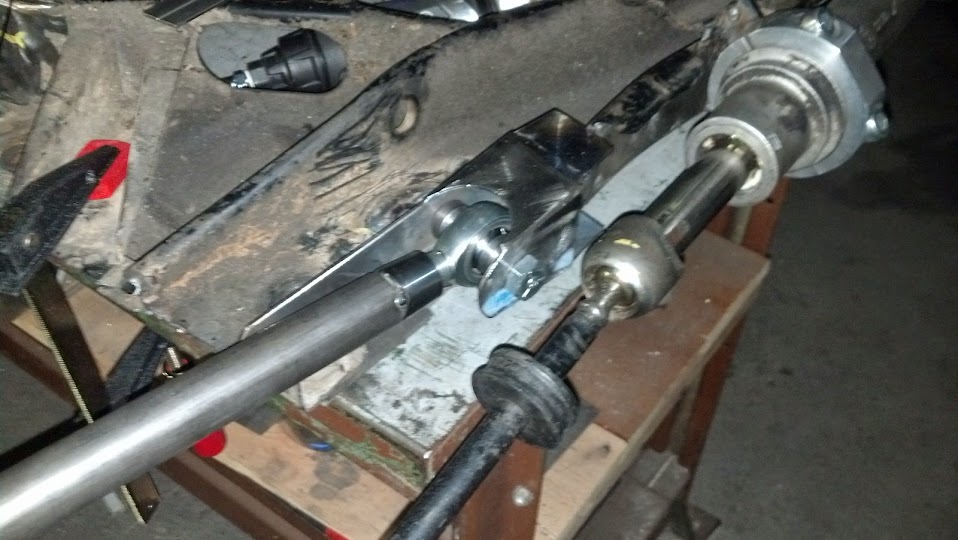
and the new control arm mounts boxed in for strength
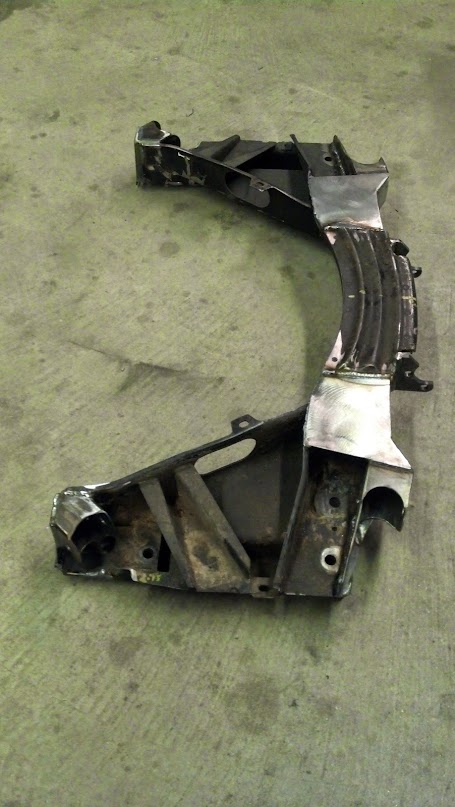
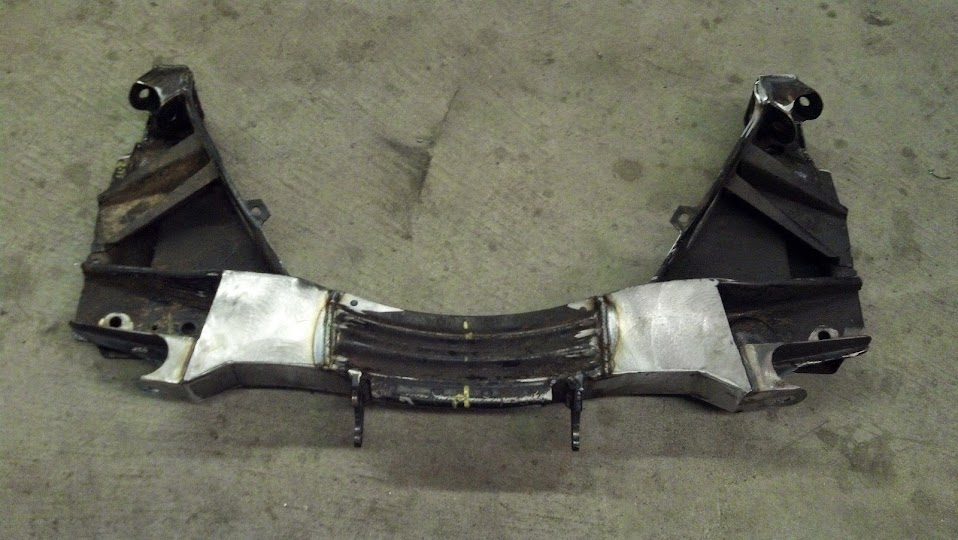
Dave did a fantastic job on the subframe and control arm!
Great work BD and thanks again for your diligent posts. I'm following this with keen interest, especially the steering rack mod. I was at a car show yesterday and some of the local BMW club members and I were discussing this part of your project as a rack is a solution to my problem of S38 headers clearing a right hand drive steering box. Have you kept any drawings or specifications for the steering work? What have you done to counter bump steer?
Gazz
Gazz
Great work BD and thanks again for your diligent posts. I'm following this with keen interest, especially the steering rack mod. I was at a car show yesterday and some of the local BMW club members and I were discussing this part of your project as a rack is a solution to my problem of S38 headers clearing a right hand drive steering box. Have you kept any drawings or specifications for the steering work? What have you done to counter bump steer?
Gazz
Hi Gazz , thanks for following , Im sure Dave has the drawing and he would also be glad to make another set of the steering rack collars and brackets, although I would wait till we have it completely sorted out ,
the Bumpsteer will be corrected by a spacer that goes between the strut housing and the steering arm . it is the aluminum piece seen here, it moves everything in to the correct geometry .
there are several companies that make these . I will probably have to make another custom set though to match up with the custom dampners Im getting . so stay tuned, the akerman and steering geometry will also have to be fixed which will require the steering arms to be shortened several inch's ( this is something I didn't do on the E12 and the steering is a bit off )
Ill try to document all this the best I can when we get to it
My custom made dampners arrived today , courtesy of Motion Control Suspension ( the guys who left Moton after AST took over ) They Started with my old e28 front struts cut off the tube and pressed their ultra high end dampner into the e 28 spindle . The rears are a standard hiemjoint mount . double adj , both compression and rebound .
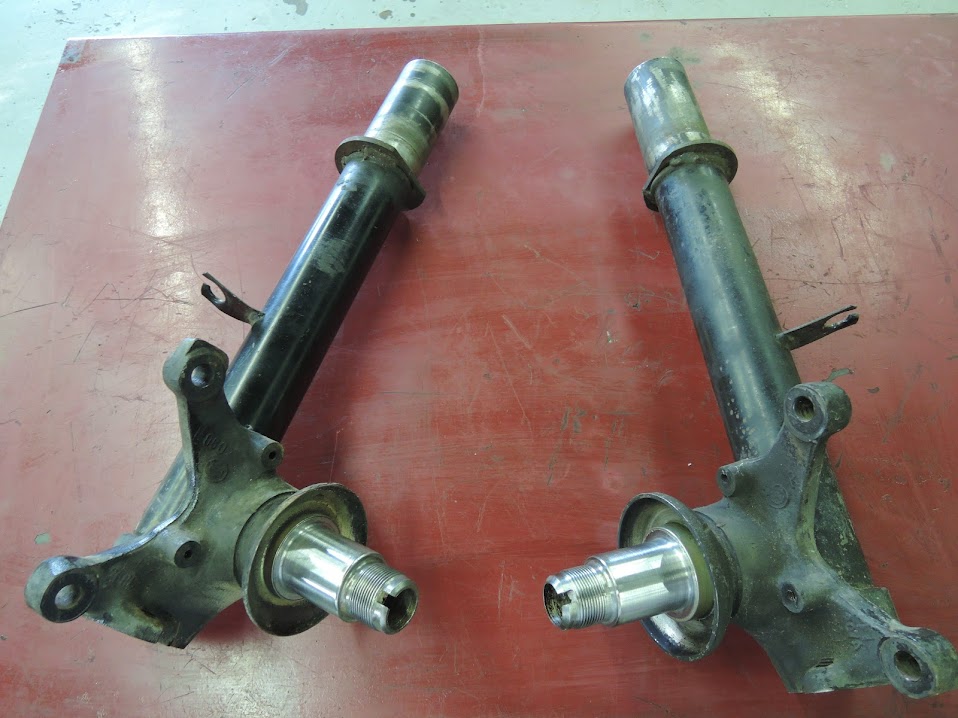
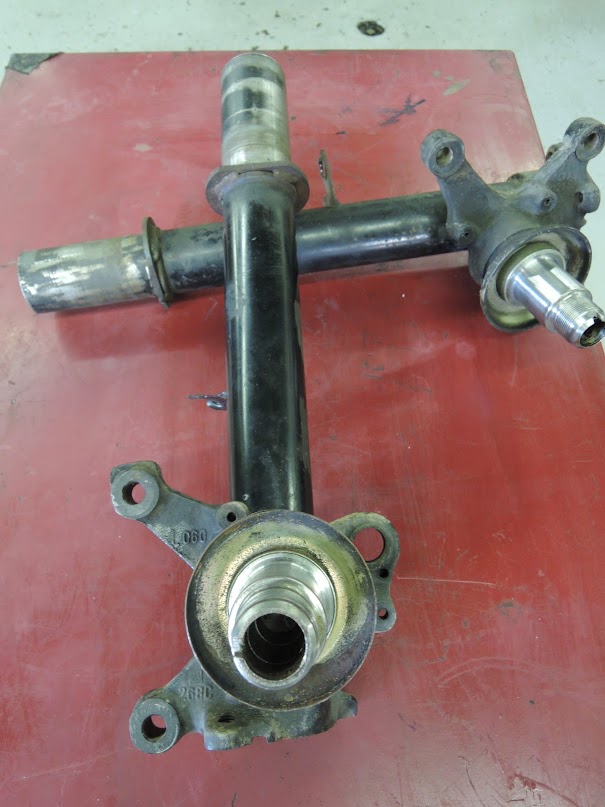
the fronts before MCS got them
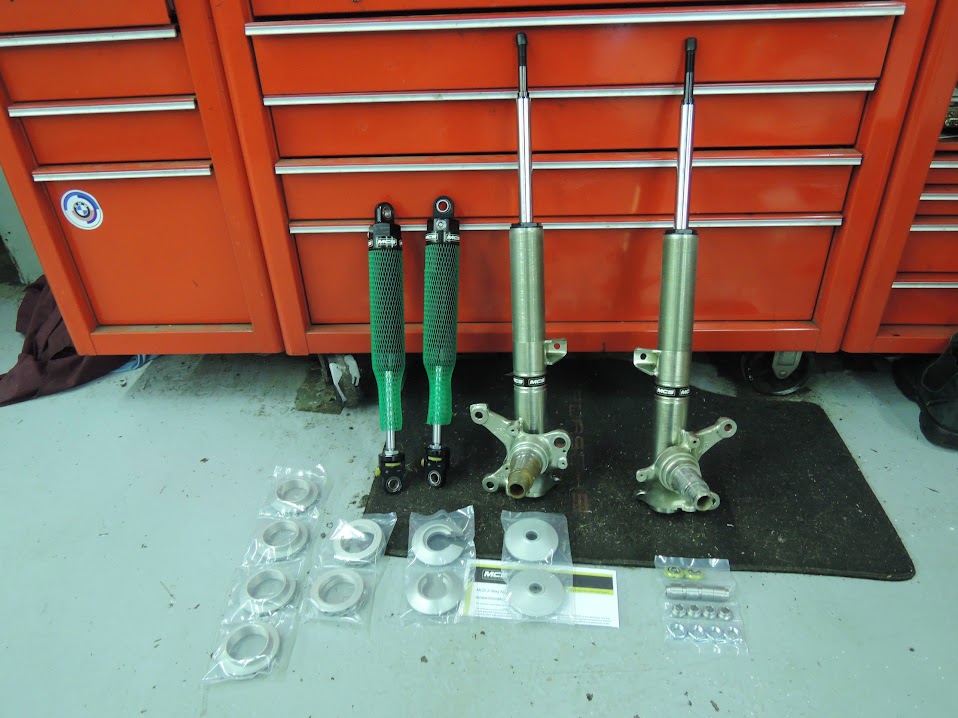
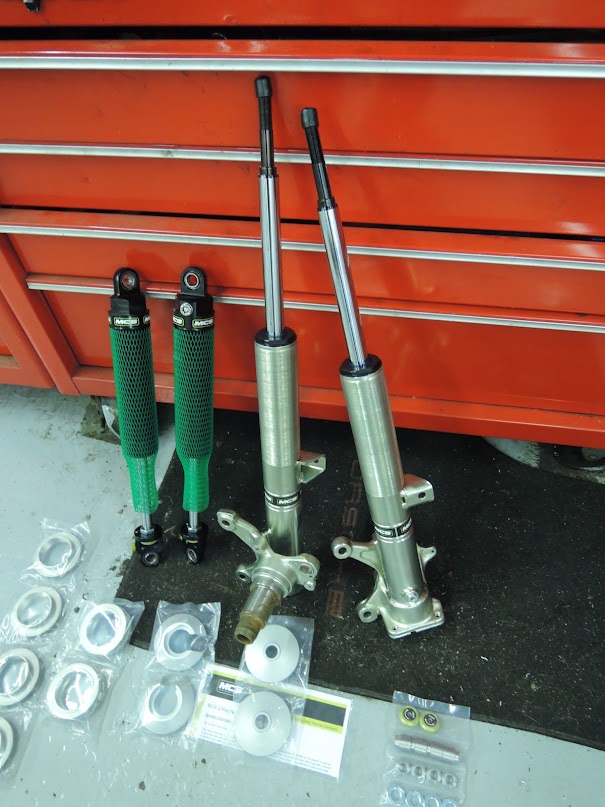
close up of MCS e28 front , notice the coilover threads are built into the dampner itself
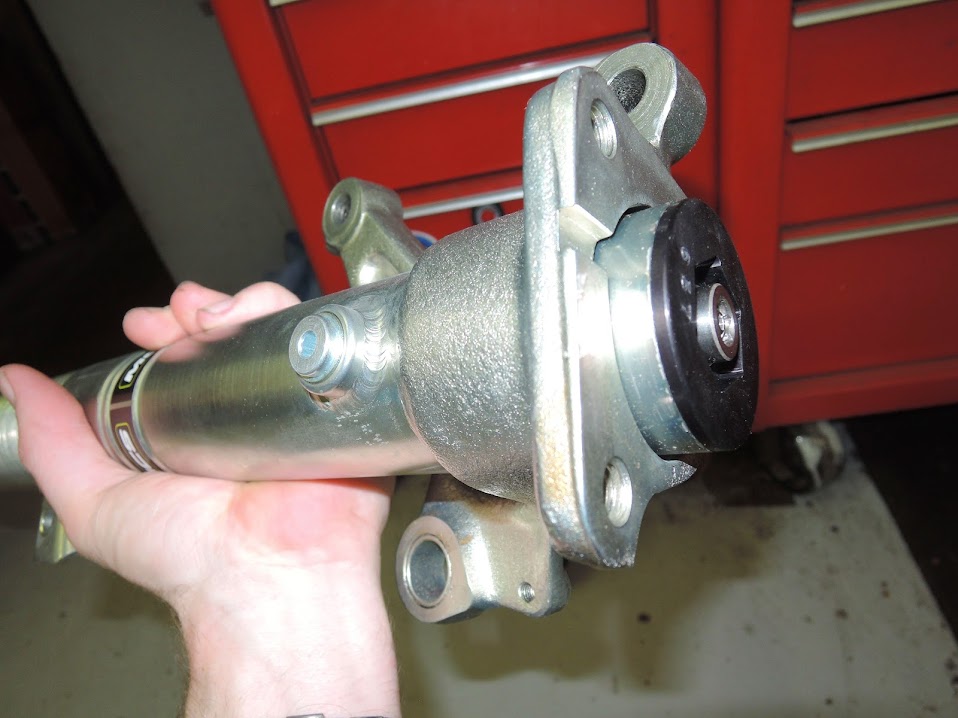
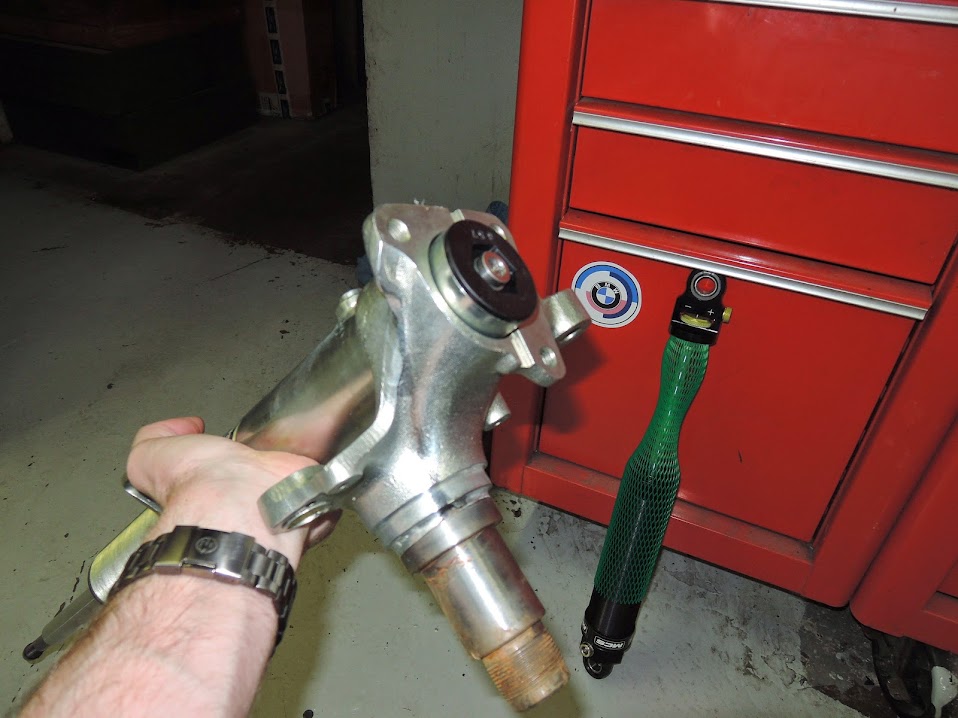
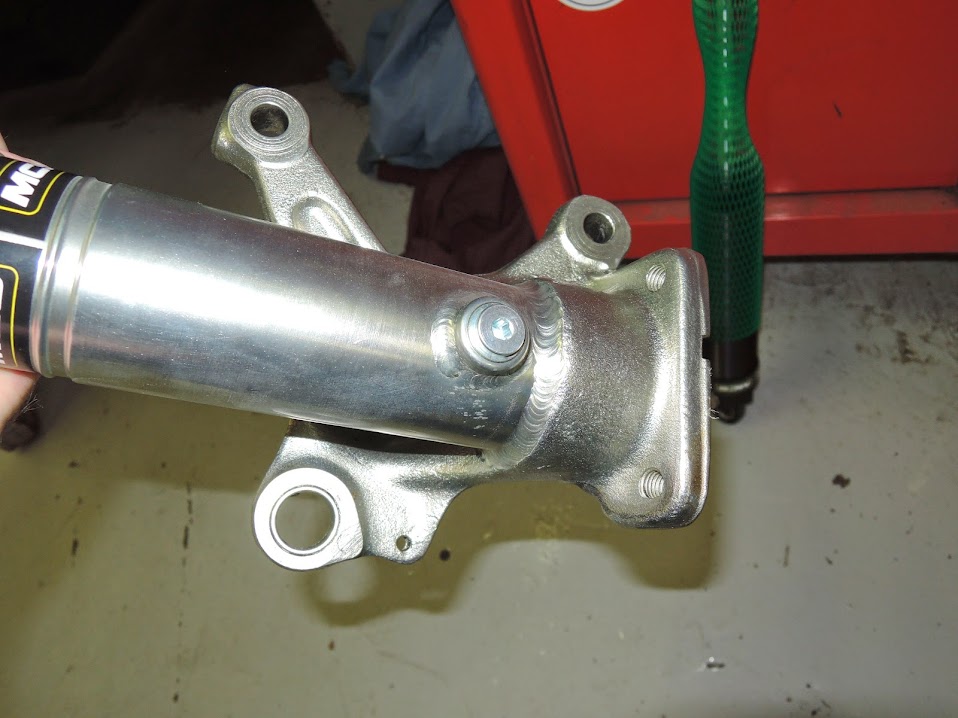
below you can see the adj for the rears
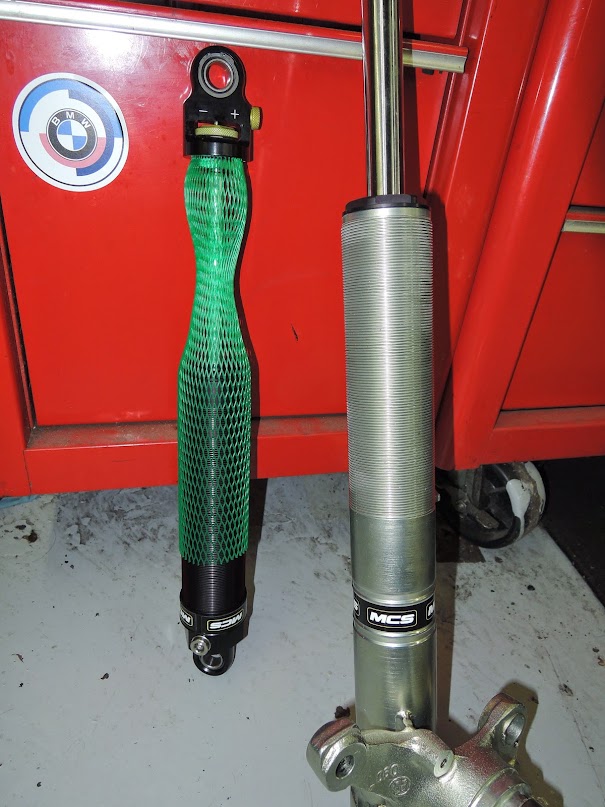
This is one area where I spared no expense to get the best , Im really hoping that with the tubular front end and sperical bearings in the rear , the steering rack,that the suspension will really hook up,
the fronts before MCS got them
close up of MCS e28 front , notice the coilover threads are built into the dampner itself
below you can see the adj for the rears
This is one area where I spared no expense to get the best , Im really hoping that with the tubular front end and sperical bearings in the rear , the steering rack,that the suspension will really hook up,
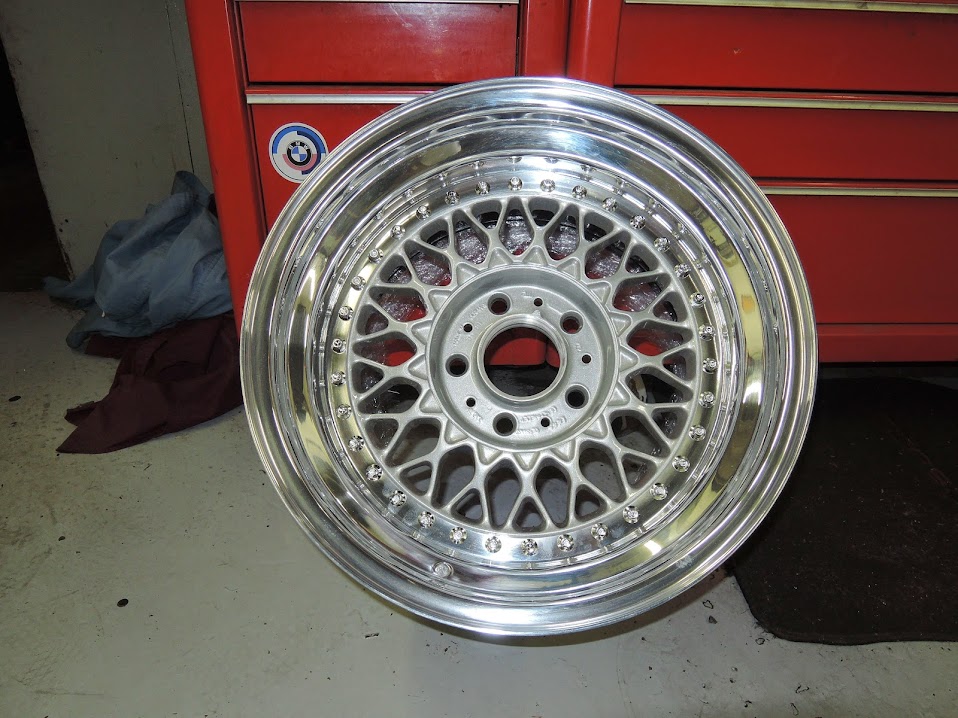
Got my wheels courtesy of Paul @ http://ewheelworks.com/
this set are custom BBS RS 16x10 's
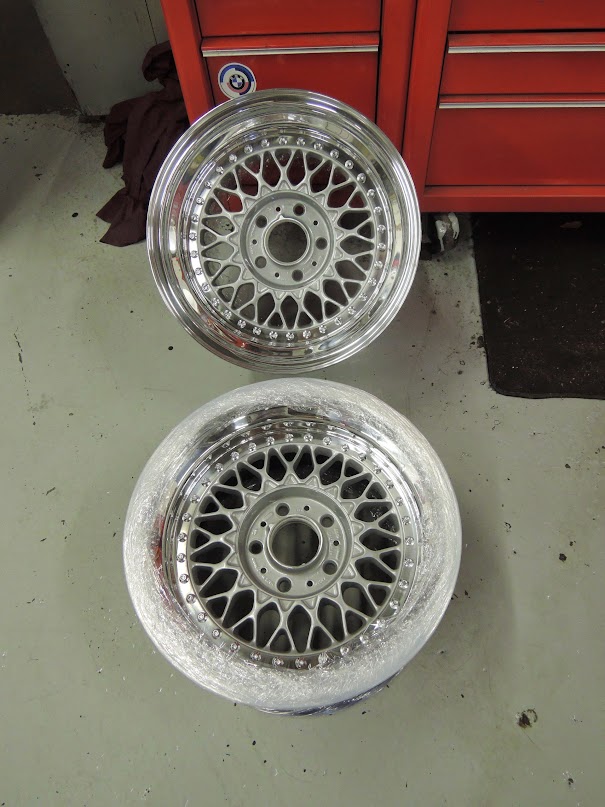
Paul pays some serious attention to Detail, notice how he even has the inner barrels powered coated
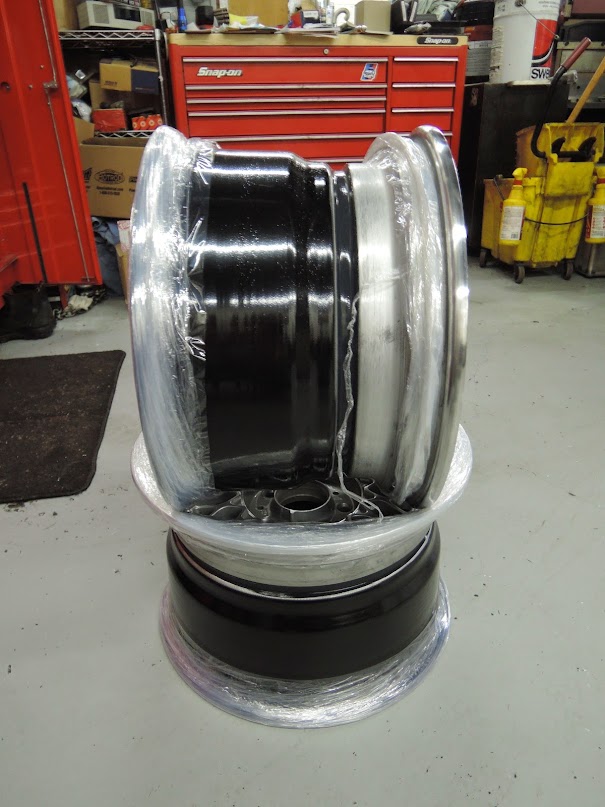
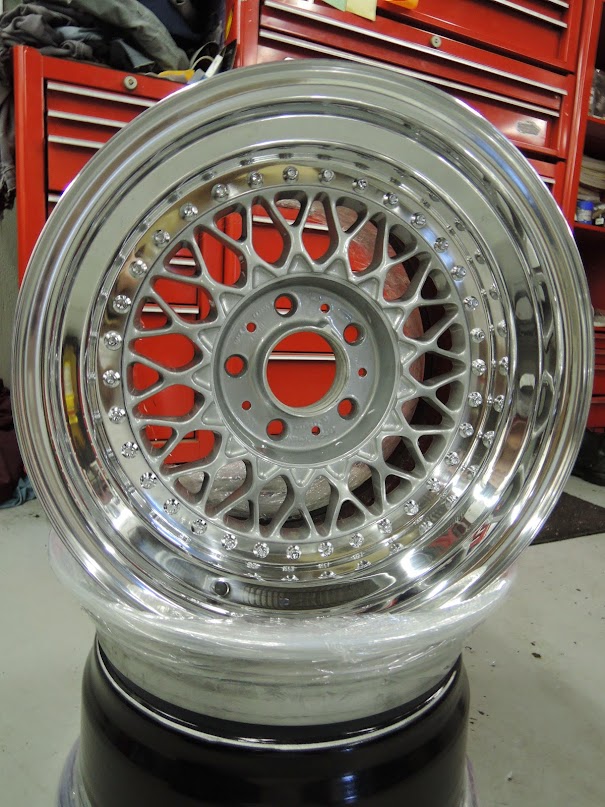
New hardware, polished lips , and powered coated centers
and the bling mounted / mocked up test fit on the car with the flares test fit on
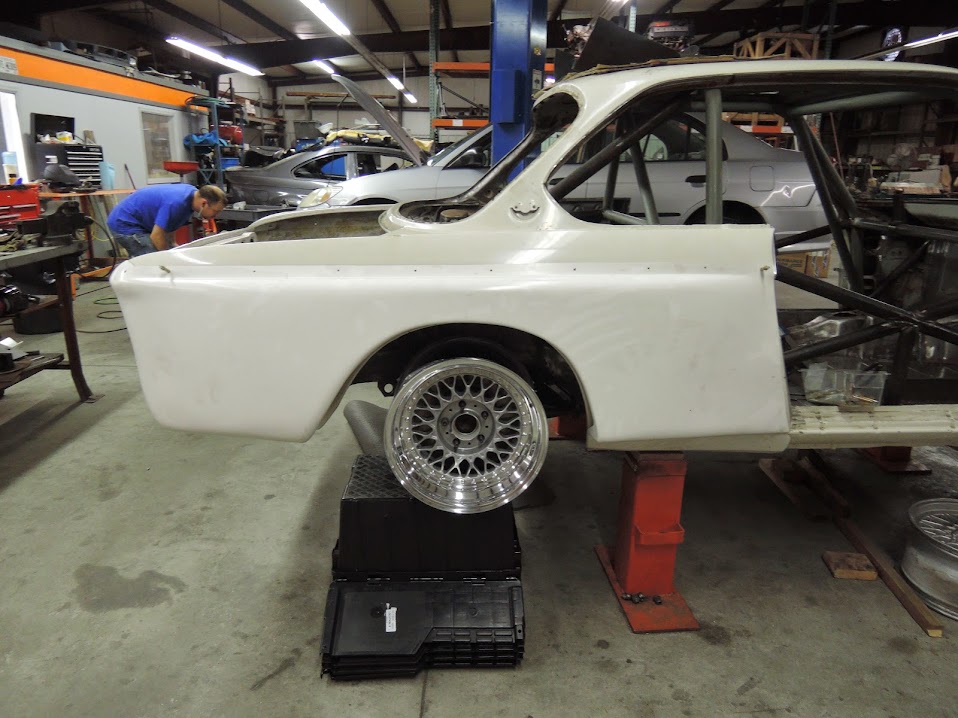
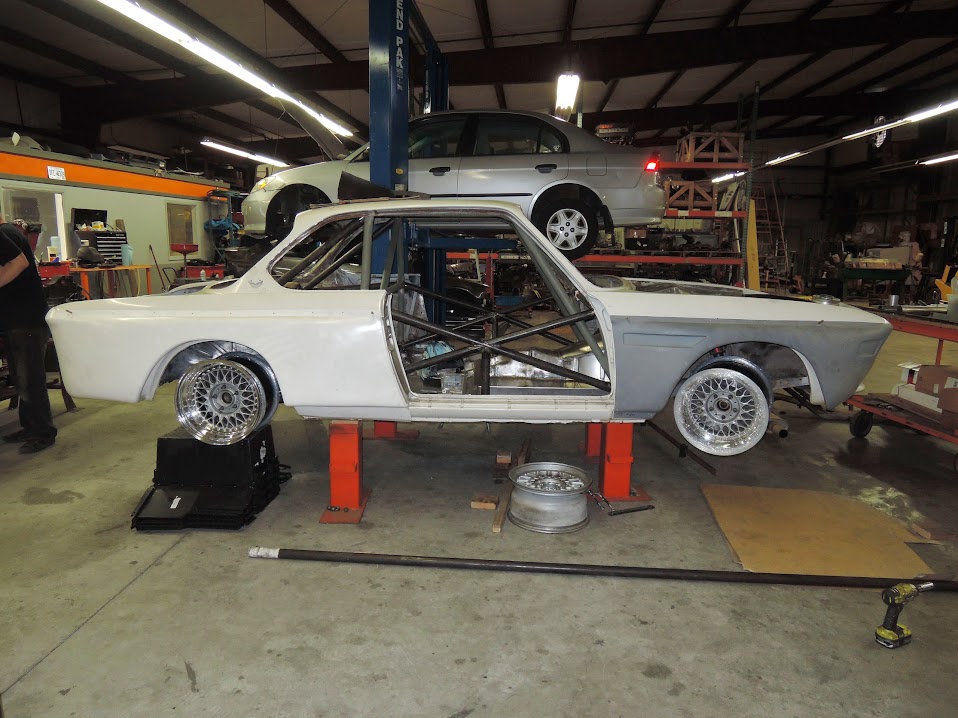
Im quite happy how they look on the car and bonus , for as big as they are they are quite light weight !
this set are custom BBS RS 16x10 's
Paul pays some serious attention to Detail, notice how he even has the inner barrels powered coated
New hardware, polished lips , and powered coated centers
and the bling mounted / mocked up test fit on the car with the flares test fit on
Im quite happy how they look on the car and bonus , for as big as they are they are quite light weight !
bimmerboy73
Well-Known Member
wow! incredible thread.
renorennsport
Member
I'm watching this thread quite closely as I'm the one sitting on (trying to sell) the '71 2800 shell here on the forum. If I don't sell it, Someday I'll either end up doing a very similar build; or hopefully, pass it on to someone else and save myself about a million hours of fabrication work - and my kid's college fund. heh heh
Great thread - and nice good job with the suspension and roll cage details. Very well thought out.
One of my biggest dilemmas was who would it race against in one of the vintage organizations like SOVREN or HMSA? Answer: Who really gives a crap? I sometimes forget that driving a well sorted and aesthetically beautiful car (like this surely will be) is a reward in and of itself. I can't wait to see it out on the track.
I'm watching this thread quite closely as I'm the one sitting on (trying to sell) the '71 2800 shell here on the forum. If I don't sell it, Someday I'll either end up doing a very similar build; or hopefully, pass it on to someone else and save myself about a million hours of fabrication work - and my kid's college fund. heh heh
Great thread - and nice good job with the suspension and roll cage details. Very well thought out.
One of my biggest dilemmas was who would it race against in one of the vintage organizations like SOVREN or HMSA? Answer: Who really gives a crap? I sometimes forget that driving a well sorted and aesthetically beautiful car (like this surely will be) is a reward in and of itself. I can't wait to see it out on the track.
Im building it to run In HSR , however I will also run with BMWCCA CR in the BM class and also NASA in their GTS group .
We made some progress on the engine, the rotating mass / the Bock is assembled ! Thanks to help From Chris Thurman @ Kinetic Motorsports .
Below the Paul Burke knife edged crank installed
Rods balanced , and bearings sized up ready for assembly
Paul Burke Pistons , rings getting gapped ,etc
piston and rods matched up ready for install
piston in the block
crank , rods , mains all torqued and ready to roll
measuring cc's to check compression
CC's on the cyl head
Thurman measuring the Fluid
after some measuring, and some math actual Cr comes up to 12 to 1 !
one more glamor shot of the block
Tierfreund
Well-Known Member
Jummy!
WOW Brenden,
Looking wonderful.
No pump gas for you?
Great job on blue printing those rods. Wish mine looked that nice?
Did Kinetic do those or Paul?
Can't wait to hear it run and see what you are going to do for fuel and ignition?
Man keep it up!
Great job.
Gary
Looking wonderful.
No pump gas for you?
Great job on blue printing those rods. Wish mine looked that nice?
Did Kinetic do those or Paul?
Can't wait to hear it run and see what you are going to do for fuel and ignition?
Man keep it up!
Great job.
Gary
Hi Gary
Wills actually did the blue printing , and Chris and I checked them again over @ Kinetic . the bearing s were blue printed @ Kinetic by Chris and I.
I hope to run Pump gas , will be a close one ?? I will be using an MS pro for the fuel injection and ingnition systems , it will be converted to coil over plug with an actual cam sensor .
in the mean time a few updates
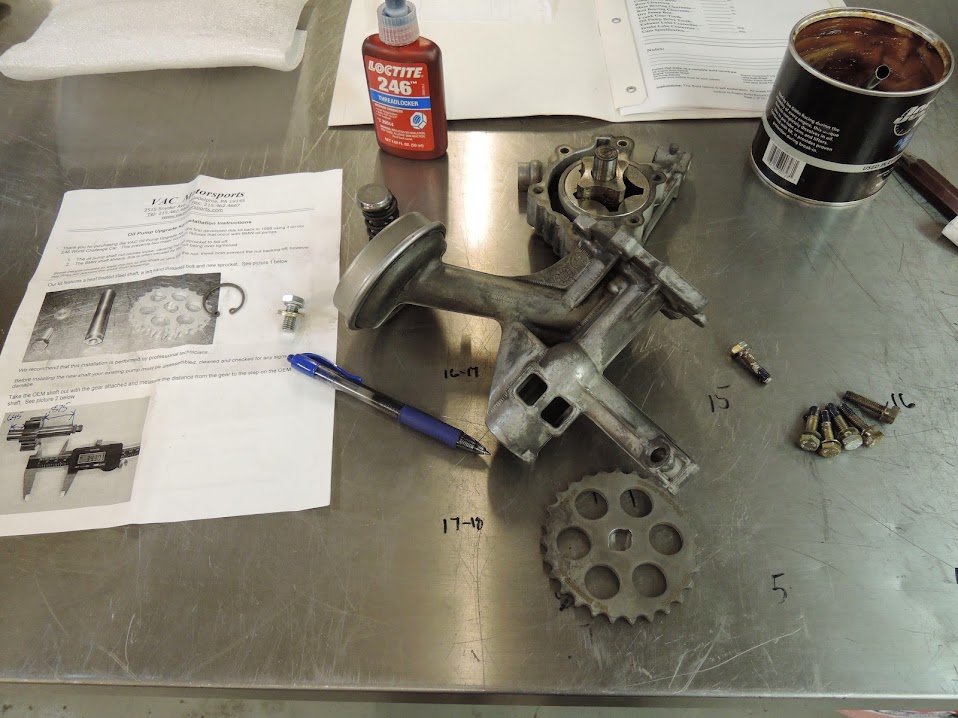
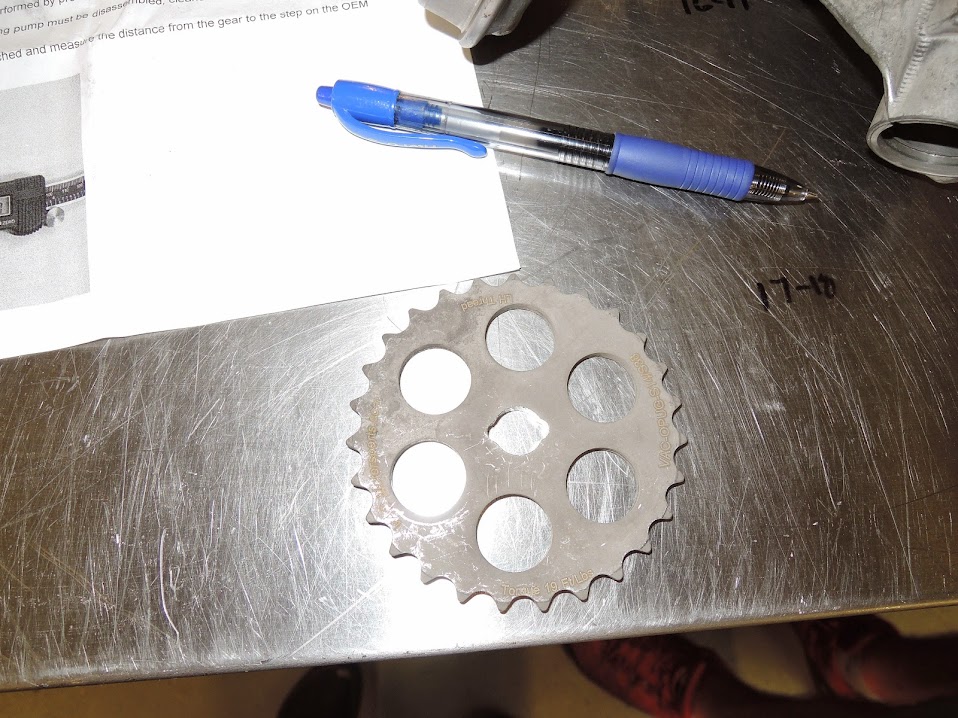
put together the oil pump and took the opertunity to modify the pump drive gear assembly. Got rid of the stock stuff and got VAC's deal. they provide a new gear that is no longer driven by the week link spline and nut . they have a new forged keyed drive rod that keys into the gear and then a bolt holds that together , really cool stuff, also have that in my S54 .
finally put together the differential , med case 4.10 with a 4 disc and modded ramps LSD .
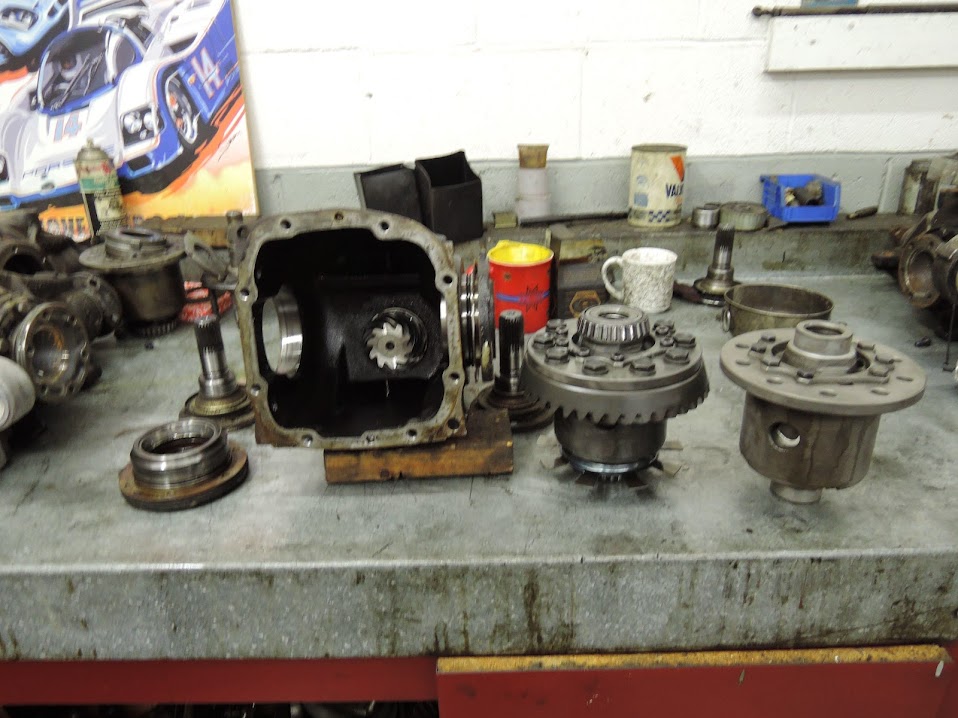
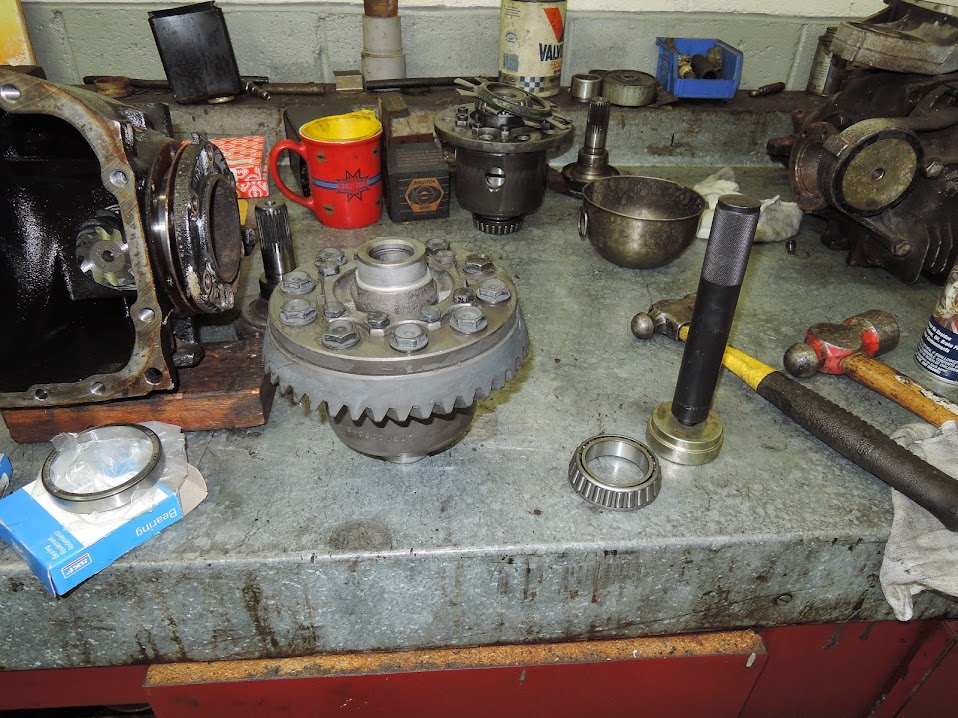
swapping out the lsd carriers on to the ring gear and installing new bearings, seals , side o rings , etc, etc
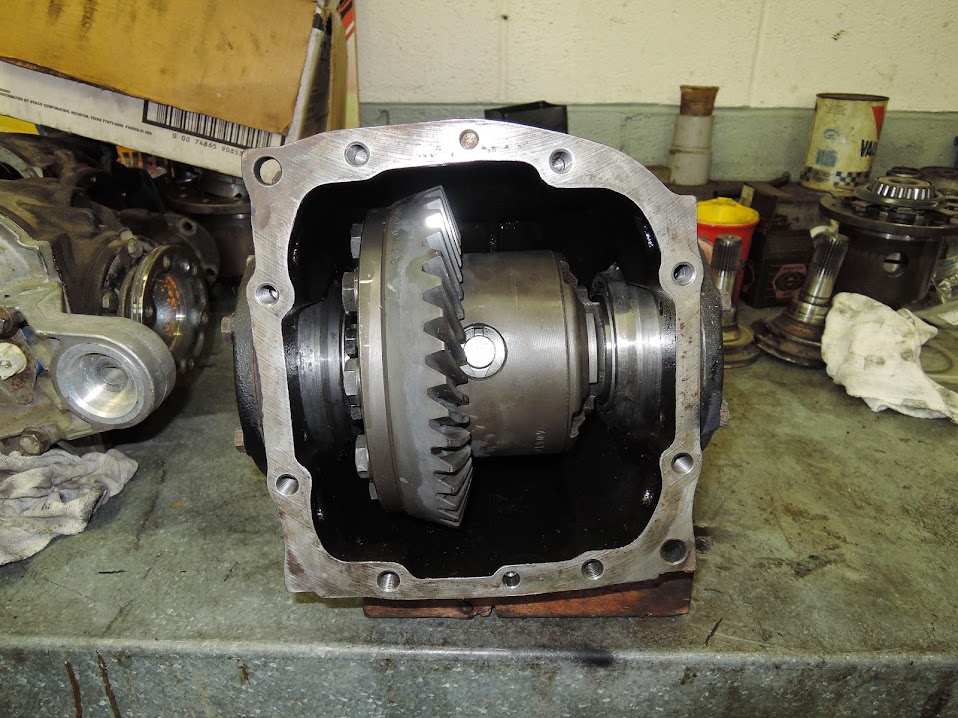
everything put back together
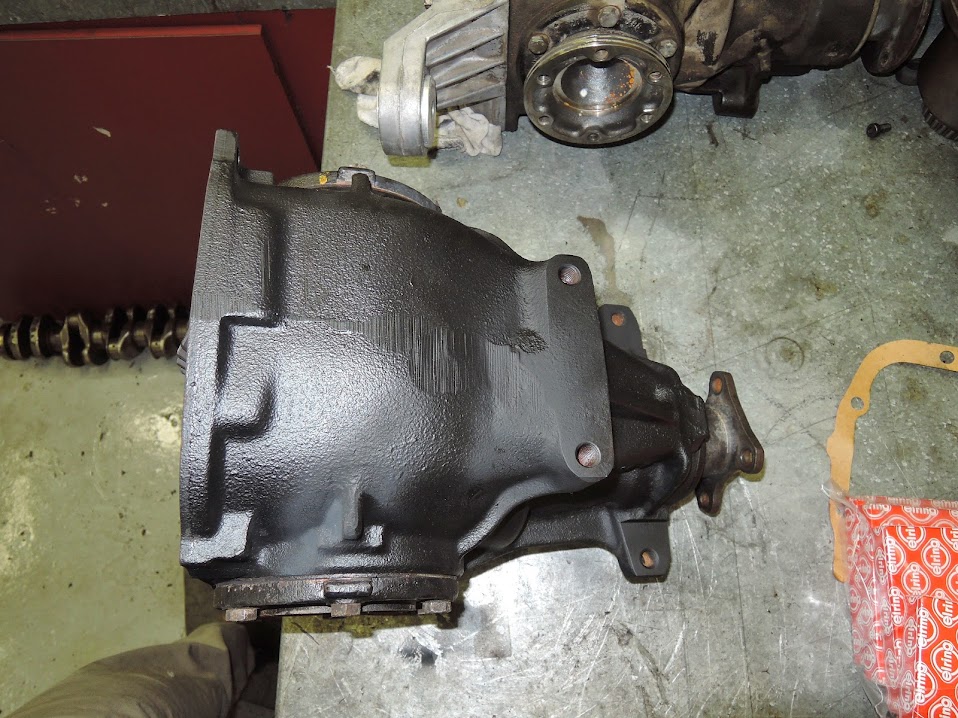
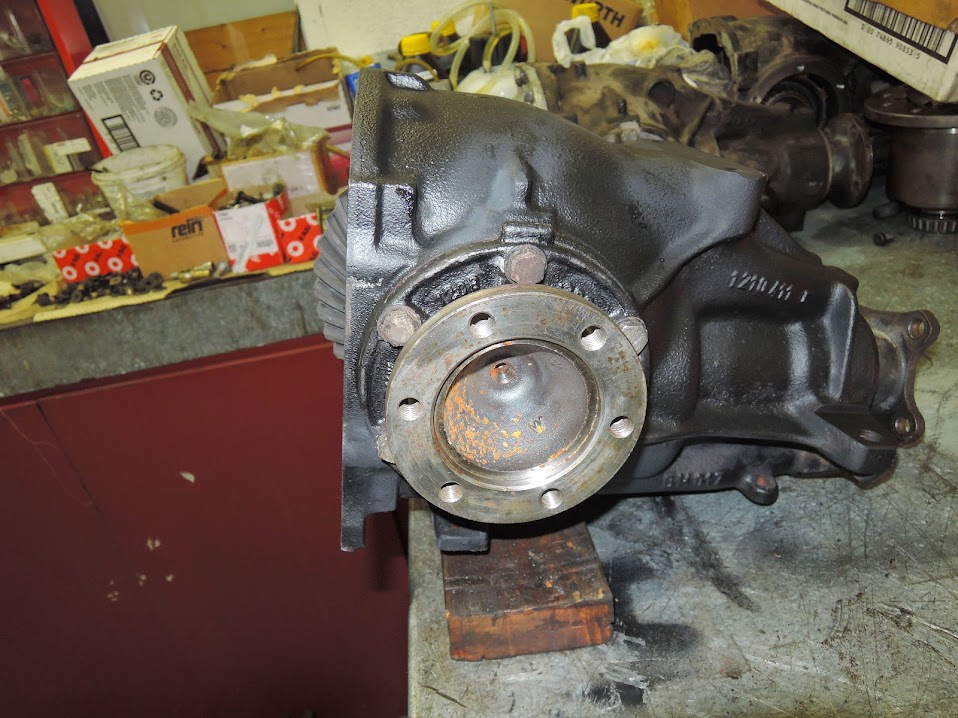
close up of ramps
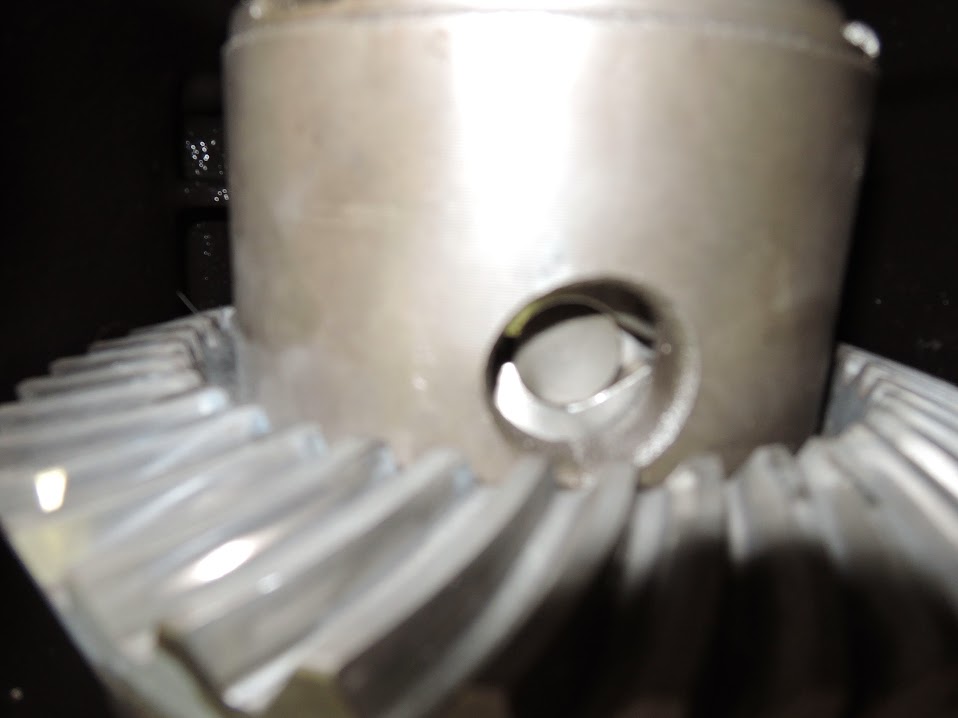
Wills actually did the blue printing , and Chris and I checked them again over @ Kinetic . the bearing s were blue printed @ Kinetic by Chris and I.
I hope to run Pump gas , will be a close one ?? I will be using an MS pro for the fuel injection and ingnition systems , it will be converted to coil over plug with an actual cam sensor .
in the mean time a few updates
put together the oil pump and took the opertunity to modify the pump drive gear assembly. Got rid of the stock stuff and got VAC's deal. they provide a new gear that is no longer driven by the week link spline and nut . they have a new forged keyed drive rod that keys into the gear and then a bolt holds that together , really cool stuff, also have that in my S54 .
finally put together the differential , med case 4.10 with a 4 disc and modded ramps LSD .
swapping out the lsd carriers on to the ring gear and installing new bearings, seals , side o rings , etc, etc
everything put back together
close up of ramps
Got some more work done on the engine.
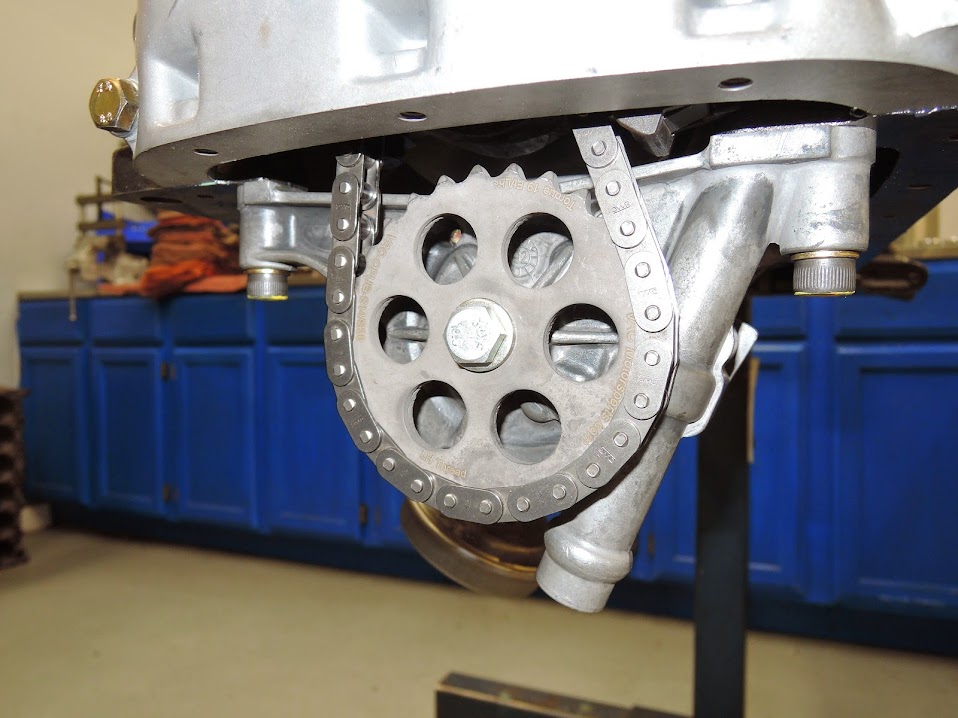
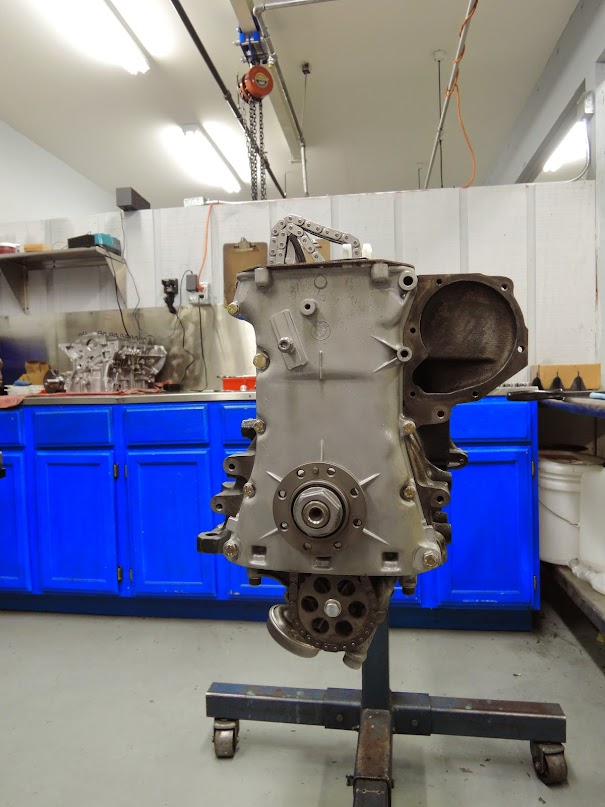
installed the modded oil pump and laying out the chains
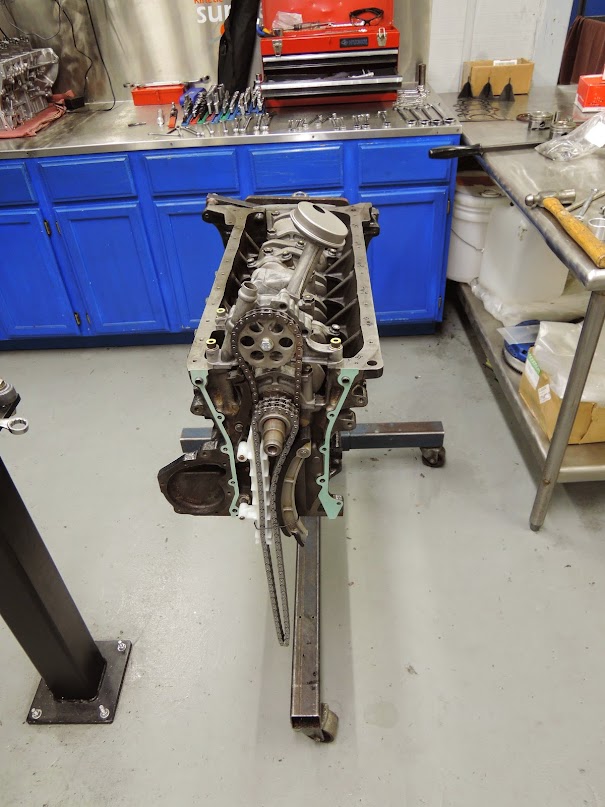
close up of the pump and notice the bolt bolding on the gear instead of failure prone stud with nut
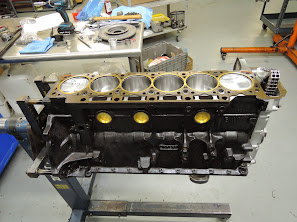
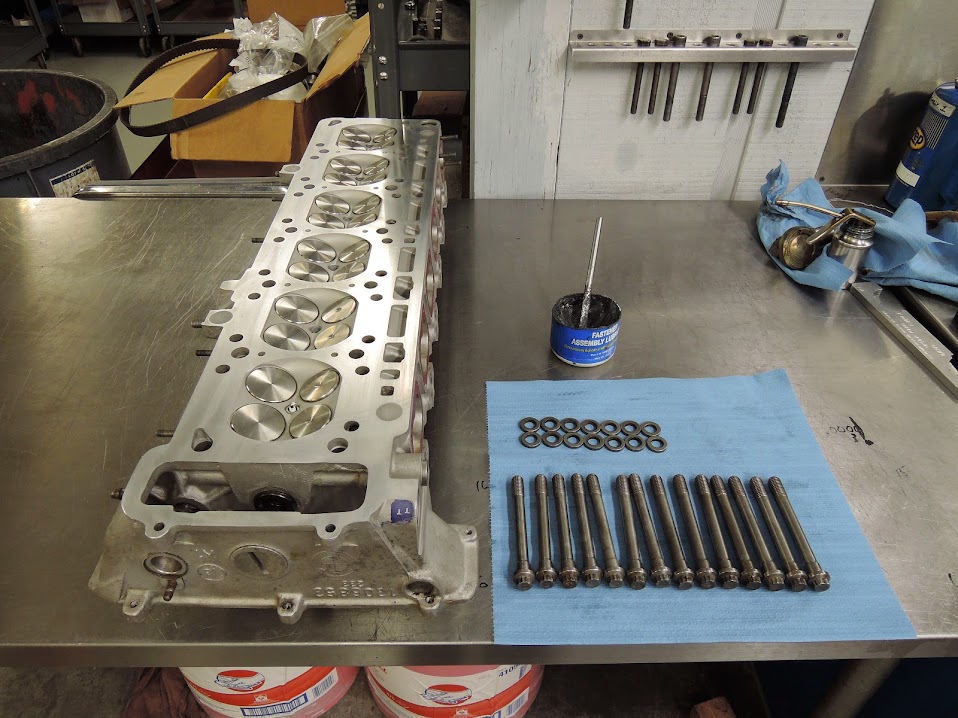
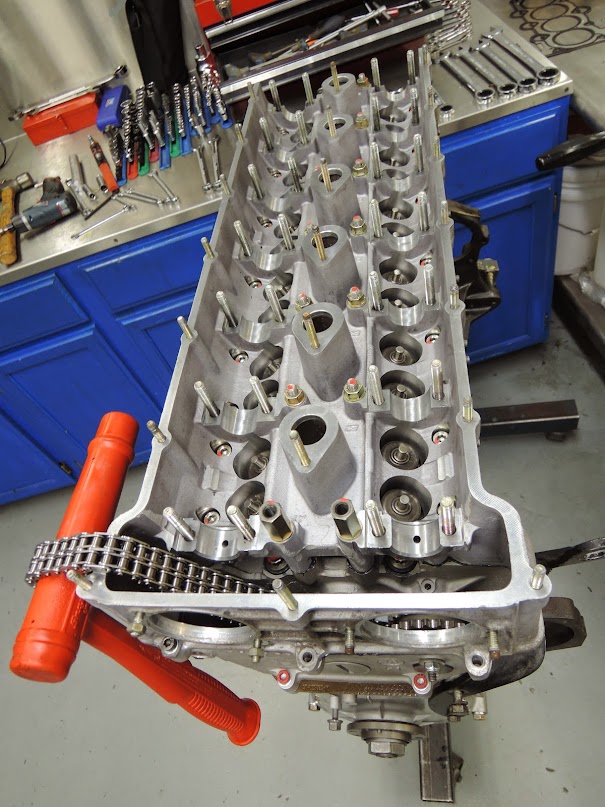
getting ready to install the cyl head
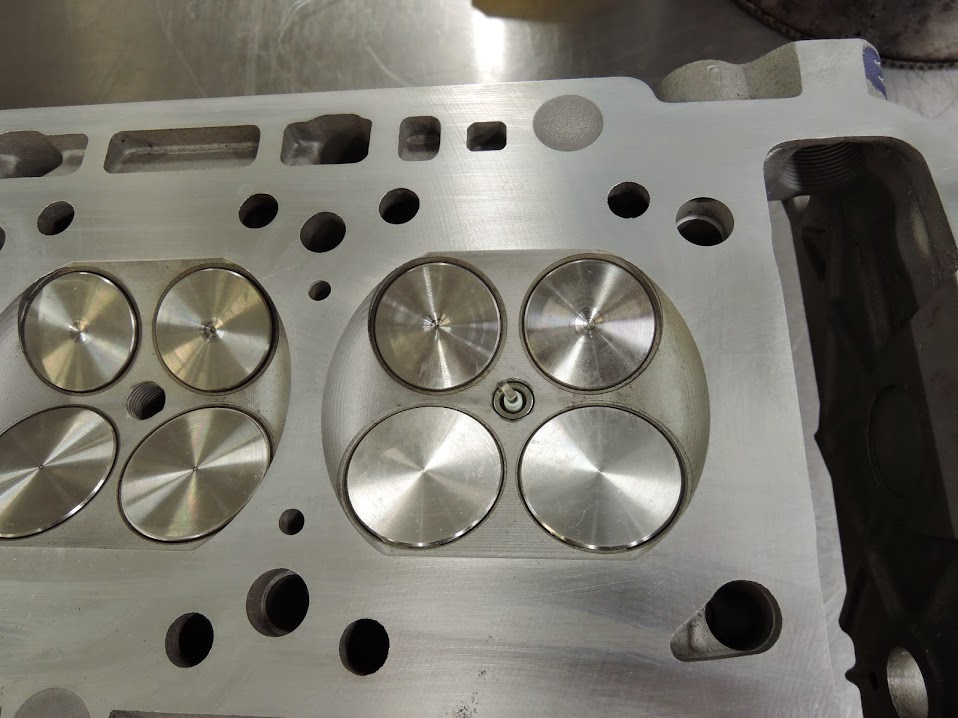
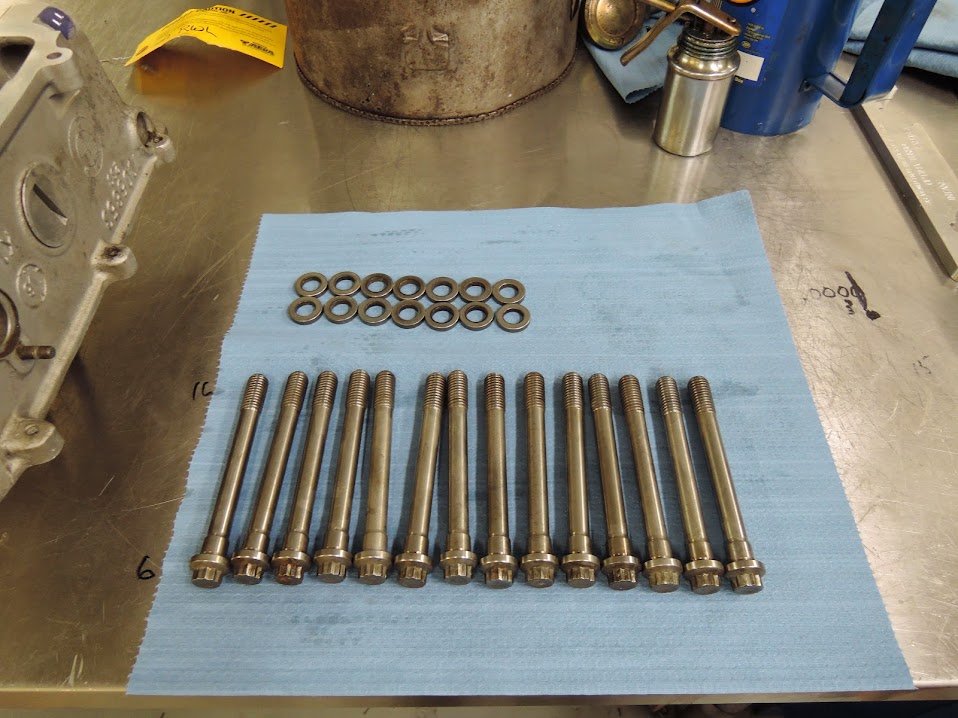
cover installed
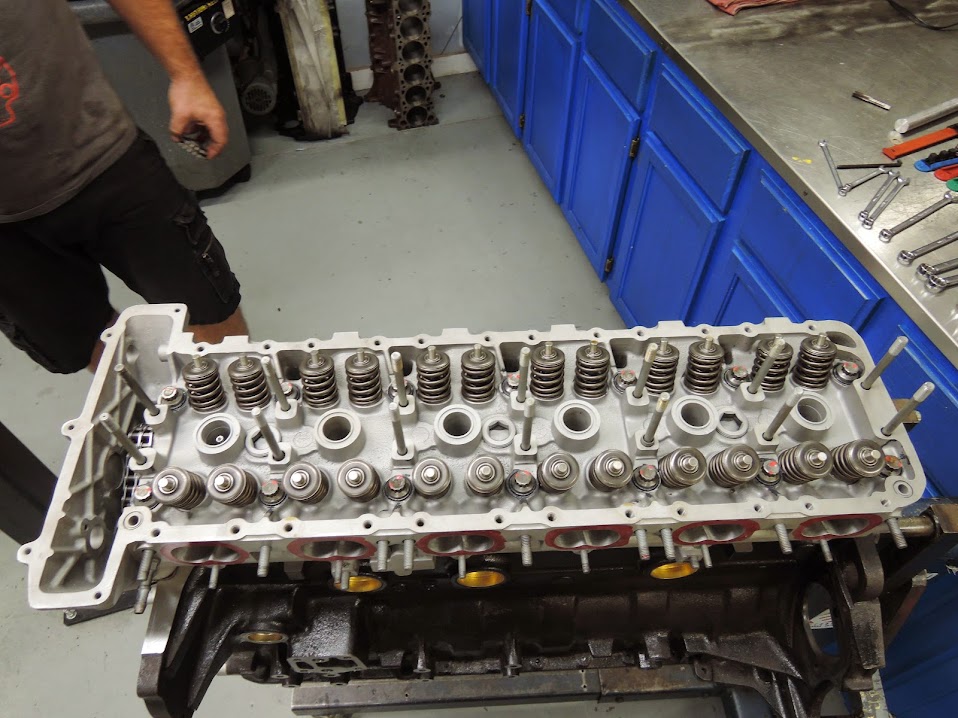
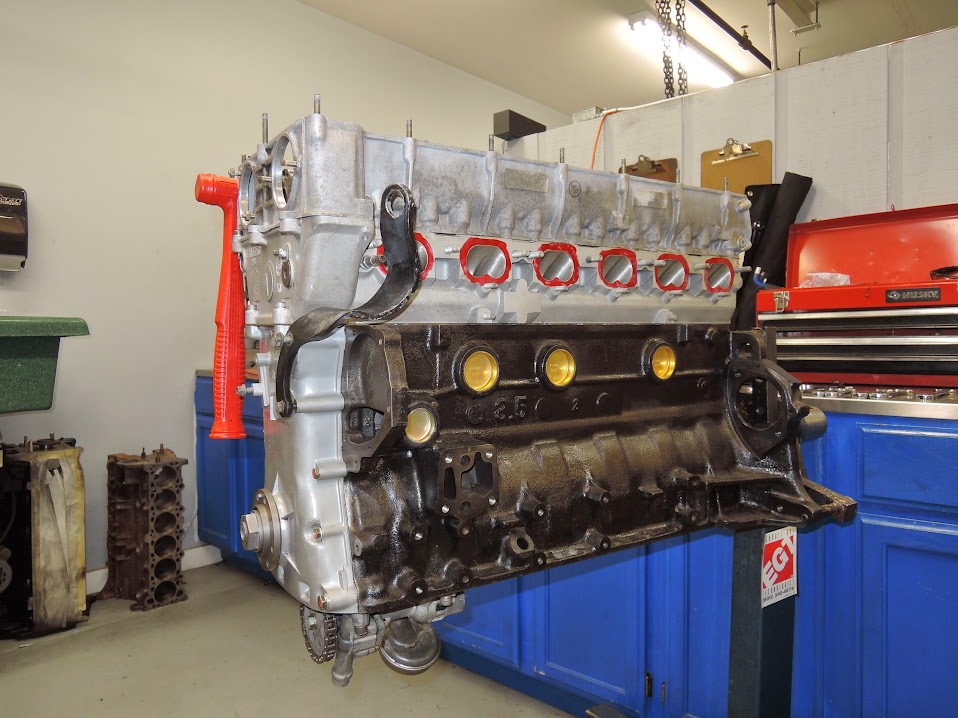
head installed and torqued down
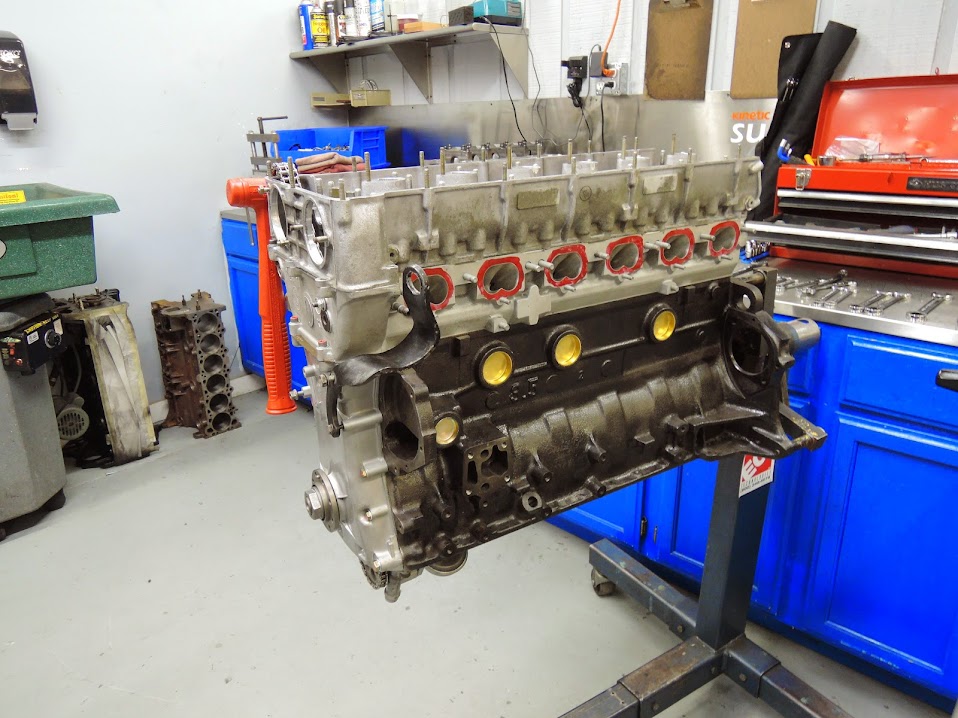
cam box installed
installed the modded oil pump and laying out the chains
close up of the pump and notice the bolt bolding on the gear instead of failure prone stud with nut
getting ready to install the cyl head
cover installed
head installed and torqued down
cam box installed
Thanks for the heads up about the oil pump drive gear and shaft - I'll be ordering the kit from VAC for my S38B36 build. Did you blueprint the pump?
beautiful job
installed the cam's this evening and started on degreing the cams in
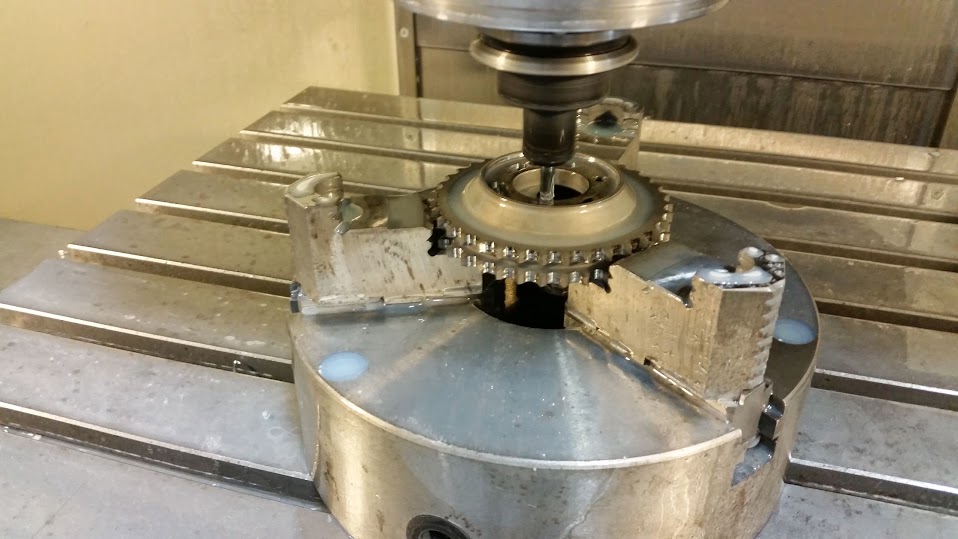
first We had to slot the stock cam gears so we can set them where we want
Chris getting ready to roll the cams in
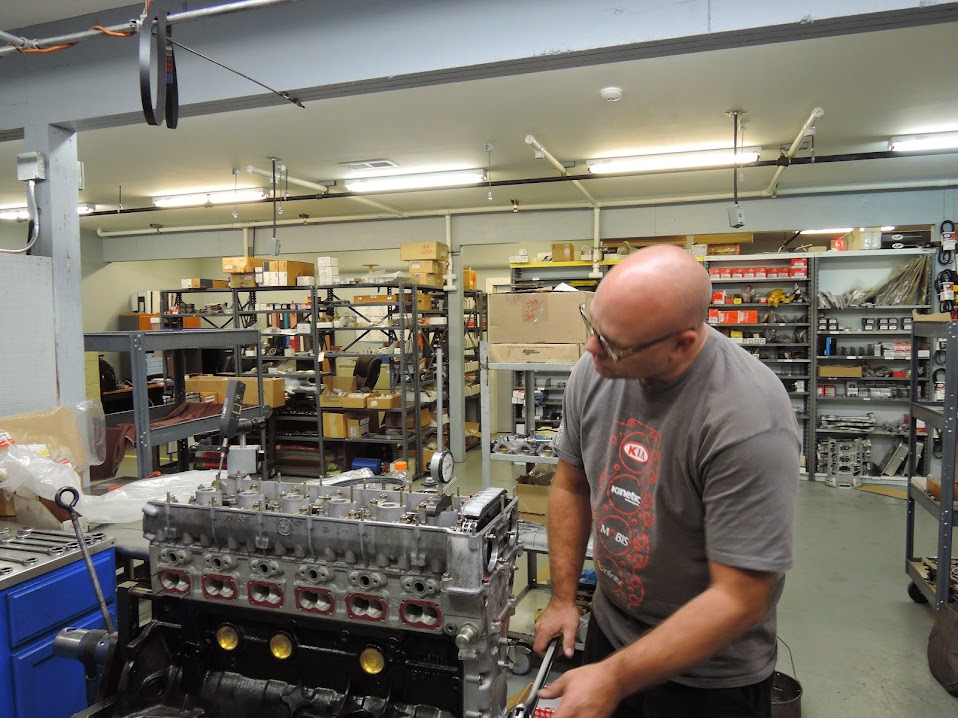
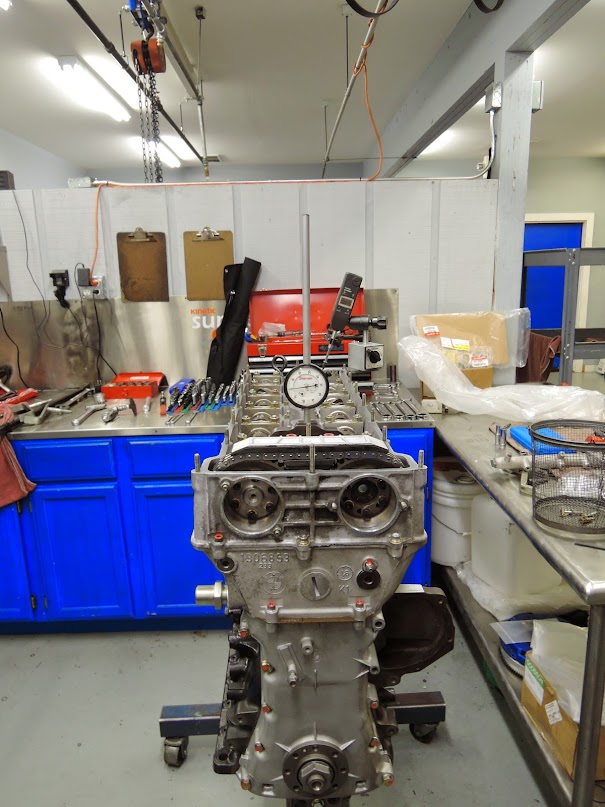
cams installed and gauges set up
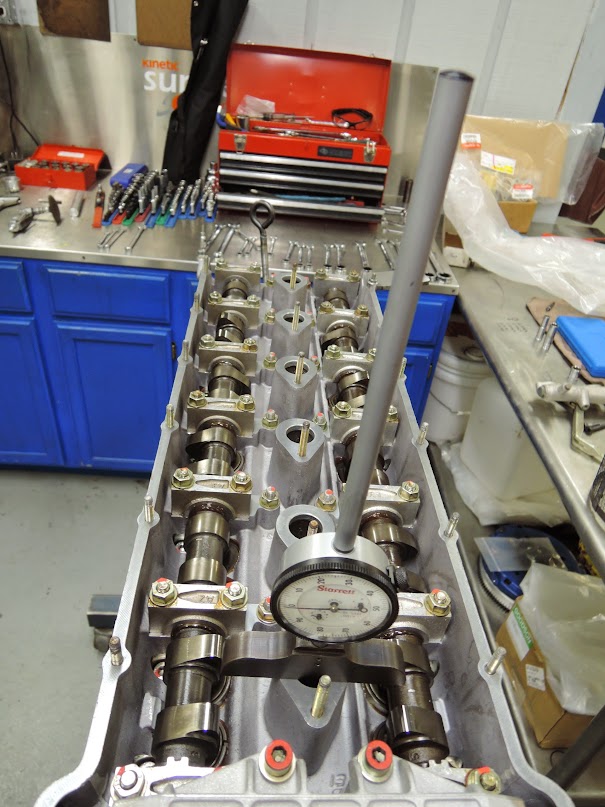
front gauge used to watch for TDC and the back one used to measure valve lift
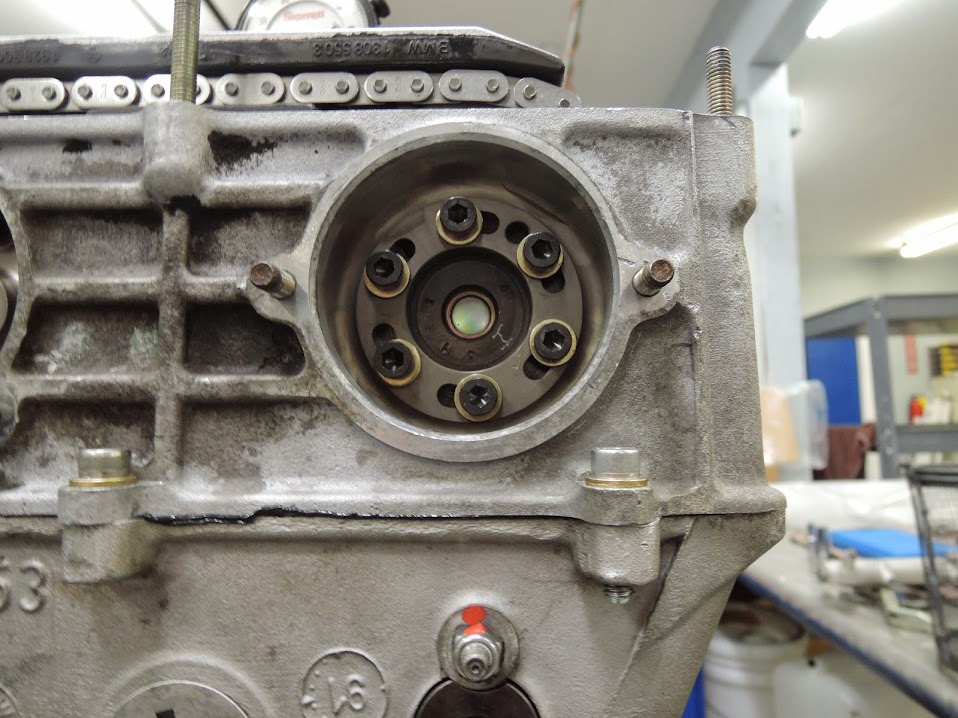
close up of slotted intake cam gear installed
exhaust side with modification to get rid of the distributor and install a cam sensor , , from factory S38 B38 , this is so we can use coil over plug application
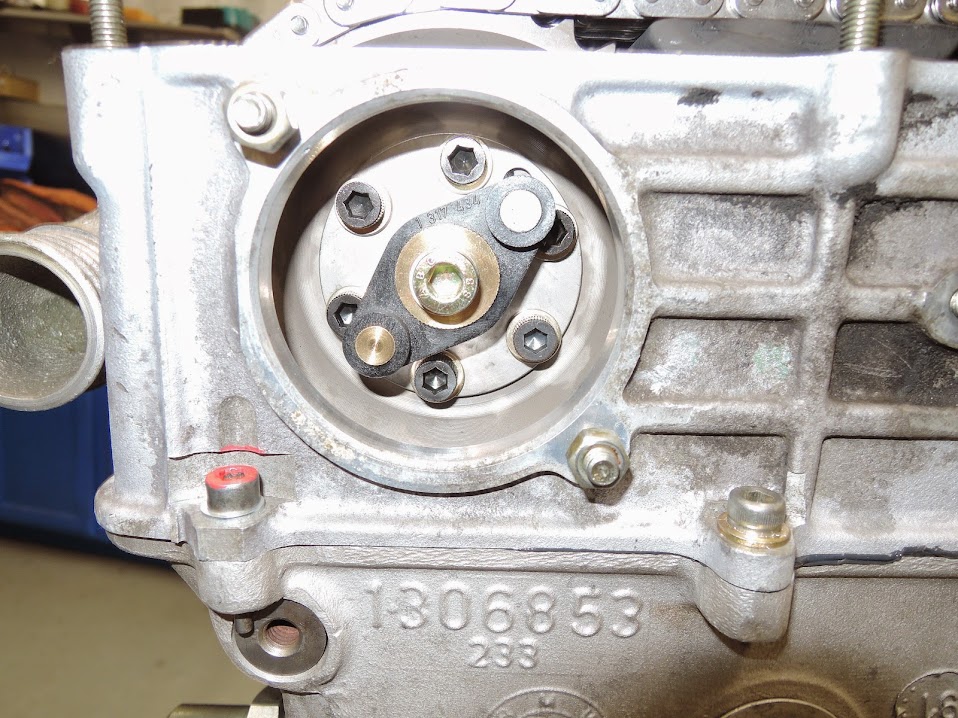
removed stock TPS sensor and installed later pot style TPS needed for modern style engine management
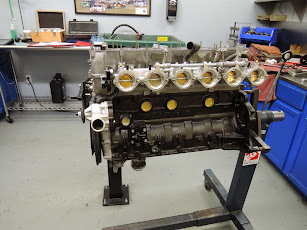
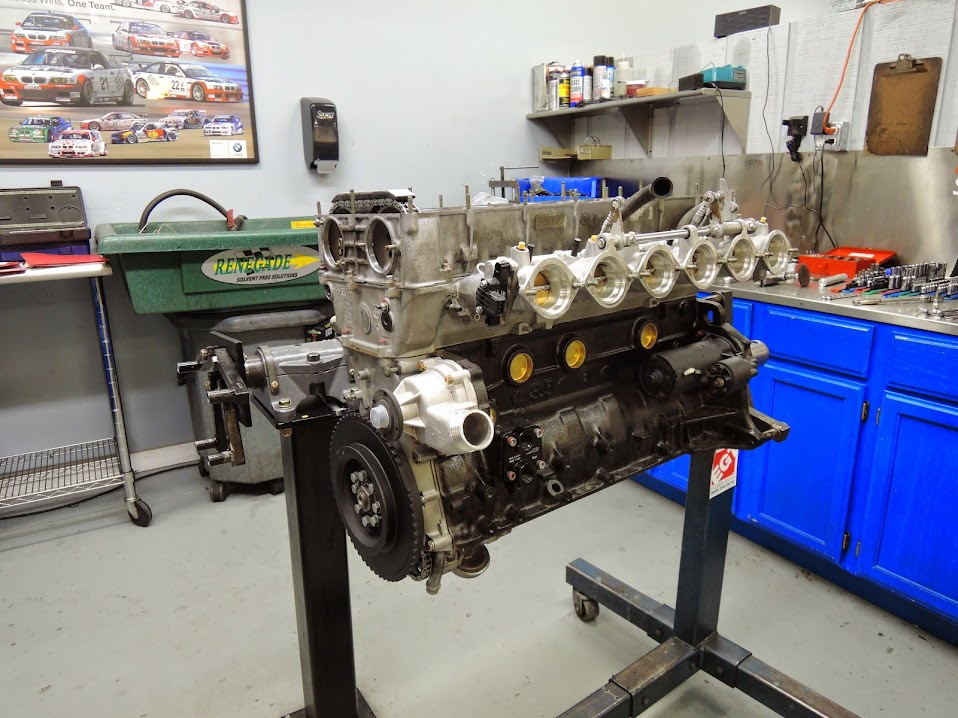
throttles installed , some ITB bling
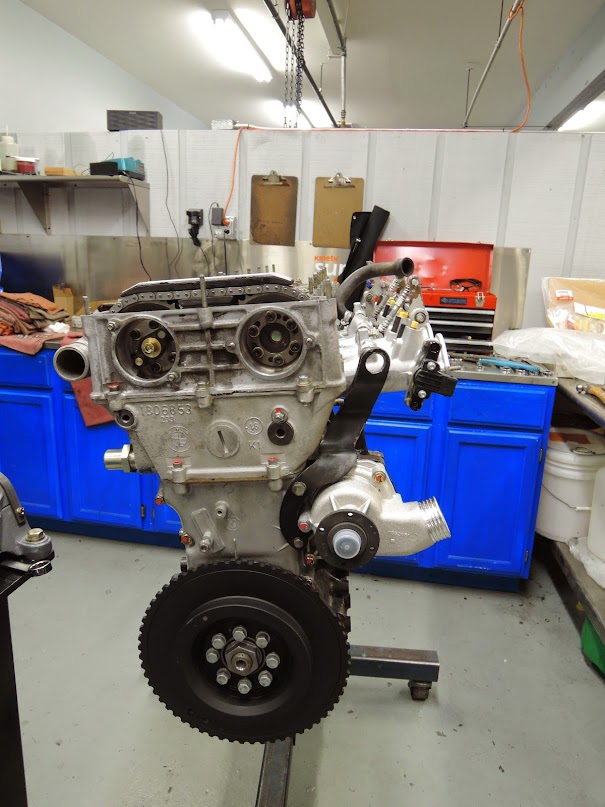
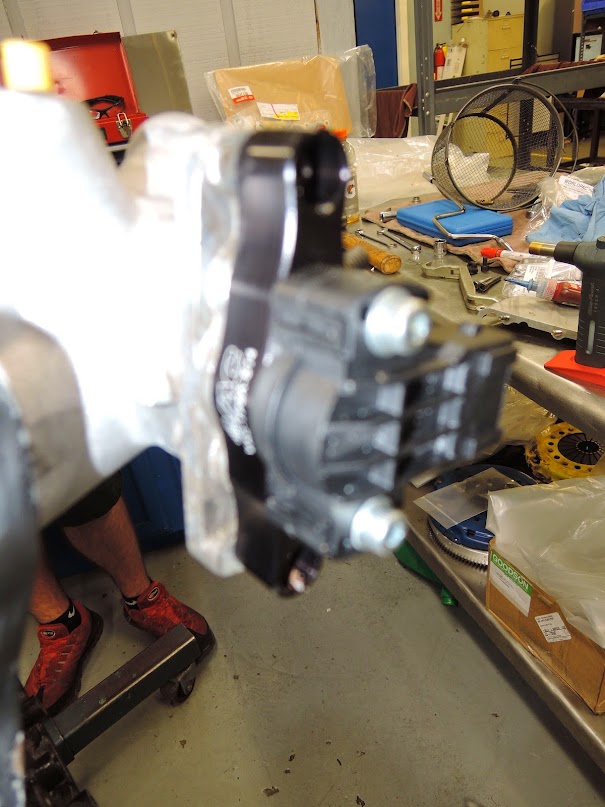
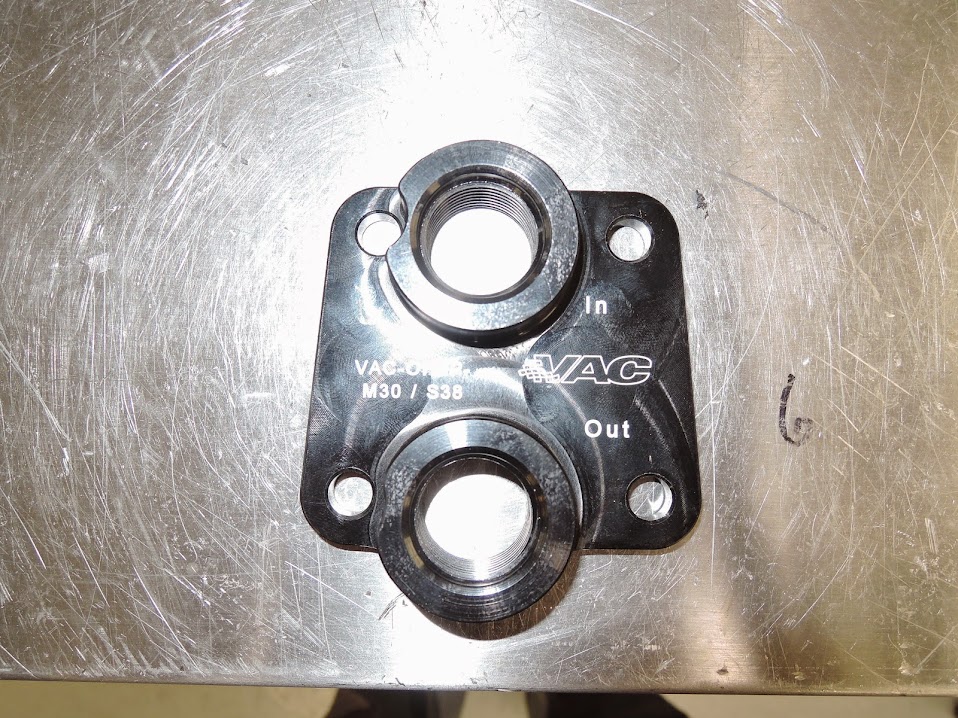
custom oil plate to block for remote oil filter and cooler, etc
installed on the block
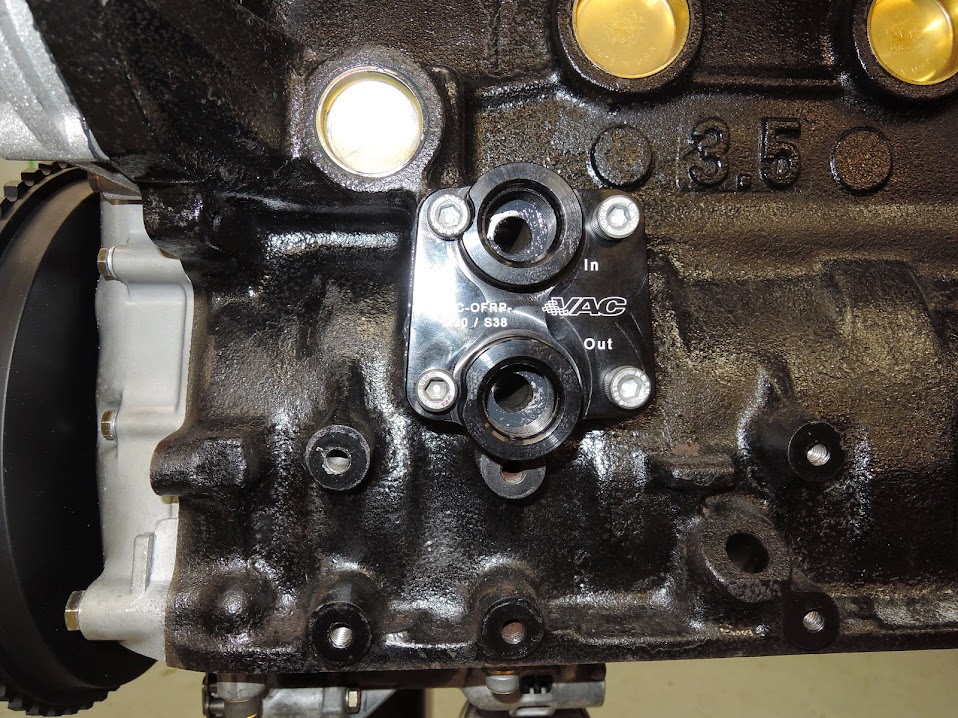
getting close
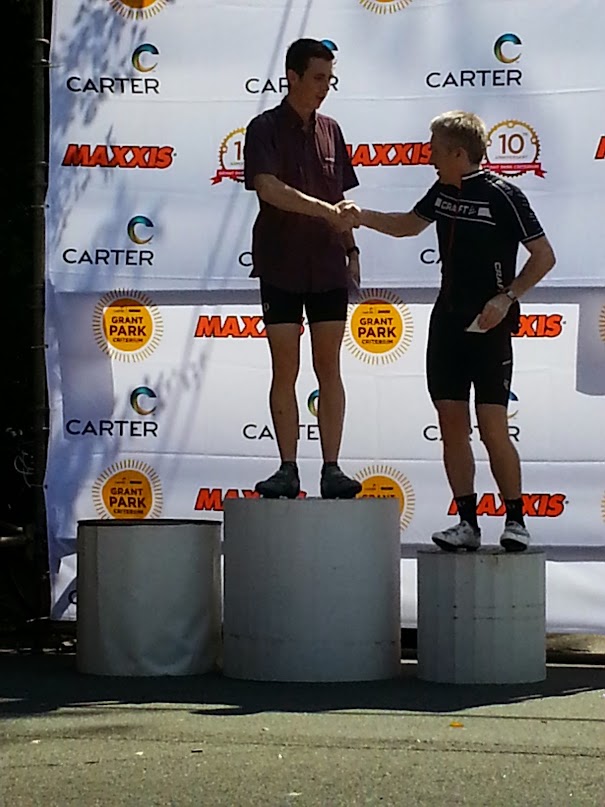
since Im not racing cars Ive substituted with racing bicycles , took 3ed in the local crit last Sunday lost to kids half my age
first We had to slot the stock cam gears so we can set them where we want

Chris getting ready to roll the cams in
cams installed and gauges set up
front gauge used to watch for TDC and the back one used to measure valve lift
close up of slotted intake cam gear installed
exhaust side with modification to get rid of the distributor and install a cam sensor , , from factory S38 B38 , this is so we can use coil over plug application
removed stock TPS sensor and installed later pot style TPS needed for modern style engine management
throttles installed , some ITB bling
custom oil plate to block for remote oil filter and cooler, etc
installed on the block
getting close
since Im not racing cars Ive substituted with racing bicycles , took 3ed in the local crit last Sunday lost to kids half my age

Last edited:
Looking wonderful Brenden and all too familiar. Love my S38.
Do you happen to know what clearance Chris set the valve guides at?
Intake and exhaust are different.
Are you using Paul's cams? Mine are the B36-38 cams. Not sure Paul was making S38 cams when I built my motor.
That TPS sensor. Will that work with Motronic? The factory one's are prone to problems.
I guess you used a degree wheel when you set the cams even though you don't show it? I've got to do that in my car when I put mine back together. Ugh!
Are those the bigger ITB from the B38? 50mm I think? Or did you bore them out?
Looks like you or Chris did some porting work on the exhaust but I did not see a shot of the intake side without throttle bodies.
I did some exhaust porting but did not mess with the intakes. They are so nice from the factory.
Making progress and I'm sure you are getting excited. Sure will like to hear it run when the time comes?
Later,
Gary
