'73 3.0CS - M88 Jerez Schwarz build

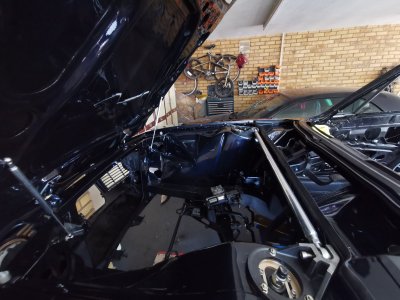
Engine bay looking lovely even without the M88 in there.

Fitted up the quarter light mechanisms and door latch mechanisms, mostly to get the seals to seat in position.

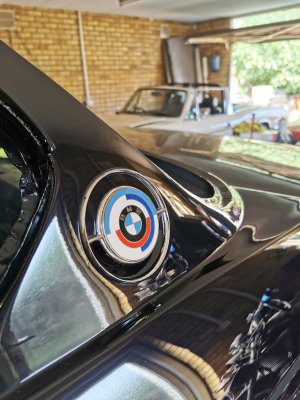
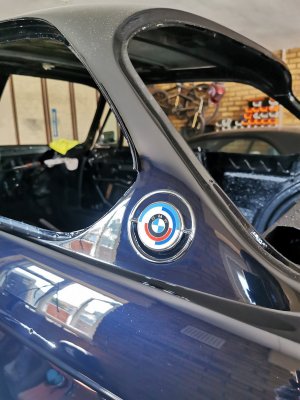
New c pillar gunsights with enamel motorsport badges and new flag mirrors

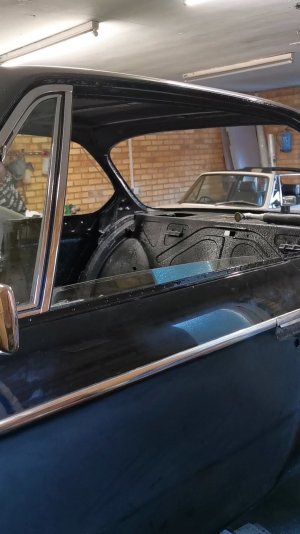
Also the passenger side window fitted up with cleaned and rebuilt guides and e28 motor.
 

Attachments

  • IMG_20230625_144036.jpg
    IMG_20230625_144036.jpg
    259.2 KB · Views: 188
  • IMG_20230625_163331.jpg
    IMG_20230625_163331.jpg
    269.2 KB · Views: 159
  • IMG_20230625_161959.jpg
    IMG_20230625_161959.jpg
    264.8 KB · Views: 155
  • Videoframe_20230625_212900_com.huawei.himovie.overseas.jpg
    Videoframe_20230625_212900_com.huawei.himovie.overseas.jpg
    172.7 KB · Views: 168
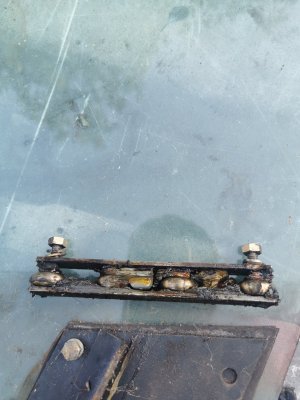
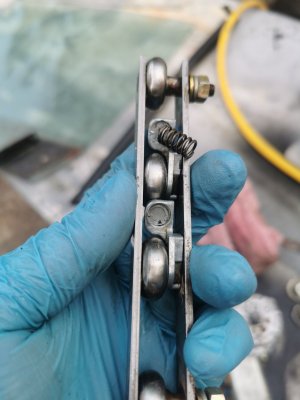
Don't forget to clean your window tracks! These were practically seized before with 50 year old hardened grease and gunk. Watch out for the spring that provides pressure to those 2 tabs
 

Attachments

  • IMG_20230626_191149.jpg
    IMG_20230626_191149.jpg
    306.7 KB · Views: 153
  • IMG_20230626_195250.jpg
    IMG_20230626_195250.jpg
    179.8 KB · Views: 165
Before and after.

Whilst I've got quite a bit of experience with paint correction, this is my first time properly sanding a car down so it was a bit daunting. Pleased with how it looks so far. There will be plenty more refining and cutting before it hits the road as undoubtedly it'll get dusty, a few marks here and there etc and will require a proper polish up again.
IMG_20230615_162349.jpg
IMG_20230628_211429.jpg
IMG_20230628_211501.jpg
 
Don't forget to clean your window tracks! These were practically seized before with 50 year old hardened grease and gunk. Watch out for the spring that provides pressure to those 2 tabs

been there done that,
the springs are lost covered in blackened old grease,
it required some gasoline to clean all that
BTW the tab are zamak, or similar pot metal
i used the molikote grease that @eriknetherlands proposed, it is fantastic
 
Before and after.

Whilst I've got quite a bit of experience with paint correction, this is my first time properly sanding a car down so it was a bit daunting. Pleased with how it looks so far. There will be plenty more refining and cutting before it hits the road as undoubtedly it'll get dusty, a few marks here and there etc and will require a proper polish up again.
View attachment 164483View attachment 164484View attachment 164485
wow it is very nice it is like mirror, how did you do that?
 
wow it is very nice it is like mirror, how did you do that?
Wet sand with a little bit of washing up liquid with 1500, then 2000 and 3000. As a rough rule of thumb try to spend twice as long previously when switching to a finer grit and swap out the water.

After this, coarse polish and DA, I use rupes blue coarse pad and polish combo with an LHR15, and for the small spots their ibrid nano with the rotary attachment. Then fine polish
 
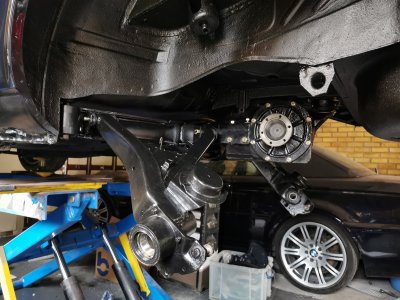
Rear end going back in, just waiting on some more hardware before I continue.

LSD cleaned, stripped and rebuilt with new bearings and seals, the blue books were a life safer for this as its not a simple bolt on bolt off affair with some very critical pre loading and checks to ensure correct mesh and operation. I didn't rebuild the clutch packs as they all looked healthy and locked up nicely in the car. Strange that despite being removed off an e12 m535, it's a 3.25 rather than a 3.07. 10 bolt crown wheel with clip in axles so definitely later type.

Rear arms refreshed with powerflex heritage bushes and new bearings/seals. In all fairness the bearings were in great shape, just the grease needed changing but may as well whilst in here. Luckily the old and new bearings were exact in dimensions so didn't need to swap out any shims. Hoping that due diligence now saves heart ache down the road!
 

Attachments

  • IMG_20230716_180002.jpg
    IMG_20230716_180002.jpg
    353 KB · Views: 126
Back
Top