Garage space is limited to the point that with the e24 behind it there was no way other than constantly having the car up in the air to store it with bumpers on. So this weekend has consisted of knocking down the bathroom wall in order to get the thing to actually fit in here. Need to fix up the roof a bit and put some new plaster on the ceiling before I do much more with the car
You are using an out of date browser. It may not display this or other websites correctly.
You should upgrade or use an alternative browser.
You should upgrade or use an alternative browser.
'73 3.0CS - M88 Jerez Schwarz build
- Thread starter nosmonkey
- Start date
-
- Tags
- restoration list
Bathrooms are way overrated anywayGarage space is limited to the point that with the e24 behind it there was no way other than constantly having the car up in the air to store it with bumpers on. So this weekend has consisted of knocking down the bathroom wall in order to get the thing to actually fit in here.
rblongboarder
Well-Known Member
I am curious about the rear spoiler on your build (marked "3.5 CS") and where it came from.. ?
I've just started a E3 rebuild - your spoiler reminds me of similar parts on my '88 E28 M5 or my '85 Euro E24..
but it also seems quite unique.
I've just started a E3 rebuild - your spoiler reminds me of similar parts on my '88 E28 M5 or my '85 Euro E24..
but it also seems quite unique.
Spoiler is a CSL item with a reproduction rubber from @daddywad who also makes replica csl spoilers.I am curious about the rear spoiler on your build (marked "3.5 CS") and where it came from.. ?
I've just started a E3 rebuild - your spoiler reminds me of similar parts on my '88 E28 M5 or my '85 Euro E24..
but it also seems quite unique.
3.5 decal is from a company in the UK who no longer makes them, although can be made by anyone with the stencil and a vinyl plotter
Agreed, in all fairness just a toilet and sink and plenty of room in there, put a small wash basin in there and now have an extra 15sqft of garage space to hoard more crapBathrooms are way overrated anyway
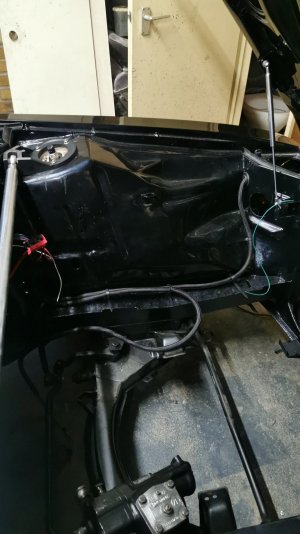
Made some reinforcing brackets and mounted up the struts for the boot, also bolted in the new fuse box and reassembled the original kidney grille and fitted it on
Attachments
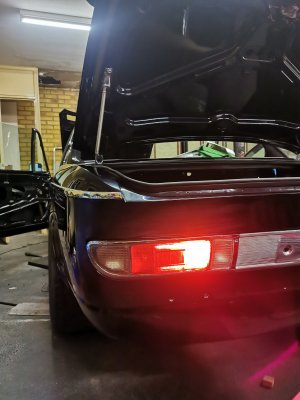
She has power!
Still lots to go through, pops has gone to Cyprus for a few weeks which leaves me some time to clean up and consolidate the garage and parts.
Most of the wiring seems to be looking good, however a few niggly issues (turn switch acting as a hazard switch for one). So this month will be spent mostly chasing wiring and getting everything to operate as it should.
Attachments
The elephant skin arch trims and vinyl were absolutely ruined on mine, having suffered the usual failure of the top mounts at one point sending the damper mount though the trims. Decided to recover them in alcantara, it ties in nicely with the interior of the car as I have done the pillars in the same material and the thin foam backing makes it all feel nicer to the touch.
The boot boards have been remade with matching leather, although again the original pieces with the vinyl have seen far better days, so I will also retrim those as for anything other than shows the light leather will be as useful as a chocolate teapot
The boot boards have been remade with matching leather, although again the original pieces with the vinyl have seen far better days, so I will also retrim those as for anything other than shows the light leather will be as useful as a chocolate teapot
Attachments
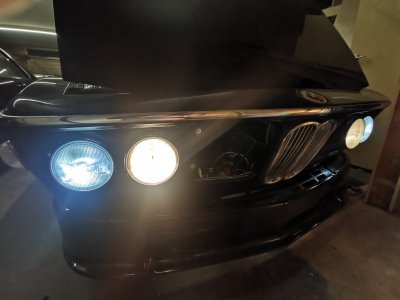
Almost there now with the lighting just a few bulbs to change up, not a fan of the bright white leds will swap those in for something a few Ks lighter. Running a diode on the high beam harness which allows for low beams to stay on. Also recovered most of the boot floor but ran out of material before I could finish it up.
Turn signal wiring was an error on my end, whilst prepping the wiring the left and right turn signal indicators were joined into 1, however the actual turn indicator runs off a seperate take off from the turn signal relay and having forgotten this it had linked the front indicators.
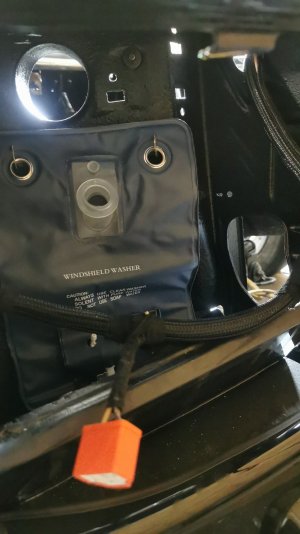
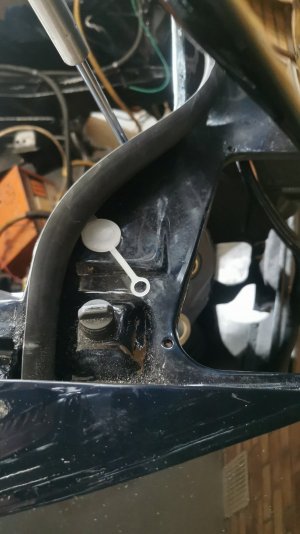
Headlight wires are using twin output Bosch relays hidden behind the passenger lights, also relocated the washer bottle to a bag style behind the drivers light and just need to make up an extension hose for the screenwash cap which is now located on the access hole for the drivers side horn bolt.
Attachments
CTCe9
Member
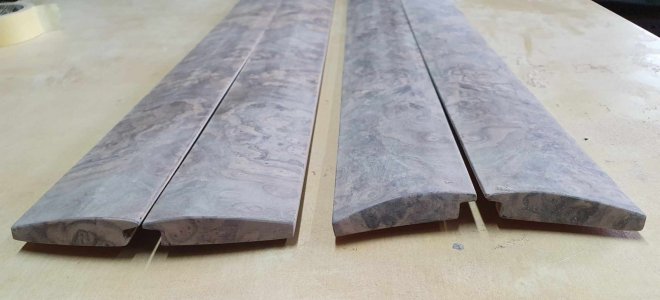
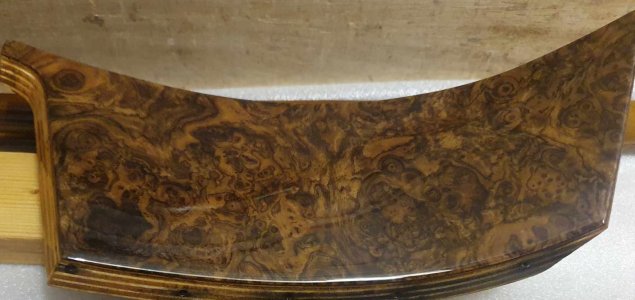
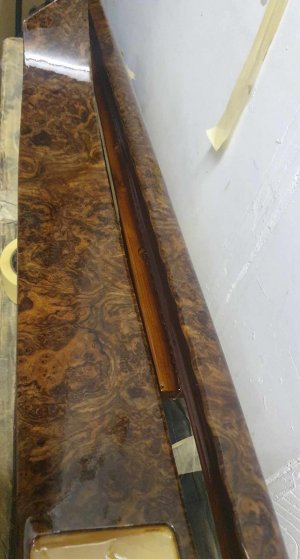
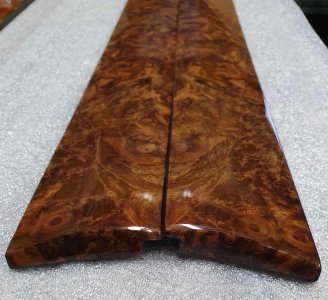
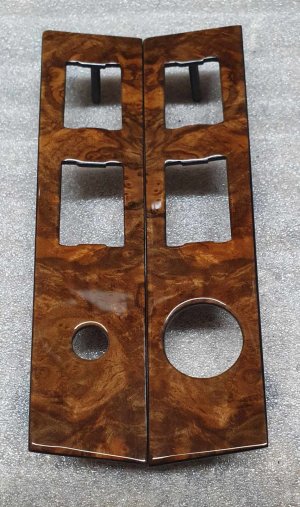
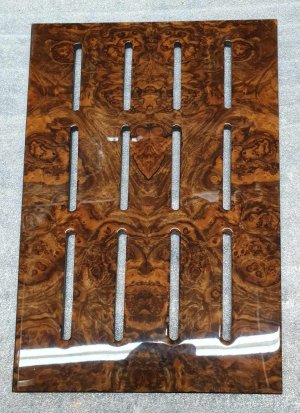
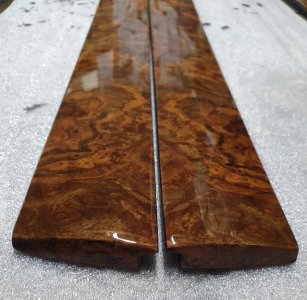
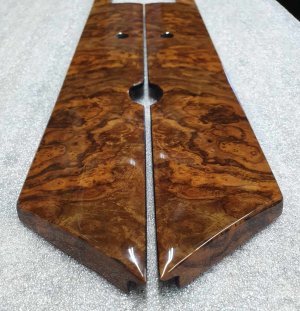
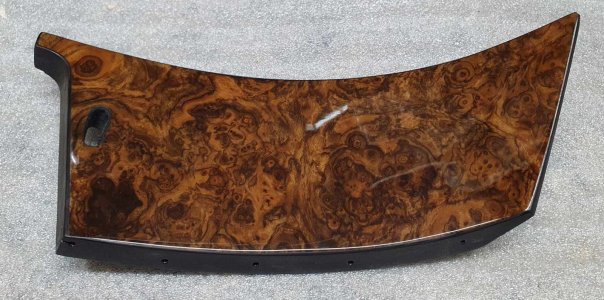
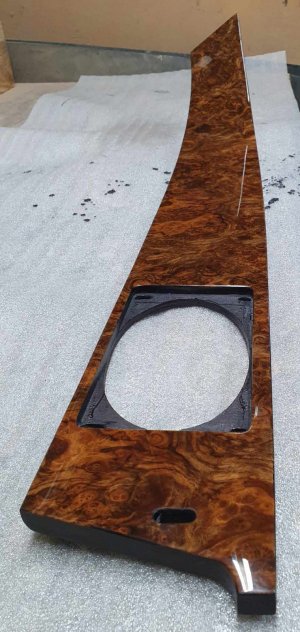
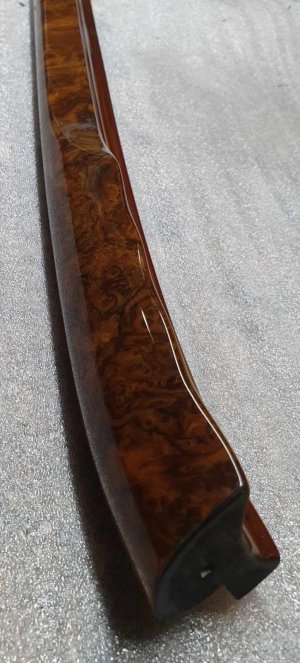
that wood is spectacular!
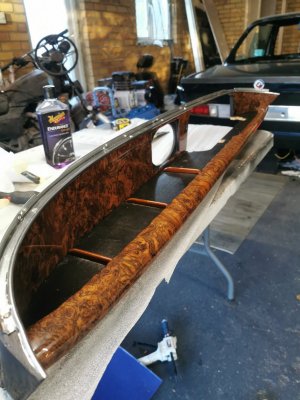
Hoping to have it all sanded down and polished in the next week or 2.that wood is spectacular!
In the meantime, carrying on with some more boring stuff (i.e wiring!)
First time I met Mehrdad was when he lived in socal and when I used his bathroom I saw the shower full of coupe parts. That's when I knew we'd be friends!Bathrooms are way overrated anyway
Wood repair and veneer work all done now!
Attachments
-
 received_307528412088576.jpeg400.4 KB · Views: 184
 -
 received_351740630845907.jpeg196.7 KB · Views: 189
 -
 received_1086345379411518.jpeg183 KB · Views: 177
 -
 received_882392276821914.jpeg342.1 KB · Views: 191
 -
 received_1293464894695932.jpeg268.8 KB · Views: 179
 -
 received_879973683278016.jpeg386.5 KB · Views: 187
 -
 received_1301723903867925.jpeg457.3 KB · Views: 188
 -
 received_338998638718035.jpeg401.9 KB · Views: 177
 -
 received_1254242528581236.jpeg225.7 KB · Views: 177
 -
 received_226505370339965.jpeg447.4 KB · Views: 185
 -
 received_302341862636443.jpeg226.3 KB · Views: 176
 -
 received_2656734127823633.jpeg213.4 KB · Views: 171
 -
 received_879144813402256.jpeg327.4 KB · Views: 179
 -
 received_893547132384014.jpeg270.7 KB · Views: 160
 -
 received_1077995469880141.jpeg291.8 KB · Views: 160
 -
 received_1924339667967284.jpeg99.6 KB · Views: 166
 -
 received_183082958205986.jpeg136.4 KB · Views: 165
 -
 received_306083488955281.jpeg140.2 KB · Views: 161
 -
 received_3610524079203147.jpeg221.4 KB · Views: 170
 -
 received_880834866530172.jpeg246.1 KB · Views: 150
 -
 received_1504020790392208.jpeg135.2 KB · Views: 166
That is some serious work! All nicely book matched.
This really shows that a true craftsman has been at work here.
This really shows that a true craftsman has been at work here.
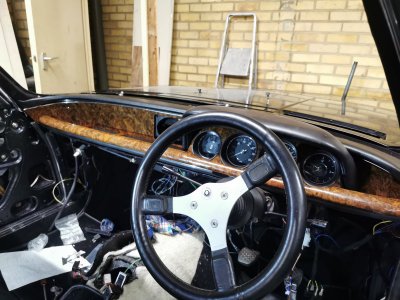
very British dash ... well done. a little 'fancy' for my personal taste, but looks great


