I did want to go for an anthracite tint to dull the colours a touch, but just wasn't able to get the match rightvery British dash ... well done. a little 'fancy' for my personal taste, but looks great
You are using an out of date browser. It may not display this or other websites correctly.
You should upgrade or use an alternative browser.
You should upgrade or use an alternative browser.
'73 3.0CS - M88 Jerez Schwarz build
- Thread starter nosmonkey
- Start date
-
- Tags
- restoration list
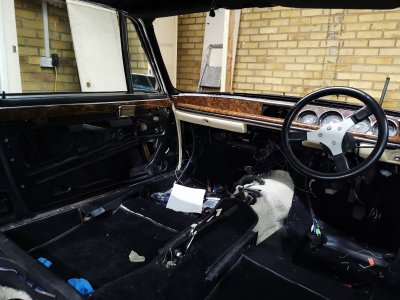
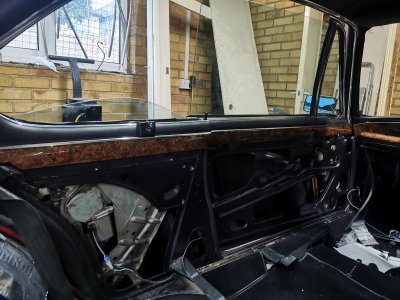
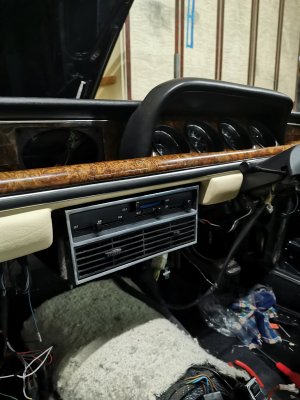
Door cappings cleaned and polished, wood fitted on and all mounted. Also refitted the dash with the knee bar. I chose to reuse the original vinyl as it was in in great shape. Ash tray centres will need to be recoloured to match the rest of the interior.
Attachments
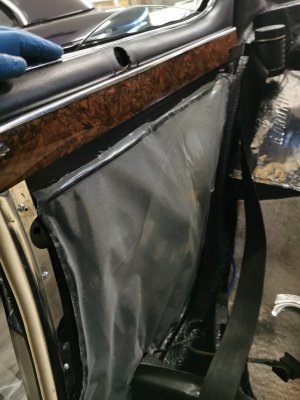
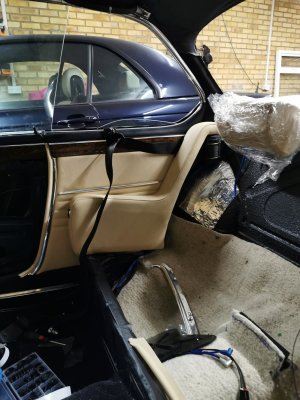
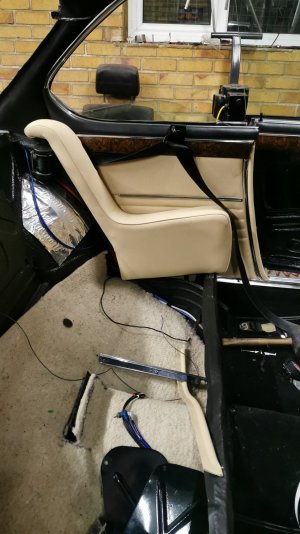
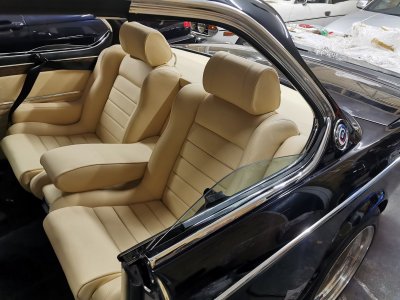
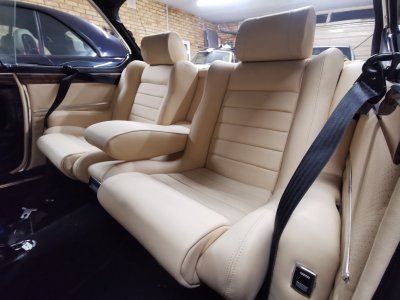
Sealed the rear quarters up and got the door cards and arm rests fitted. Originally the car had rear belts fitted at the dealer and the front belts were relocated to under the rear door card. Wasn't really happy with this set up as it bolted into 1mm sheet metal and would have just torn away in an accident. With the belts in the correct position the additional bracket fitted for the belt holder was interfering so had to modify it to fit.
Will hopefully get the rear seats fitted in tomorrow. So much for today's job taking 3 hours taking 8!
Will hopefully get the rear seats fitted in tomorrow. So much for today's job taking 3 hours taking 8!
Attachments
day66
Well-Known Member
interested to hear that I’m not the only one that was a little horrified by the crappy (RHD?) seatbelt installation! I reinforced mine with a 3mm steel plate, as I also felt that in anything other than a minor shunt the seat belt would just rip out.
I'm not sure why they had them fitted there as there was room still for the rear lap belts which I think from memory bolted around the bottom. It clearly came from factory with the belts in this position I have now installed them as the arm rests have the cut outs to allow for the belts to slide through. Did yours have rear belts as well?interested to hear that I’m not the only one that was a little horrified by the crappy (RHD?) seatbelt installation! I reinforced mine with a 3mm steel plate, as I also felt that in anything other than a minor shunt the seat belt would just rip out.
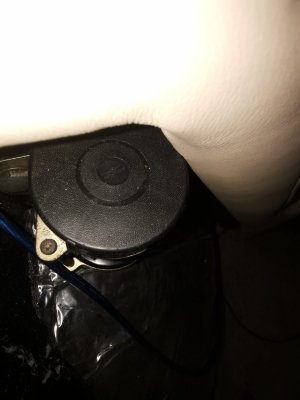
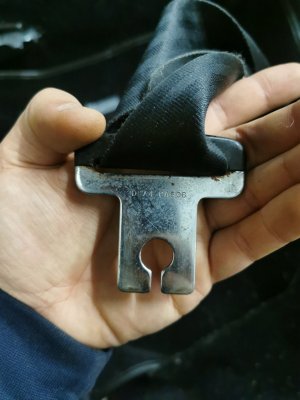
The retractors behind the arm rests were only in the face lift, 74/75 cars. The belts are also unique as they have a ‘hockey stick’ shape lower end so as to not interfere in the rear passengers‘ entry (see pic). They also normally have a clothes hanger to hold/ guide the belt.


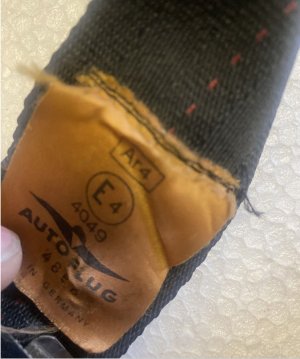
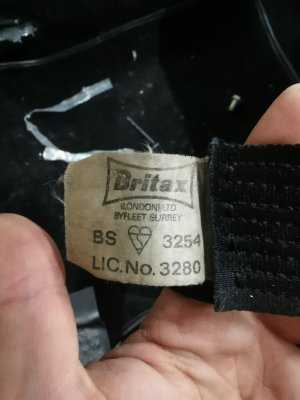
Thanks as always Keshav, mine is a November 73 build but is a 74 Facelift, odd that whilst having the retractor belts, it doesn't have the hockey sticks on the bottom. The retractors are labelled autoflug, but the orange fabric is britax, same as the rear belts.
Thanks as always Keshav, mine is a November 73 build but is a 74 Facelift, odd that whilst having the retractor belts, it doesn't have the hockey sticks on the bottom. The retractors are labelled autoflug, but the orange fabric is britax, same as the rear belts.
They should be from Autoflug and not Britax and as far as I know and if/ as you have the rear armrests with the slide by, you should have the hockey style seat belts……. And….the 74 and 75 belts differ as far as that they have different locks… (can’t match a 74 belt with a 75 receiver arm and vice versa). Nov 73 is considered face lift specs..
Attachments
day66
Well-Known Member
@nosmonkey - yes, mine had rear seat belts at some time though only the buckle parts were still in place when the car came to me. Incidentalily mine must have been built around the same time as yours as it’s one of the last series 1 CSIs, registered Jan 74 but I think built a few months earlier - I wonder if that has any bearing on the seatbelt layout.
The plot thickens, perhaps this was done to conform to some British standard (BS does seem fitting...)They should be from Autoflug and not Britax and as far as I know and if/ as you have the rear armrests with the slide by, you should have the hockey style seat belts……. And….the 74 and 75 belts differ as far as that they have different locks… (can’t match a 74 belt with a 75 receiver arm and vice versa). Nov 73 is considered face lift specs..
Attachments
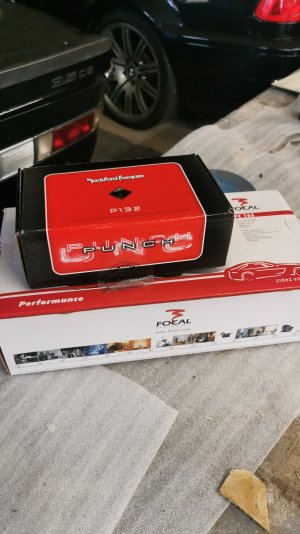
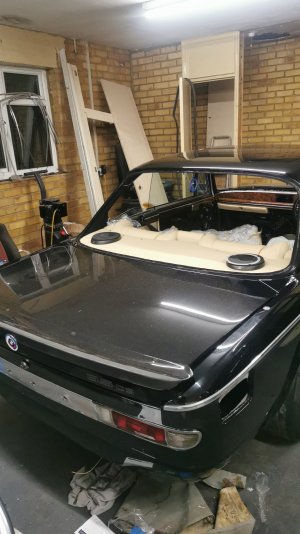
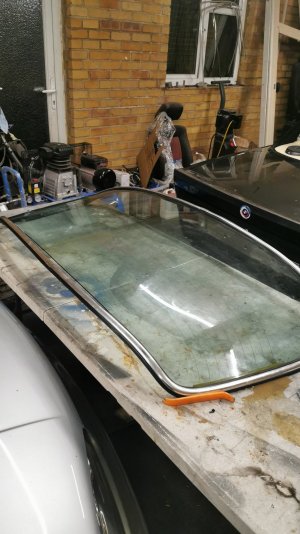
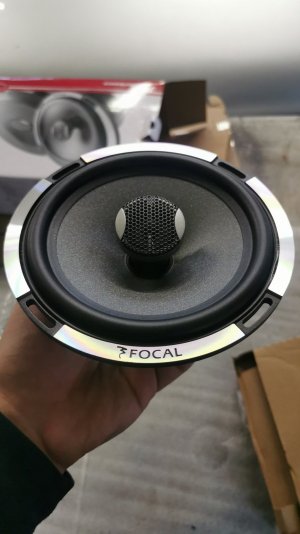
Speakers turned up, for now going with some nice Focal 6.5s" in the rear shelf and some 3.5" fosgate in the kick panels, avoiding the need to cut into the door cards although worst case I may make a small speaker enclosure that bolts to the map pocket area and put some speakers there. These will run off an amp under the rear seat and a 10" sub in the boot should there be enough room. Also got the rear glass polished and fitted up the new rubber ready for installation tomorrow.
Attachments
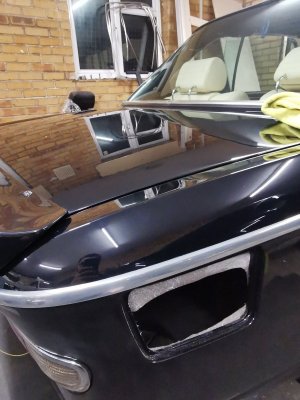
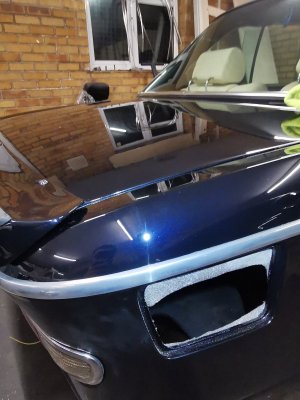
Also started to continue with a bit more paint correction, the colour is really starting to pop under lighting but I've not had it out in sunlight since flatting and polishing so that will be the real test!
Attachments
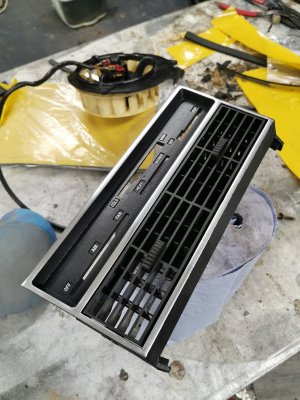
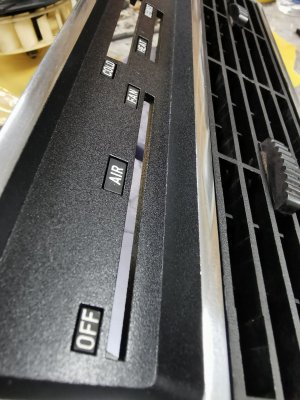
Fitting the heater box was a bit of a pain in the arse! Especially when you spend 2 hours fitting everything and see your dash vents sitting on the side.
After much swearing all fitted in.
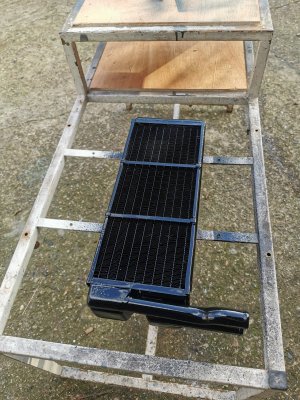
Blower motor all refurbed alongside the heater core sandblasted, pressure tested and painted. New foam on the flaps etc. @eriknetherlands guide was invaluable!
After much swearing all fitted in.
Blower motor all refurbed alongside the heater core sandblasted, pressure tested and painted. New foam on the flaps etc. @eriknetherlands guide was invaluable!
Attachments
Few bits to button up around the dash area but the dreaded front screen is next, then I will probably make a start on the engine

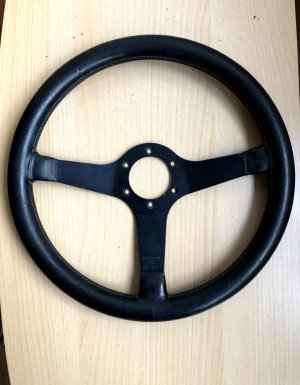
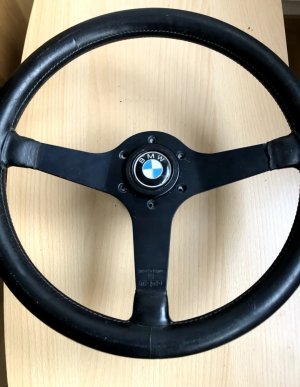
With how the interior looks I couldn't help but feel the motorsport wheel looked a touch out of place. Personally I am not a fan of wooden wheels as they slip in my hands and polished spokes can reflect sunlight. Have purchased this 35cm Prototipo S which whilst a bit smaller than I'd like (36 to 38cm is ideal for me) I am still retaining the power steering and prefer my steering to be slightly heavy to slightly light. The assistance on dad's Stag is essentially being able to steer with your pinky finger and anything above 30mph I find myself struggling to not drive all over the place.
Attachments
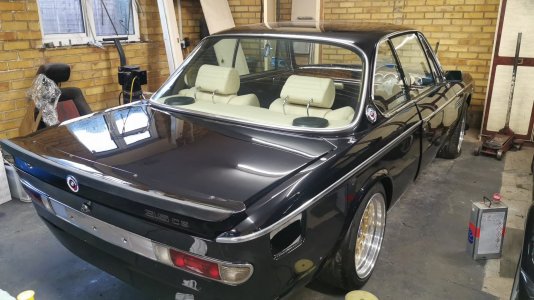
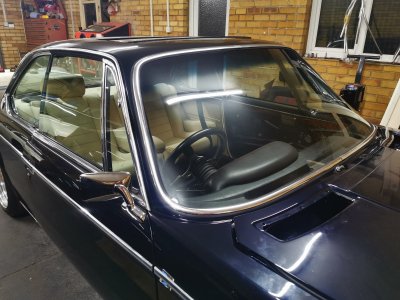
Glass went in first time round so very happy with how it was based on the horror stories I've seen. From start to finish it took about an hour. Walloth glass but I got the rubber from Stefan Ries at a very reasonable price and the fitment is spot on. There is also some windscreen mastic around it to ensure it is completely watertight.
Attachments
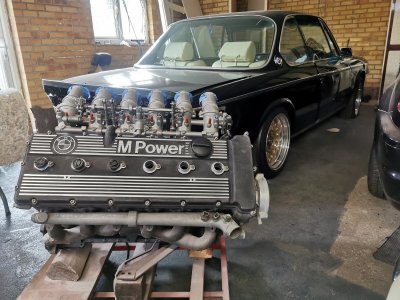
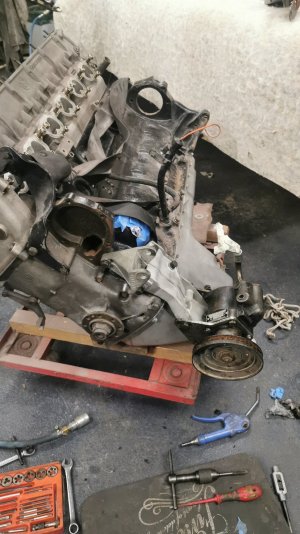
Wheeled the engine out and got cracking on with stripping a few bits off before I stick it on the stand.
The original power steering and alternator bracket from the 3.0 engine bolts straight up so sandblasted them and will get them painted up along with the rest of all the many many bits to go on.
The original power steering and alternator bracket from the 3.0 engine bolts straight up so sandblasted them and will get them painted up along with the rest of all the many many bits to go on.

