You are using an out of date browser. It may not display this or other websites correctly.
You should upgrade or use an alternative browser.
You should upgrade or use an alternative browser.
'73 3.0CS - M88 Jerez Schwarz build
- Thread starter nosmonkey
- Start date
-
- Tags
- restoration list
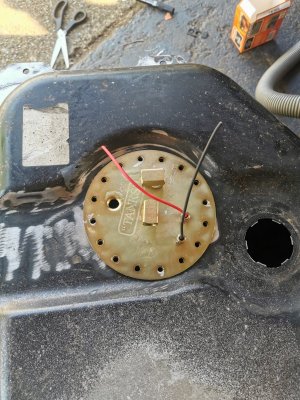
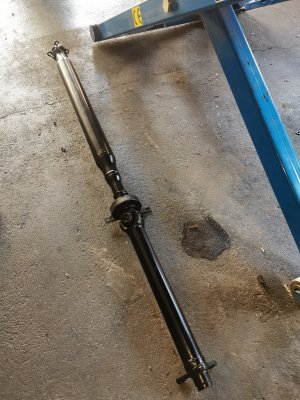
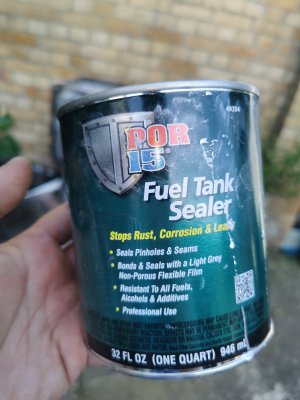
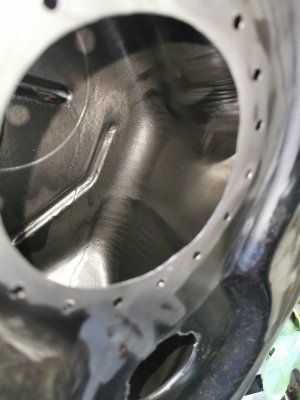
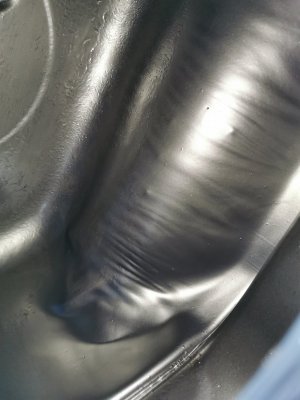
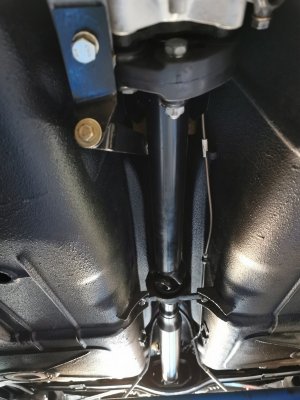
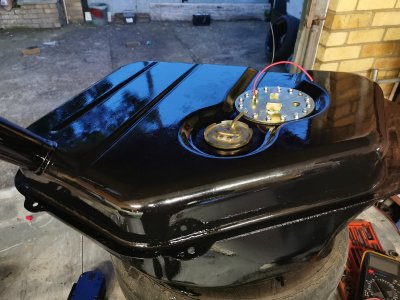
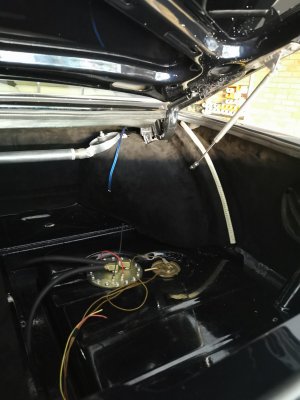
Finally got the prop back although wasn't happy with their paint job on it so stripped and repainted it satin Black. Fuel tank tabs all welded up nicely and used the POR 15 tank sealer. The inside of my tank wasn't too bad, but I was more concerned about the seams and the sealer does a fantastic job of getting into all the crevices.
I am just waiting for some por 15 for the outside of the tank and then once painted, can go into the car and start fabricating the fuel lines
I am just waiting for some por 15 for the outside of the tank and then once painted, can go into the car and start fabricating the fuel lines
Attachments
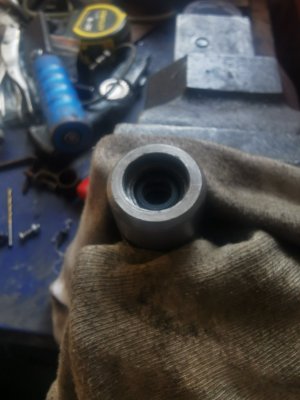
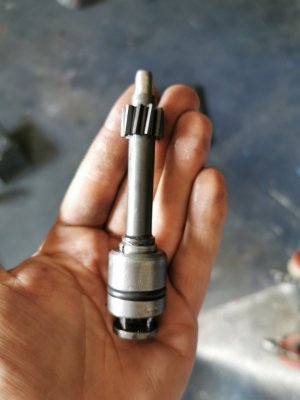
Propshaft is in, i opted for the 35mm M guibo. Also rebuilt the speedo drive gear with the invaluable guide on here and fitted that on, alternator mounted up. E12 unit with brass bushings and the adjusting bracket from the e9 now relocated with an adaptor, this drops the alternator down slightly. Steering shaft is in as well. The list of little things seems to be never ending
Attachments
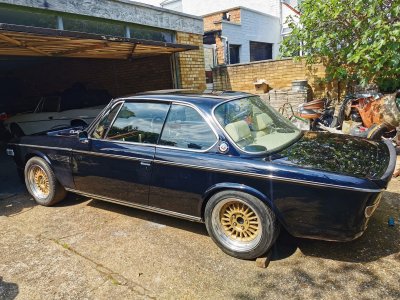
Dragged it out into the sun today, radiator is now fitted up but I need to fabricate a shroud for it and the fan, finished mounting the coil and steering bits,horn and brake fluid warning wired up and a few other bits and pieces.
Next to get on to (this is more a list so I don't forget)
Paint and fit tank and lines
Sort the throttle linkage as it is far too sensitive
Bolt the throttle pedal bracket down
Modify and port the AFM
Fabricate an air filter adaptor and mount the air filter
Run a new steering box return pipe to the reservoir
Fill diff, gearbox and engine oil
Attachments
tdgray
Well-Known Member
Now that has to be one of the nicest gas tanks I have seen in a long time. Wow.
Thanks! Por 15 goes on quite thick so hides some of the pitting and corrosion wellNow that has to be one of the nicest gas tanks I have seen in a long time. Wow.
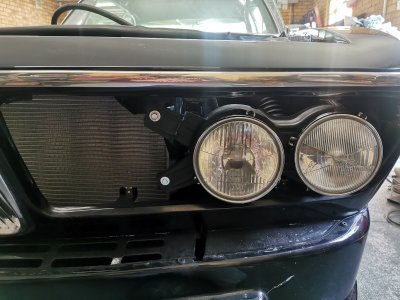
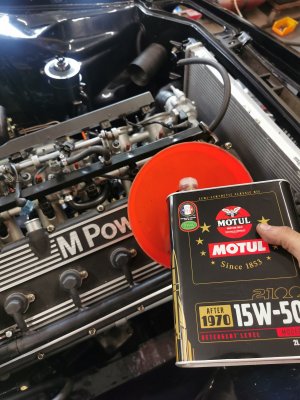
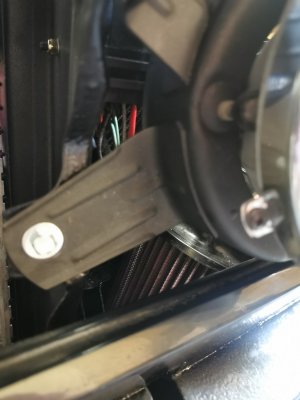
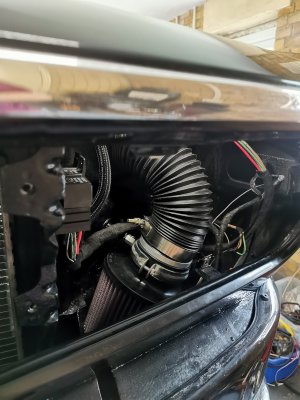
Filter fitted up, this section also has some lizard skin ceramic heat barrier under the paint to help with intake temps but the filter tucks in very nicely behind the headlights and is secure. Horn also mounted up and 7 litres of high ZDDP Motul 2100 to keep the m88 happy, castrol 75w140 transmax as this replaced the old syntrax, and millers ep80 gl4 for the gearbox.
Attachments
Ran some butyl cord around the perimeter of the tank and also made sure it covered the seam to ensure it is water tight and prevent any moisture getting into it in future.
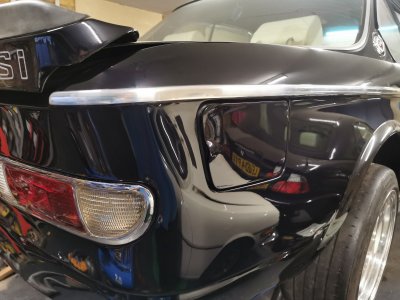
Took all of 10 minutes to fit the tank, the rest of the day was spent swearing at the fuel flap.
If I never have to do it again, it'll still be too soon.
Took all of 10 minutes to fit the tank, the rest of the day was spent swearing at the fuel flap.
If I never have to do it again, it'll still be too soon.
Attachments
tdgray
Well-Known Member
You guys are scaring the crap out of me about this gas flap R&R
It was not fun, best advice would be cutting a slot into the middle hole to allow for it to slide in much easier and once the middle nut is on close it and do the other 2 nuts, also removed the top spring to make it easier to maneuver then refitted the top spring once fitted up to the car.You guys are scaring the crap out of me about this gas flap R&R
For the install of the fuel flap (door) cutting a slot in the mounting plate of the flap/door is one solution, but another member also tried and showed that blocking the spring with an allen key also works well.
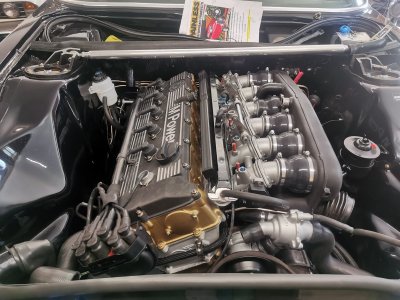
We have crank, spark, lots of compression and oil pressure!
tdgray
Well-Known Member
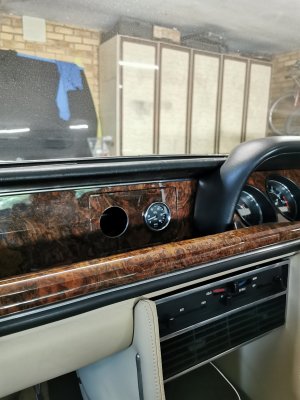
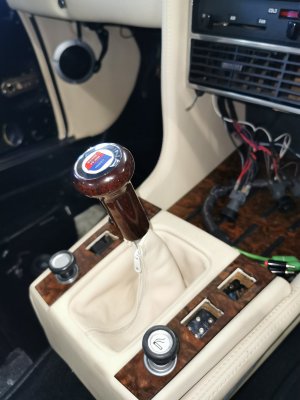
Wow… that’s some veneer
It's very British!Wow… that’s some veneer
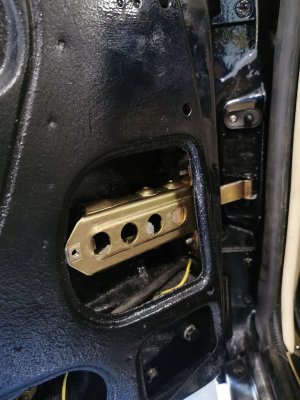
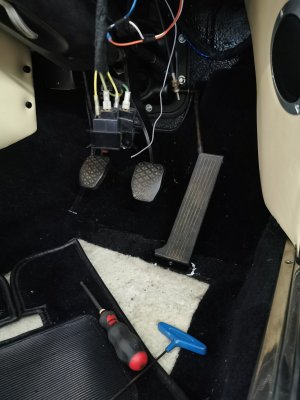
Merc door brakes fitted, I flared a piece of 6mm kunifer pipe out to fit in the pin hole with a 5mm pin going through. Also fitted up the throttle pedal, slightly closer to let me heel and toe a little easier
Attachments
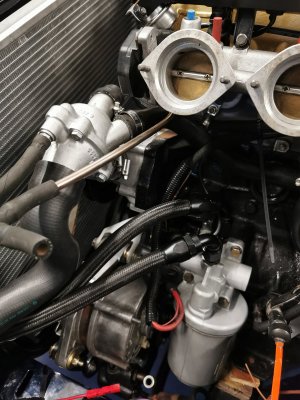
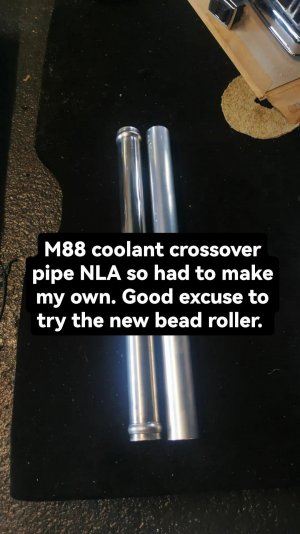
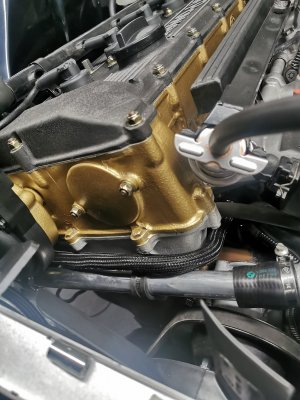
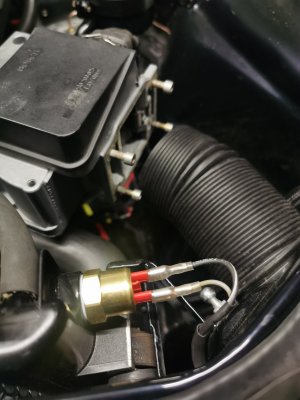
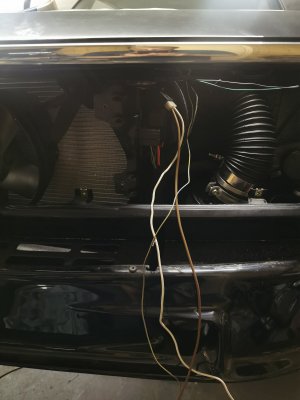
Got a pipe bead roller today so tried it out and made the crossover pipe from the side water rail to the thermostat housing. Also fitted a new 95C fan switch and blocked the remaining port on the radiator. Started getting the wiring to the electric fan sorted out which shouldn't take much more than an evening of tinkering.

