'73 3.0CS - M88 Jerez Schwarz build

I agree with you on the bumpers - I've gone for a 2000CS one on the back on mine and made a one-piece one for the front too using a set of standard bumpers that were past their best. Eliminating the rubber strip also saves a few pounds and gets rid of another couple of rust traps! I'm just wondering whether to add some overrriders though - the front bumper looks a little feature-less without them.
 
I agree with you on the bumpers - I've gone for a 2000CS one on the back on mine and made a one-piece one for the front too using a set of standard bumpers that were past their best. Eliminating the rubber strip also saves a few pounds and gets rid of another couple of rust traps! I'm just wondering whether to add some overrriders though - the front bumper looks a little feature-less without them.
Any photos? I'm debating the same for the front with over riders
 
Yes, of course>

Here's a couple - one during construction, pre chrome and number plate

SDC14849.JPG


and here's the car with the bumper chromed and number plate in place.


SDC14920.JPG
 
Few design changes for them to fit on and after some filler primer and textured black paint I'm happy with the result. Just waiting on some centre badges
 

Attachments

  • IMG_20241123_154522.jpg
    IMG_20241123_154522.jpg
    216 KB · Views: 119
  • IMG_20241123_155427.jpg
    IMG_20241123_155427.jpg
    251.4 KB · Views: 125
Some 225 pilot sport 4s on the back and the refurbed wheels back on. Front needs to be lowered about 20mm but looks great imo
 

Attachments

  • IMG_20241218_150627.jpg
    IMG_20241218_150627.jpg
    271 KB · Views: 109
  • IMG_20241218_151545.jpg
    IMG_20241218_151545.jpg
    367.8 KB · Views: 128
  • IMG_20241218_152237.jpg
    IMG_20241218_152237.jpg
    243.3 KB · Views: 145
Things have been quiet as I've just not had time to finish the car up, but got the zircoflex installed to help with ideally not melting the paint off
 

Attachments

  • IMG-20250219-WA0035.jpg
    IMG-20250219-WA0035.jpg
    301.7 KB · Views: 78
  • IMG-20250219-WA0037.jpg
    IMG-20250219-WA0037.jpg
    325.9 KB · Views: 78
  • IMG-20250219-WA0026.jpg
    IMG-20250219-WA0026.jpg
    240 KB · Views: 89
So.. the very tight spacing and heat transfer through the headers created a thermal situation which requires coated headers and zircoflex?
[I don't recall that in my E28 M5 or E24 M635; but those vehicles had more space between the engine, headers and sidewall.]

Perhaps I missed it in an earlier post.. I assume your custom headers have been ceramic coated as part of the thermal mitigation?

Yes they have been ceramic coated although despite not doing any proper testing it seems like they really didn't cut down on engine bay heat much. Rhd cars had a very simply manifold that robbed a lot of power compared to the European "bundle of snakes". Routing the manifold around the steering box meant it got very close to the inner wings and I think on an e24/28 there is more room. I will probably need to shield the radiator hose and also the steering box somewhat and possibly duct some air from the airdam to help reduce engine bay temps as much as possible. There just isn't enough room to wrap the headers
 
Thank you for the explanation. I'm not very familiar with RHD vehicles, but I can imagine how complex it must be having the steering column and exhaust manifold on the same side of the engine compartment.

I have a friend who's building a very large engine (600+ HP) for his '71 Pantera and he had issues with heat. I can inquire and get the name of the coating he did on his headers.. it went from the flange all the way to the collector...
 
So picked up this rather cool set up for brake vacuum. Hella UP5X as used on the Aston DB11, now available as an aftermarket part. Comes with brackets, relays and an adjustable vacuum switch which will let me alter assistance which I really like. Also makes pipework much simpler and allows me to not have vacuum pipes coming off the tiny ITB take offs. Will get it mounted up in the week and see how it goes!
 

Attachments

  • Screenshot_20250402_224120_eBay.jpg
    Screenshot_20250402_224120_eBay.jpg
    234.7 KB · Views: 62
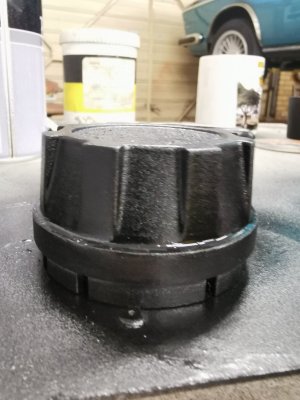
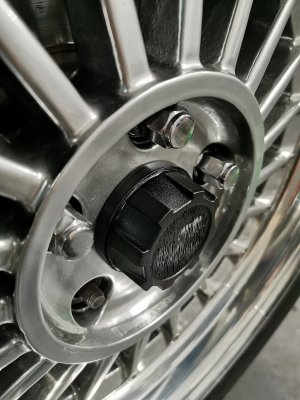
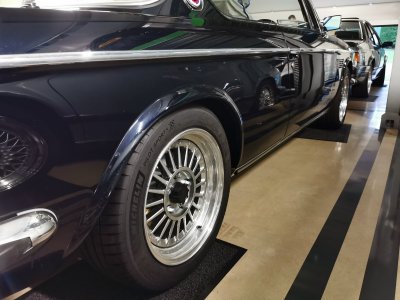
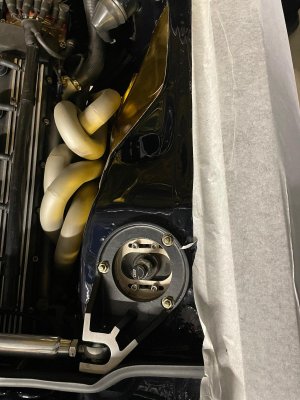
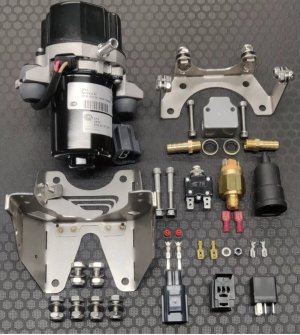
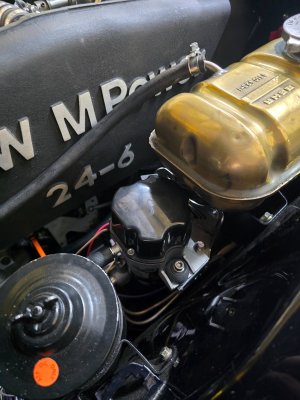
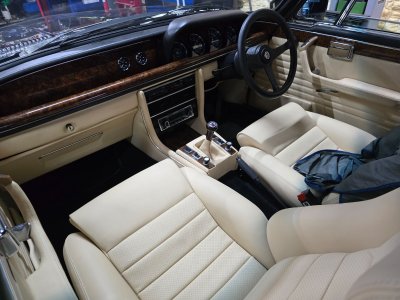
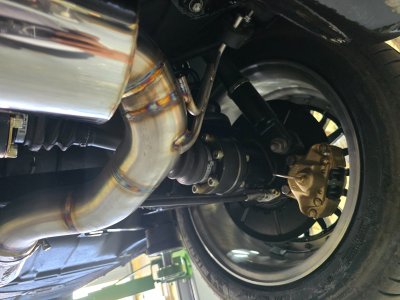
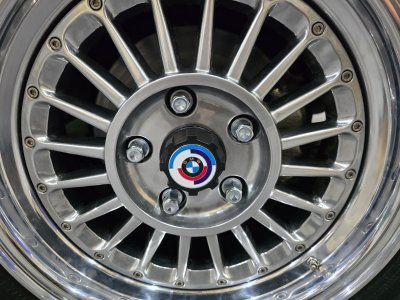
Got the vacuum pump fitted in. Coupled with the modern servo the brakes are by far the best I've tried on any RHD e9. Assistance needs a touch of adjustment as slightly firm for my liking but a really good system. Also fitted my new centre badges, and been going through the entire underside double checking all nuts, bolts, brackets etc as well as tidying the interior a bit more.

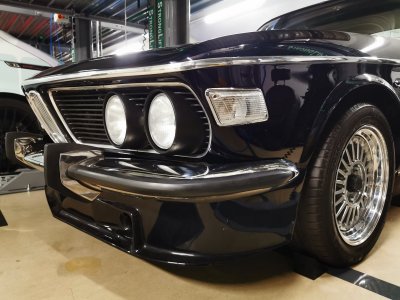
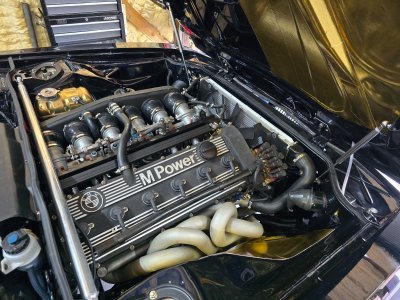
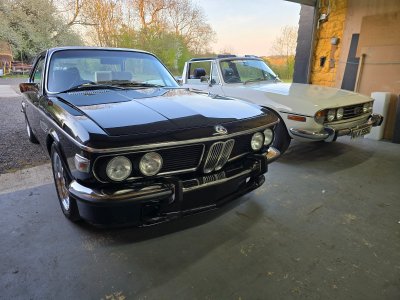
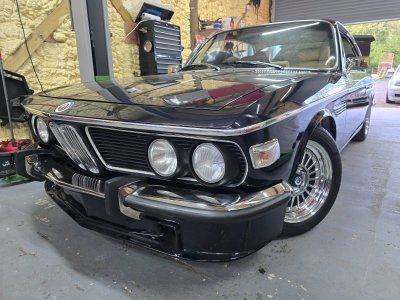
Finally, took the car on its first drive under its own power since 1987! Only up and down about a quarter mile but so far so good. Engine seems very strong and coilovers do not seem too stiff which is ideal. May stiffen the damping at a later stage and dial in some more camber.

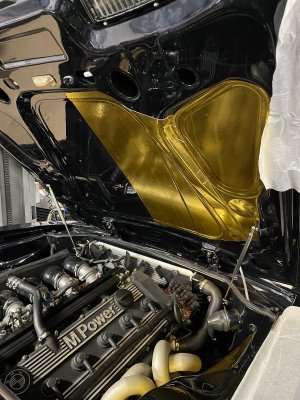
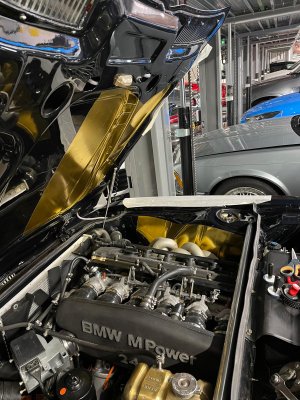
The zircotec has made an incredible difference on heat absorption too. After running up to operating temp the shielded area on the hood was cool to the touch.

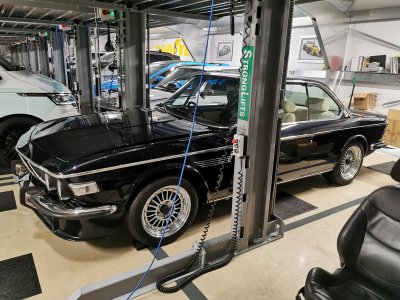
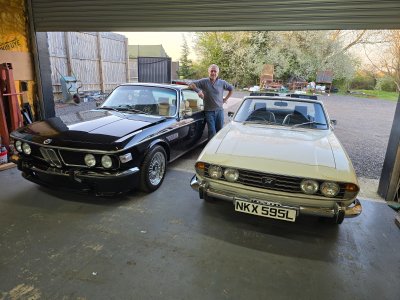
Even convinced dad to take his car out for the first proper drive in over 30 years too.

Major jobs now all done. Now onto fiddly bits such as trims and adjustments. Have a show on the 27th so a few more days of work and she should be good to go
 

Attachments

  • 20250408_174224.jpg
    20250408_174224.jpg
    262.4 KB · Views: 36
  • 20250408_200455.jpg
    20250408_200455.jpg
    322.4 KB · Views: 35
  • IMG-20250411-WA0021.jpeg
    IMG-20250411-WA0021.jpeg
    293 KB · Views: 31
  • 20250411_160330.jpg
    20250411_160330.jpg
    240.7 KB · Views: 31
  • 20250411_192326.jpg
    20250411_192326.jpg
    378.5 KB · Views: 33
  • 20250411_192340.jpg
    20250411_192340.jpg
    667 KB · Views: 31
  • 20250411_192415.jpg
    20250411_192415.jpg
    388.9 KB · Views: 33
  • 20250411_192436.jpg
    20250411_192436.jpg
    426.9 KB · Views: 33
  • 20250411_193013.jpg
    20250411_193013.jpg
    303.8 KB · Views: 31
  • 20250408_135135.jpg
    20250408_135135.jpg
    444 KB · Views: 29
Back
Top