You are using an out of date browser. It may not display this or other websites correctly.
You should upgrade or use an alternative browser.
You should upgrade or use an alternative browser.
'73 3.0CS - M88 Jerez Schwarz build
- Thread starter nosmonkey
- Start date
-
- Tags
- restoration list

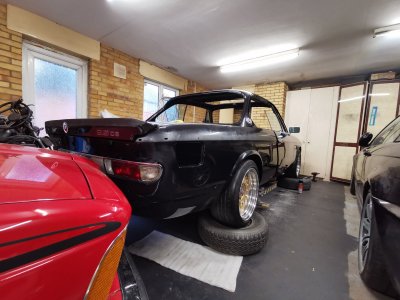
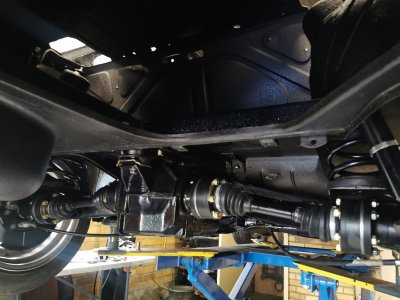
Starting mounting rear shocks and springs, aiming to have it on all 4 wheels and rear suspension completed by end of the month. Only have a few hours after work every night to wrench on it but with the slow progress of endless welding and sanding out of the way I've definitely picked up some motivation
Attachments

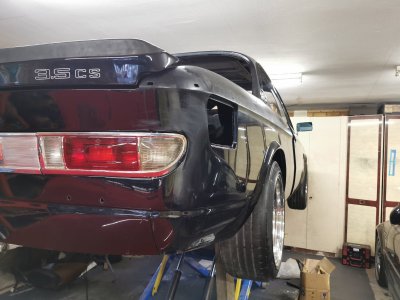
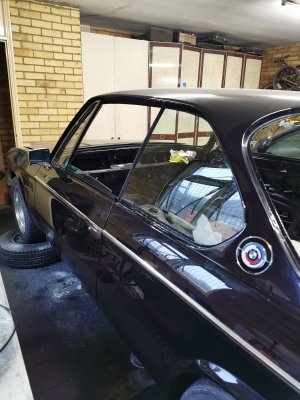
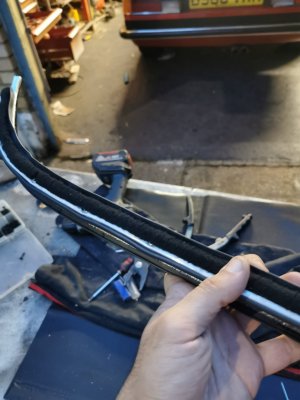
Back down on the ground, started getting the window chromes built up and also putting in the rear windows with e28 motors. Annoyingly my NOS osr waistline trim was damaged and I never noticed it, so stripping and polishing my old one to install.
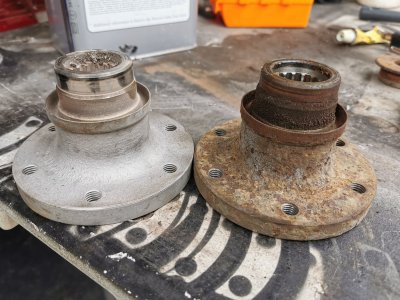
New discs, shoes and handbrake cables are all in. Just need to tighten up the axle shaft nut, how the hell are you supposed to get that up to 400Nm! Then driveshafts on and torque the rest of the rear end and it's onto the engine.
New discs, shoes and handbrake cables are all in. Just need to tighten up the axle shaft nut, how the hell are you supposed to get that up to 400Nm! Then driveshafts on and torque the rest of the rear end and it's onto the engine.
Attachments

Don’t install rear windows until you have attached belt trim, those three nuts do not line up with openings in the window assembly. Removal of them is easier, install very hard, ask me how I know.
Yep! Definitely something to wait until trims are all good. I have plenty of little bits to do. Quite a nice to go digging through boxes I put away years ago and slowly building bits up. Although irritating when you can't find what you need. Today I remembered where the rubber blocks for the rear quarter glass chrome trims were mid way through an argument with a customer after looking for them for a weekDon’t install rear windows until you have attached belt trim, those three nuts do not line up with openings in the window assembly. Removal of them is easier, install very hard, ask me how I know.
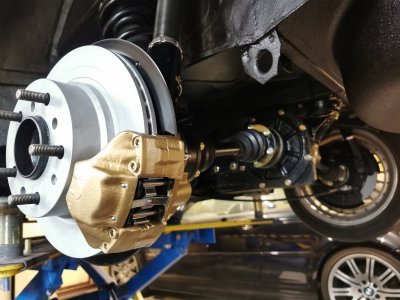
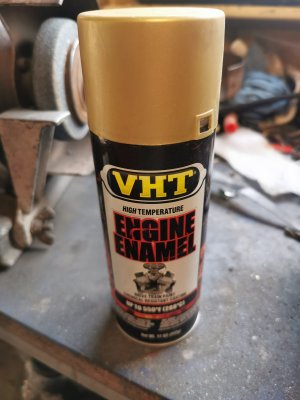
Hi,Rear calipers rebuilt with new seals and pistons
Can you tell the brand / color of the paint used for the calipers
Nice job by the way
")
Hi,
Can you tell the brand / color of the paint used for the calipers
Nice job by the way
Attachments
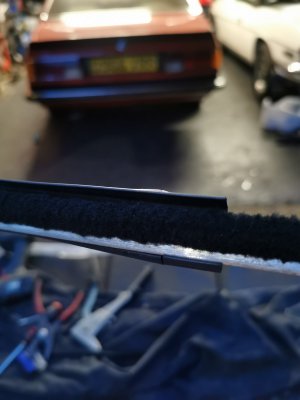
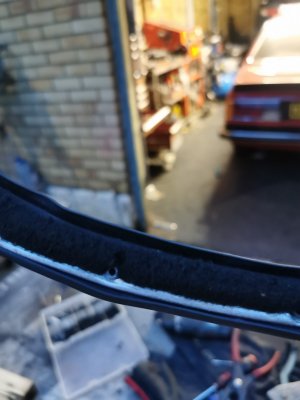
Managed to find some felt on ebay which was the closest I could find to the NLA original rear window felts. For £27 they work great. Shaped and then drilled/riveted.
Attachments
The original headliner hardboard/cardboard had turned to mush, but managed to make up a pattern, some slightly thicker foam to give it more padding and it's come out well. Still some tweaks to do, needs tightening in a few places and get the front headliner panel fitted. If I don't ever have to fit another one, it'll still be too soon.


Headlining is all mounted up now, a job that I was dreading and am now glad to see the back of! I'll most likely dye the sunroof handle surround and visor clips black to match. Also bolted up all the window surround pieces and the upper door rubbers.
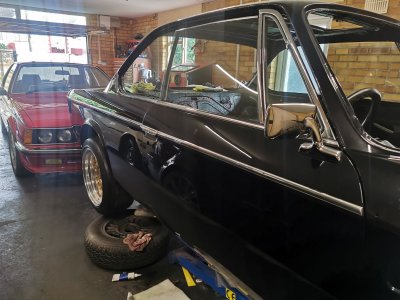
Polished up some ally sill covers I got a while back from Walloth. A shame that they have the holes for the sill mouldings as I do think it would suit much better without them on and I don't trust my TIG skills enough to weld up the covers without warping them.
Suits it much nicer than factory schutz imo. So tomorrow I will probably get the other side down and start to relax as the large, easily bendable aluminium trim pieces dotted around the workshop begin to dwindle and end up on their designated spot on the coupe.
Attachments


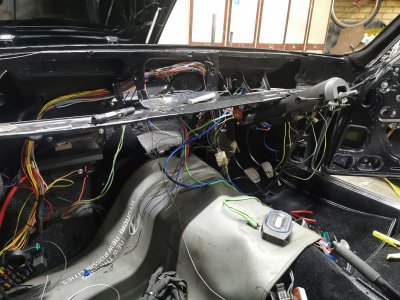
Rainbow spaghetti for dinner anyone?
The new painless 28 circuit harness is going in. Original wiring harness was actually in very good condition overall however dealing wanted to modernise it all a touch. For simplicity sake the original window harness has been removed and the new harness will send power to the circuit breakers. Resistance checks are all good and no oxidising or brittleness so given it all a good clean up. Headlights will be ran through a relay at the front, also picked up an E46 m3 battery cable as its been relocated to the boot.
The new painless 28 circuit harness is going in. Original wiring harness was actually in very good condition overall however dealing wanted to modernise it all a touch. For simplicity sake the original window harness has been removed and the new harness will send power to the circuit breakers. Resistance checks are all good and no oxidising or brittleness so given it all a good clean up. Headlights will be ran through a relay at the front, also picked up an E46 m3 battery cable as its been relocated to the boot.
Attachments

Wiring all routed to the rear, E46 battery cable that runs up to a pass through bulkhead connector , started to get the underlay and carpet down, gone with cropped black wool from Coverdale and am very impressed with the quality

Wiring slowly but surely getting there! Reused the plastic connector blocks from the original harness with new terminals to minimise any cutting to the original bits. Kept the intermittent wash wipe set up but a few modernised bits for ease of parts sourcing, lights are relayed, hazard switch replaced for a universal billet item alongside the rear fog and auxiliary fan over ride switch.
Hopefully the under dash side of things can get finished up this weekend
Hopefully the under dash side of things can get finished up this weekend
Attachments
Pushed her out into the sun to carry on with the wiring, mostly done now, a few bits to hook up still inside (new hazard relay and audio wiring). Headlight and fan relays are hidden in the nosecone, everything taped up nicely or in sleeving.
Will need to finish it off tomorrow and the rear end wiring, will soon be at the point where I can bolt a battery up and start testing the electrics
Will need to finish it off tomorrow and the rear end wiring, will soon be at the point where I can bolt a battery up and start testing the electrics
Attachments
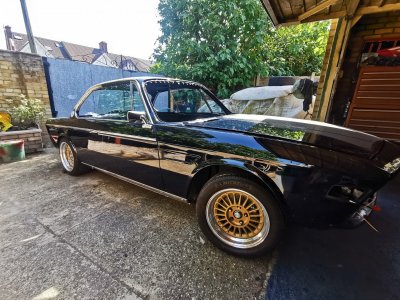


The only time I like gold wheels is on a black car. Looks awesome!
I'm quite partial to gold! I had the wheels on my JCW mini refurbed with satin gold centres and against the blue paint it looked quite smart. Lucky that these had already been powdercoated in a colour that matches up well to the car prior to me purchasing theThe only time I like gold wheels is on a black car. Looks awesome!
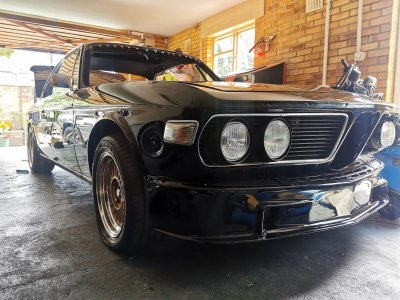
Got the relays and fuse box harness linked to the midi fuse which then connects to the bulkhead connector so can now get battery voltage to components. Also finished up the tail light harness and made a start on the fuel tank/pump wiring and boot courtesy light. Other than a few more wires that are now joined up nothing has really changed, so here's a photo with the front spoiler (carefully!) mounted in place as its been stored in the front room and was only a matter of time before I tripped over it in the dark.