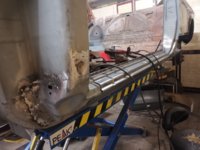
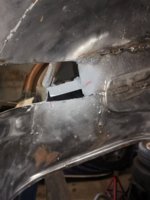
Spot welder had a nice workout getting hundreds of welds done, so much easier than having to take out the MIG or TIG!
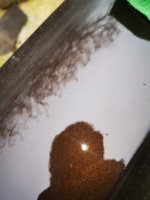
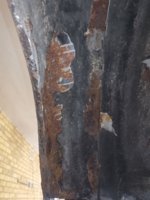
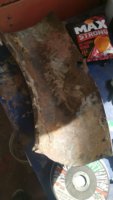
Slapped on another coat of electrox, for those who wonder why I'm such a fanboy of this stuff, below is a comparison of rust buster epoxy primer (a well rated product) and electrox diluted 1 part paint to 10 part thinners (I was cleaning up the brushes!). Both painted onto an unprepped, dirty rusty cast iron stove used regularly and sat outside for 3 years.
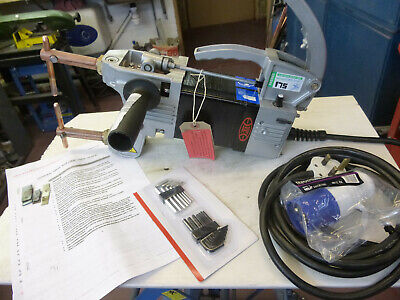
Could you please share what brand/type of spot welder you are using? It looks to do a very nice job on the sheet metal seams.
Thanks
Drew


")